


Print Profile(2)

Bill of Materials

Description
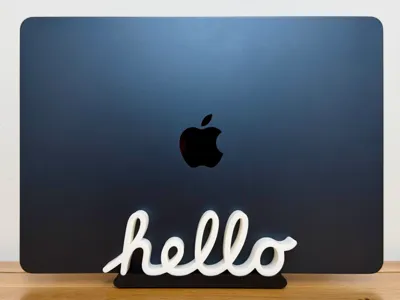
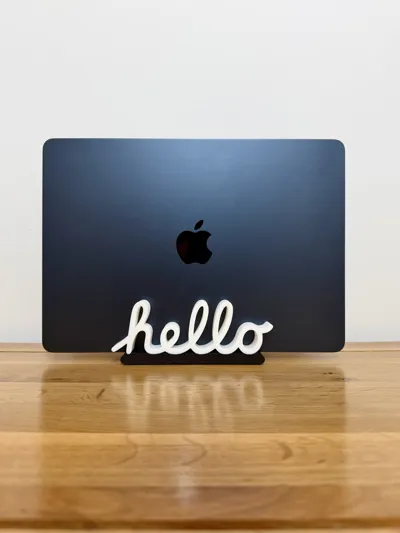
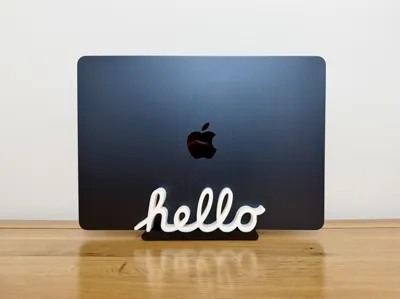
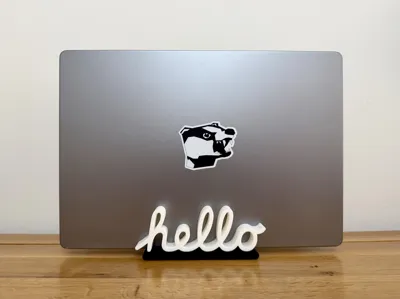
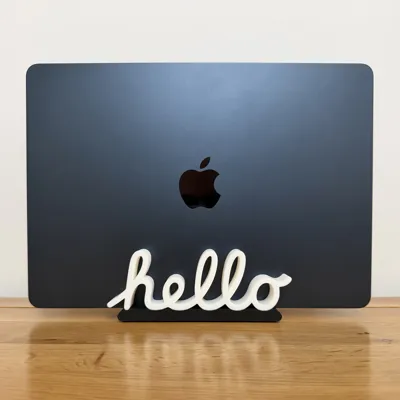
💻 Classic Hello MacBook Stand 💻
A clean, nostalgic MacBook stand inspired by the iconic “hello” script from the original Apple Macintosh. This design blends a bit of retro charm with a practical, everyday desk accessory.
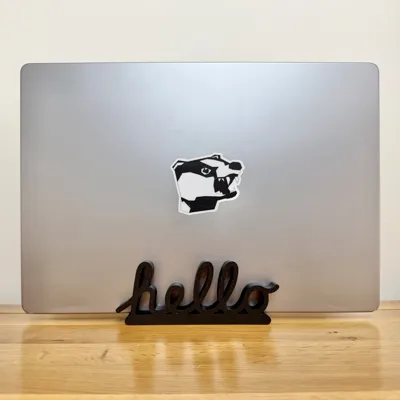
The stand is fully adjustable, designed to fit any MacBook (or similar device) up to 2 cm thick. The two-piece design slots together with a very snug fit, then locks into place using two small self-tapping screws (hidden underneath), giving you a sturdy and reliable hold once assembled.
The classic “hello” script is featured on both sides of the stand, so no matter which way your MacBook is facing, the look stays consistent and eye-catching.
You’ve got two print profile options to suit your setup:
- A single colour version for straightforward printing with no AMS required
- A two-colour version for AMS users, where the stand body and the “hello” script can be printed in contrasting colours such as black and white, or any combination you prefer
No supports needed, and the assembly is quick and simple, making this an easy and satisfying print from start to finish.
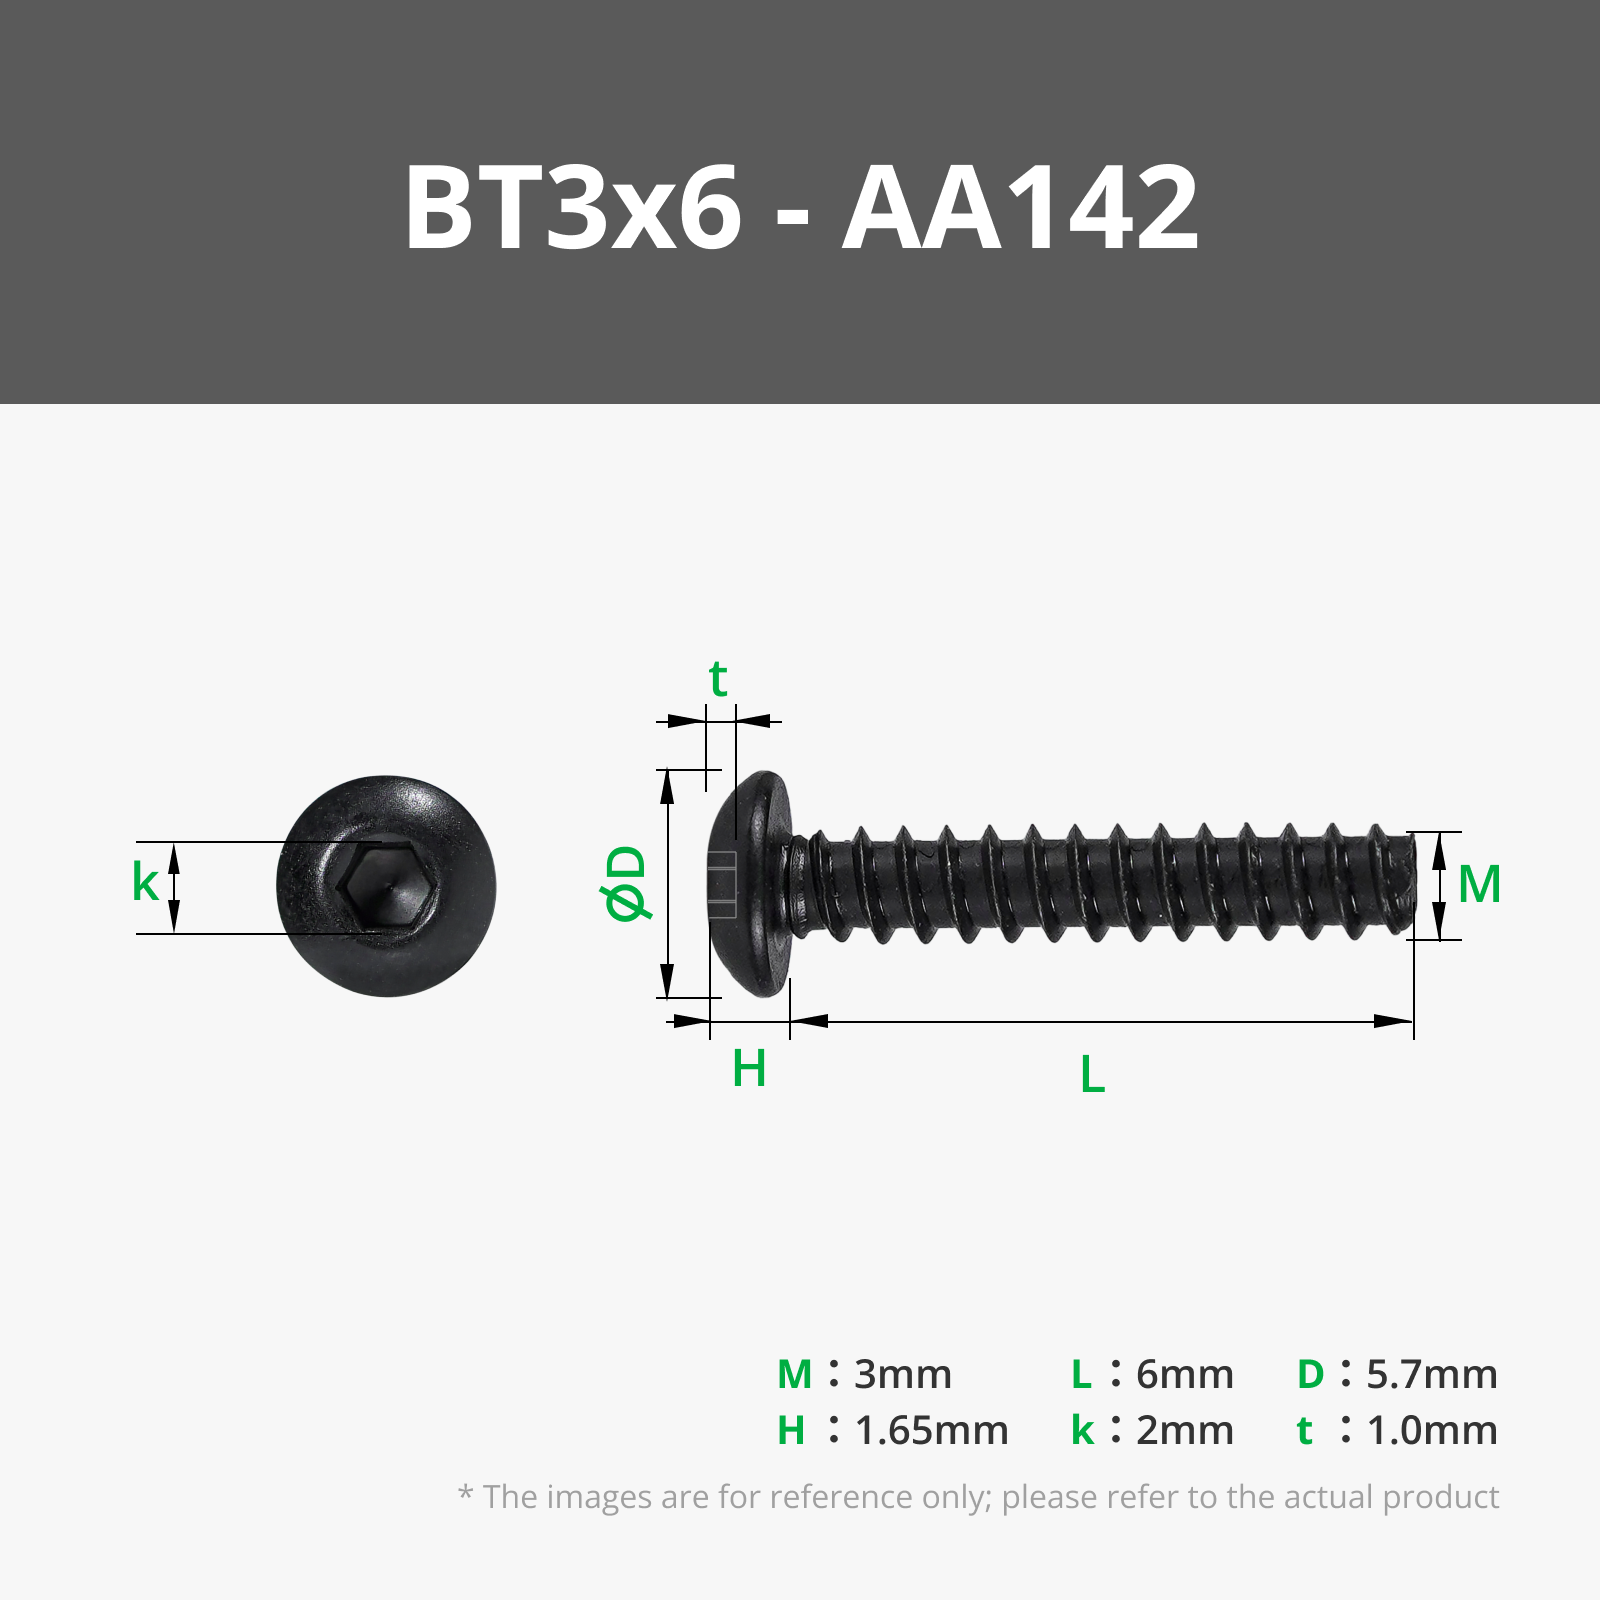
You will need 2x BT3x6 Self Tapping screws to ensure this stand is secure. These are linked in the Bill of Materials and the instructions are included in the assembly section below.
Boost Me (for free)
🍏 If you like this Apple inspired print, a boost is a great (and free!) way of supporting me on here 🍏
·····
🔥 Tips before you start
Having a clean print bed and hot end(s) free from filament is essential in getting that crisp, clean look. Here's some tips on what to do to get the best print possible;
🧼 Cleaning
Clean your plate first, following your usual routine. Dish soap works best, clean and then rinse thoroughly, ensure the plate is dry and free of debris before putting back in the printer.
Leftover filament residue on your hot end can cause unwanted colour streaks, which will show very clearly against the white parts of the print. Please inspect your hot end before starting the print, if you spot any clumps or leftover filament, follow Bambu's recommended cleaning guide to remove.
👀 Watch the first layers
Even with the best pre-printing cleaning routine, filament can sometimes surprise you and some small strands can sometimes get dragged into areas they shouldn’t be. Watch the first couple of layers go down, if you spot any potential colour bleed, you can pause and remove any stray filament from where it shouldn't be.
·····
🖨️ Printing setup
This model is split into two simple parts and is designed to be printed flat on the build plate with no supports required.
- Build plate: Textured PEI Plate (recommended) or Smooth PEI Plate
- Nozzle: 0.4 mm
Printing on the Textured PEI Plate is strongly recommended, as the “hello” script is printed face down. This gives the finished surface a much cleaner, less “3D printed” look with a subtle texture that really suits the design.
Main parts
- Left stand piece
- Right stand piece
Both parts are optimised for strength and surface finish, with the “hello” script designed to print cleanly in both single and multi-colour setups.
Print profiles
- Single colour profile: Print everything in one colour. Ideal for clean look for non-AMS setups.
- Two colour profile (AMS): The stand body and “hello” script are separated into different colours. The default look is black with white text, but feel free to customise this to match your setup.
Ensure you download the correct print profile before slicing.
·····
🏗️ Assembly
Assembly is quick and minimal, but designed to be secure once completed.
What you will need
- 2 × BT3×6 self tapping screws
Both printed parts, ready to assemble

The exact screws used for this build are linked in the Bill of Materials (BoM) on desktop, and can also be found under the “Assembly” section in the Bambu Handy app.
Build plate and setup
Print both stand halves and allow them to fully cool before assembly to ensure proper fit.
Assembly steps
Slot the two stand pieces together. Ensure that the word hello is facing the correct way for you to read looking at it head on when inserting (printed side facing out, not in towards the laptop

This is intentionally a tight fit, so apply steady, even pressure until fully seated. It will make a little bit of friction related noise and it will be stiff depending on how dialled in / accurate your printer is.- Adjust the width to suit your MacBook (up to 2 cm thick), get the width just right, not too tight, as you don't want to scratch up the finish of your machine, but not too loose, as you want it held secure.
Insert the two BT3 × 6 self tapping screws into the designated holes underneath the stand. These lock the width in place and prevent movement during use. Do these up tight so they are flush with the cutouts.

Once assembled, the stand should feel solid and stable on your desk. Take your time with the initial fit, once it’s locked in, you’re good to go.
💡 Tip: Adding small adhesive rubber or silicone “pads” to the underside of the stand can help keep it from sliding on your desk and improve overall stability. I've used these from Amazon to great effect: https://amzn.to/4cosw9S
·····
🧰 Troubleshooting
Model Doesn’t Match Preview / Wrong Colours / Odd Layout
If your model looks misaligned, missing colours, or prints incorrectly, please make sure you are using the supplied 3MF print profiles, not the raw STL or STEP files.
The 3MF files contain all the model specific tuning, including:
- Correct object positioning
- Colour allocations
- Line width settings
- Print specific adjustments (such as infill settings)
To use them properly:
- Either click “Open in Bambu Studio” directly from MakerWorld,
- Or download the .3MF file and open it manually in Bambu Studio.
Avoid using the raw STL or STEP files unless you specifically want to rebuild your own profiles, they do not include the tuned print settings.
·····
⚠️ Copyright / Safety / Final notes
This design features a stylised version of the classic “hello” script associated with Apple.
This model is intended for personal use only. It must not be sold, redistributed, or used for commercial purposes in any form.
All associated logos, styles, and branding elements remain the property of Apple.
This stand is made from rigid plastic materials. Care should be taken when inserting, removing, or adjusting your device, as improper use may result in scratches or wear to the finish of your MacBook or laptop.
By using this model, you accept that you do so at your own risk.
License
You shall not share, sub-license, sell, rent, host, transfer, or distribute in any way the digital or 3D printed versions of this object, nor any other derivative work of this object in its digital or physical format (including - but not limited to - remixes of this object, and hosting on other digital platforms). The objects may not be used without permission in any way whatsoever in which you charge money, or collect fees.
Comment & Rating (11)