
V11 Punch Volt Gun - Marathon
Print Profile(2)
Bill of Materials






- CR2032 Battery Case x 1: https://www.amazon.de/dp/B09MTHC8DH?ref=ppx_yo2ov_dt_b_fed_asin_title&th=1
- CR2032 Battery x 1: https://www.amazon.de/dp/B08J4QR18R?ref=ppx_yo2ov_dt_b_fed_asin_title&th=1
- 5mm LED Diode x 1: https://www.amazon.de/dp/B0B56DTMD1?ref=ppx_yo2ov_dt_b_fed_asin_title
- Aluminum Tape x 1: https://www.amazon.de/dp/B0C4PLNDF2?ref=ppx_yo2ov_dt_b_fed_asin_title&th=1
Description
Boost Me (for free)
If you like this model and want to support my work, feel free to leave a Boost. It really helps me create more detailed and functional builds like this one.
Important for beginners: Please download and use the 3MF file only. It contains the recommended setup and is the easiest way to get good results.
The STL files are mainly intended for advanced users who want to slice everything themselves. If you choose to use the STLs, please read the file naming explanation at the end of this description.
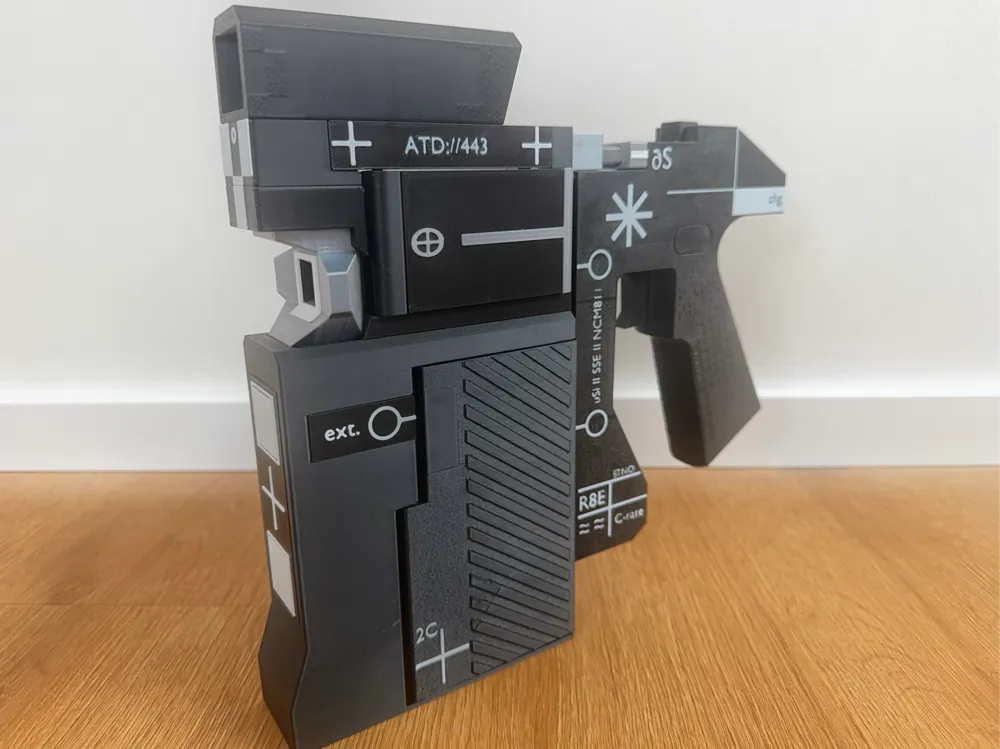

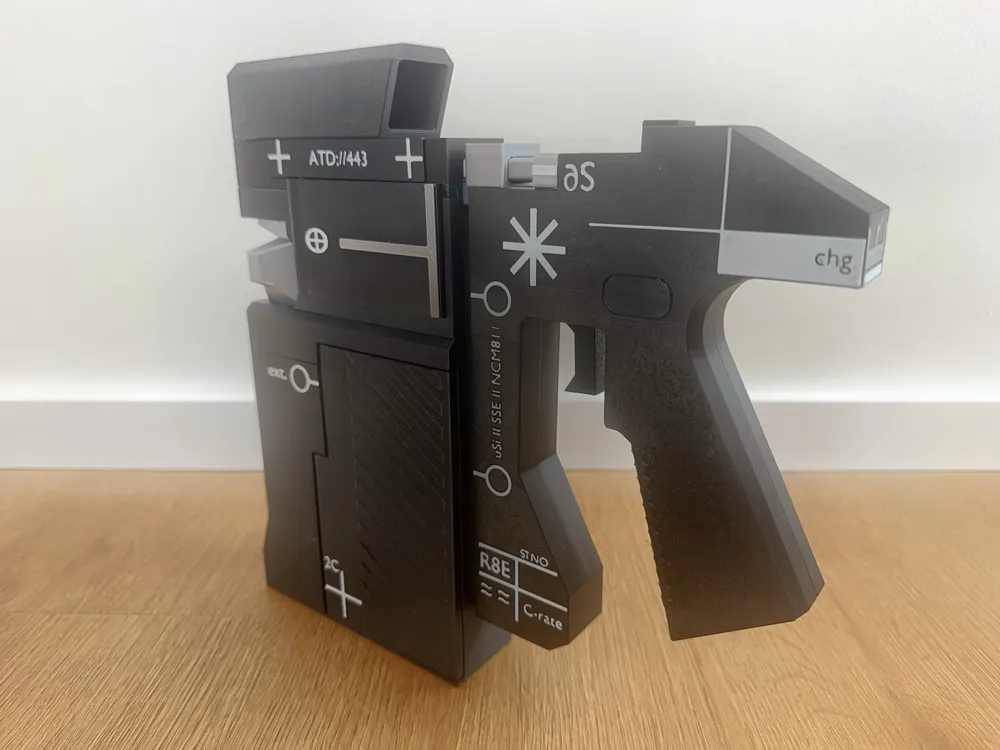
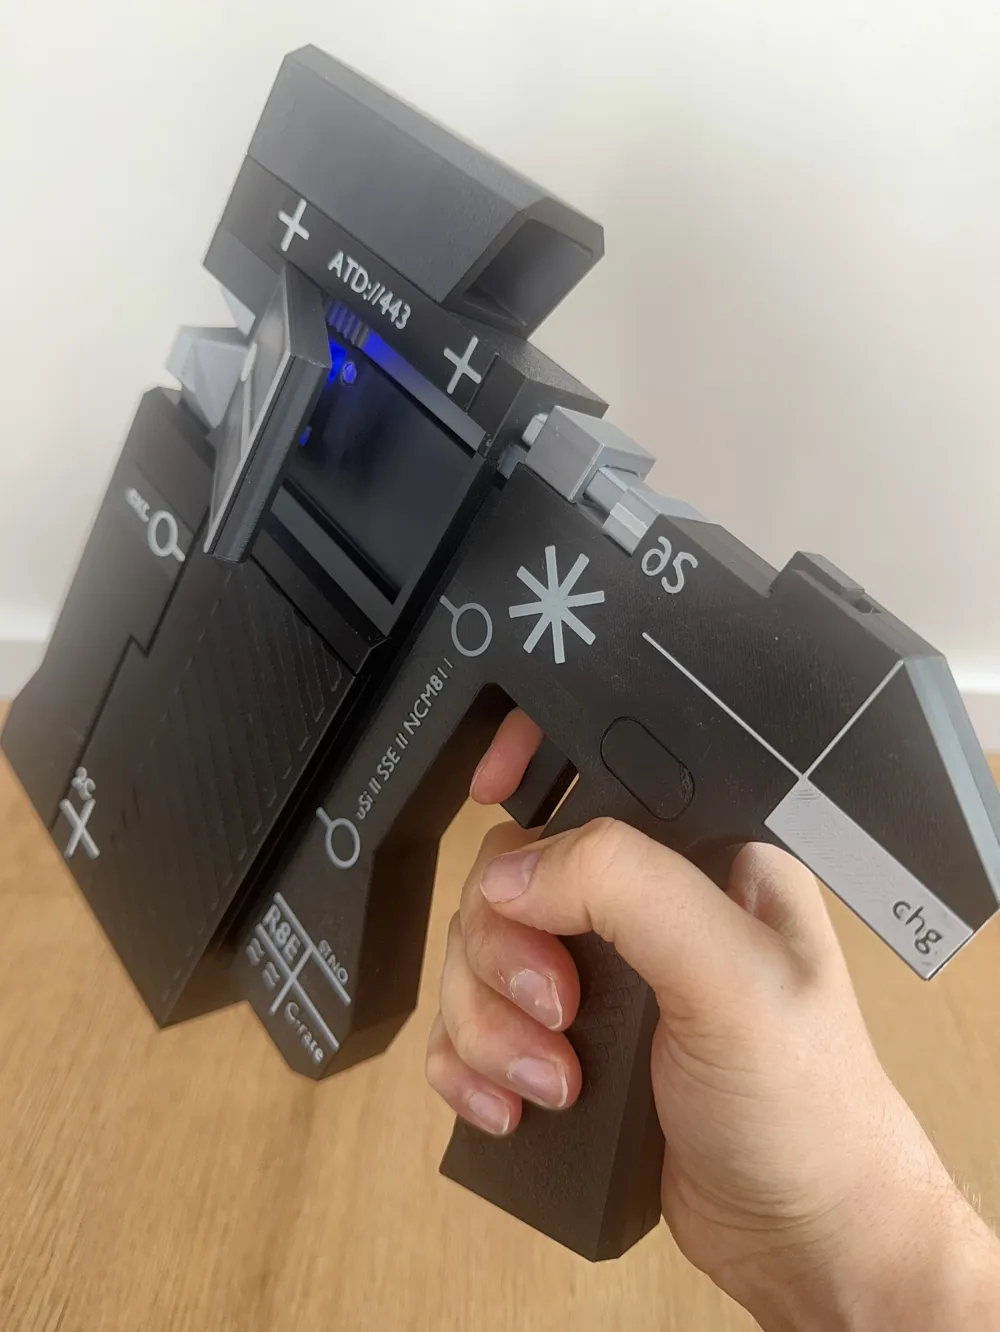
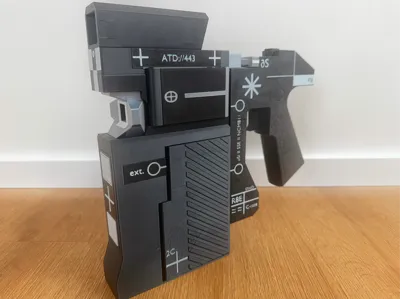
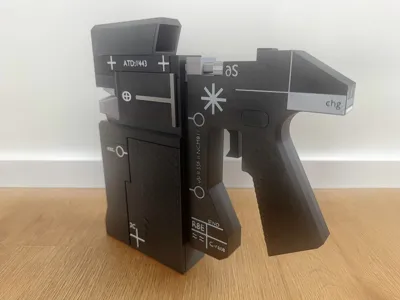
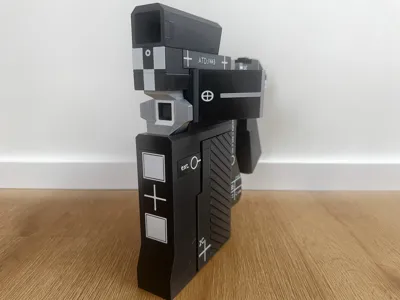
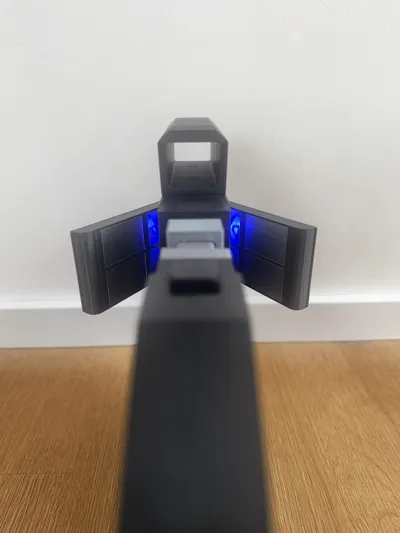
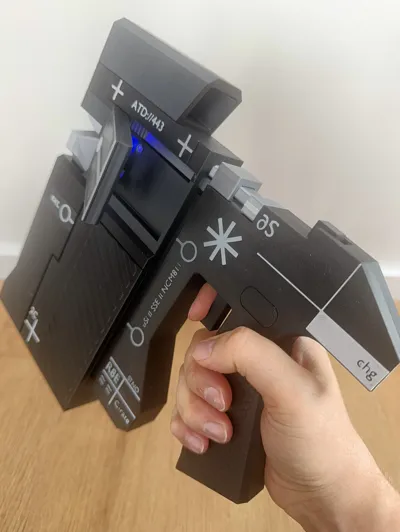
This is my fan-made 3D printable model of the V11 Punch from Marathon.
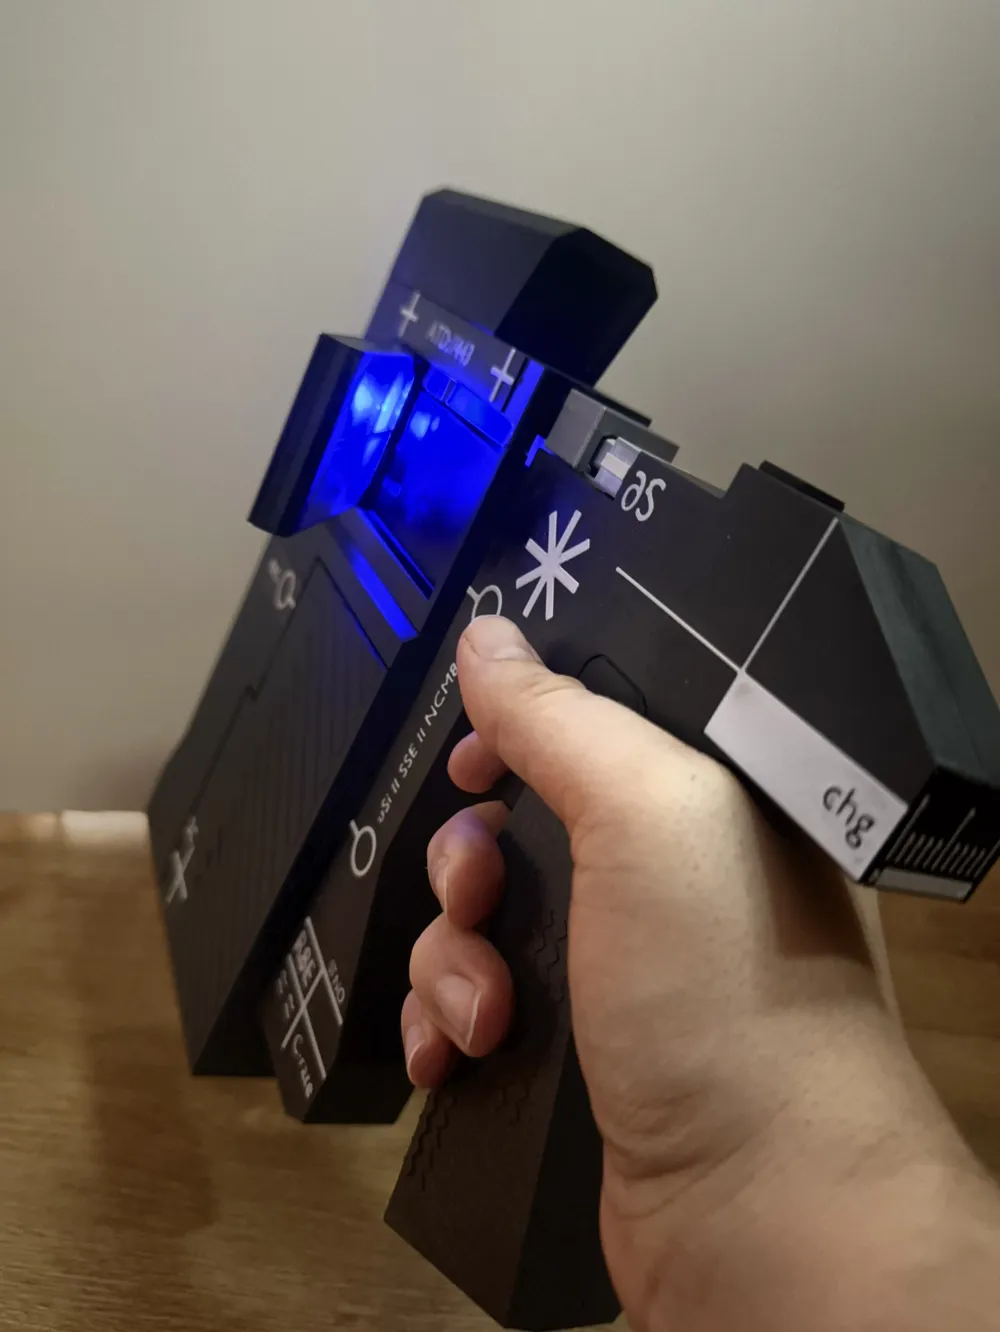


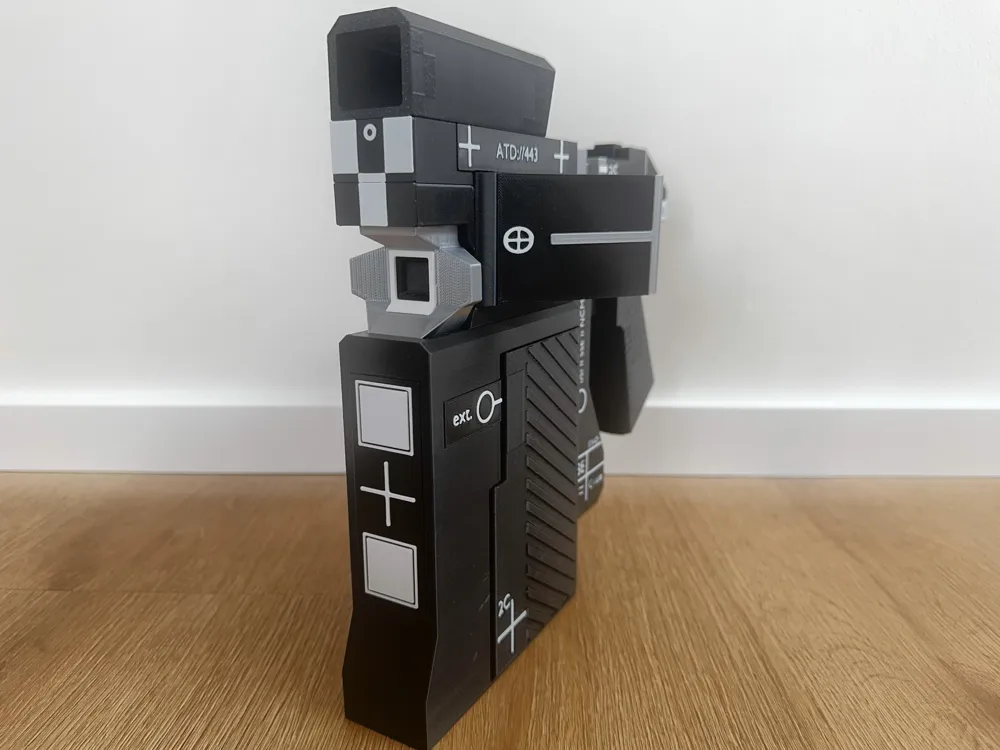
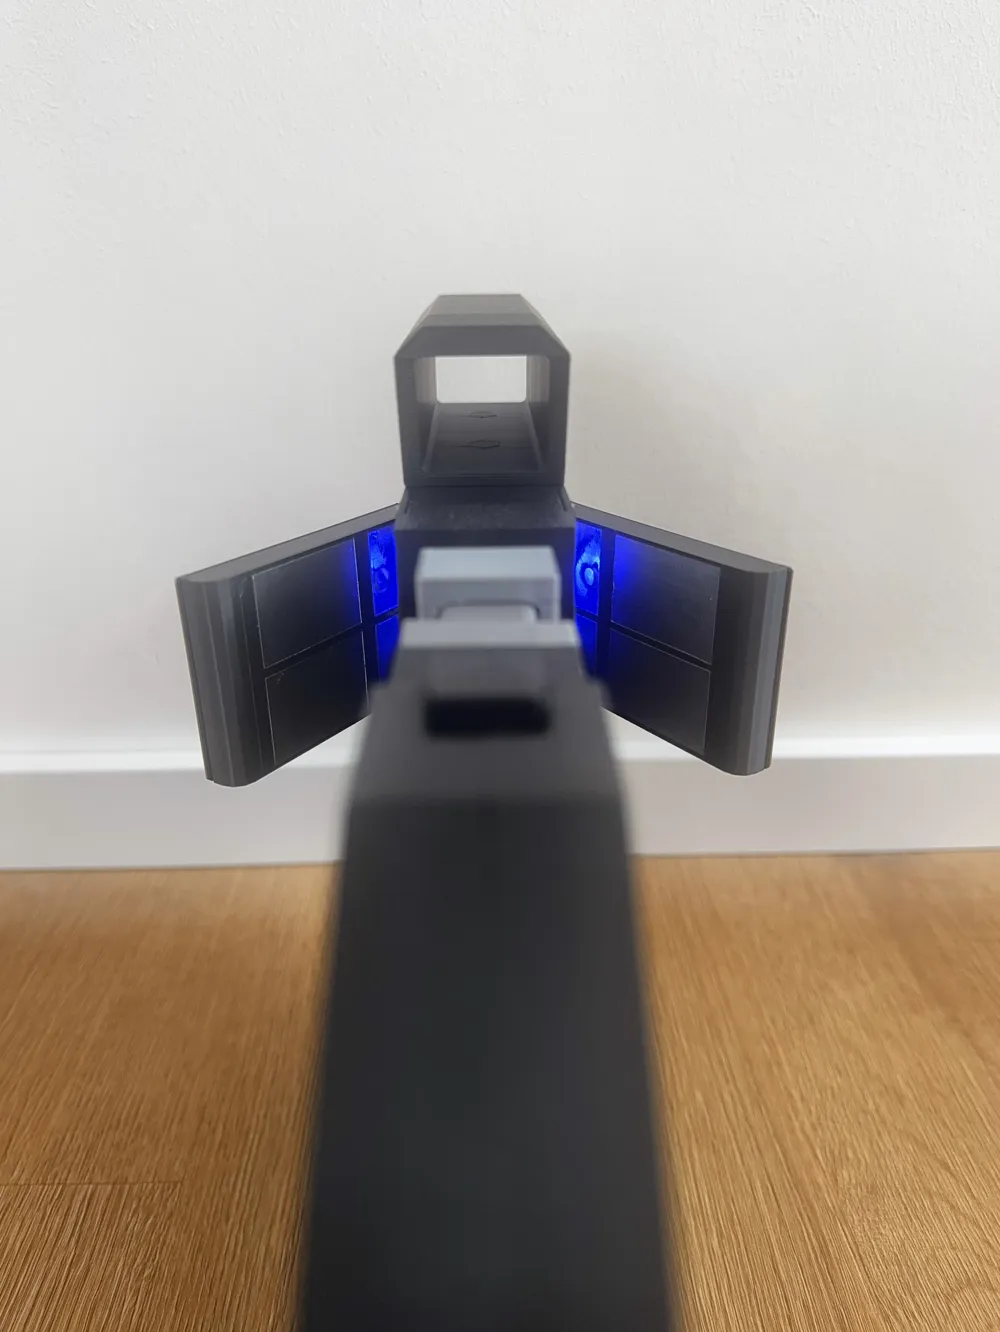
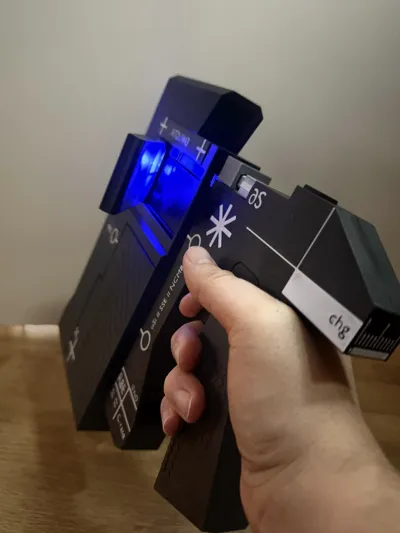
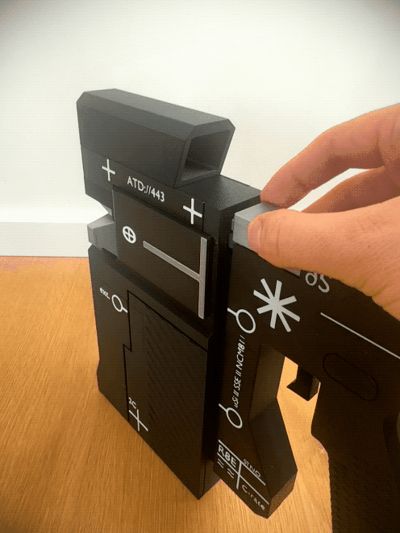
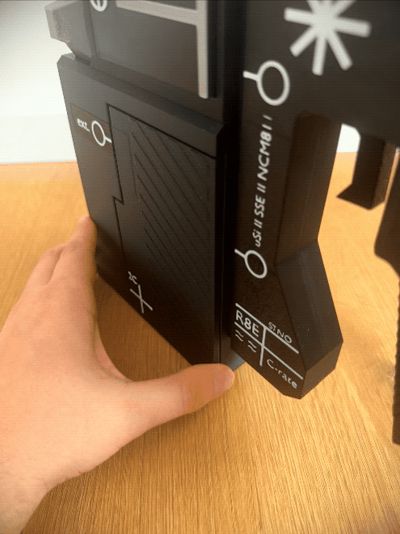
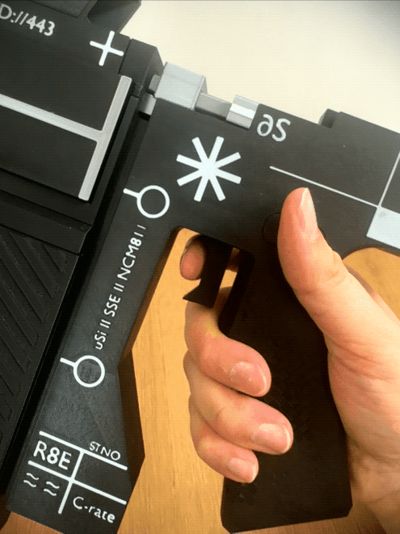
The goal of this build was not just to recreate the overall look of the weapon, but also to add a few interactive features that make it more fun as a display or cosplay prop. The model includes an opening magazine compartment, a removable volt cell magazine, a working Volt Chamber flap mechanism, a pressable trigger, and space inside the Volt Chamber for optional lighting using a 5 mm LED and button cell setup.
I tried to keep the design as clean and visually accurate as possible while still making it practical to print and assemble. The moving parts are designed to give the model a more dynamic feel, especially the opening Volt Chamber flaps and the functional magazine section.
This model is intended as a display and cosplay prop for fans of Marathon and sci-fi weapon designs. Depending on how far you want to take the build, assembly may require magnets, glue, and optional lighting components as listed below.
If you build one, I would love to see your print. Have fun, and happy printing.
This model may require:
- 6x 5x1 mm magnets
- super glue
- aluminum tape, (optional)
- single 5 mm LED (optional)
- button cell battery cr2032 (optional)
- battery holder (optional)
STL file naming and grouping
For users who want to slice the STL files manually:
Files that share the same G number are part of the same group. G stands for Group.
These multicolor parts must be imported together as one object in your slicer.
For example, files with names like G3 Grip Left, G3 Grip Left Ornaments White, and G3 Grip Left Ornaments Black belong together and should be loaded as one combined object. The same applies to the other grouped parts.
I named the files this way to make manual color setup easier for advanced users.
Please also note that the parts are not pre-oriented. If you want to slice them yourself, you should carefully choose the print orientation depending on the part, surface quality, strength, and support requirements.
For printed text and fine lettering, I recommend using the Arachne wall generator in your slicer.
Disclaimer:
This is a fan-made model inspired by Marathon. It is not an official product and is not affiliated with or endorsed by Bungie.
Documentation (1)
License

You shall not share, sub-license, sell, rent, host, transfer, or distribute in any way the digital or 3D printed versions of this object, nor any other derivative work of this object in its digital or physical format (including - but not limited to - remixes of this object, and hosting on other digital platforms). The objects may not be used without permission in any way whatsoever in which you charge money, or collect fees.


Comment & Rating (13)