
Bubble Numbers Wall Art
Print Profile(1)
Description
Description
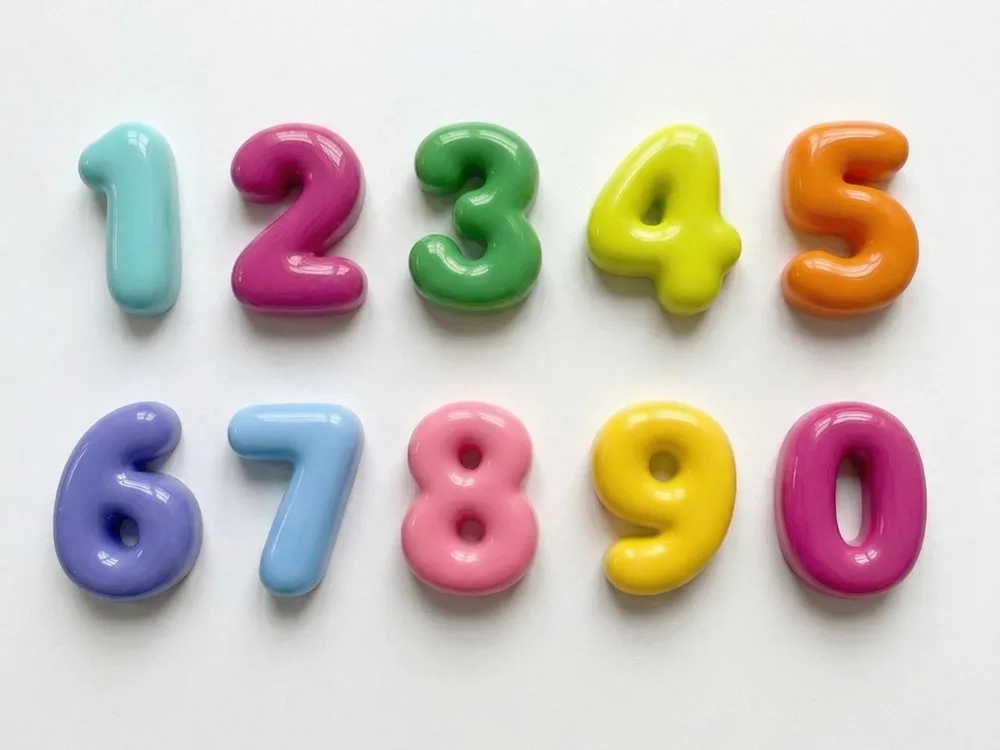
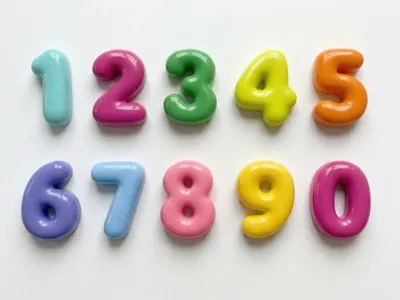
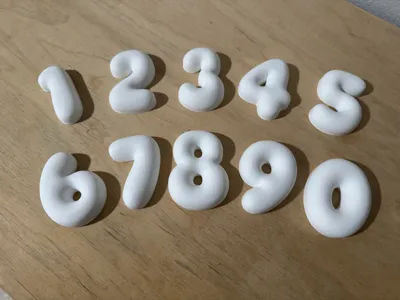
After how well my Bubble Letters model was received, I immediately started working on a set of numbers. These work perfectly with the existing letters and are a great substitute for the beautiful ceramic options on the market. And these are far less fragile, and far more affordable! These numbers are great for addresses, birthdays, or just learning to count. They are lightweight, and very easy to mount, (we've used command strips and 3M tape). I've included print instructions and painting instructions in the description below!
Boost Me (for free)
If you like these numbers, please consider boosting them to help others see them too!
For questions about commercial use, check out my Patreon!
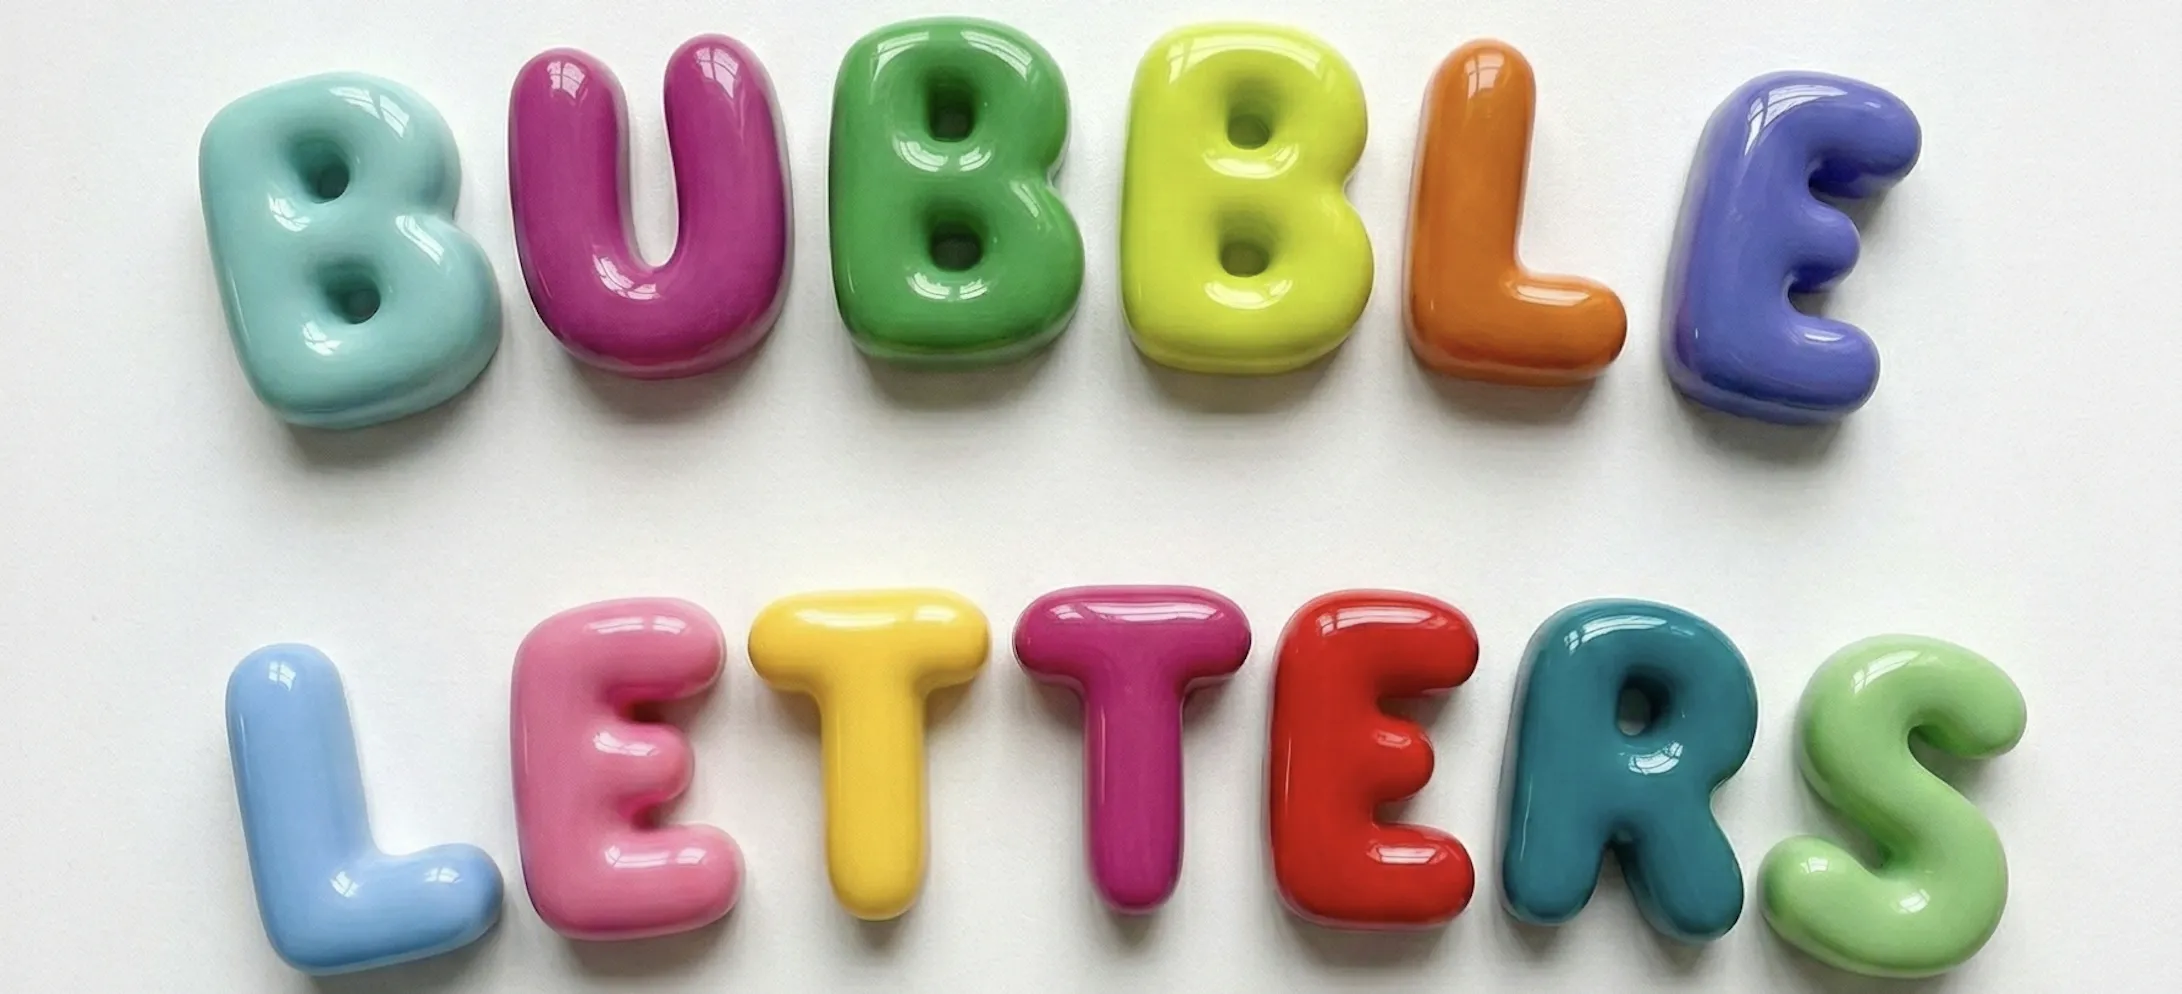
If you need some letters as well check out my other model HERE
Print Instructions
- Open the file in Bambu Studio.
- Delete the numbers you do not need/duplicate numbers you need more of.
- Select all of the remaining numbers and resize them as needed.
- Use the “Arrange All Objects” function to rearrange the remaining numbers for printing.
- Slice and Print!
Paint Instructions
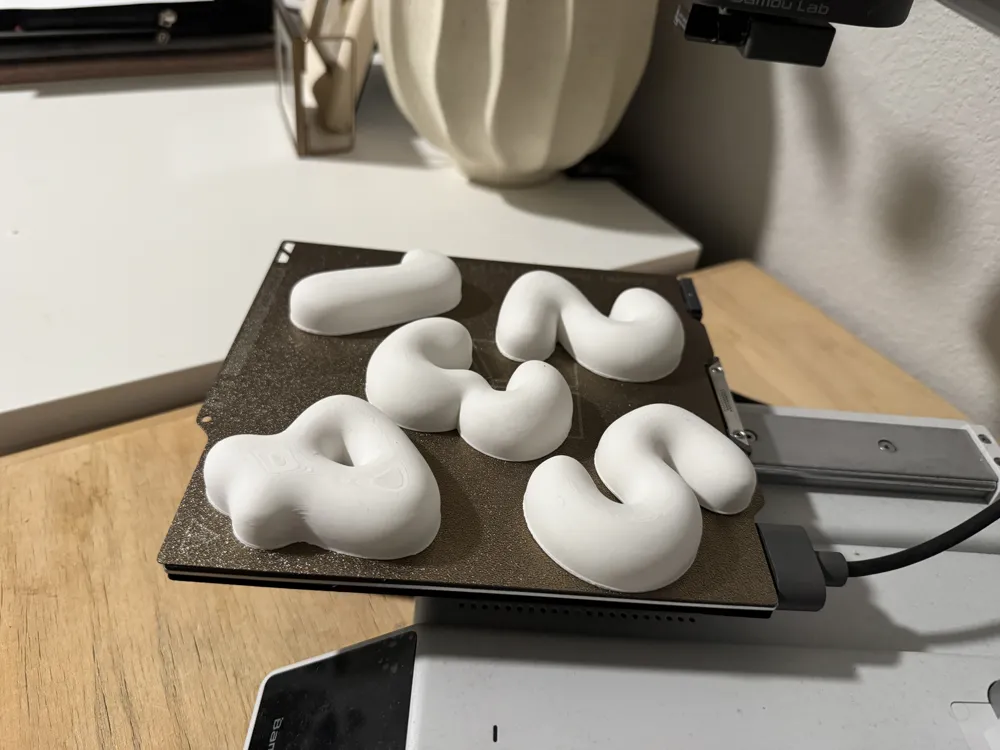
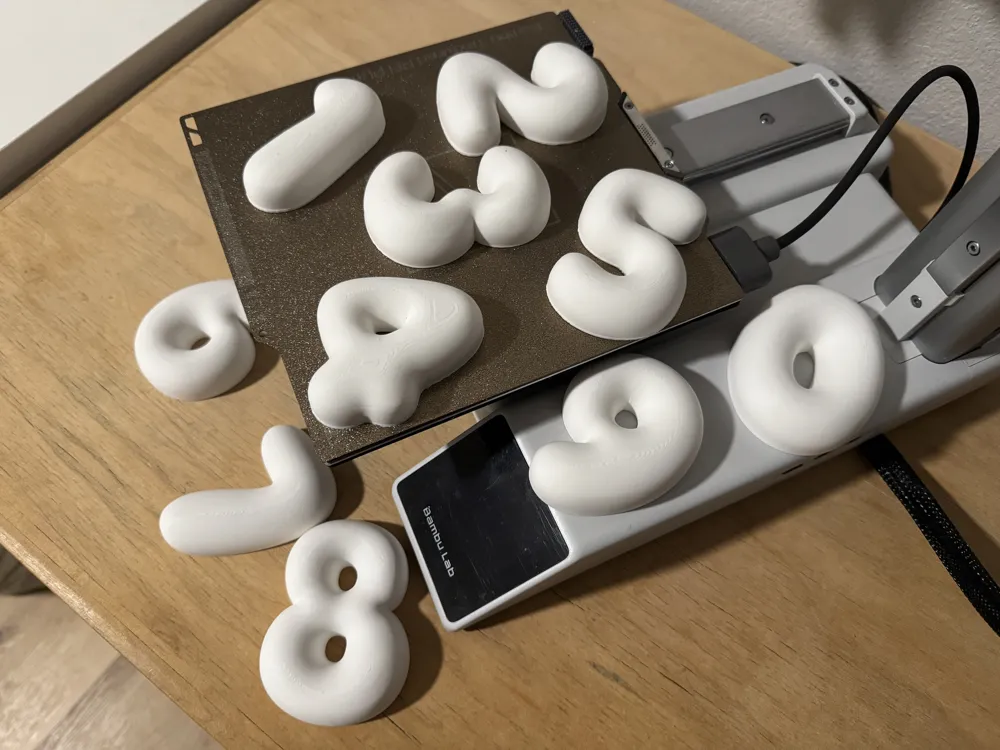
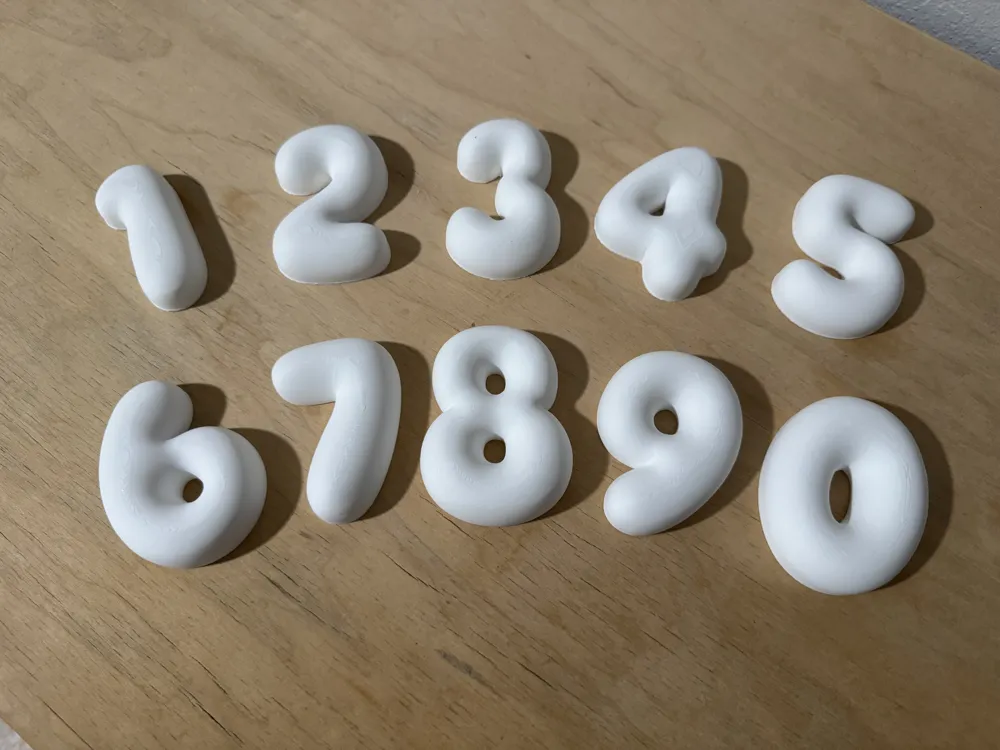
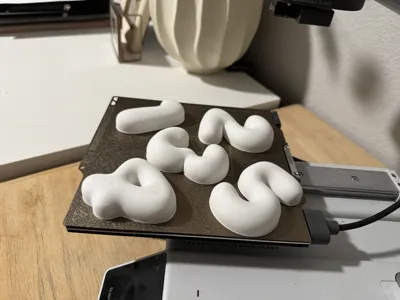
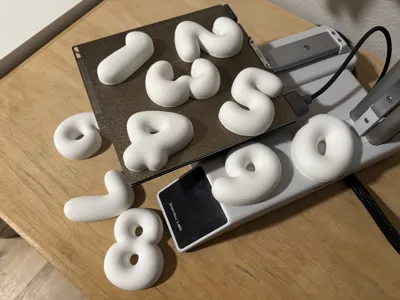
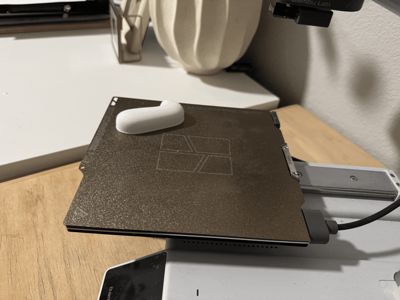
While I was very happy with the finish I was able to achieve with adaptive layer heights in this project, we elected to paint them to get the colors we needed. (My cover photo is rendered, but the gallery includes pictures of the unfinished number prints). Several people have demonstrated good results with UV resin coating, or just clear coating over the existing PLA colors.
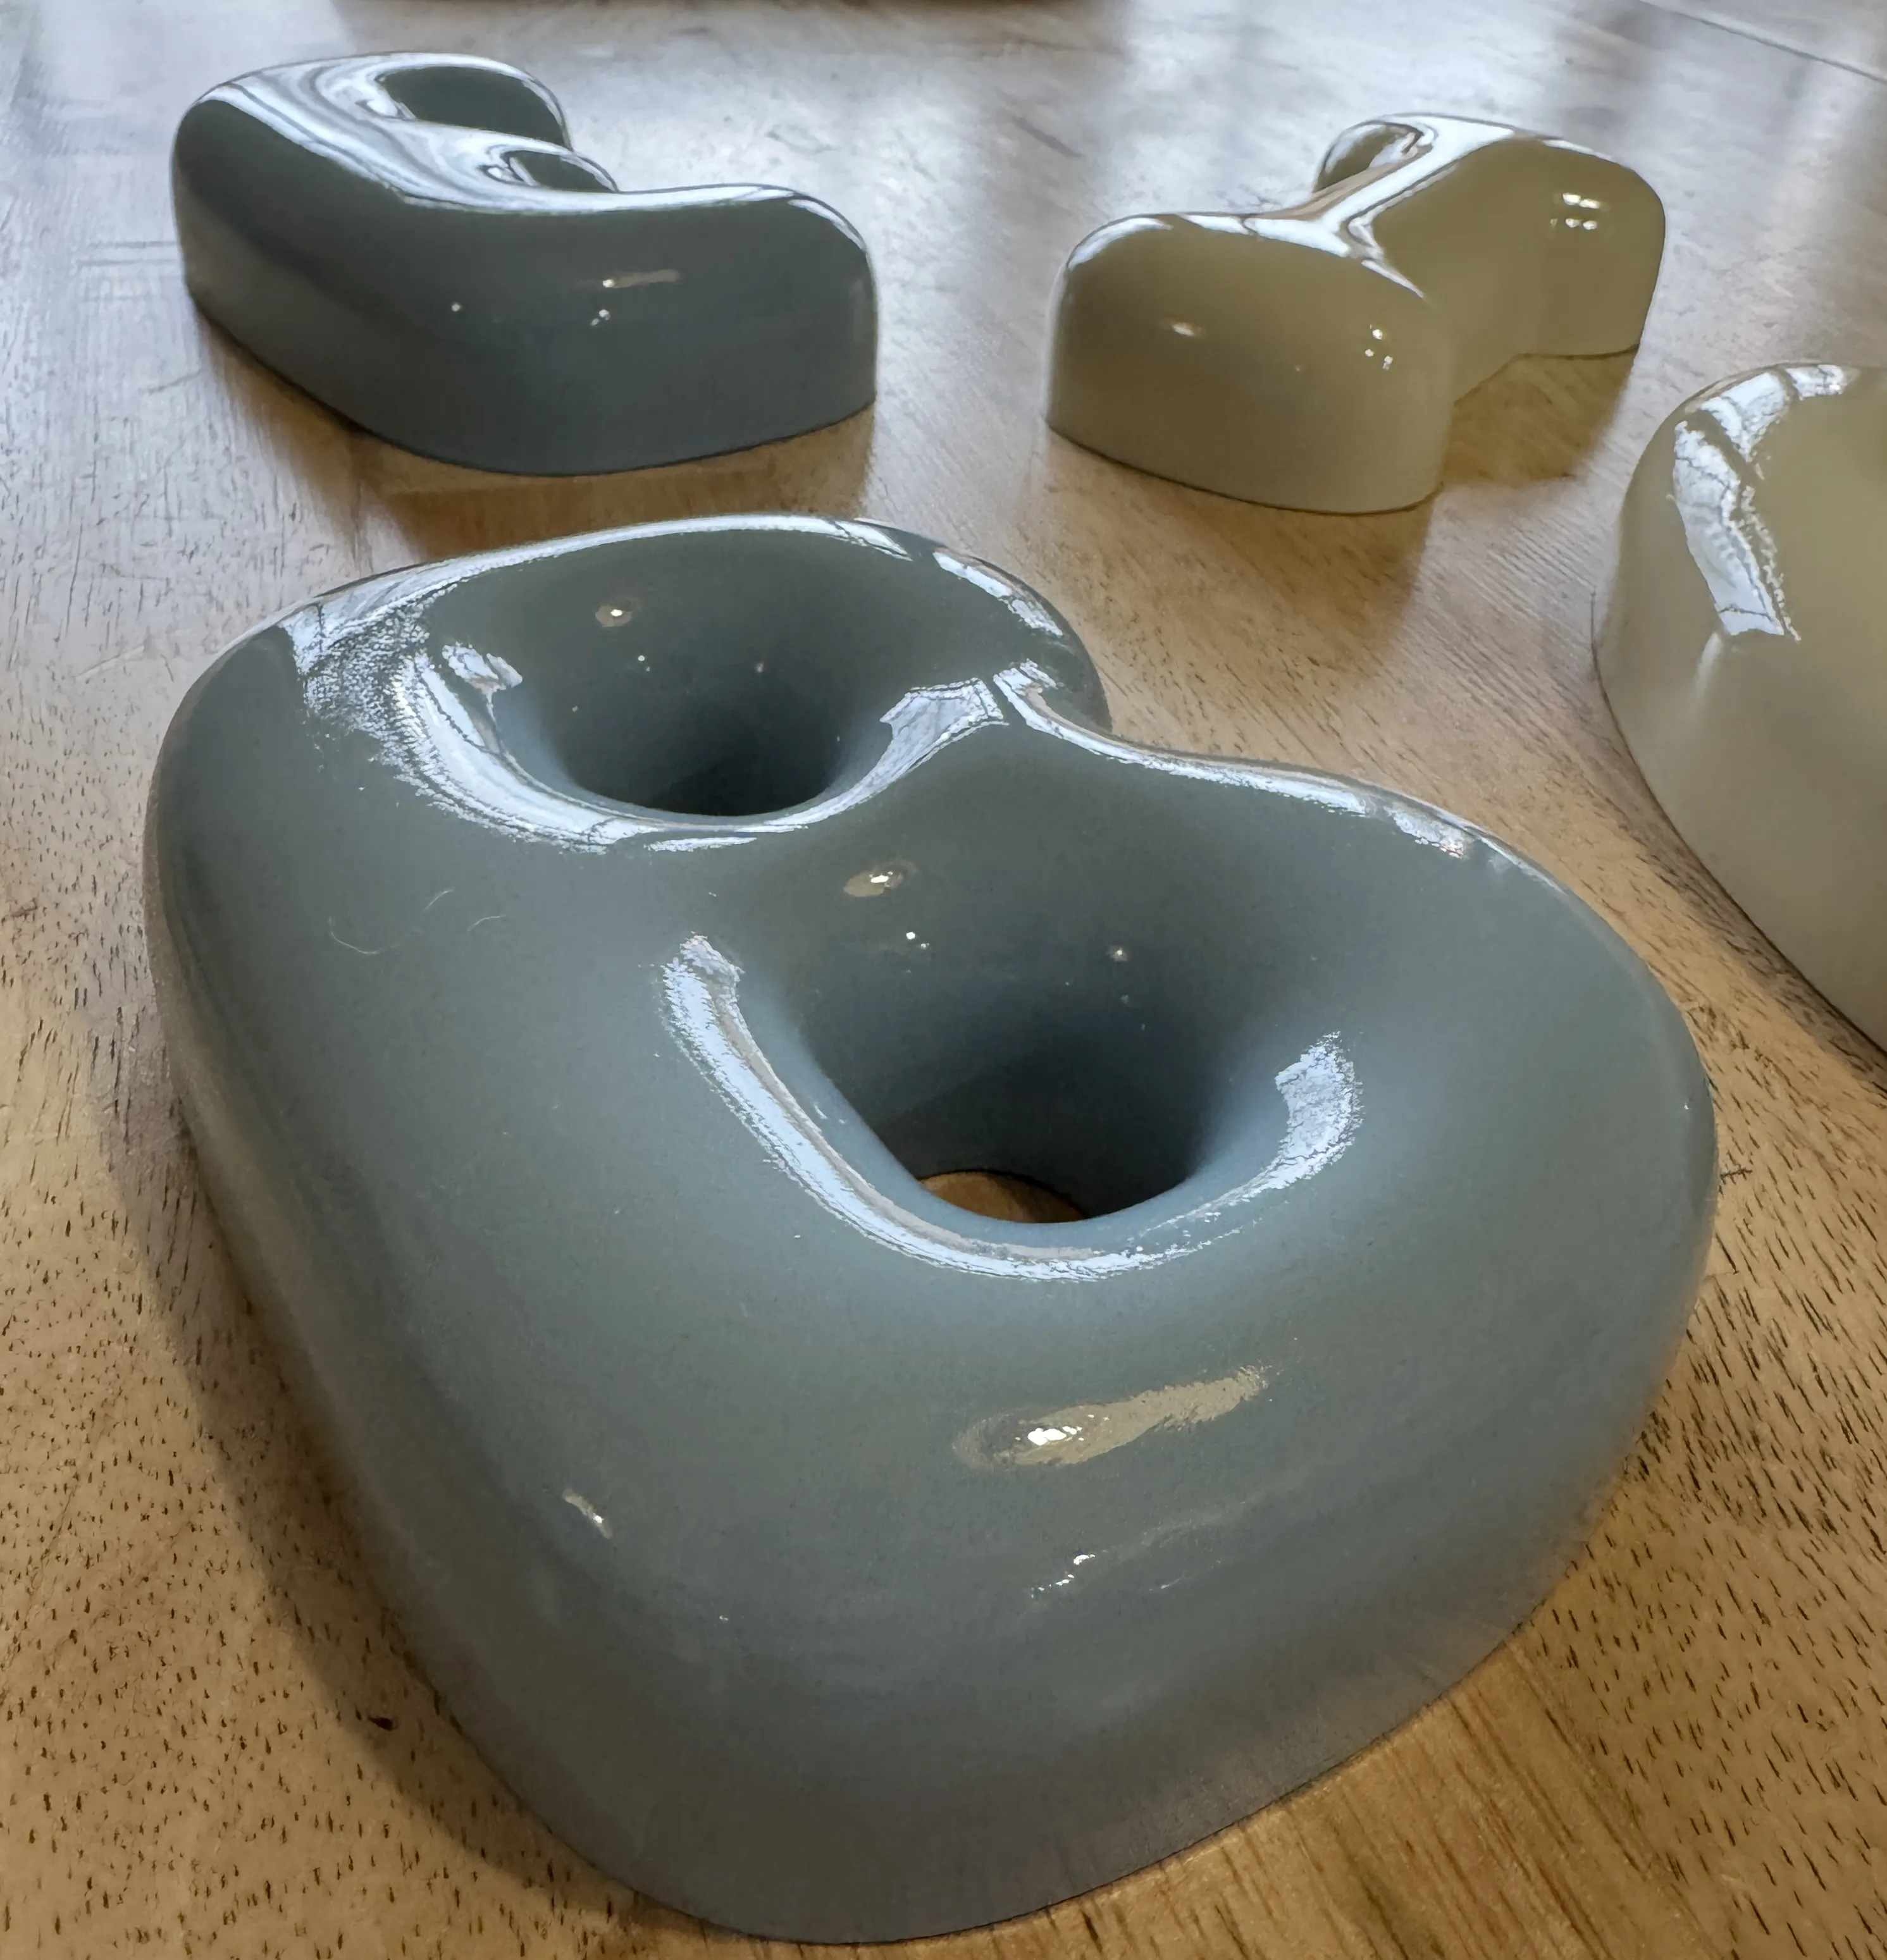
Here is a picture of the letters I painted, and the process I used in case you'd like to duplicate my results:
- After printing, sand with sandpaper progressing from low grit to high grit. (I used 100-180-220)
- Clean thoroughly.
- Paint with Primer ( I used Rustoleum 2-in-1 Automotive Primer)
- After primer is dry, sand again with 400 grit sandpaper.
- Clean thoroughly again.
- Paint with 3-4 coats of your preferred paint, (I used Rustoleum 2X in a Satin).
- Finish with 3-4 coats of clear coat, (I used Rustoleum 2X in Gloss).
License

You may create derivative works based on this object, provided that all such derivative works are published exclusively on the MakerWorld platform and include proper attribution to the original creator. You may not share, upload, host, distribute, or publish this object—or any derivative work of this object—on any other digital platform, marketplace, or distribution channel. Commercial use of this object and any derivative works is strictly prohibited. This includes, but is not limited to, selling, renting, sublicensing, or using the object in any context in which you receive monetary compensation or other financial benefits.


Comment & Rating (31)