
Full Range Bluetooth speaker 3"
Print Profile(1)
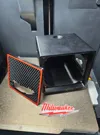
Description
🎵 DIY 3D Printed Bluetooth Speaker
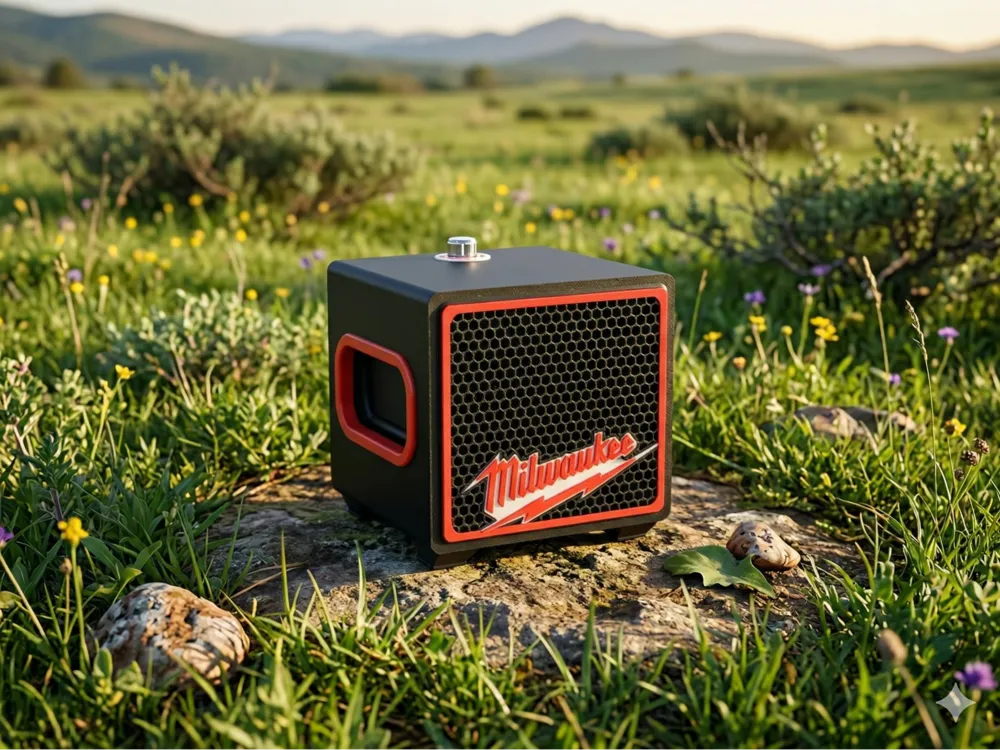
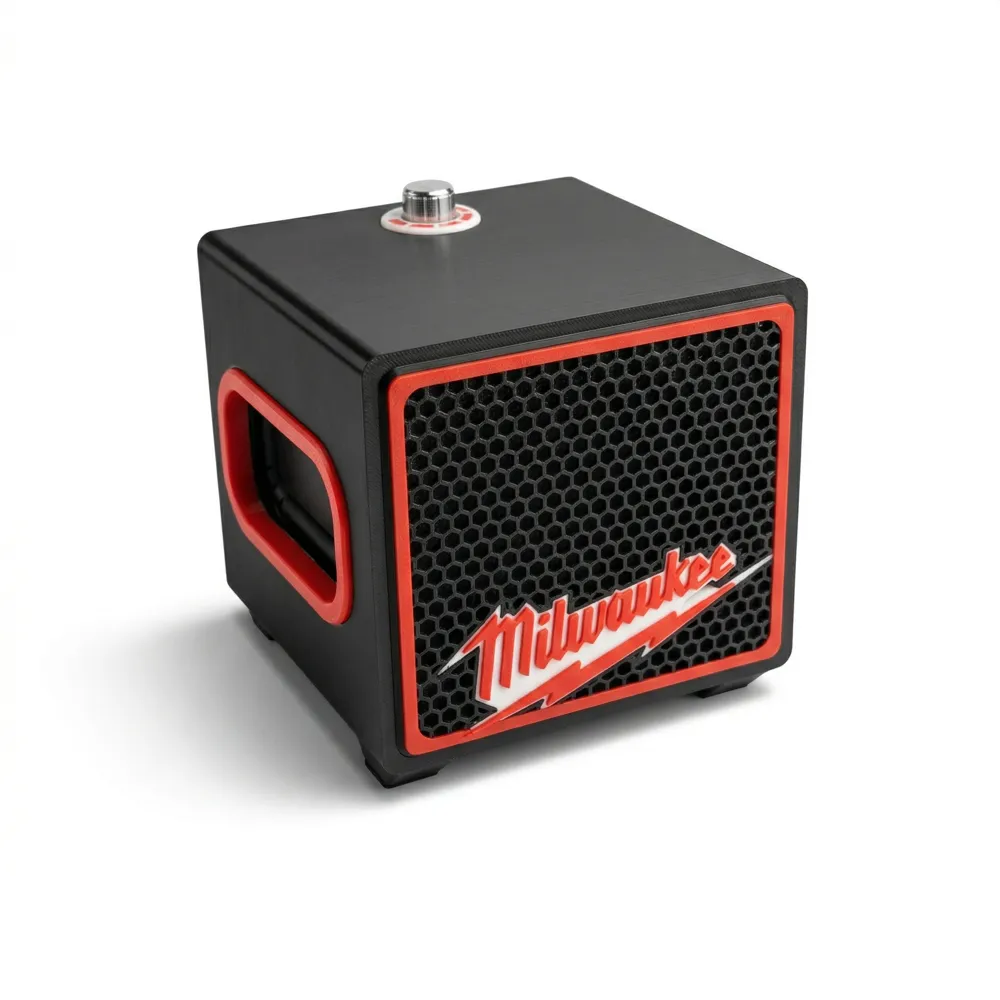
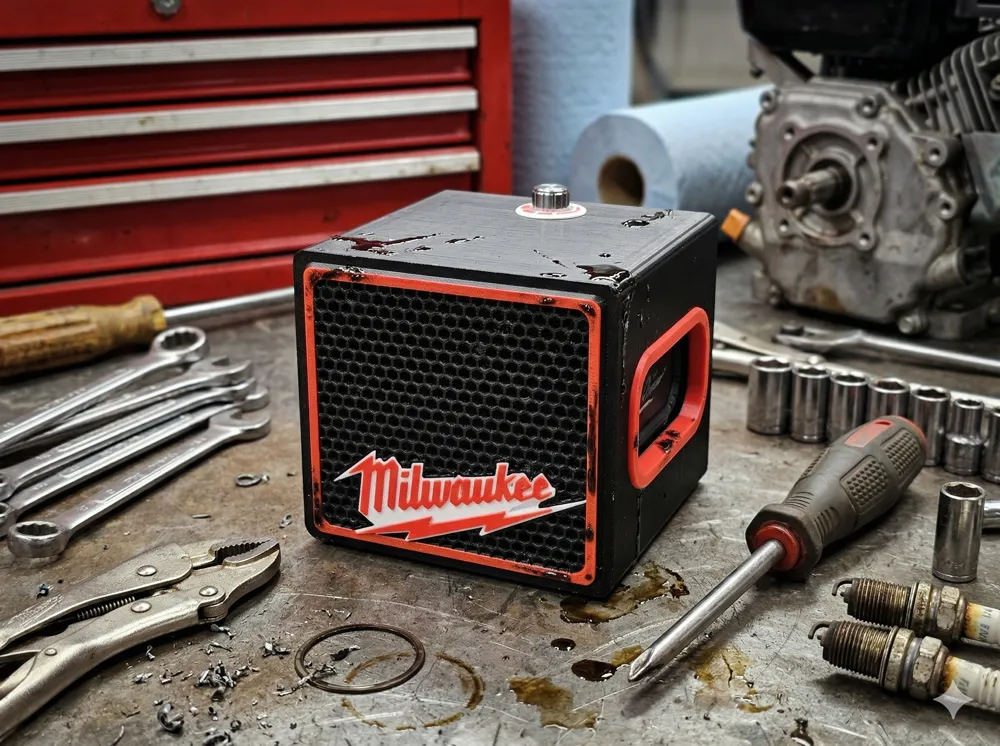
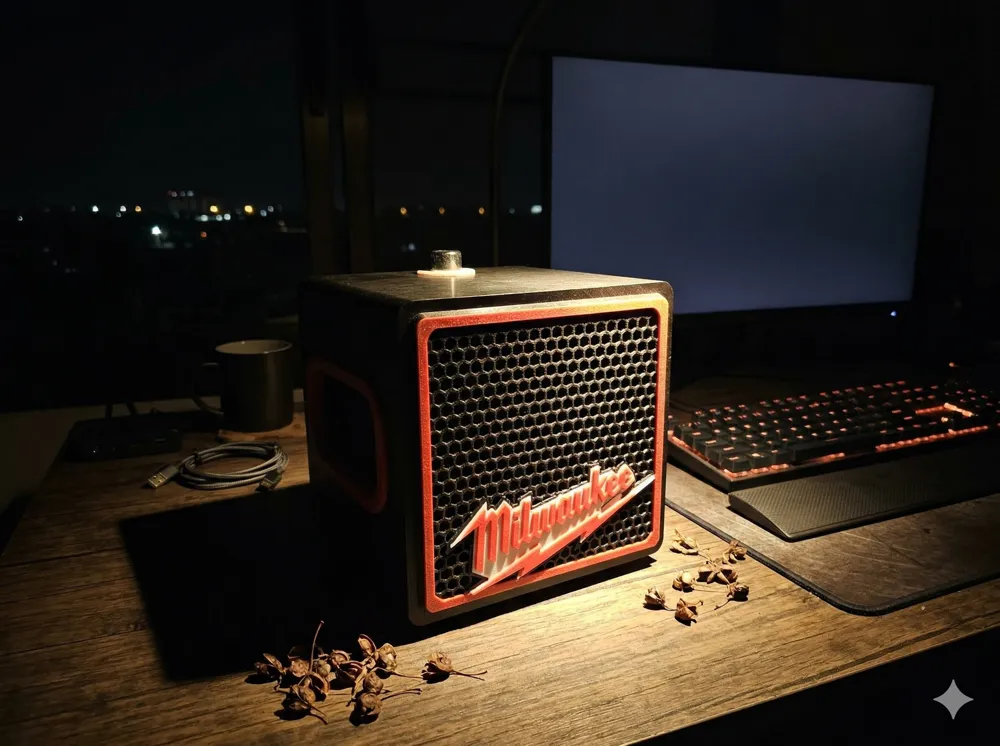
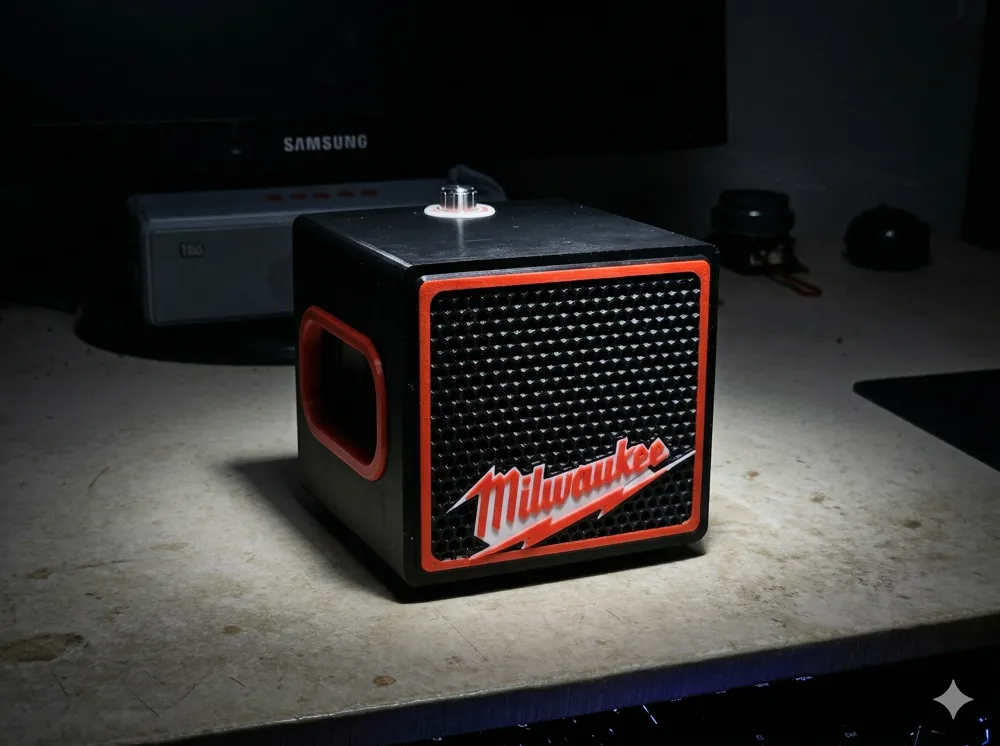
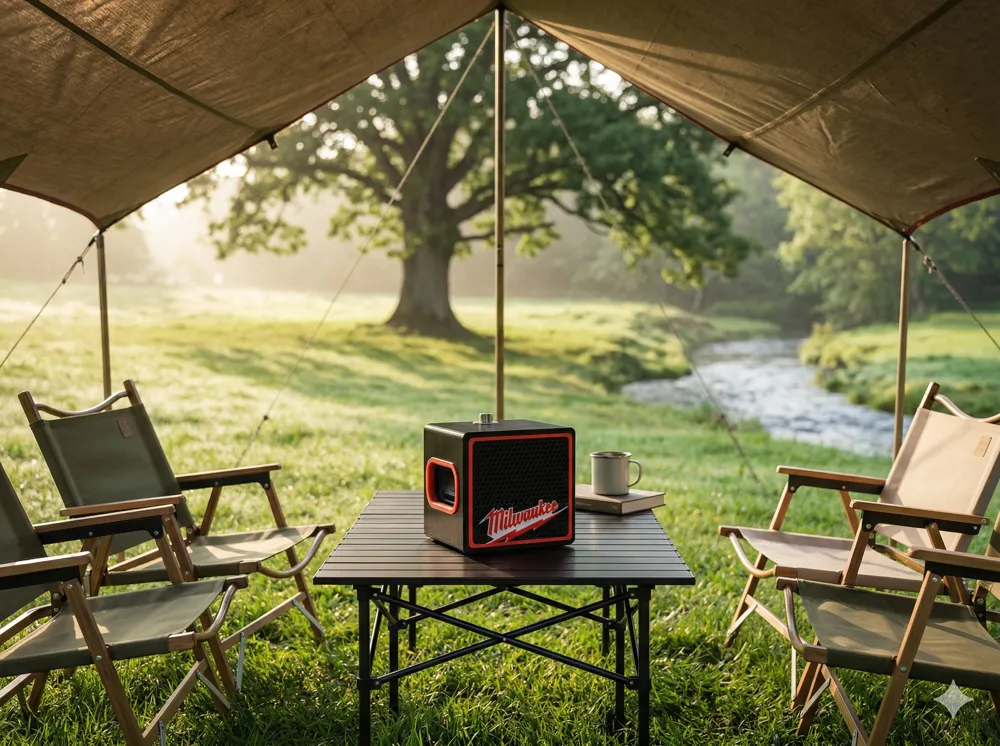
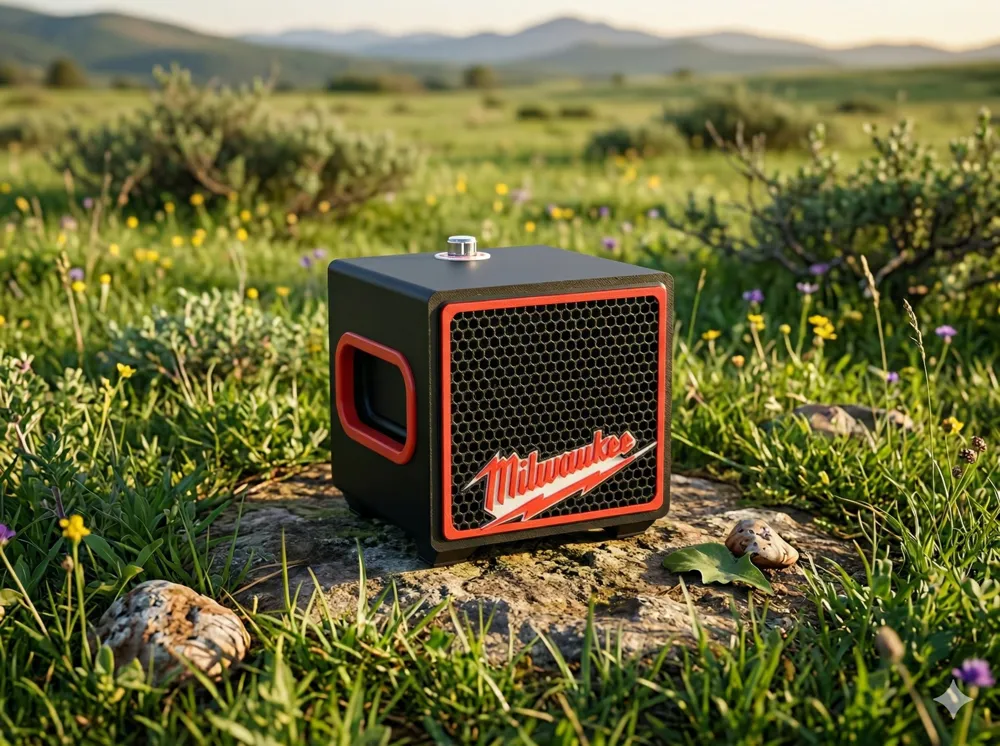
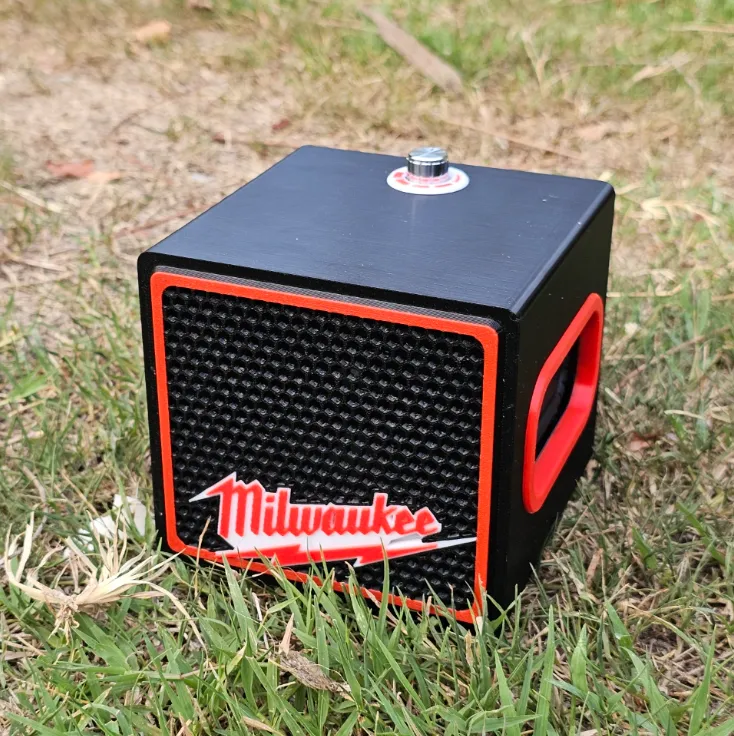
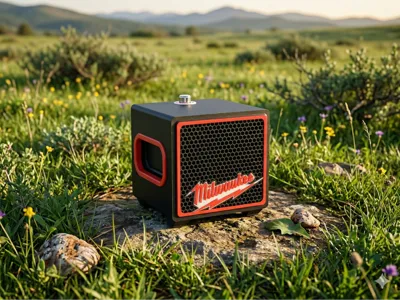
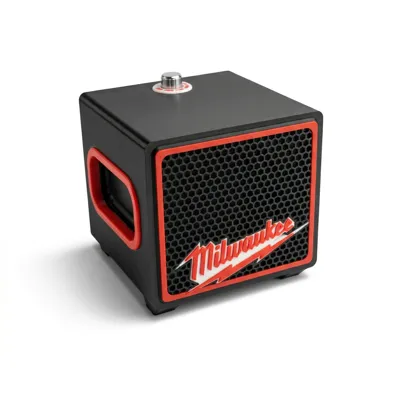
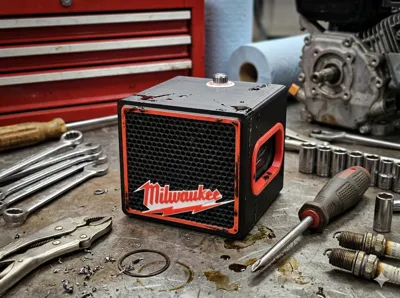
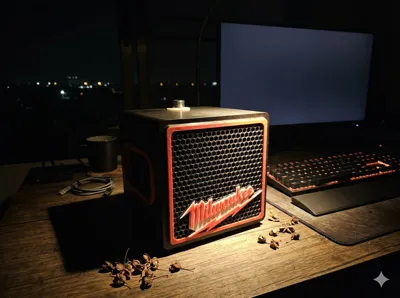
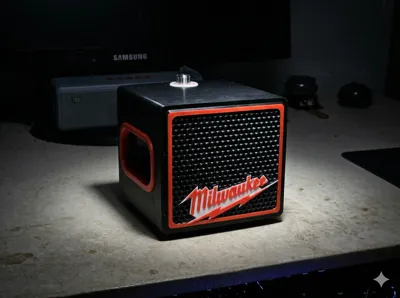
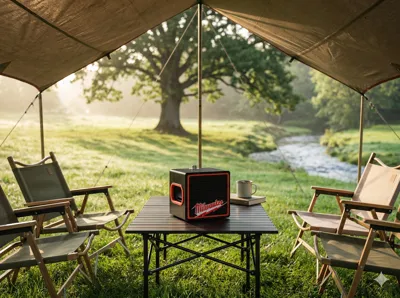
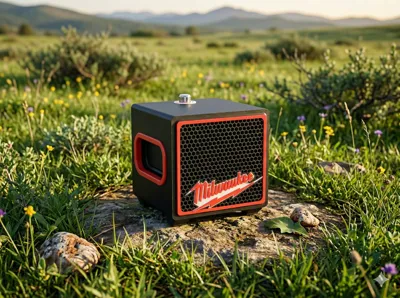
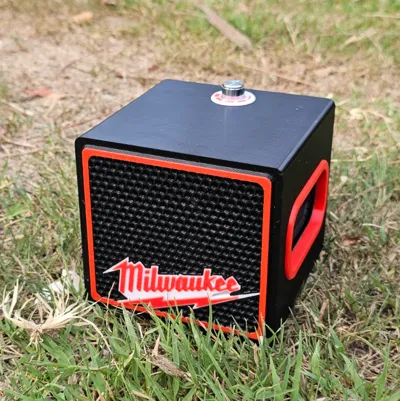
Welcome to my 3D printed Bluetooth speaker project! This model is designed so you can easily print and assemble a fully functional, great-sounding speaker yourself. It delivers crisp audio and tight bass, featuring a carefully designed internal layout for the passive radiators and the full-range speaker driver.
Below is the complete list of parts, materials, and recommended 3D print settings to ensure the strongest and best-sounding build possible.
📺 Assembly Video Tutorial
Need help putting it together? Watch my step-by-step video guide to see exactly how to install the electronics and assemble the enclosure from start to finish: 👉 [Watch the Assembly Video Here]
🎨 No AMS? Pre-Printed Front Cover Available!
The front grill/cover of this speaker is designed to look best when printed in 2-3 colors, which requires an AMS (Automatic Material System) or multi-color printing setup. If you don't have an AMS, don't worry! I am selling pre-printed, high-quality front covers ready to be installed on your speaker. 👉 [Buy the Pre-Printed Multi-Color Front Cover Here] [Link]
🛒 Bill of Materials (Hardware & Electronics)
Speaker & Audio Components You can purchase the following main audio parts from this link: 👉 [Link]
- Full-Range Speaker Driver: 3-inch, rounded square shape (x1) Link
- Amplifier Board: ZK-502L Digital Stereo Bluetooth Amp Module (x1) Link
- Passive Bass Radiators: (x2) Link
Power, Hardware & Assembly Accessories You can purchase all the necessary hardware and assembly materials from this link: 👉 [Link]
- Power Supply: 12V 3A DC Power Adapter (5.5 x 2.5 mm plug) (x1) Link
- DC Power Jack: Female socket, 5.5 x 2.5 mm (x1) Link
- Anti-Slip Base: Black EVA foam tape / adhesive pad Link
- Adhesive: B-7000 multipurpose glue (for sealing and securing parts)Link
- Threaded Inserts: Brass heat-set inserts M3 x 5 x 4 (x8) Link
- Screws (Enclosure Assembly): M3 x 5 mm Flat Head Phillips / Countersunk screws (x4) Link
- Screws (Enclosure Assembly): M3 x 14 mm Flat Head Phillips / Countersunk screws (x4) Link
- Screws (Internal/Board): M2 x 6 mm Pan Head Phillips self-tapping screws (x4) Link (Note: Strong double-sided tape can be used as an alternative if you don't have M2 screws) Link
🖨️ Recommended Print Settings
To ensure optimal acoustics and a sturdy structure capable of handling heavy bass vibrations, I highly recommend using the following slicer settings:
- Filament: PETG (Recommended for durability and structural integrity)
- Layer Height: 0.20 mm
- Wall Loops: 5
- Infill Pattern: Gyroid
- Sparse Infill Density: 25% - 35%
- Ironing: Top surfaces only (for a smooth, clean finish)
- Supports: Enable Supports / Tree Slim (Auto)
Watch my step-by-step video guide
License



Comment & Rating (0)