
W1209 Temperature Regulator Box, FF AD5M(Pro)
Print Profile(0)
Description
This is a custom box which helps add temperature dependant power supply fan control functionality to Flashforge Adventurer 5M(Pro) 3D printers.
As we all know, the fan in the Flashforge Adventurer 5M(Pro) power supply stays always on, as long as the printer´s rear power switch is on. Although the official FF tech suport claims that this is normal behaviour, and advises against changing it, afaik many printer owners mod their printers to force this fan into only operating when needed - to minimise noise, and to reduce power consumption and excessive fan wear.
The easiest solution is indeed just installing a cheap and primitive non-regulated thermal protector right into the fan power circuit.
The most technically correct and safe solution is indeed just replacing the cheaper stock power supply with its aftermarket "elder brother" Meanwell LRS-350-24, which does have the temperature-bassed fan control function from the factory.
BTW the fact that the more expensive variant of the same power supply does have the fan thermal control function, is imo an indirect proof to my suspicion, that the lack of such function in the stock power supply is only due to cost factors, and not to the constantly operating fan being a better technical solution.
Anyways, I wanted to keep my stock power supply (hate dumping things that still work), and I also wanted my fan controller to
a) be easily adjustable in terms of freely and quickly setting the fan turning on/off temperatures,
b) have a digital indicator for setting such temperatures,
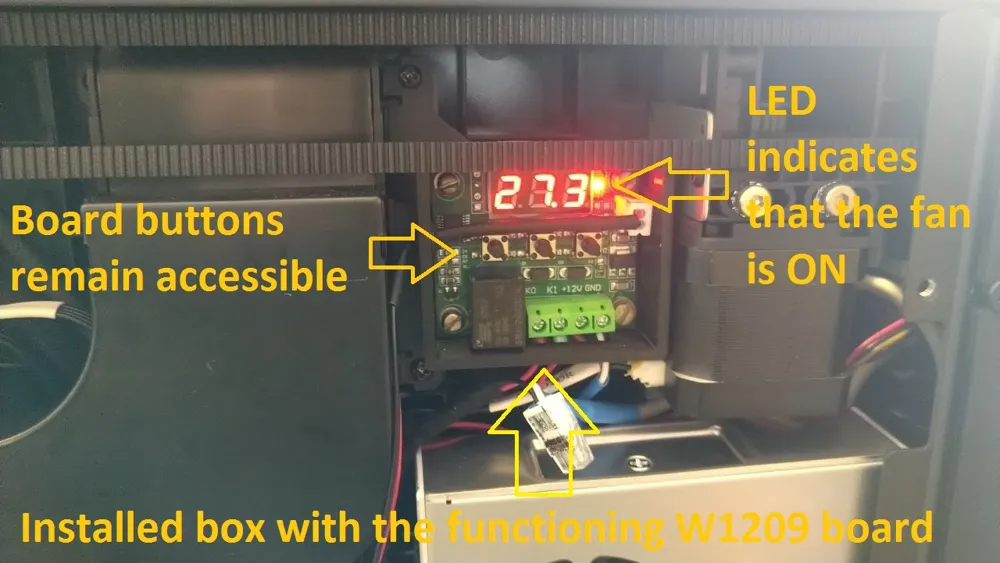
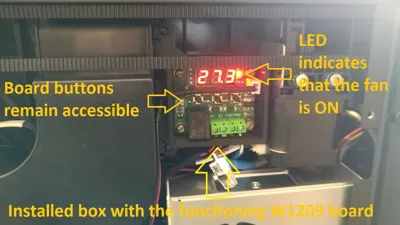
c) have a led indicator for the fan being currently on or off...
I also heard rumours that some FF AD5M printers have 24V fans in their stock power supplies (which is imo only natural for a 24V unit), while others have 12V fans in their 24V power supplies. So I also wanted my solution to
d) have universal support both for 12V and 24V fans.
P.S. In my specific case my stock power supply fan turned out to be a 12V one.
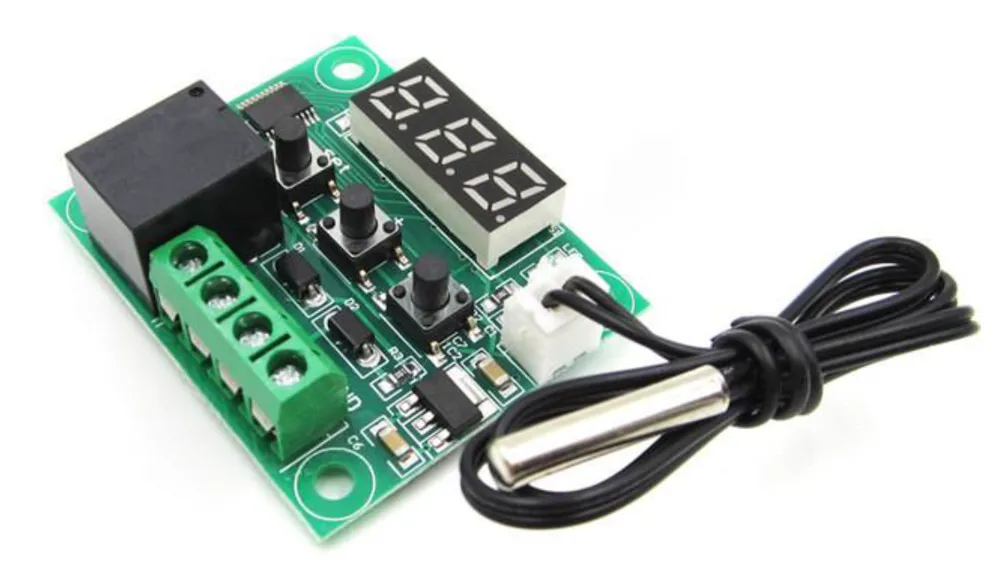
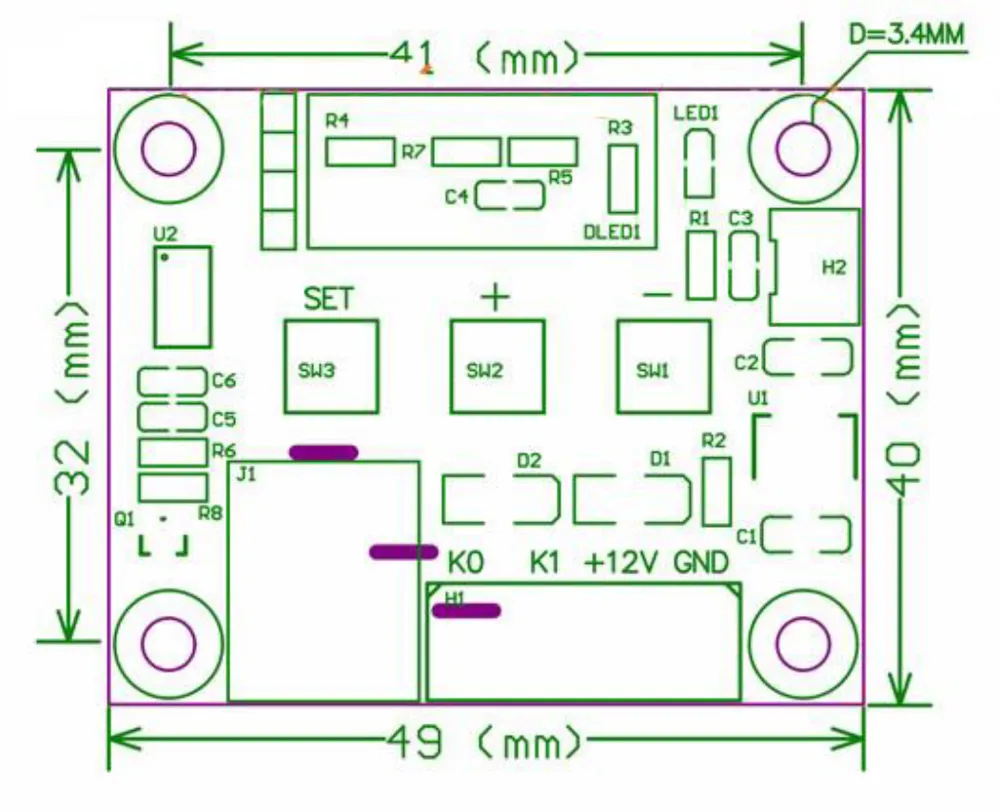
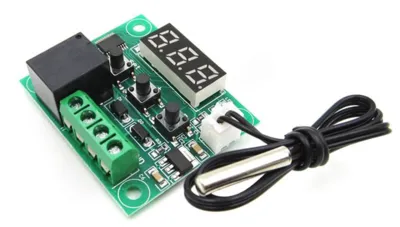
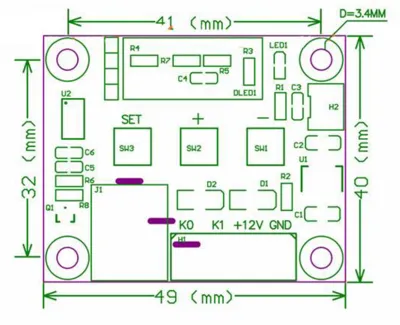
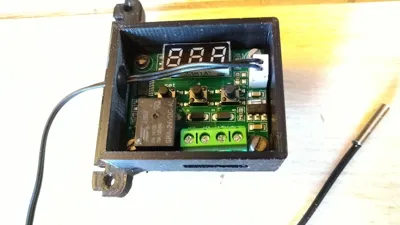
So I chose a cheap Chinese W1209 Digital Temperature Controller Board, rated for 24V and widely available both from Amazon and also directly from China. It required 24V DC for its own operation, and did not care about whether you had its built-in relay control a 12V or a 24V fan.
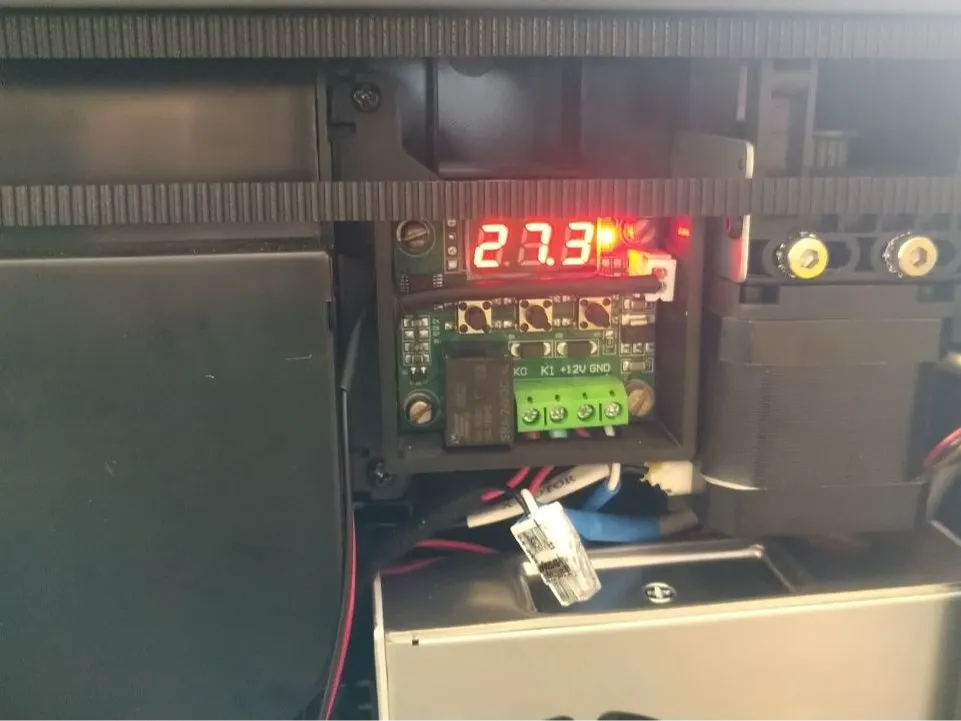
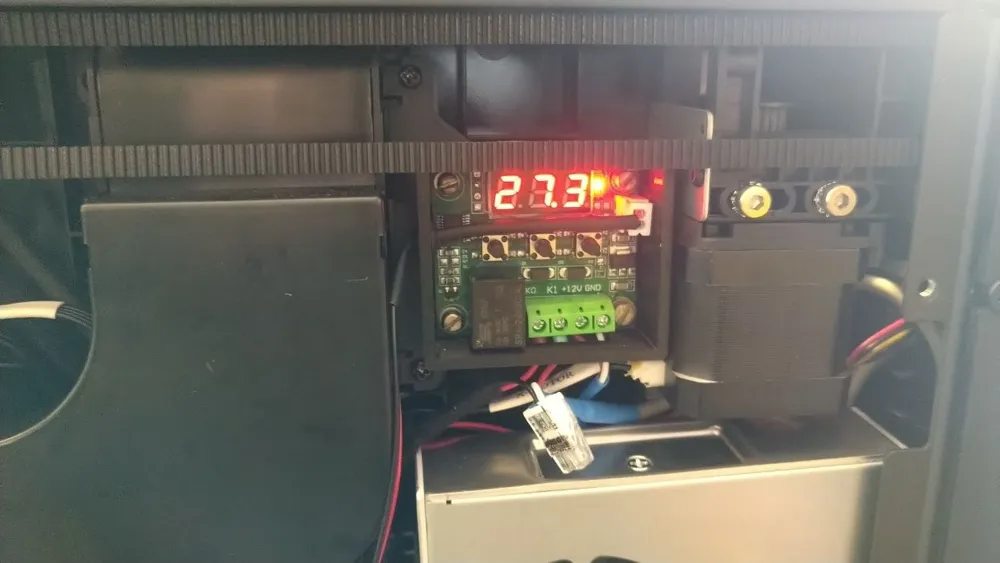
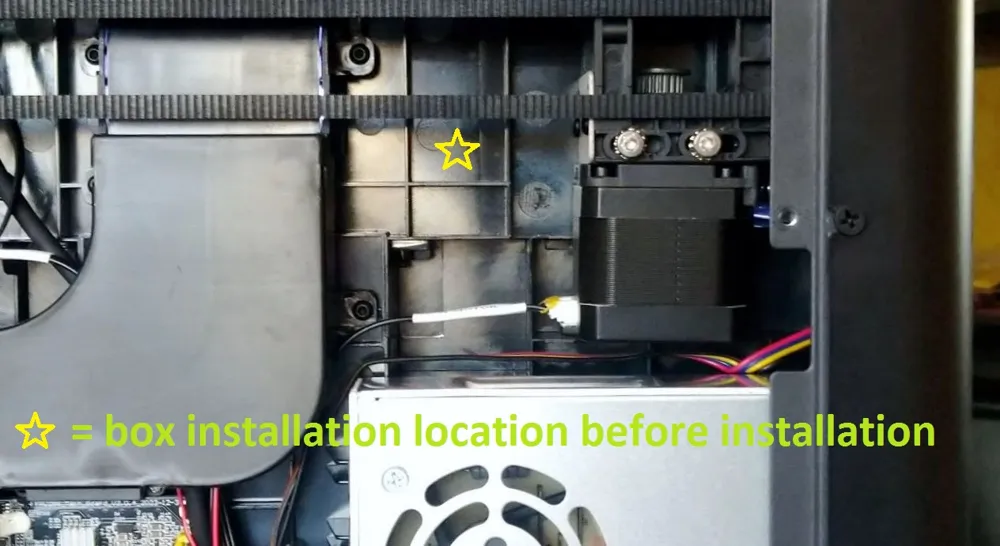
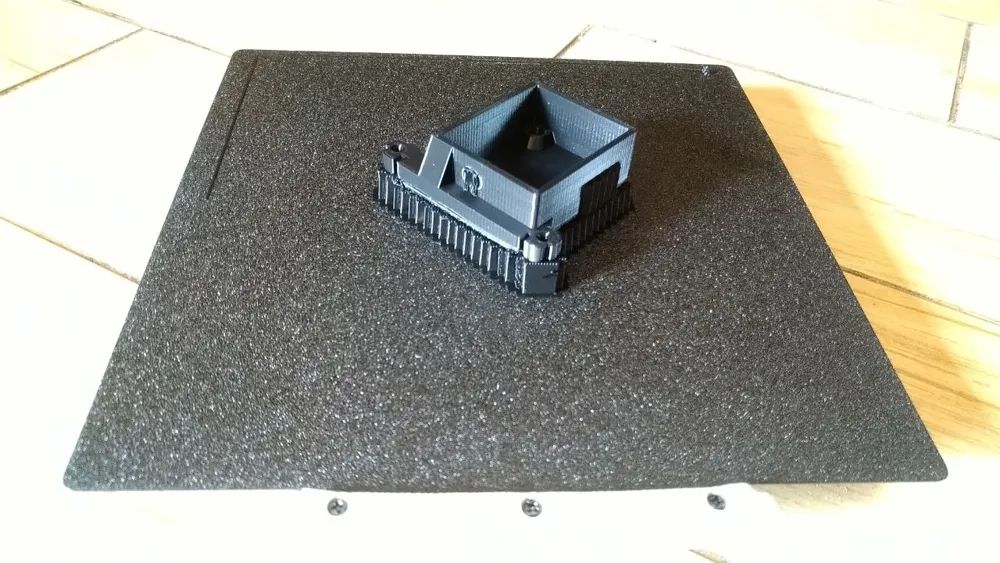
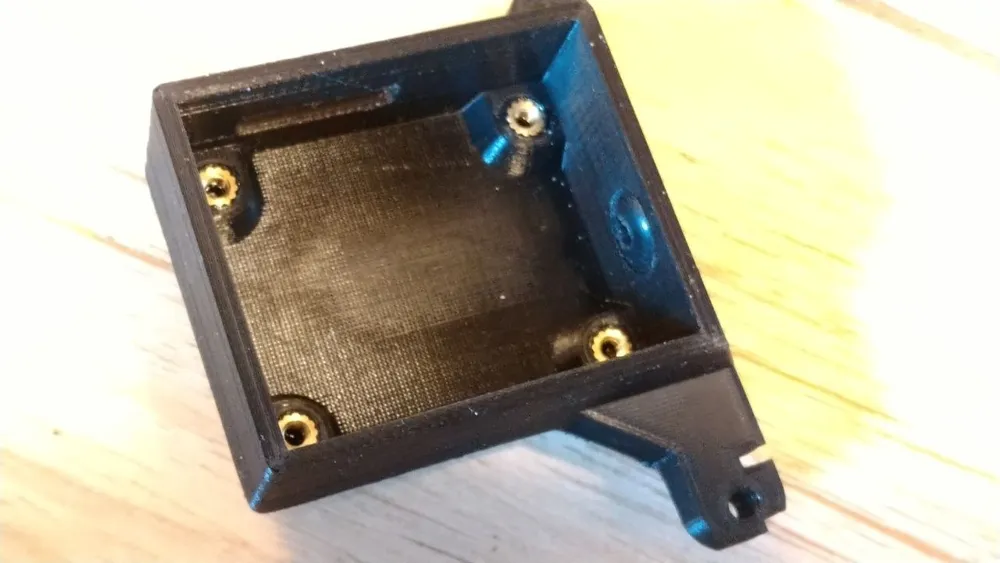
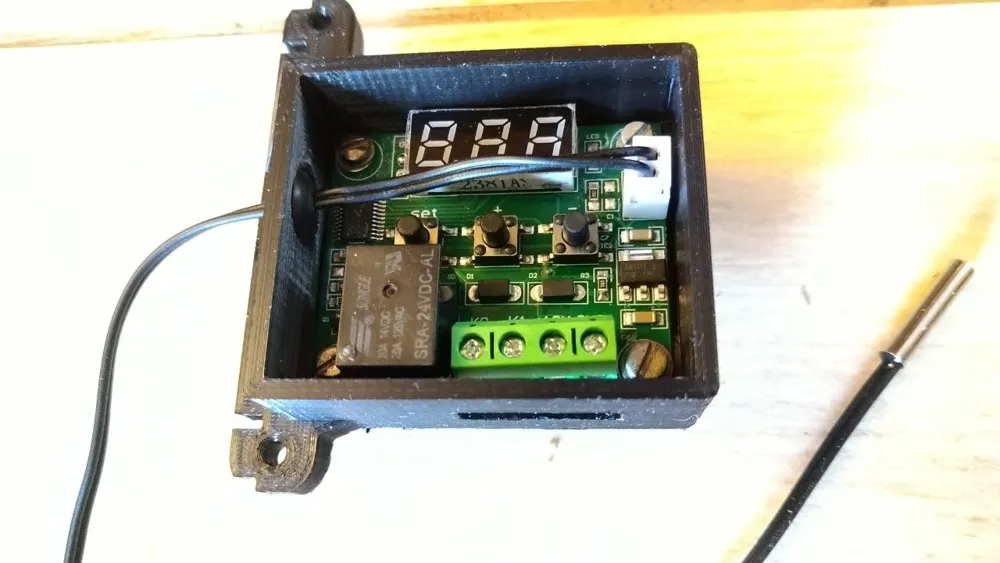
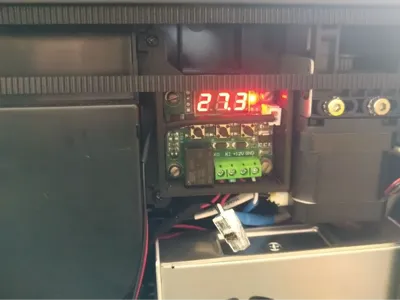
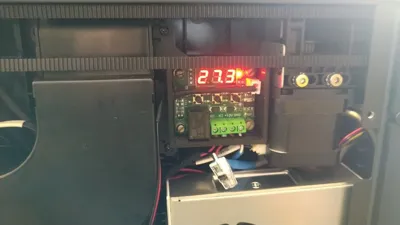
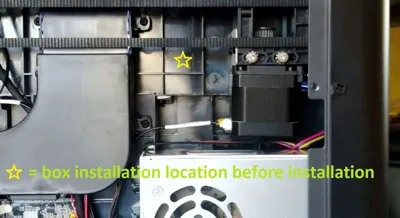
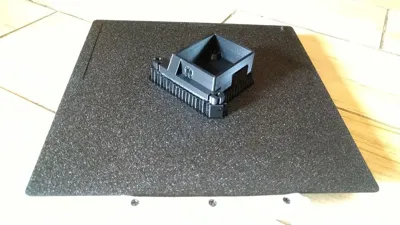
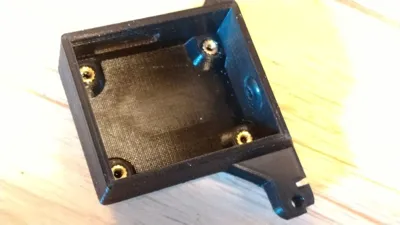
And I designed a special box, facilitating installation of such a board into free space behind the printer´s detachable rear wall using stock screws. When installed into this box, the Temperature Controller Board remains both fairly well protected AND relatively easily accessible for checking and changing settings. My printable 3D model of this box is what I am offering to you here for free.
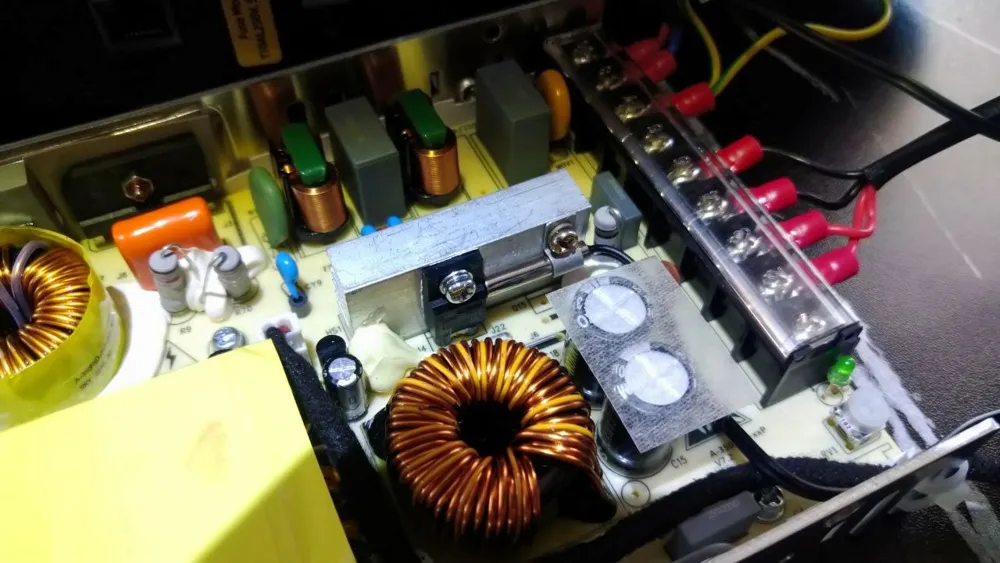
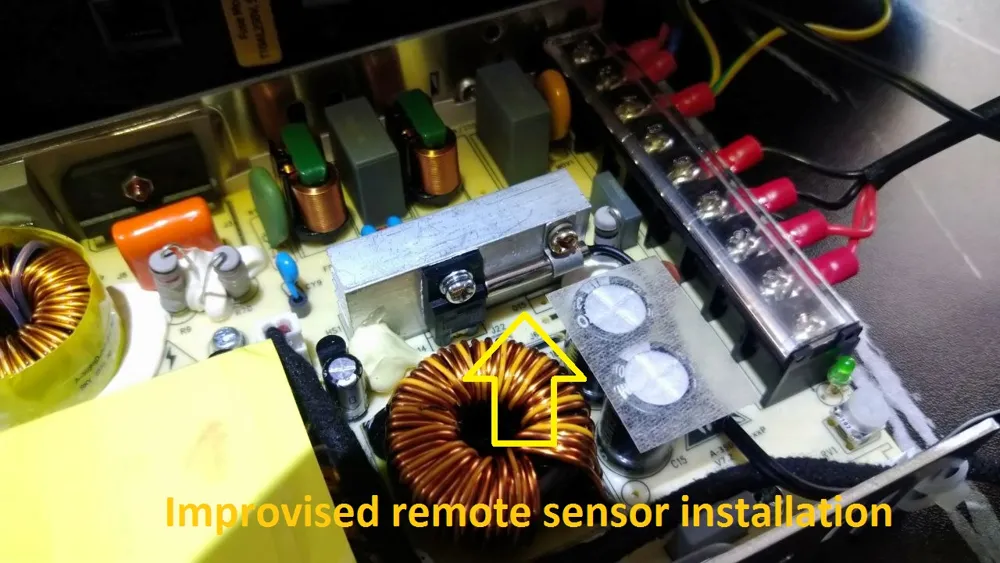
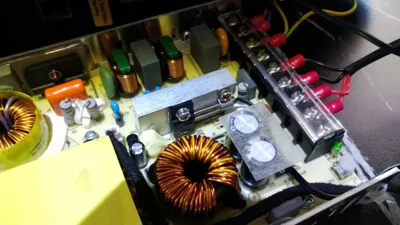
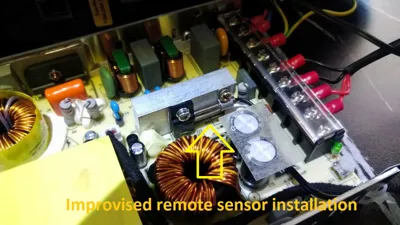
This solution integrated well with my FF AD5MPro, and works flawlessly as of today. I attached the remote temp sensor to a big alu heatsink somewhere on the power supply main board (since that heatsink already had an extra screw hole in it, facilitating an improvised, but reliable installation of this sensor onto this heatsink within minutes), but the lazy ones could also consider attaching the sensor right to the outer metal casing of the stock power suply, since by design this casing itself is also being used as a large heatsink for hot on-board components.
For perfectionists there is an additional option to solder an external LED to the Digital Temperature Controller Board on-board contacts, normally occupied by an on-board LED signalling the load operational status. Such an external LED could then be placed somewhere on the printer´s front panel for constant visibility. But I did not implement this, since I can accustically distinguish when the power supply fan goes on and off well enough.
Please note that 24V versions of the mentioned Temperature Controller may still have 12V markings on their boards - it is cheap Chinese manufacturing, so this is OK and nothing to worry about.
Please also note that if you are sure that your stock power supply fan is a 12V one, you can also go with a 12V version of the said controller - in this case you will want to power it not from the 24V power supply outputs, but directly from the 12V fan output of the power supply main board.
And don`t forget, that any printer modifications you are undertaking are at your own risk.
I include my model also in editable STEP form, so that you could modify the design to better suit your needs.
For my printout, I used black PETG and a 0.25mm nozzle, but a 0.4mm nozzle should probably also be OK.
Reqiured:
A few dozen Gramm PETG or better
4x M3 heat inserts Lmax = 4,2mm
4x M3 screws L = 3 threaded part 3,5 mm min 5,6 mm max
Other materials for pulling wires through the printer´s internals as well as for installing the remote temp sensor may also be required.
Good luck with your printer upgrade project!
License



Comment & Rating (0)