99A Main Battle Tank 1:30 scale CyberBrick RC version


Print Profile(7)
Description
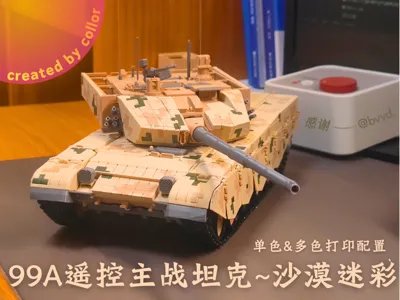
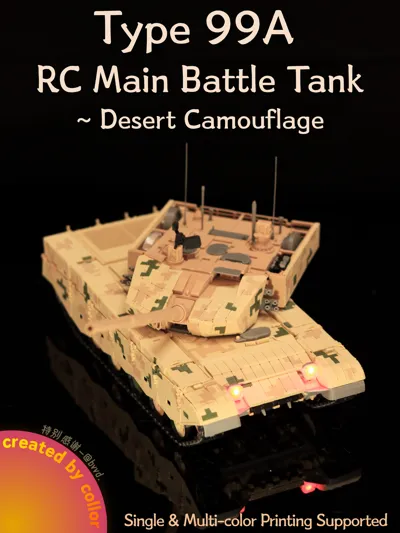
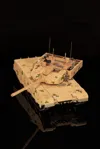
Type 99A Main Battle Tank — Desert Camouflage — cyberbrick RC Version
Boost Me (for free)
Follow me for more quality models
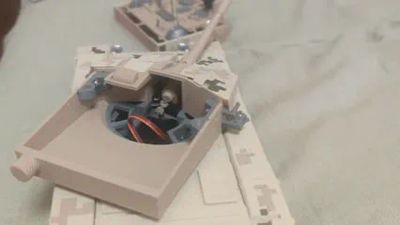
Type 99A Tank – Desert Camouflage, all printable details have been added, with reserved installation positions for some accessories. The tracks, gun barrel, and turret can be controlled normally. It is electric, and this is considered the official version, incorporating cyberbrick components and a refined exterior
I originally intended this to be remote-controlled, as fans have been requesting it since last year
I had finished the monochrome RC version before the New Year, but as I worked on it, I felt it needed camouflage, and then I wanted to add an infrared combat system
I could have released it after finishing the camouflage, but some group members unexpectedly helped me test the print files, so I fixed over 30 issues that affected the user experience
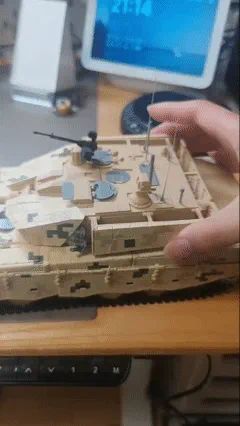
🔧 Currently movable parts include: Turret, Gun barrel, Wheels, Crew hatches, Independent torsion bar suspension, Side skirts, Tracks, Sliding charging cover, Dozer blade, Front headlights
Type 99A Tank – Desert Camouflage (Functional RC Version)
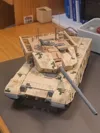
Type 99A RC Main Battle Tank – Desert Camouflage, this highly detailed 3D-printable tank model supports both single and multi-color printing. It comes pre-integrated with RC electronics, with fully functional moving parts and reinforced mounting points
This refined, finalized version features improved exterior accuracy and structural optimization. Key functions include turret rotation, gun elevation, working suspension, tracks, hatches, and movable external components
While no infrared combat system is included, mounting spaces are reserved for future upgrades.Over 30 design issues have been fixed with community testing support
🔧 Movable / Functional Parts
Turret rotation、Gun barrel elevation、Wheels、Crew hatches、Independent torsion bar suspension、Side skirts、Tracks、Sliding charging cover、Dozer blade、Front headlights
————————————————————————————————————————————
Introduction:
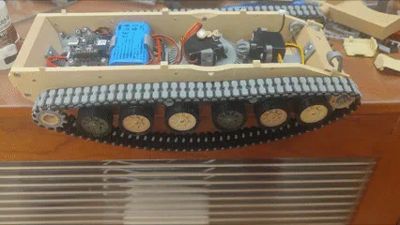
- This is the official version of the 99A RC tank model, I have experience successfully making RC tanks (see AMX-13 RC tank), and the text and corresponding installation instructions have been completed. It features independent torsion bar suspension, uses ball bearings, turret horizontal and elevation control, 1:24 geared motors, proper part breakdown → minimal supports. The RC part uses almost the same wiring and code files as the previous RC tank, with only adjustments to the lights and gun barrel elevation angle
- Unlike the previous RC tank model I made, this time I conducted four rounds of testing before release — print file testing, assembly testing, third-party print assembly testing, and durability testing; experiencing the discovery and resolution of 40+ problems and defects; Based on my own assembly and @bvvd's assembly process, detailed instructions and pictorial guides were created; A mature transmission solution available on the market was adopted, avoiding the unpleasant experience of printing high-precision transmission gears myself
Acknowledgements: Special thanks to @bvvd for modeling the anti-aircraft machine gun and side skirt camouflage texture, and for proposing over 10 improvements after printing the model, which greatly improved the assembly experience
Parts List:
+Bambu Lab cyberbrick Starter Kit (Link)
+EA006 Ball Bearings x20 (Search Pinduoduo for ball bearing size: 3mmx6mmx2.5mm)
+EA009 Ball Bearings x4 (Search Pinduoduo for ball bearing size: 4mmx7mmx2.5mm)
+EB001 Miniature Thrust Ball Bearing x1 (Search Pinduoduo for thrust bearing size: 8mmx14mmx4mm)
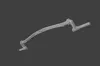
+0.5 module, 1.5mm aperture, 6mm diameter worm gears x2 (Pinduoduo Purchase Link)
+Peripheral Connector Cable - SH1.0-3PIN-200mm (Bambu Lab Purchase Link)
Tool List: Bambu Lab hex screwdriver (small), super glue, 2mm, 3mm, 4mm diameter drill bits (for reaming), Bambu Lab grease (you can buy cheaper alternatives)
Filament List:
- Multi-color printing: PLA Matte Latte Brown 11800, PLA Matte Desert Yellow 11401, PLA Matte Dark Night Green 11501, PLA Matte Charcoal Black 11101, PETG Basic Grey 30107
- Single-color printing: PLA Matte, PETG Basic
Optional Upgrades:
TPU+PETG composite tracks, only requires TPU and PETG, printable by all printers, no AMS needed
(Use TPU print settings, pause in the middle, manually change to PETG, TPU temperature is suitable for printing PETG)
- Higher power 030 motors, providing strong power, more cost-effective — Purchase Link
More cost-effective and better performing filaments, PLA, PETG
————————————————————————————————————————————
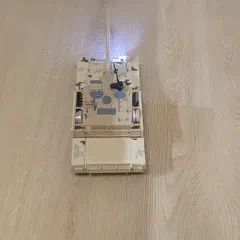
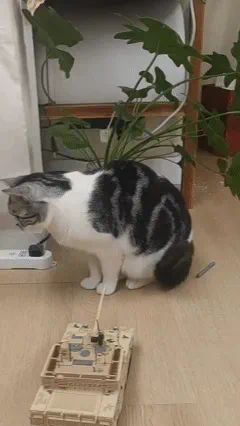
Results Showcase


————————————————————————————————————————————
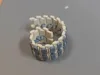
Comparison of anti-slip track teeth and single rigid material track teeth
***Track surfaces are universal; to achieve different effects, choose your track teeth printing method: single material printing; manual filament change mid-print; dual-head automatic filament change
**Please use 0.15mm profile for track surfaces and 0.24mm profile for track teeth
(Distinction between track teeth and track surfaces: currently, track model files are separated and not under the main file)

(Use the track tensioner to quickly replace tracks without disassembling them)


Left is anti-slip track, right is basic track
(Same climbing angle, different track experiments)


(Different tracks, full speed continuous 90° turn experiment)


————————————————————————————————————————————
Important Information Before Printing (Must Read)
- Before printing, please clean the build plate with dish soap, then dry and apply adhesive. Please do not randomly modify print settings; select the print layer height and material according to each plate's title, otherwise, you may encounter issues such as insufficient material strength, part adhesion, or oversized/undersized holes. Before printing tracks, select one track for testing; if adhesion occurs, adjust the material extrusion amount (flow rate). If screw holes are too small, ream them with a 2mm drill bit or increase the X-Y inner contour compensation value; Before installing mudguards, ream the mudguard mounting holes on the hull side plates with a 3mm drill bit; Before installing the torsion bar suspension, ream the torsion bar mounting holes with a 4mm drill bit
- 2026/4/23 Solved print profile issues, began PETG track printing tests for R3D, preparing for charging port slider upgrade, and planning for the next RC vehicle project
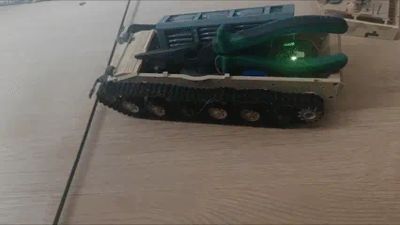
2026/4/30 99A PETG track development completed. Used 99A tracks and road wheels to make a TONK, haha!

- 2026/5/8 The next RC tank will be 4WD remote controlled, featuring turret elevation, rotation, and differential steering functions
- 2026/5/12 Improved the worm gear to allow easy printing with a 0.4mm nozzle instead of requiring a 0.2mm nozzle
2026/5/13 Conducted 7.55kg track lift test


- I will provide extra small parts for the model!! In case some are lost during assembly
- If there are missing parts or other issues, please provide feedback promptly, thank you!!
- Text and pictorial instructions can be found in the documentation, you can also raise new questions and defects in theshared text instructions.
Happy printing~
Boost Me (for free)
You've read this far, how about a boost( ' v ' )
Follow me for more interesting RC models

.
Documentation (2)

License
You shall not share, sub-license, sell, rent, host, transfer, or distribute in any way the digital or 3D printed versions of this object, nor any other derivative work of this object in its digital or physical format (including - but not limited to - remixes of this object, and hosting on other digital platforms). The objects may not be used without permission in any way whatsoever in which you charge money, or collect fees.
Comment & Rating (6)