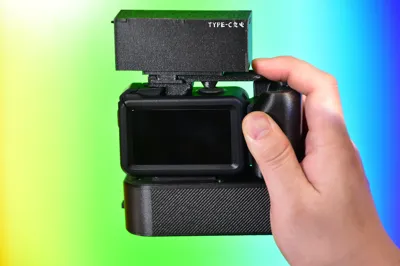
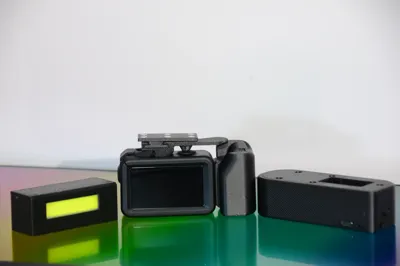
DJI Action series mirrorless modification kit (extended battery base and fill light)


Print Profile(1)

Description
It is recommended to print with FDM PLA (wiring will not be described as it requires battery soldering, so please do not attempt if you have no experience)
(You need to prepare two magnetic connectors, official or third-party ones are fine)

Replication requires the following accessories:
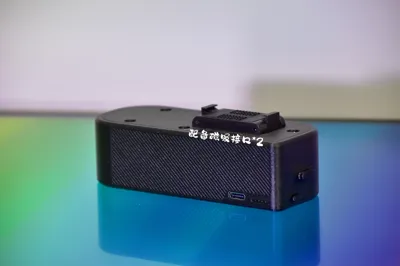
Fill light:
Charging protection board *1
https://e.tb.cn/h.iSygyZxs6XZjVp3?tk=KLDr5b8oO24
18650 lithium battery *1
18650 battery holder *1
Toggle switch *1 (handle height 3mm)
https://e.tb.cn/h.iiX3wG6hk4Nptel?tk=UoP35b8qszf
13.5mm*64mm small light board *1 (You can find cheap ones by 'picking up bargains' on PDD)
6mm*2mm magnet *12
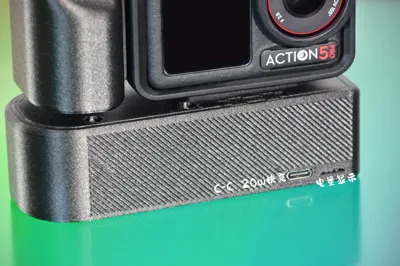
Extended battery base:
Lithium battery fast charging protection board *1 (buy the fast charging version with a single Type-C port)
https://e.tb.cn/h.iRVLPjxmlCHZzgQ?tk=u5XP5b8I2NJ
18650 battery *1 (capacity as preferred)
M3*10 screws *4
M3*20 screws *4
Points to note for replication:
Fill light: Try to keep the wires short, otherwise routing will be difficult due to limited space
My process involves pouring silicone from the light board position after all installation is complete, then curing it in an oven
Installation order: Place the 18650 battery into the battery holder, then insert the battery downwards into the fill light casing. Insert the protection board, connect the charging port to the reserved port on the casing. The negative terminal of the battery connects to both the negative terminal of the protection board and the negative terminal of the light board. The positive terminal of the battery connects to both the positive terminal of the protection board and pin 1 of the toggle switch. Pin 2 of the toggle switch connects to the light board. After installation, close the lid.
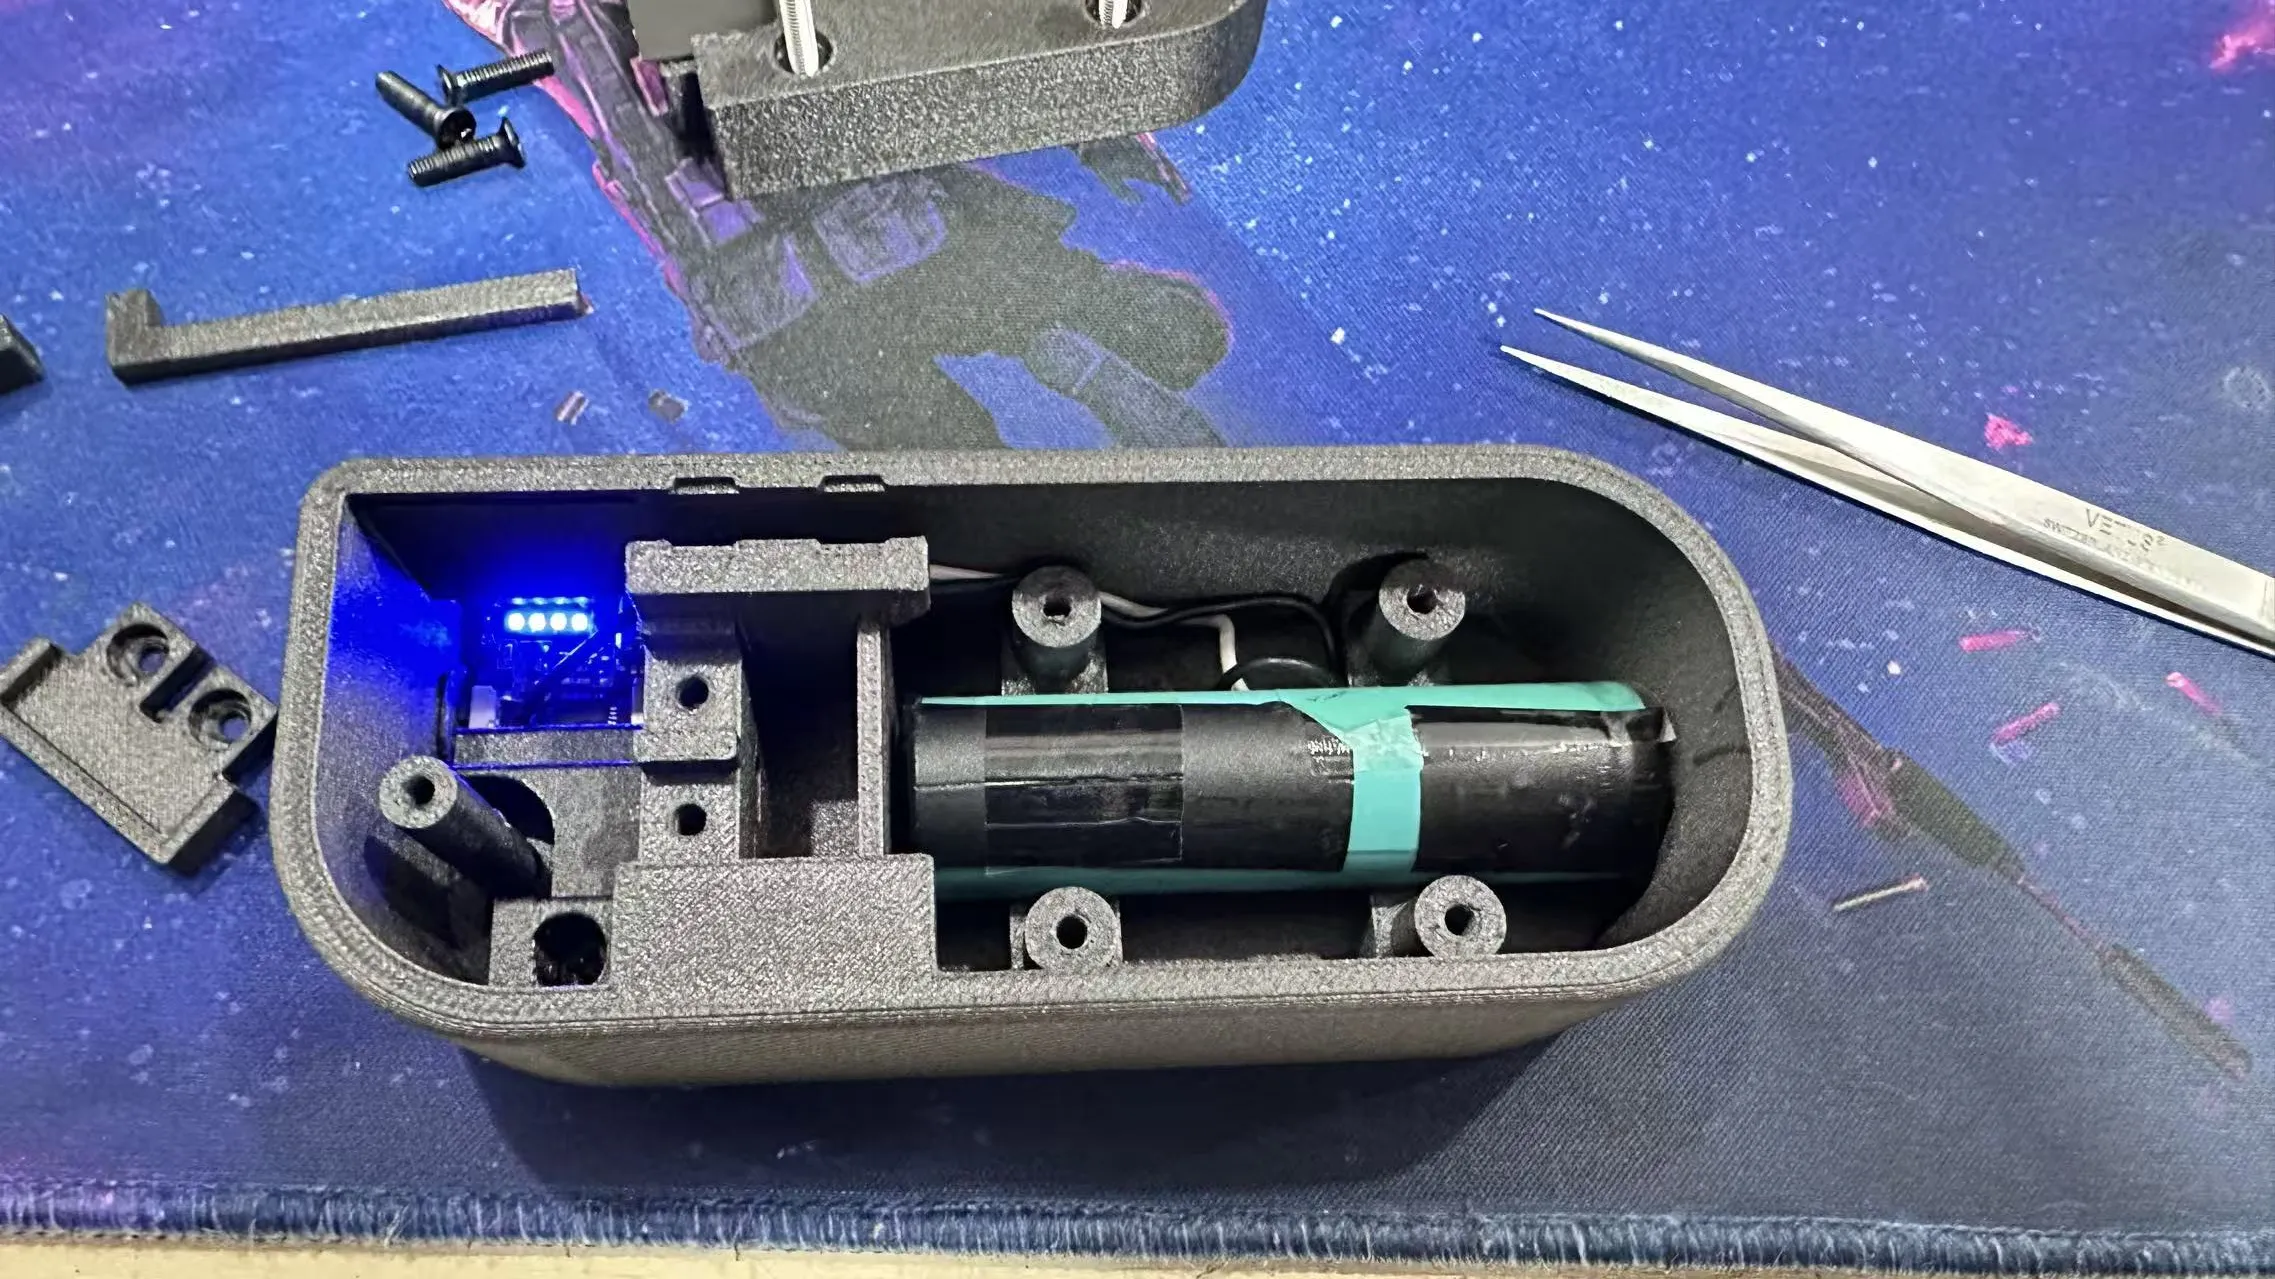
Extended battery base: Solder the positive and negative terminals of the battery to the positive and negative terminals of the protection board, then align and place it.
Installation order: First, spot weld a pre-tinned nickel strip to the positive and negative terminals of the battery. The wires from the positive and negative nickel strips are then soldered out. Next, place the button, then the protection board, then the 18650 battery. The wire needs to be secured between the screw hole above the battery and the casing. Install the protection board cover (part number 1 in the diagram).
Tighten screws (M3*10) to install part 2 (M3*10).

This is how it looks after installation

I have attached buffer foam here

Install the magnets later. Just press the bottom of the fill light and the cold shoe interface firmly. Pay attention to the magnetic polarity.
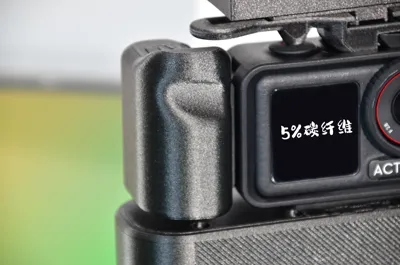
The grip and shutter extension rod can be downloaded by searching for model ID 1692728 in the Bambu Lab community.
Original author download linkErgonomic DJI Action 5 Pro Street Photography Kit - Free 3D Print Model - MakerWorld
License
You shall not share, sub-license, sell, rent, host, transfer, or distribute in any way the digital or 3D printed versions of this object, nor any other derivative work of this object in its digital or physical format (including - but not limited to - remixes of this object, and hosting on other digital platforms). The objects may not be used without permission in any way whatsoever in which you charge money, or collect fees.
Comment & Rating (0)