


Print Profile(1)
Description
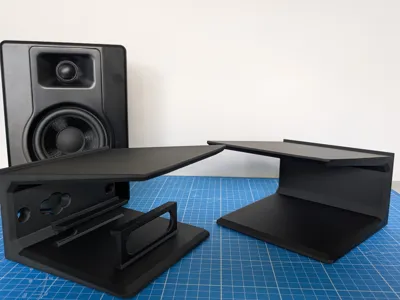
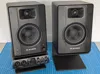
This is a stand for the M-Audio BX4 desktop speaker, featuring an optional slot for a PreSonus Studio24c audio interface.
It elevates the speakers by 9cm at the back (10cm at the front), creating a 7° upward angle.
The front bezel is designed to align perfectly with the speaker's face.
Printing Instructions:
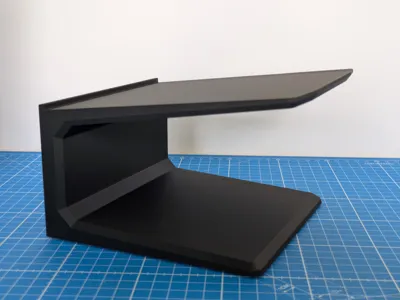
- Without the interface: Simply print the "solo" stand twice.
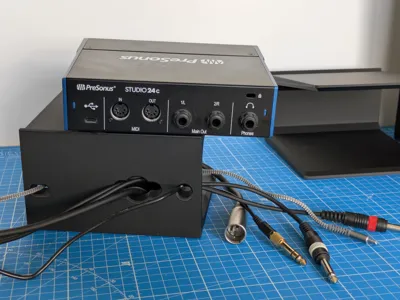
- With the PreSonus Studio24c: The specific interface stand will house it perfectly. It includes cutouts at the back for USB and audio cables. You can also slide one or two XLR connectors through for the inputs to keep your desk clutter-free.
I printed this in Bambu Lab Matte PLA (Charcoal Black), and I was pleasantly surprised by how well it matches the finish of the speakers.
Note: This is my first-ever 3D design, and I only started this hobby two weeks ago. Please take the technical advice below with a grain of salt!
Strength & Infill
I chose 3 walls because I wasn't sure if 2 would be enough to support the "master" speaker, which contains the PSU and amplifier and is quite heavy.
This might be overkill, but the result is very sturdy.
Adjust these settings at your own risk.
I also used modifiers to create variable infill based on stress points (increasing density toward the back plate where flexion is highest).
Honestly, I’m not sure if this was strictly necessary, but I liked the idea.
Given the print orientation, Grid infill felt like the right choice as it provides triangulation in the direction that maximizes resistance against the weight of the speakers.
Orientation & Plates
I avoided the default "flat" orientation (laying it on its back with the "wings" pointing up).
In that orientation, the main stress (flexion of the top and back plates) would be pulling the layers apart, which is the weakest point of a 3D print.
While I'm not certain the weight would actually cause a layer failure, I figured it was better to be safe than sorry!
A few tips:
- Warping: I experienced some minor warping when printing the solo stand with the "wings" facing the P1S/P2S auxiliary fan.
When I rotated the second stand for the orientation shown here, it printed perfectly. - Layout: You can likely print everything on a single plate. I designed the solo version first and was eager to see the results, so I printed it as a standalone proof of concept.
If you decide to change the orientation or plate layout, please proceed at your own risk, as I haven't tested other configurations.
Comment & Rating (5)