
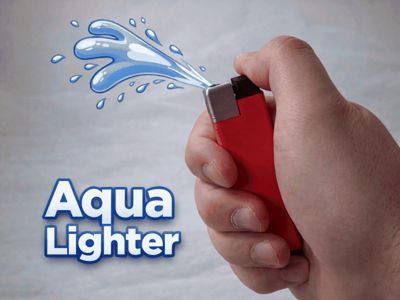
Aqua Lighter - Prank Water Lighter
Print Profile(3)
Bill of Materials



Description

You know how a lighter is supposed to work… this one doesn’t 😄
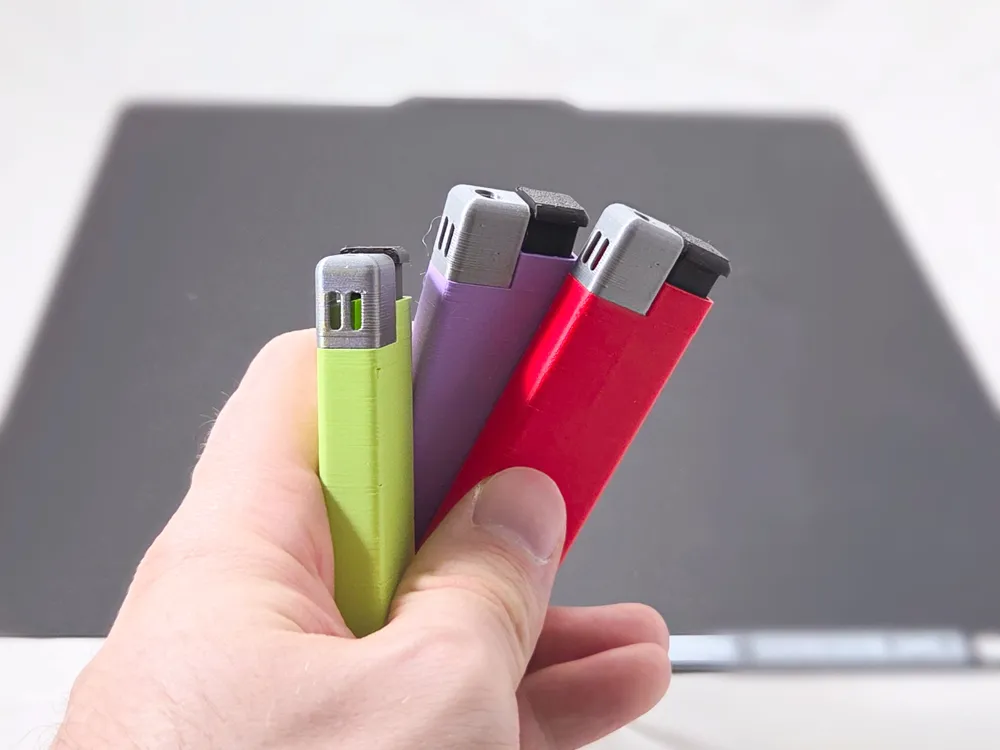
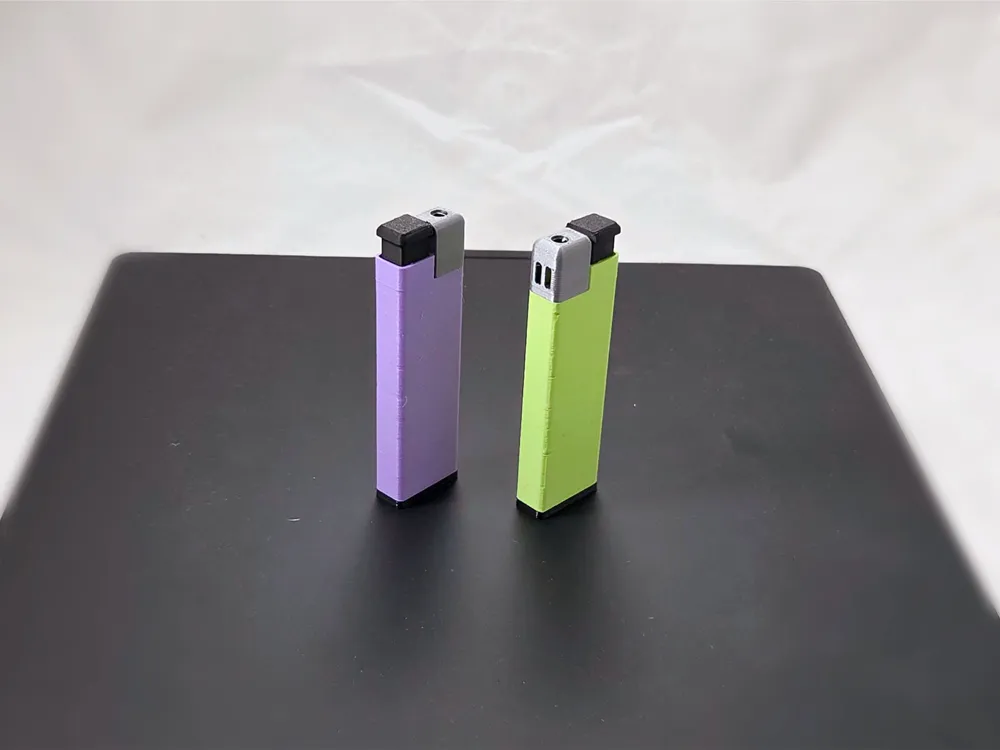
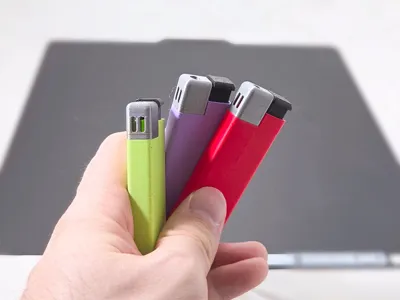
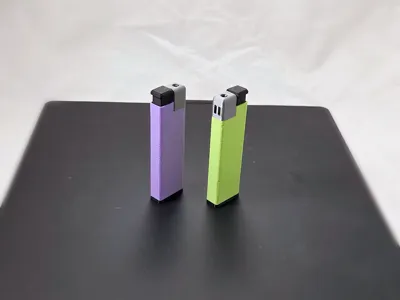
Aqua Lighter is a simple prank gadget that looks like a regular lighter, but instead of a flame it sprays water. Perfect for a quick April Fools’ trick or just to mess with someone’s expectations.
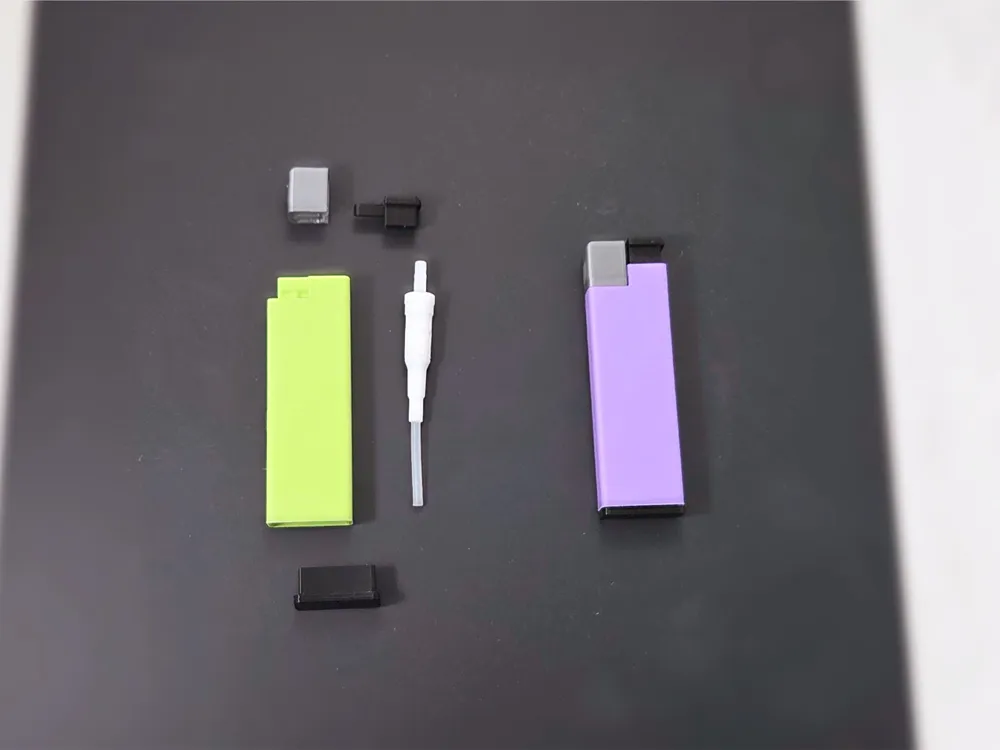
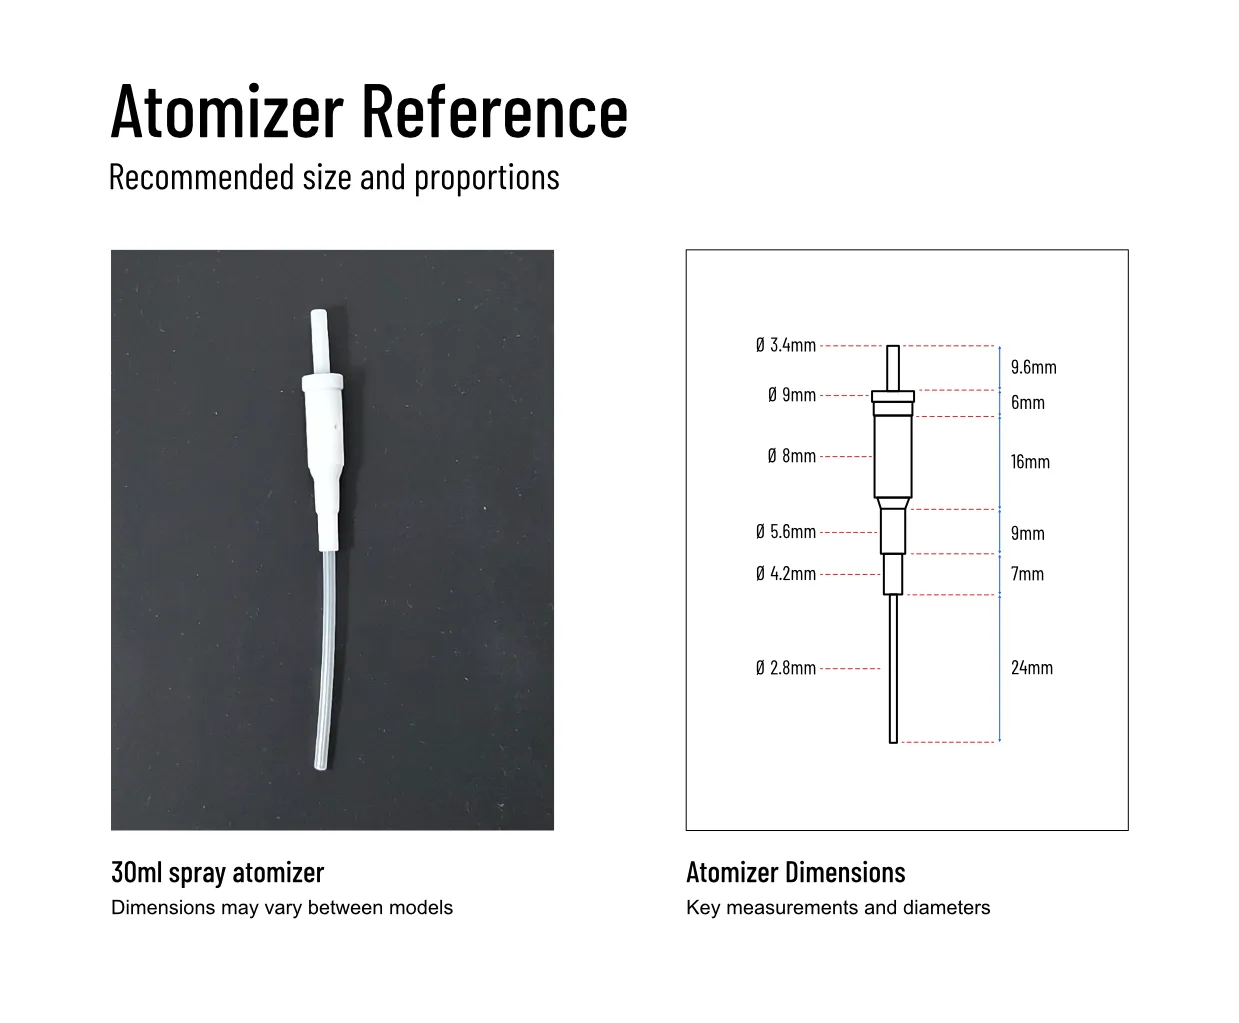
The model is easy to print and assemble, but it does require a small spray atomizer. You can salvage one from a small spray bottle - I recommend using a 30ml bottle, as those tend to fit best. Keep in mind that atomizers are not well standardized, so slight adjustments may be needed depending on your source.
Materials
- Body, button and nozzle guard: PLA
- Bottom cap: TPU (e.g. Bambu 95A HF)
The bottom cap is designed with zero tolerance to ensure a tight seal. Printing it in PLA will not work - even with added tolerance (0.1–0.3 mm), it will leak. TPU is required here for proper sealing.
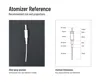
Atomizer Dimensions
30ml spray bottle reference (dimensions may vary):
Assembly Guide
Step-by-step instructions for preparing the atomizer and assembling the model.
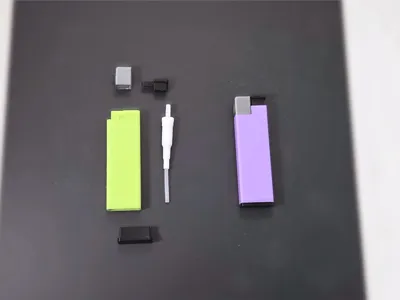

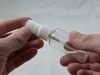
Disassemble the Spray Bottle
Remove the nozzle cap and take out the spray head (button + nozzle).
Then remove the sealing insert from inside the cap.
This will expose the atomizer assembly for further extraction.
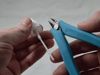
Extract the Atomizer
Carefully cut the plastic cap using side cutters to release the atomizer.
After removal, check the length of both tubes (top and bottom).
Trim them if necessary to match the expected proportions.

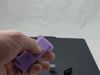
Prepare Printed Parts
Clean all printed components:
- Remove brim from the body
- Remove supports from the nozzle guard
- Remove support from the button
All supports should come off easily with minimal cleanup.
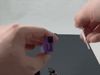
Final Assembly

Insert the atomizer into the body slot.
Press the button onto the top tube – you may need to push it several times until it seats properly.
The button should not rotate once installed.
Slide in the nozzle guard, then install the bottom cap.
Done.
If something feels loose or too tight, double-check atomizer dimensions - they may vary between models.
Boost Me (for free)
This one won’t light a flame…
but it might make someone jump 💧😄
Documentation (5)
License

You shall not share, sub-license, sell, rent, host, transfer, or distribute in any way the digital or 3D printed versions of this object, nor any other derivative work of this object in its digital or physical format (including - but not limited to - remixes of this object, and hosting on other digital platforms). The objects may not be used without permission in any way whatsoever in which you charge money, or collect fees.


Comment & Rating (215)