
Butterfly frying pan rack
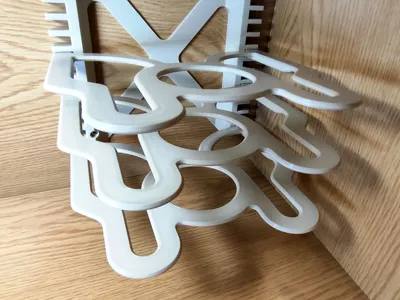
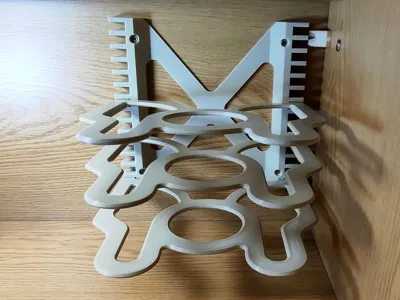
Print Profile(1)
Bill of Materials


Description
Boost Me (for free)
If you would like to support me, feel free to give me a boost! Thanks!
DESCRIPTION
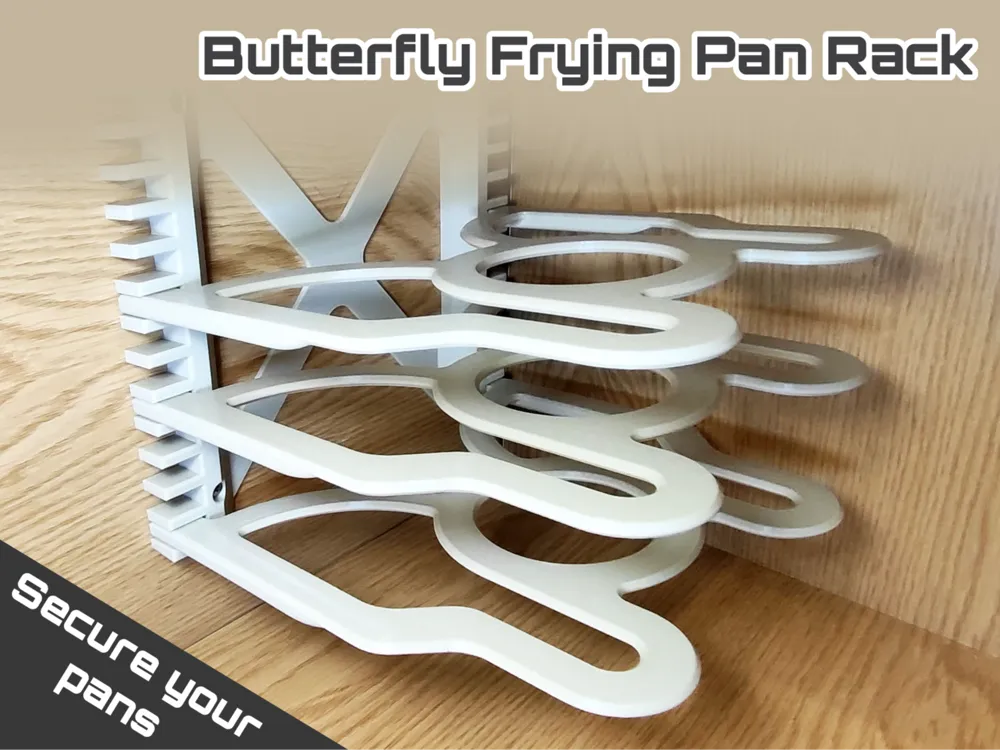
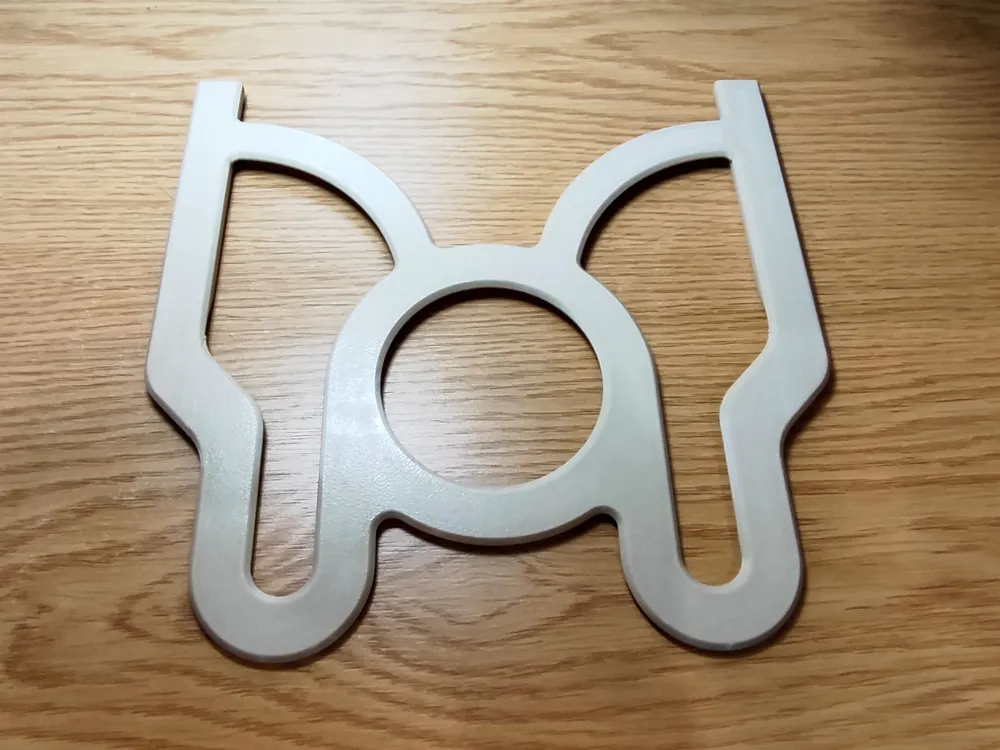
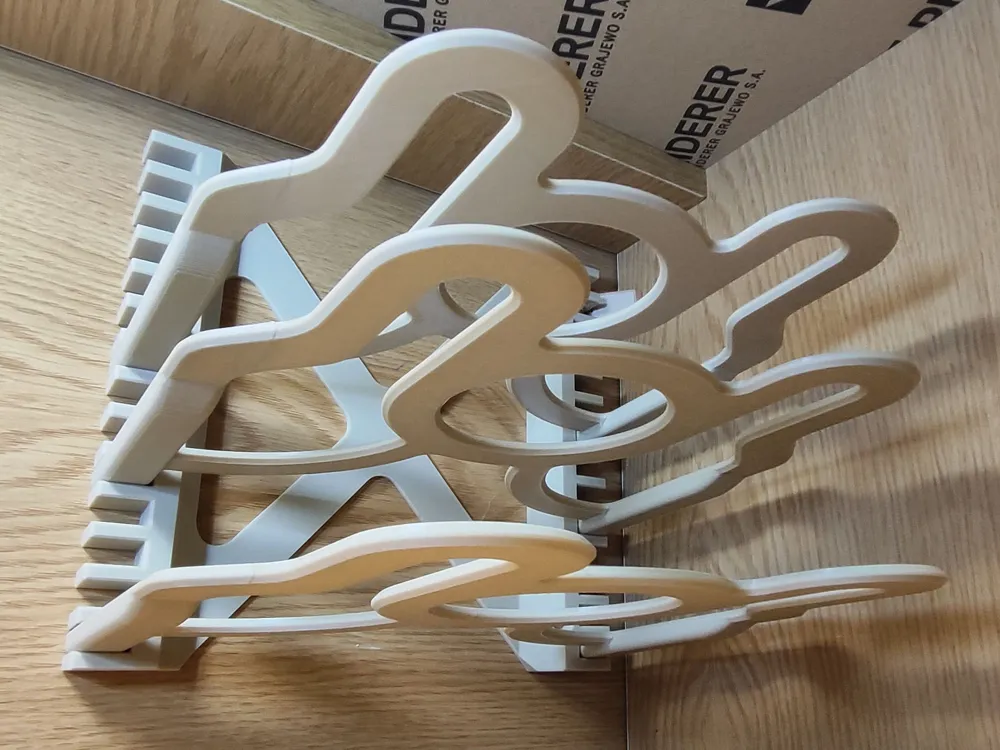
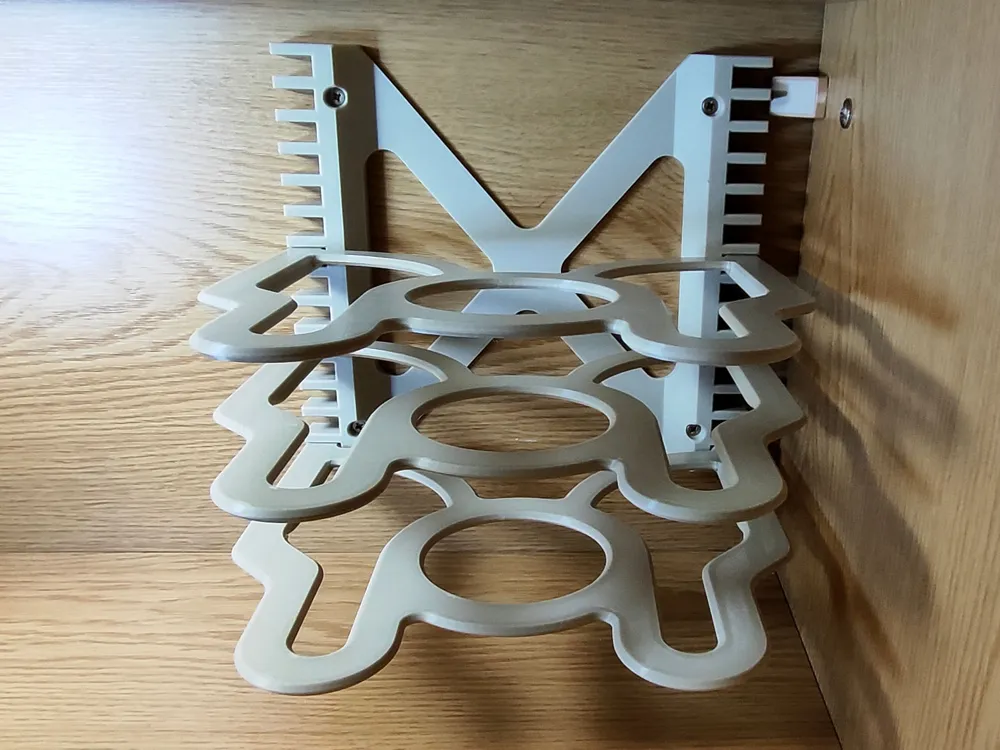
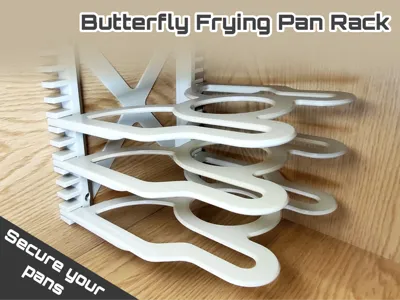
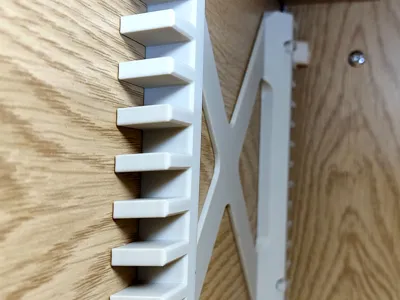
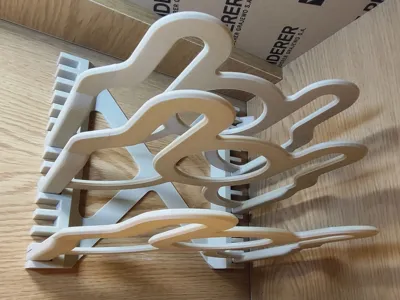
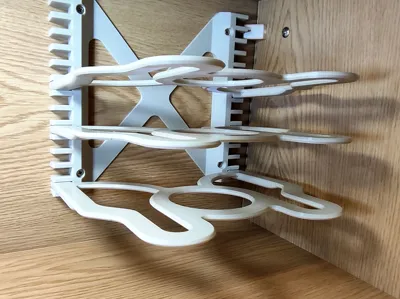
A wall-mounted, adjustable pan rack that doesn’t take up space on your worktop or shelf. It keeps your pans tidy, safely separated from one another and protected from scratches to their Teflon coating.
PRINT (without supports)
You might be tempted to print this in PETG, thinking strength is the main factor. For this model, though, stiffness matters more than raw strength, and PLA is actually stiffer than PETG. Since frying pans are quite heavy, I recommend a material that can better handle long-term bending. PLA CF is the best choice, but CF PETG should also work well.
INSTALLATION
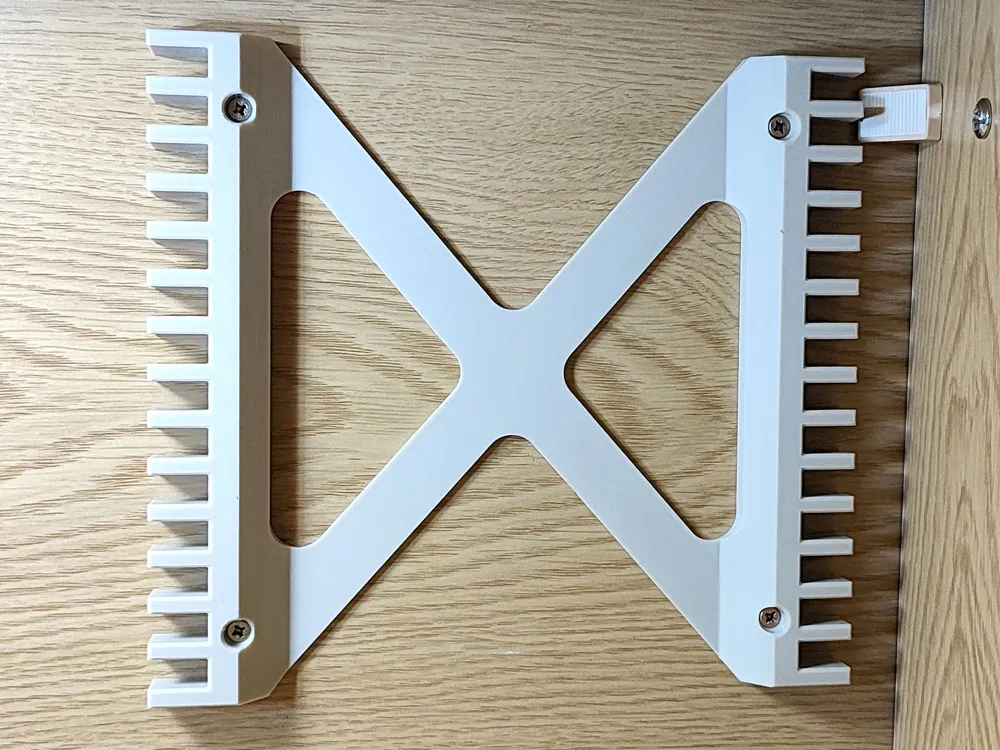
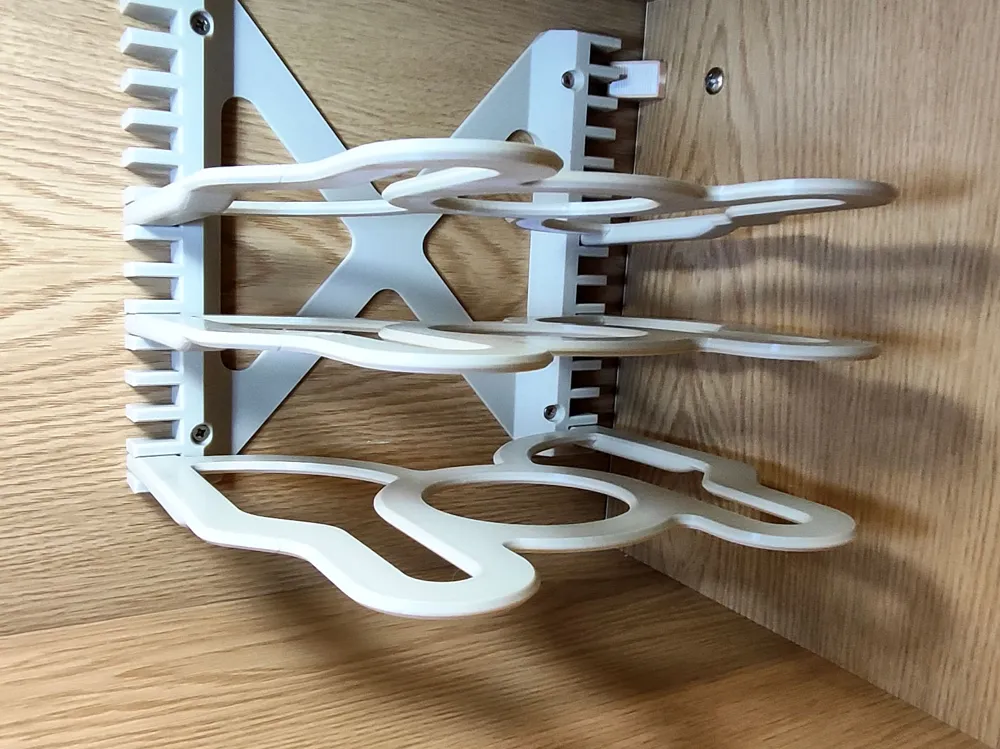
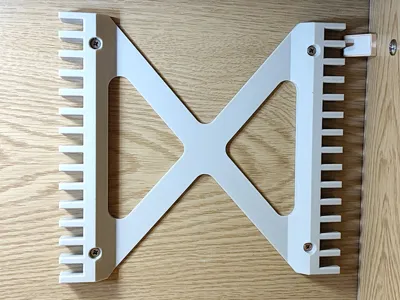
You need to secure the stand to the surface where you want to mount it using four screws. I used 4x20 mm wood screws.
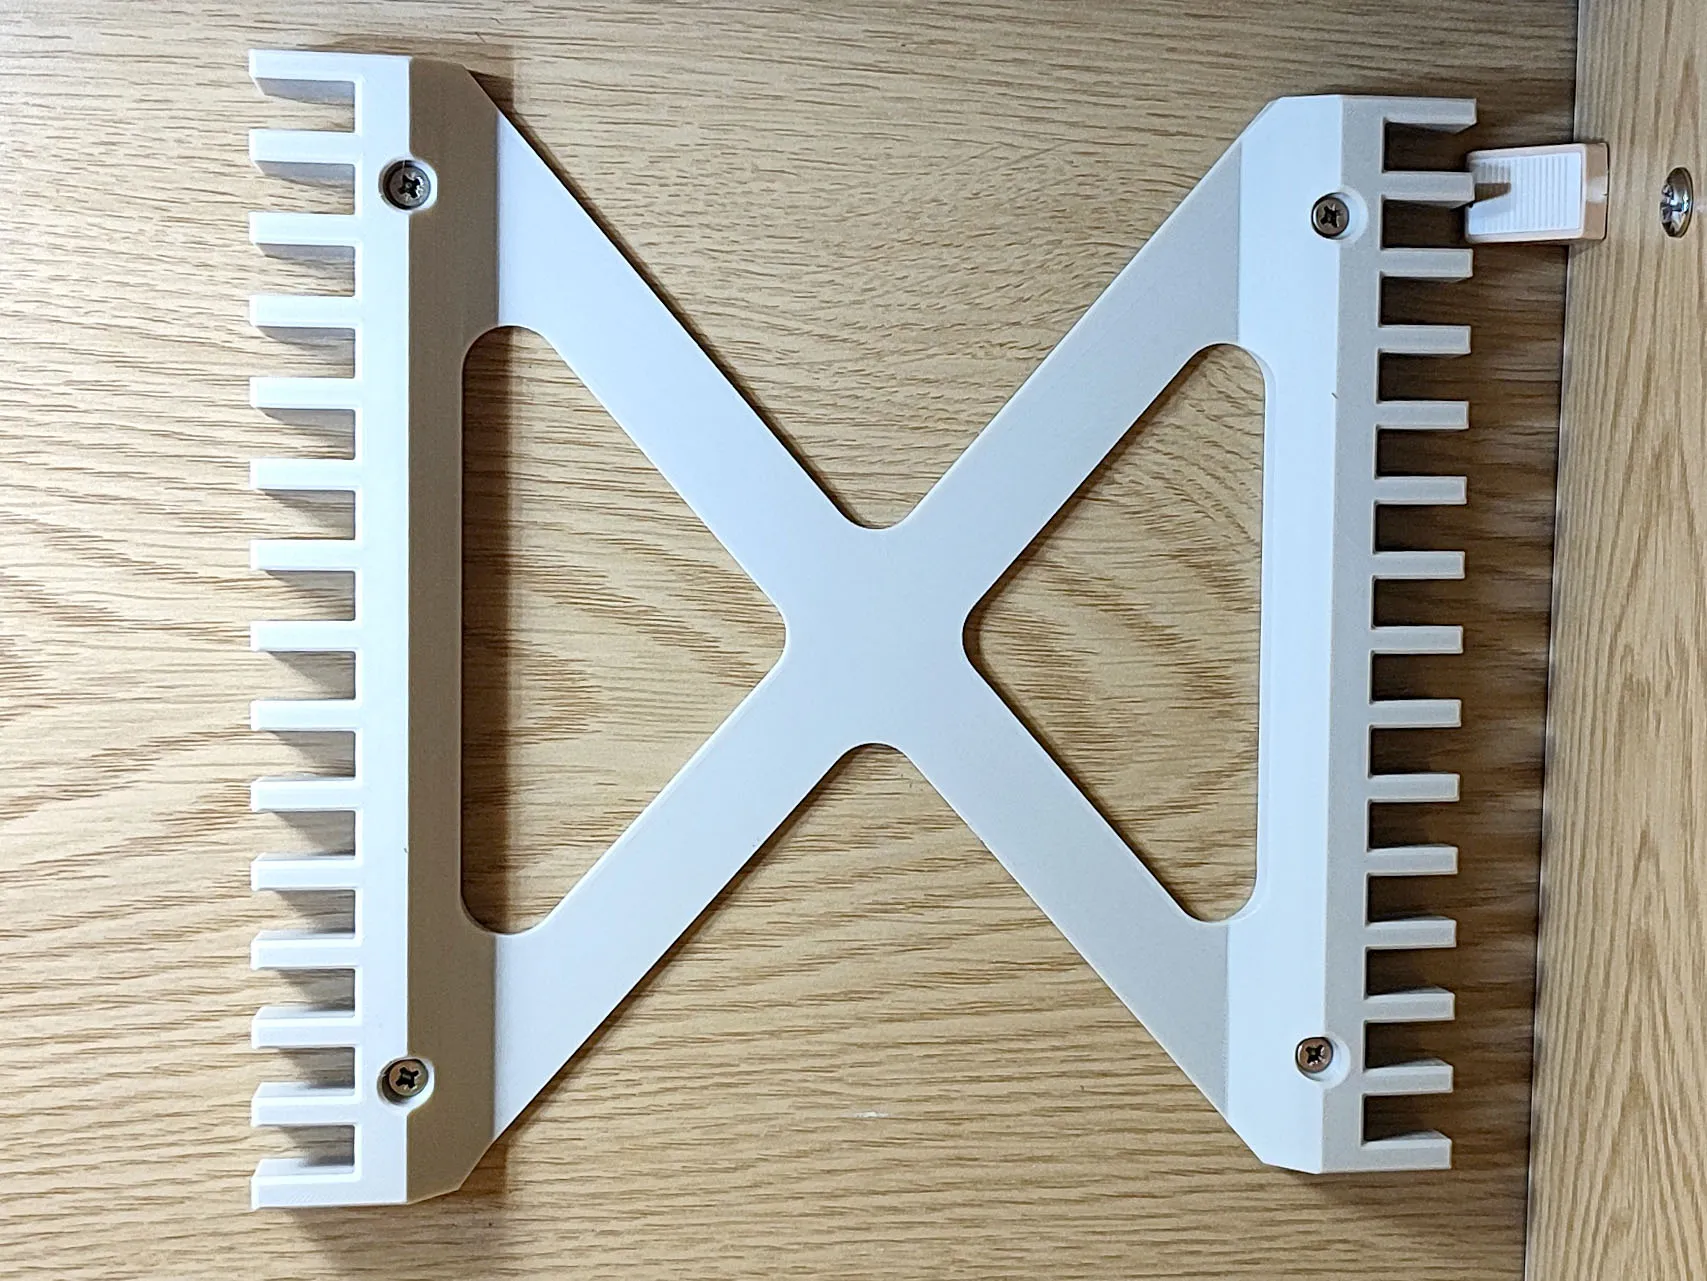
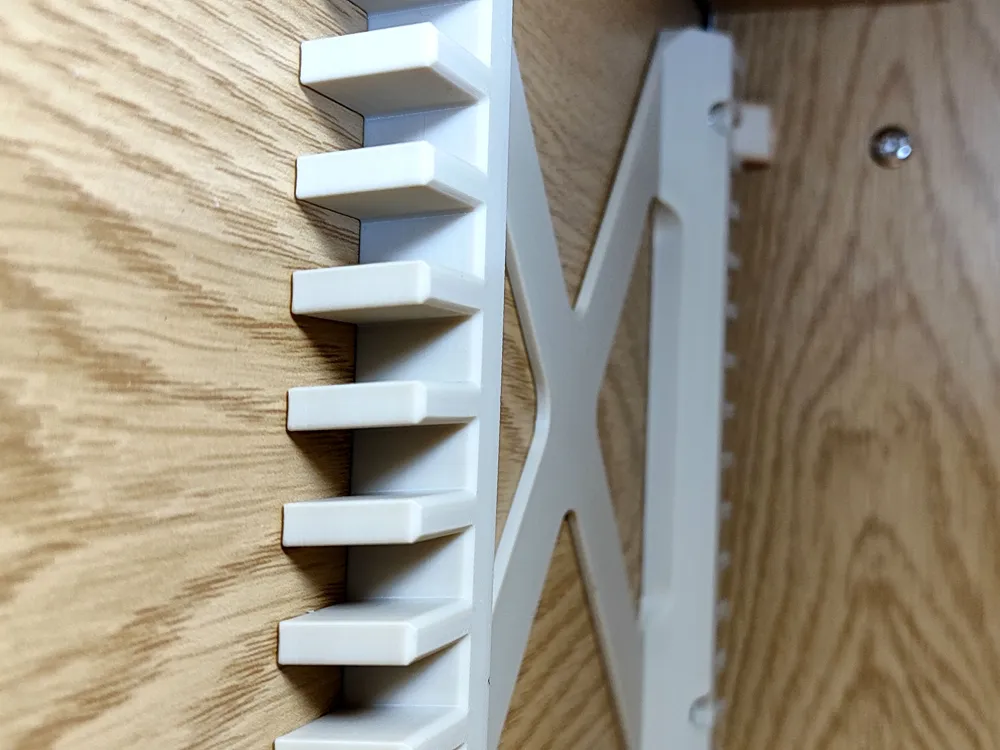
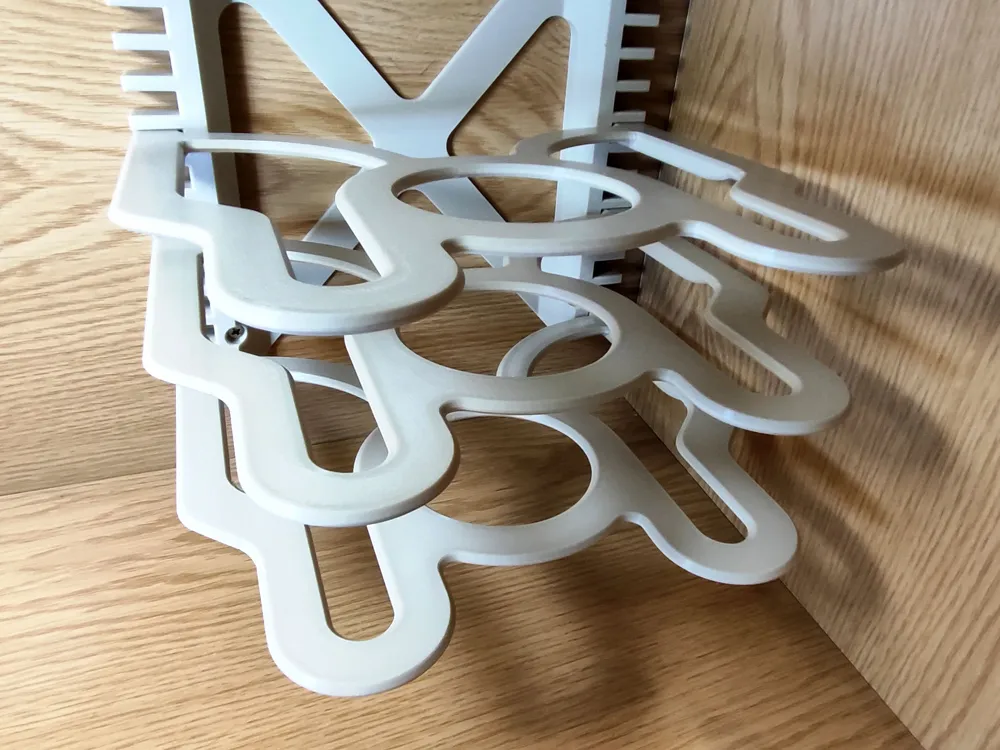
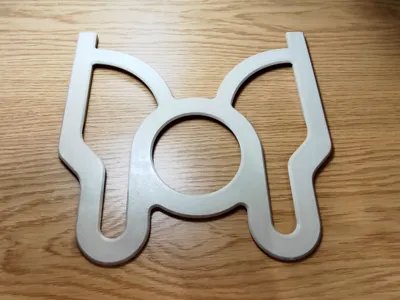
Next, place the trays on it – print as many as you need. The holes for the trays in the rack are spaced 16 mm (5/8") apart, so you can easily adjust the spacing to fit your pans without wasting any space on the rack.

All done! Time to put the pans on it!


The trays are angled upward by 5 degrees. Under the weight of the pans, they may bend slightly, but they should stay in a raised position. This helps keep the pans from sliding off during small movements or vibrations. The GIF below shows that even when the tray vibrates, the pan stays in place and is pushed against the wall.

Enjoy using it. Let me know how it gets on for you!
If you are having problems with the ANY model sticking to the table during printing, check what you can do:
- Make sure the plate is clean, degreased and dry. If necessary, wash it under warm water with soap/dishwashing liquid and dry it thoroughly with a paper towel.
- You can use special plates with increased adhesive properties, such as Bambu Plate SuperTack or CryoGrip, which will not only give you peace of mind about the success of your print, but also allow you to print at much lower bed temperatures.
- Apply a brim around the model (OTHER tab in Bambu Studio).
- Use a special printing adhesive or even just a regular paper glue stick, which also increases adhesion.
- In extreme cases, you can use spray hair gel (e.g. Hegron), but remember that it is difficult to remove from the plate afterwards to clean it - technical acetone and a spatula/scraper are very helpful.
If you need help with this print or have a fitting issue that cannot be solved simply by scaling the model, let me know in the comments. I will definitely get back to you :-)
License

You may create derivative works based on this object, provided that all such derivative works are published exclusively on the MakerWorld platform and include proper attribution to the original creator. You may not share, upload, host, distribute, or publish this object—or any derivative work of this object—on any other digital platform, marketplace, or distribution channel. Commercial use of this object and any derivative works is strictly prohibited. This includes, but is not limited to, selling, renting, sublicensing, or using the object in any context in which you receive monetary compensation or other financial benefits.


Comment & Rating (36)