
Ergonomic Waxed Bicycle Chain Break-In Tool
Print Profile(2)

Description
Boost Me (for free)
If you like this model please "Boost Me"! Thank You!
Background
Waxing your bike chain is a good way to keep your hands and property clean from traditional oil and grease lubricants. It also tends to work longer before needing re-application and extends the life of your chain. After soaking a clean chain in the lubricant-impregnated wax, you typically hang the chain to cool. This leaves you with a stiff chain covered in wax that must be "exercised" to break each link free so that it can be more easily re-installed on your bike. Traditionally this was done by hand but there are a variety of mechanisms that can help speed the process (and be easier on your hands).
There are several nice-looking sprocket-type "chain bender" models available on the various 3D printing sites, but I wanted to create something simpler and faster to print. The design I came up with worked really well for me so I wanted to share it with the community.
Design
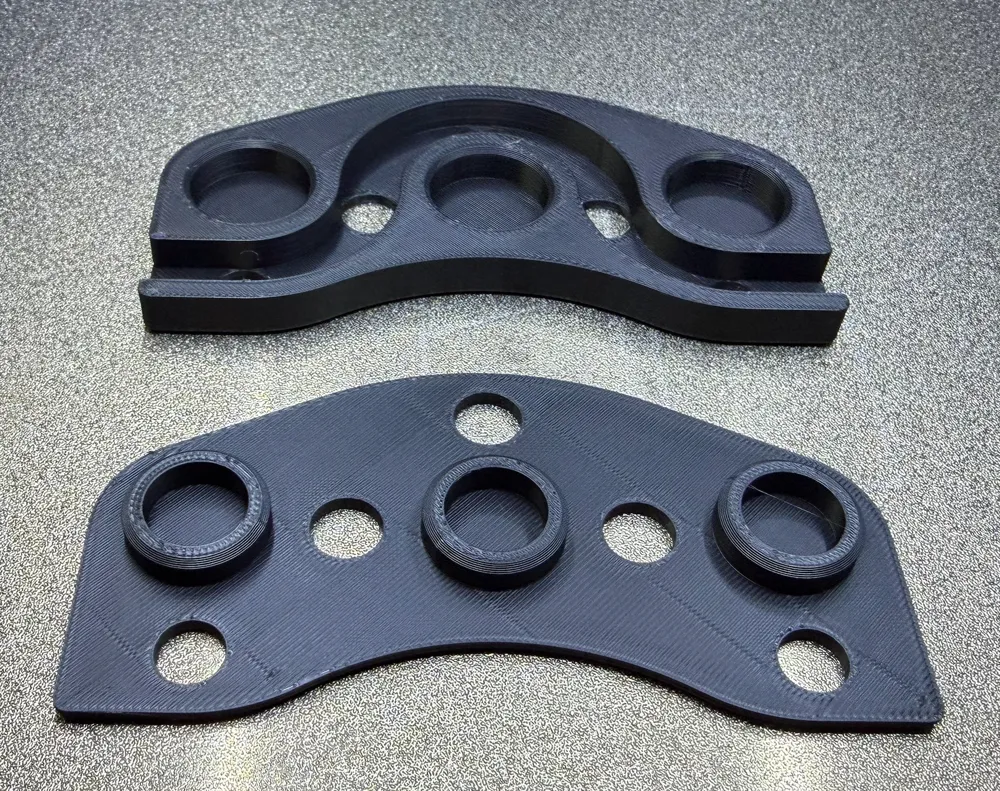
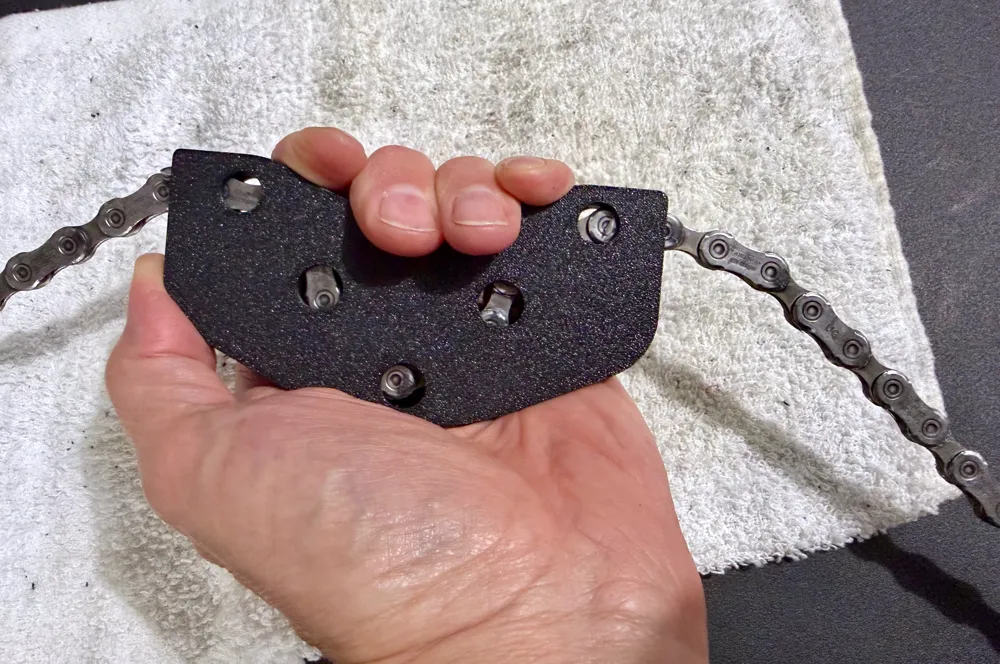
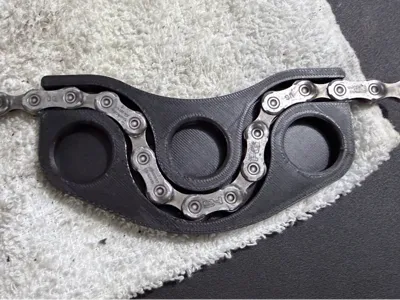
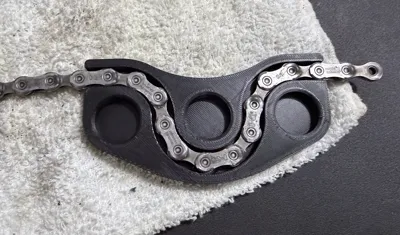
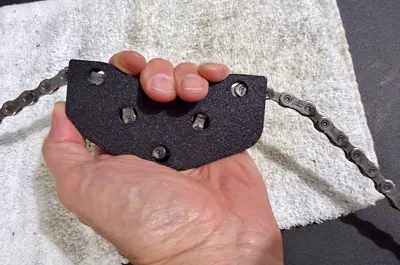
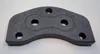
The goal was to design something that printed quickly, did not require supports, and had no moving parts or extra pieces (i.e., bearings) required. I also wanted it to be relatively ergonomic and durable so I could toss it in with my other chain tools. I used a somewhat conservative bend radius but it's enough to wiggle each link back and forth relative to one another without creating too much friction.
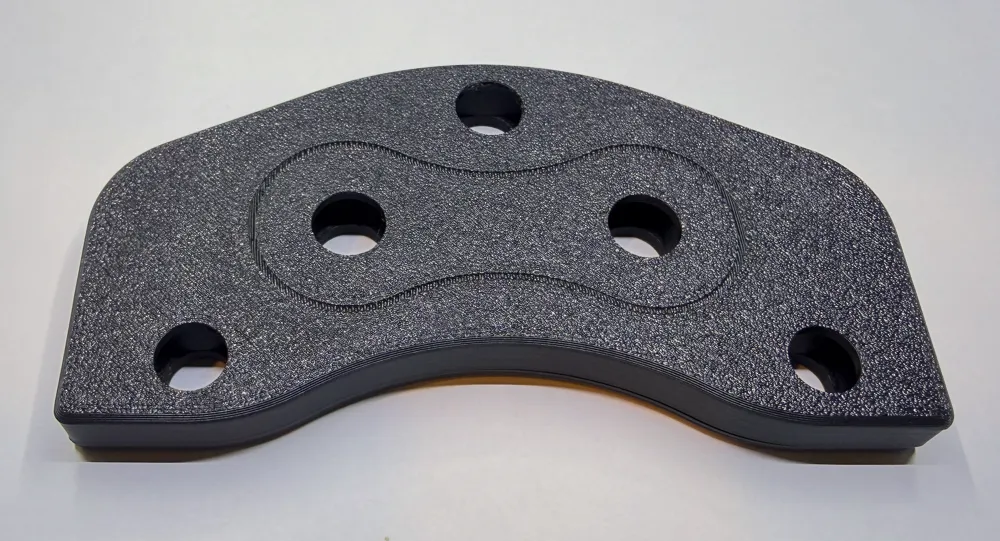
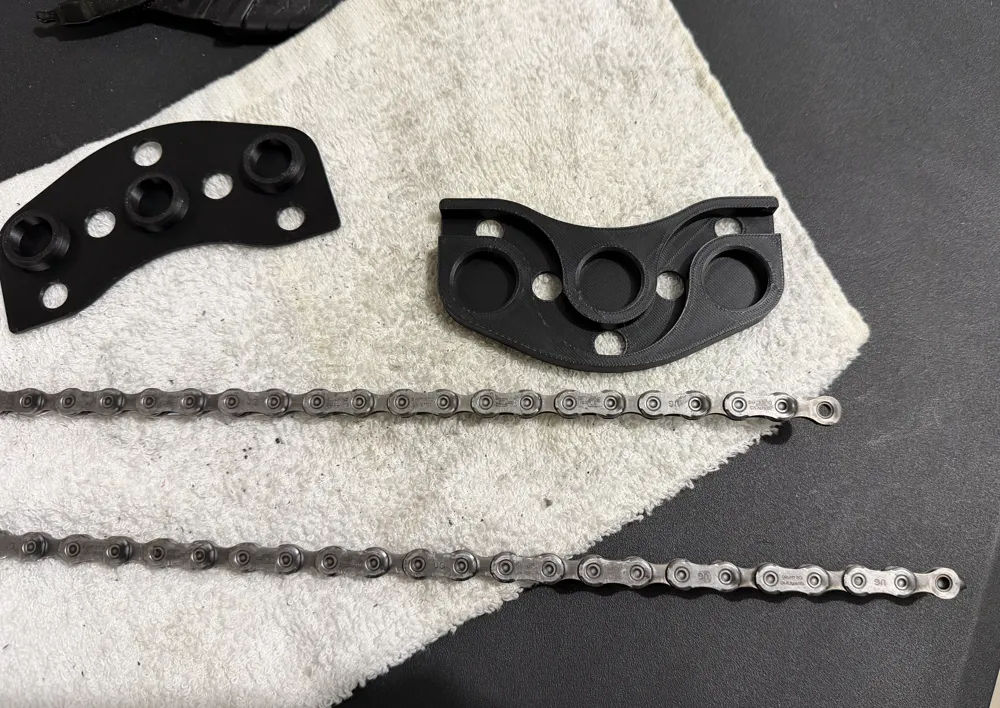
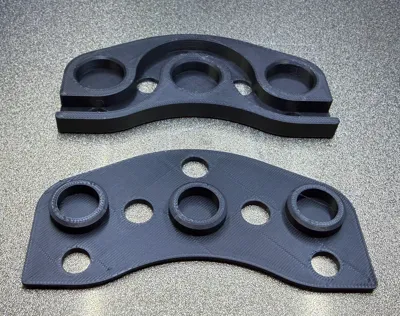
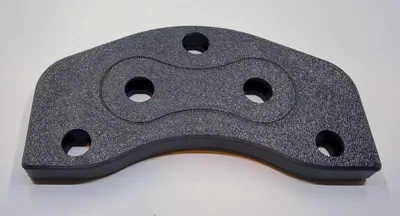
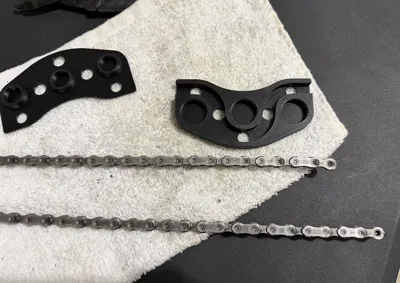
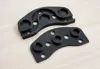
Holes were added to allow viewing the chain and to help with cleanout of residual wax.
The fit between the round alignment bosses and their pockets should be good enough for most printers but let me know if you would like a version with more clearance. I found that the seam on each cylindrical boss does a great job taking up the tolerance.
The channel is 6.5mm wide which should accommodate 10 to 12-speed chains.
Use
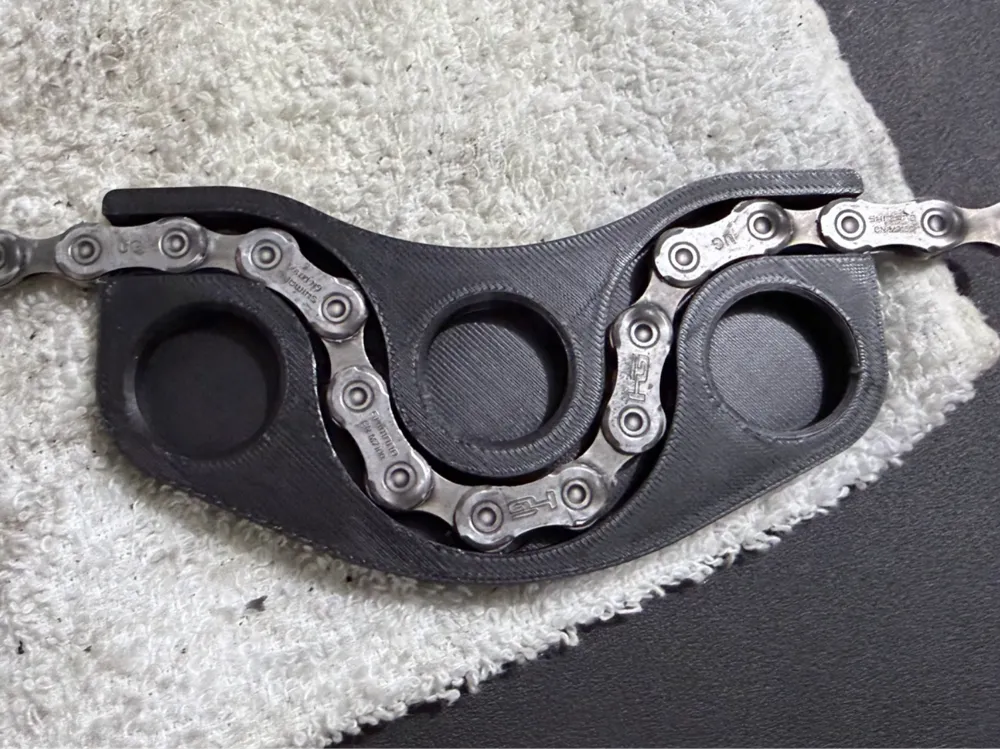
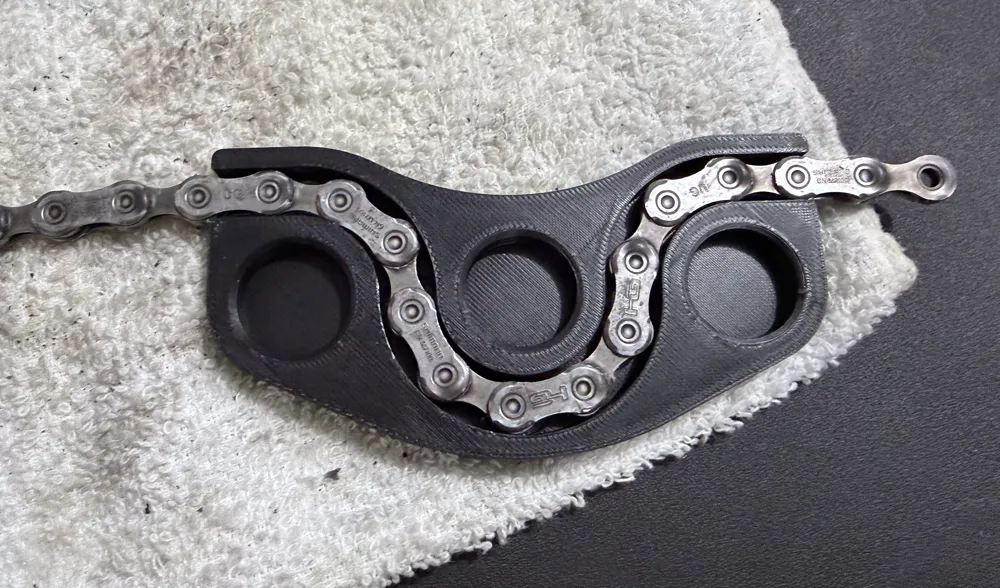


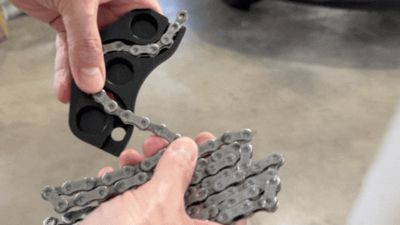
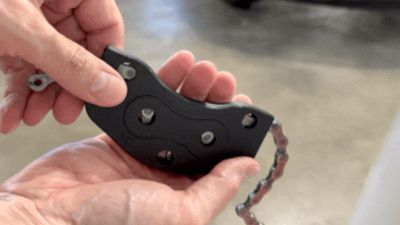
You'll have to manually loosen up the first few links to allow the chain to fit into the part (see photos). With the cover off, push the chain into the channel. Replace the cover and pull on the short end of the chain. Do this back and forth a few times and the chain will be flexible enough to reassemble back on to your bike.
Update July 1 2026: Please see the animated GIFs I added to show loading and usage!
Printing
I printed with cheap black Inland "PLA Basic" and it worked fine, but I suspect you could print this with whatever material you had on hand. I'm sure PETG would be more durable, but the PLA survived the first chain with next to no wear. I used standard settings - 2mm layer height, 15% infill and no need for supports.
Let me know how this works for you and please post your makes!
Update July 1 2026
I have updated the model to improve compatibility with SRAM flat top chains and included some GIFs to demonstrate usage
Related Models
If you love a clean bike and want an easier way to clean your jockey wheels check out this 10 minute print. It's been popular on other sites so I've put a copy up here on Makerworld: https://makerworld.com/en/models/2964040-jockey-wheel-scraper-for-12-speed-chain
License

You shall not share, sub-license, sell, rent, host, transfer, or distribute in any way the digital or 3D printed versions of this object, nor any other derivative work of this object in its digital or physical format (including - but not limited to - remixes of this object, and hosting on other digital platforms). The objects may not be used without permission in any way whatsoever in which you charge money, or collect fees.


Comment & Rating (39)