P2S/P1S/H2 Sealed Waste Drawer (Poop Chute Bin)


Print Profile(1)


Description
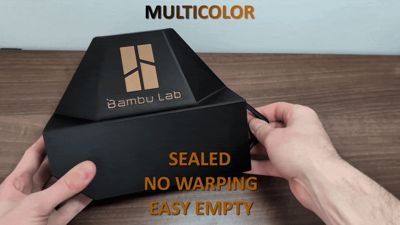
🗑️ H2/P2S/P1S Sealed Waste Drawer (Poop Chute Upgrade)
I couldn’t find a waste solution for the P2S that really matched what I had in mind, especially coming from a Centauri Carbon where I had a great drawer-style system. So I designed my own — a clean, functional, and fully enclosed waste drawer that fits seamlessly into the P2S setup.
This model replaces the typical open waste bin with a sealed drawer system, improving both usability and print environment control.
⚡ Features
- Sealed design
Helps retain warm air inside the chamber — especially useful for high-temperature materials. - Drawer-style waste bin
Smooth sliding with tight tolerances makes disposal quick and mess-free — no more blindly reaching behind the printer. - Ergonomic handle
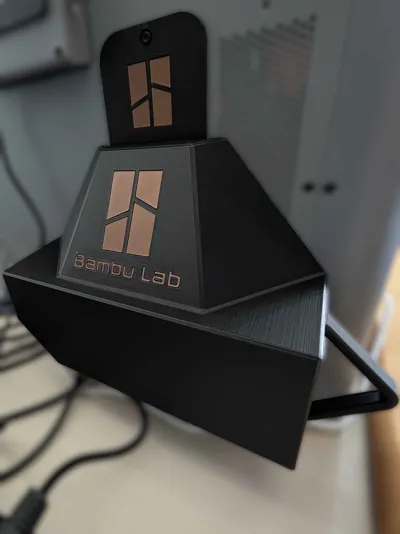
Easy to grab and pull out without hassle. - Clean & minimal look or with a splash of color
Designed to match the aesthetic of modern printers, with multi-color options available. - Secure fit
Snug alignment ensures stability and proper sealing — and no through-holes for screws like some other designs. No supports
Designed with FDM printing in mind, with optimized geometry to avoid the need for any supports and unseemly support marks on your print.
Easy and fun to print
Easy to print with the provided profiles and fun to watch the print progressing in a leaning position.
Economical
The model is optimized to use the least amount of filament necessary for its intended function, its economical on material while still sturdy.
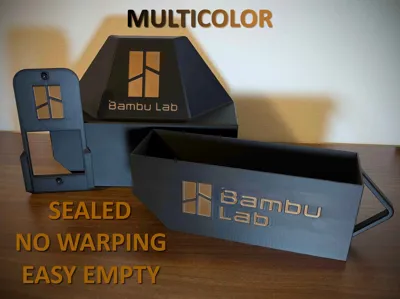
🛠️ Installation
- Mount the holder using the two screws located above and below the waste chute.
- Slide the housing onto the mounted holder.
- Insert the drawer into the housing.
- [Optional] Glue in the logo inserts for your splash of color if you went with that option.
Done — your sealed waste system is ready to go.
🧊 Printing Notes
- Material: PLA is sufficient
- Choose your desired option: I would only suggest printing the holder multicolor as there is a lot more purge and tower waste with the other two parts. I did include multicolor options for all parts if you don’t mind the higher waste (these plates are clearly marked with [HIGH WASTE] in their title). The most economical way is to use the inserts and glue them in the debossed parts. Use glue that doesn’t leave white residue as its hard to make it look perfectly clean otherwise (don’t ask me how I know ;).
If you’re looking for a more refined alternative to the stock waste solution, that is easyer to use and optimized to keep the chamber from leaking heat from the poop chute, this upgrade is perfect for the job while adding a bit of style to your setup!
If you appreciate the design, consider a boost and take a look at my other models.
Boost Me (for free)
Aiming to create more functional parts, if you like my work boost me 🚀
License
You shall not share, sub-license, sell, rent, host, transfer, or distribute in any way the digital or 3D printed versions of this object, nor any other derivative work of this object in its digital or physical format (including - but not limited to - remixes of this object, and hosting on other digital platforms). The objects may not be used without permission in any way whatsoever in which you charge money, or collect fees.
Comment & Rating (12)