No-Fume 3D Printer Vent System (P2S/X2D)
Print Profile(1)
Bill of Materials



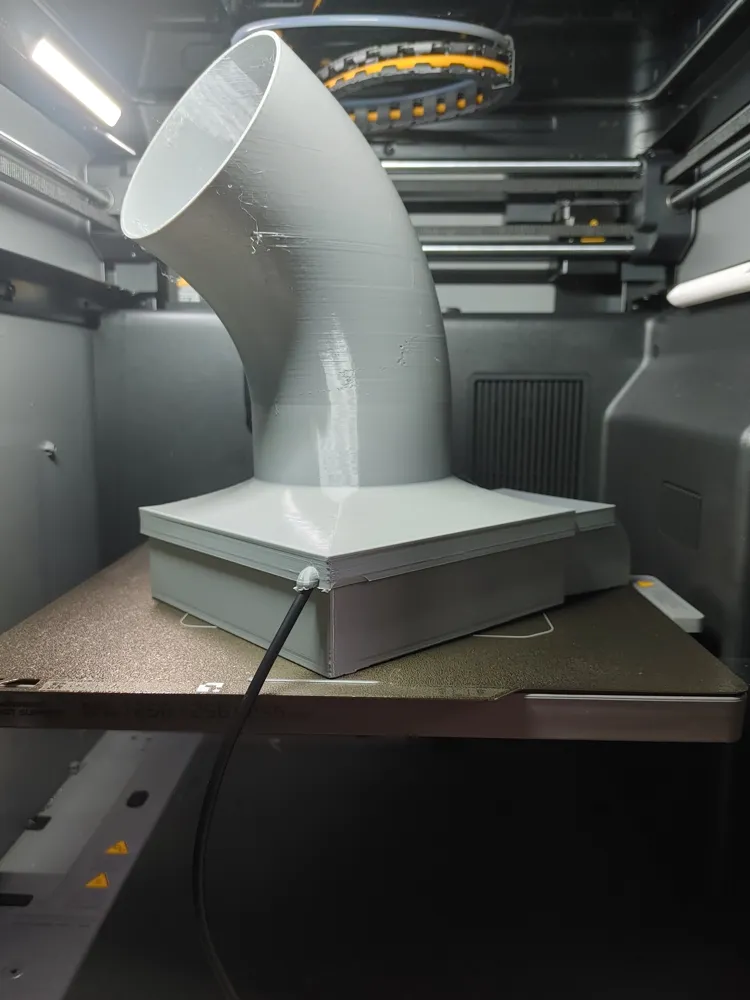
Description
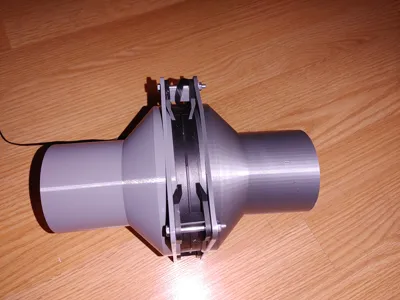
Eliminate Fumes From Your 3D Printer Setup!
A clean, simple way to vent fumes, odors, and particles, designed specifically for your Bambu P2S or X2D.
Designed for real-world use — not just redirecting air, but enabling full extraction systems similar to high-performing builds in this space.
The Problem
Even with enclosed printers, fumes can:
- Build up in your room
- Escape when opening the door
- Contain particles and VOCs
Many solutions are:
- Complicated
- Expensive
- Poorly sealed
The Solution
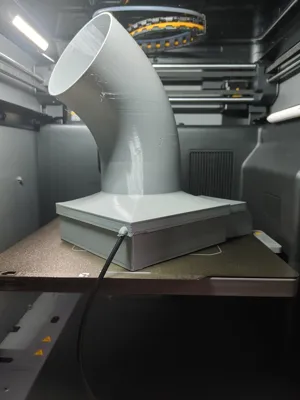
This adapter creates a direct negative-pressure vent path from your printer to:
- Ducting systems
- Inline fans
- Carbon / HEPA filters
- The outside :)
Features
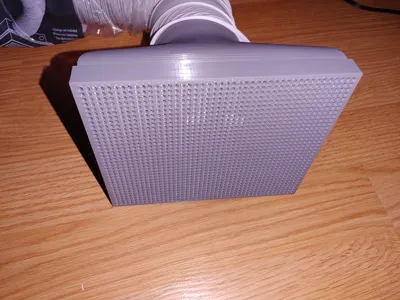
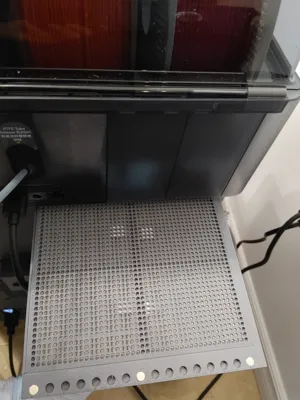
- Custom-fit for Bambu P2S/X2D 3D-Printers
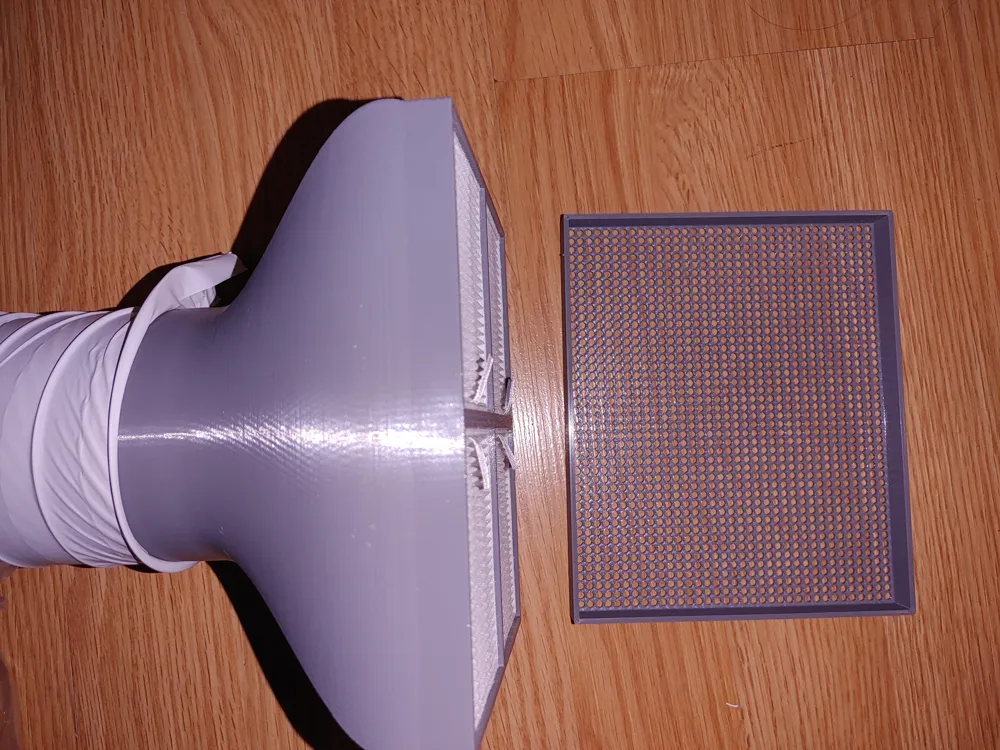
- 3" duct compatible (standard ventilation)
- Secure mounting design
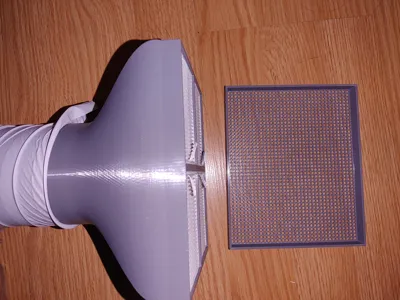
- Optimized airflow path with inline filtration
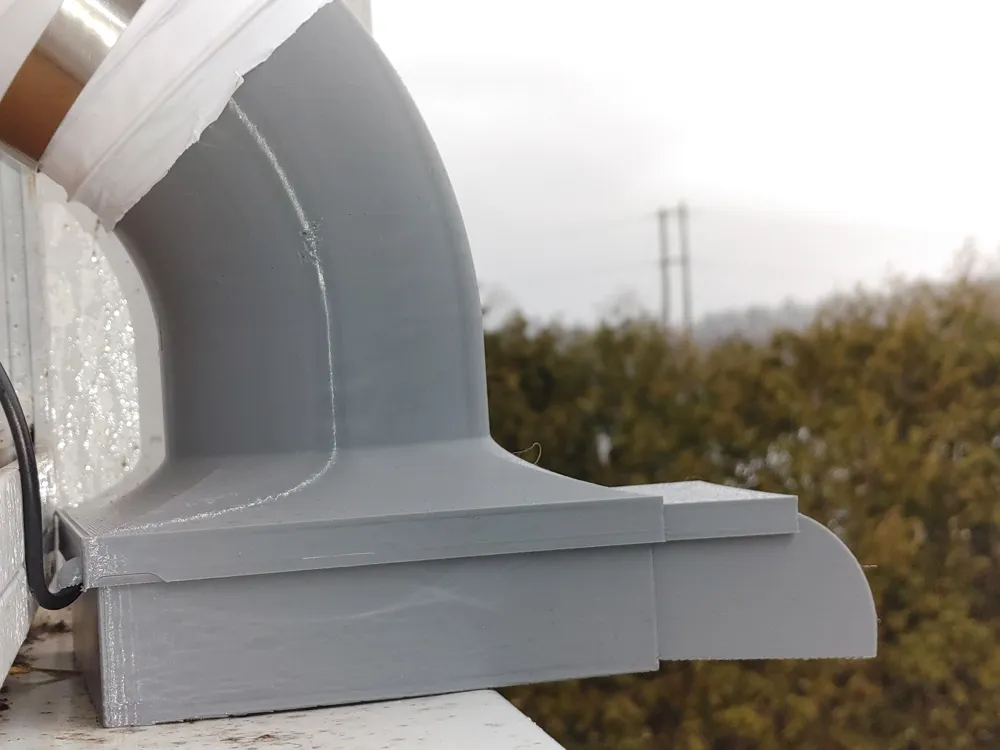
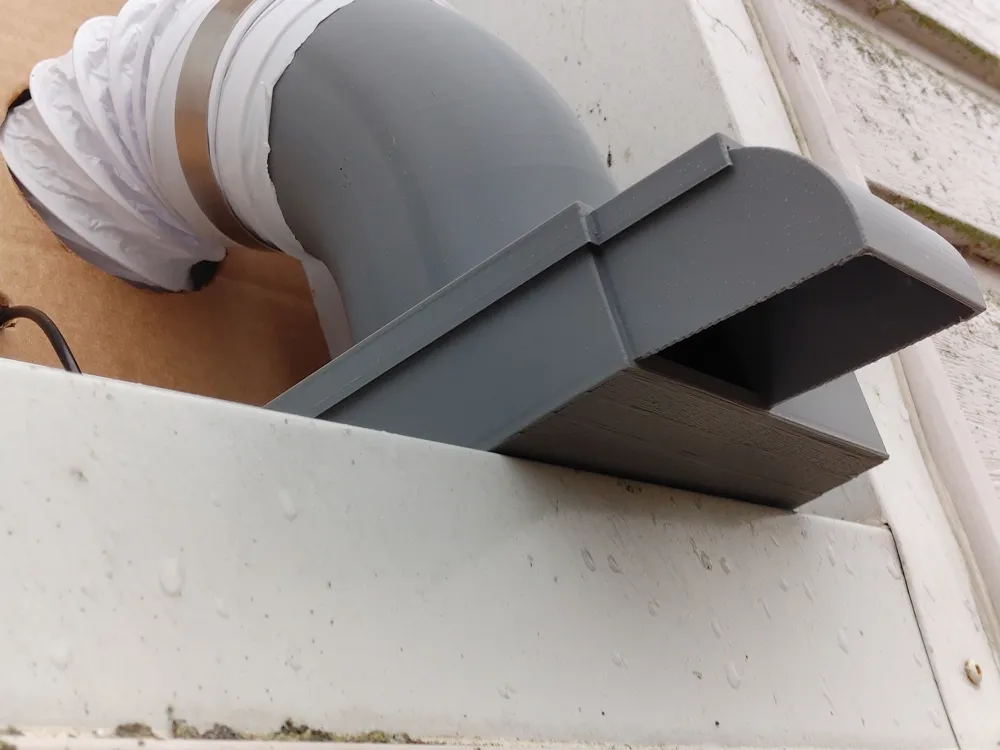
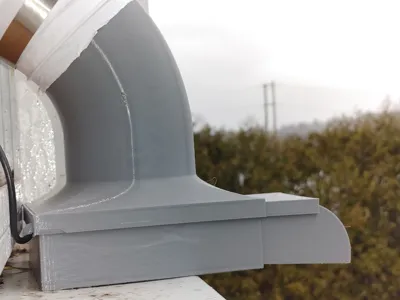
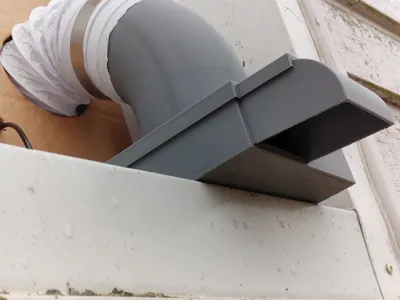
- Rain / Splash resistant design
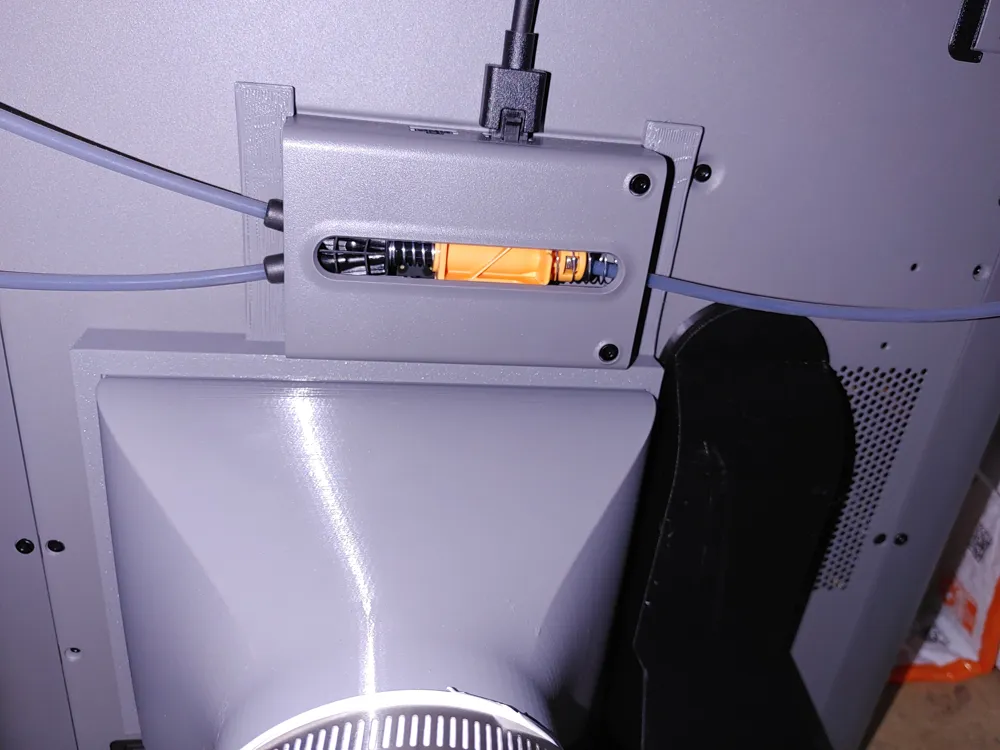
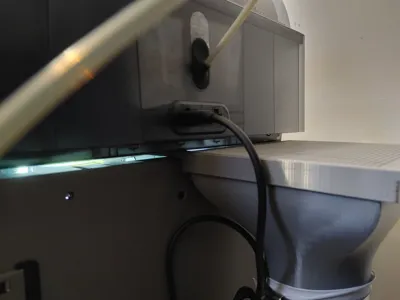
- Water-shed power cord path design
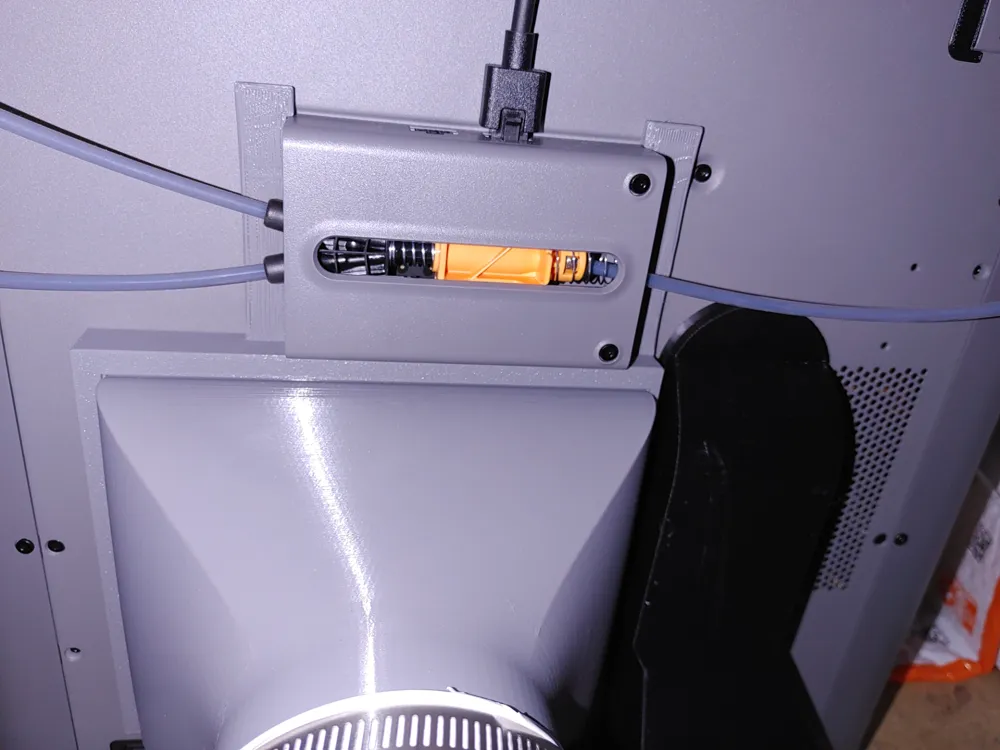
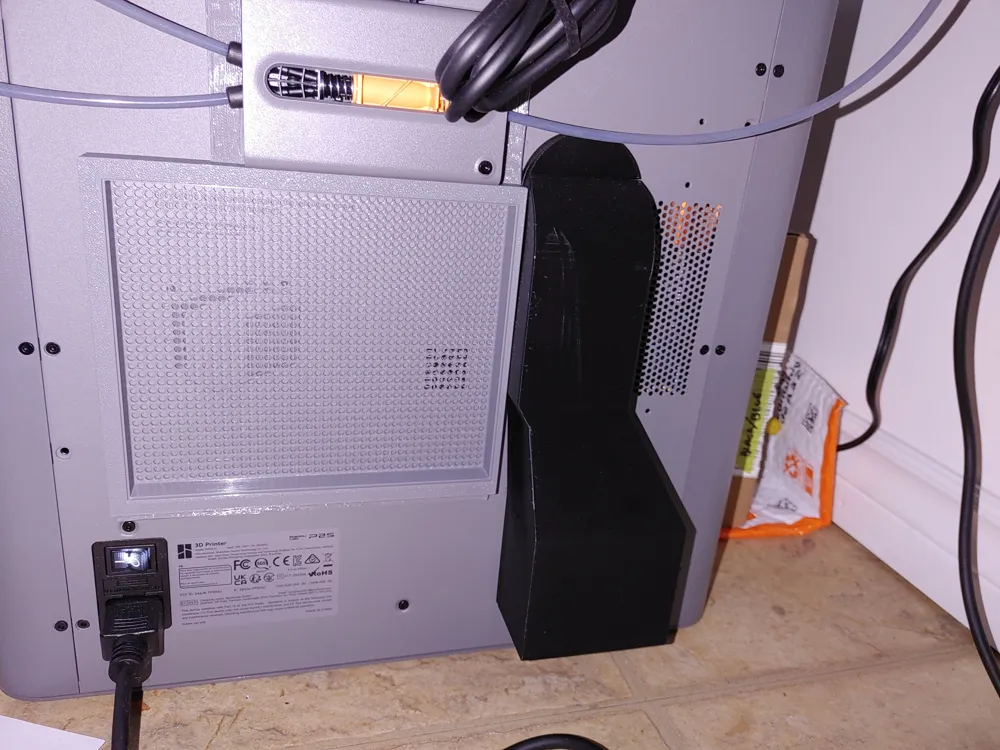
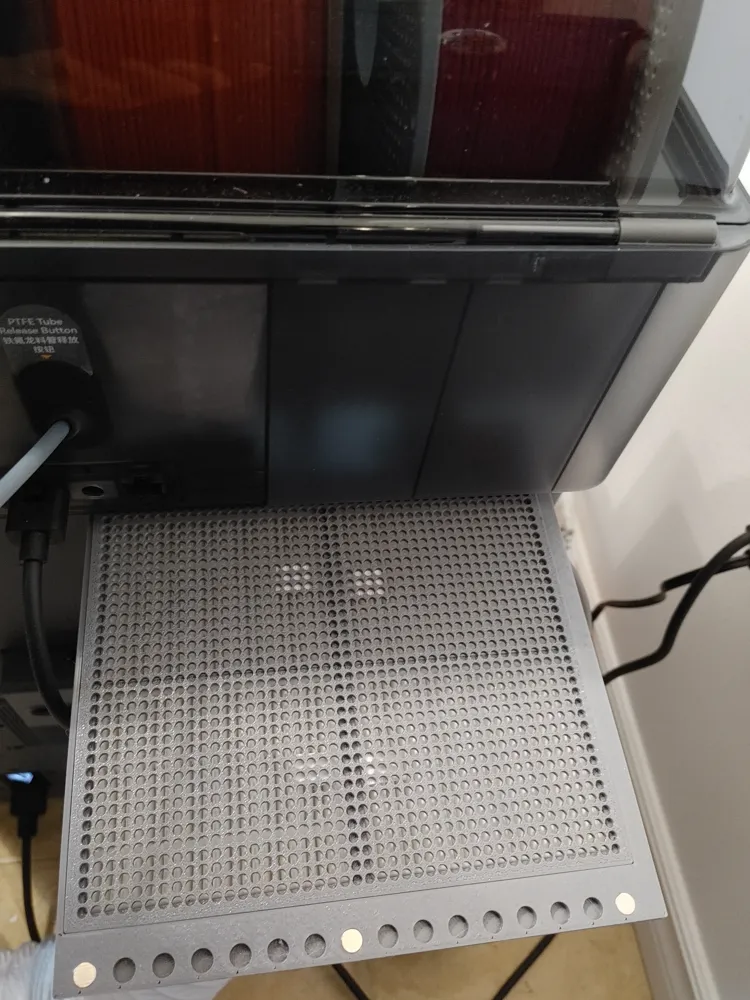
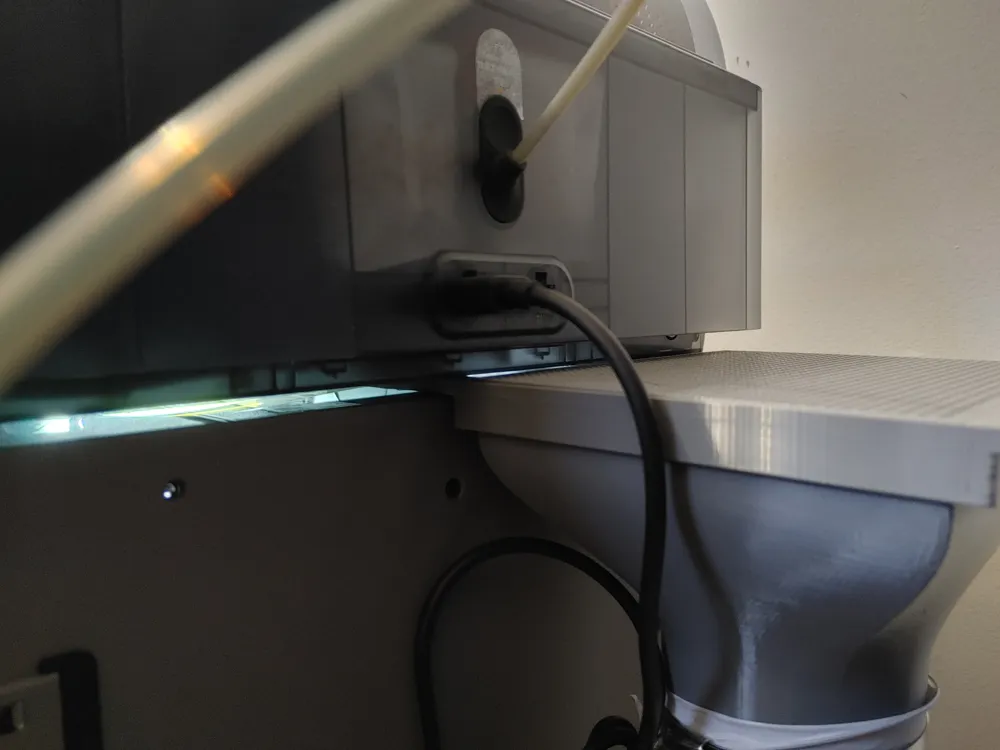
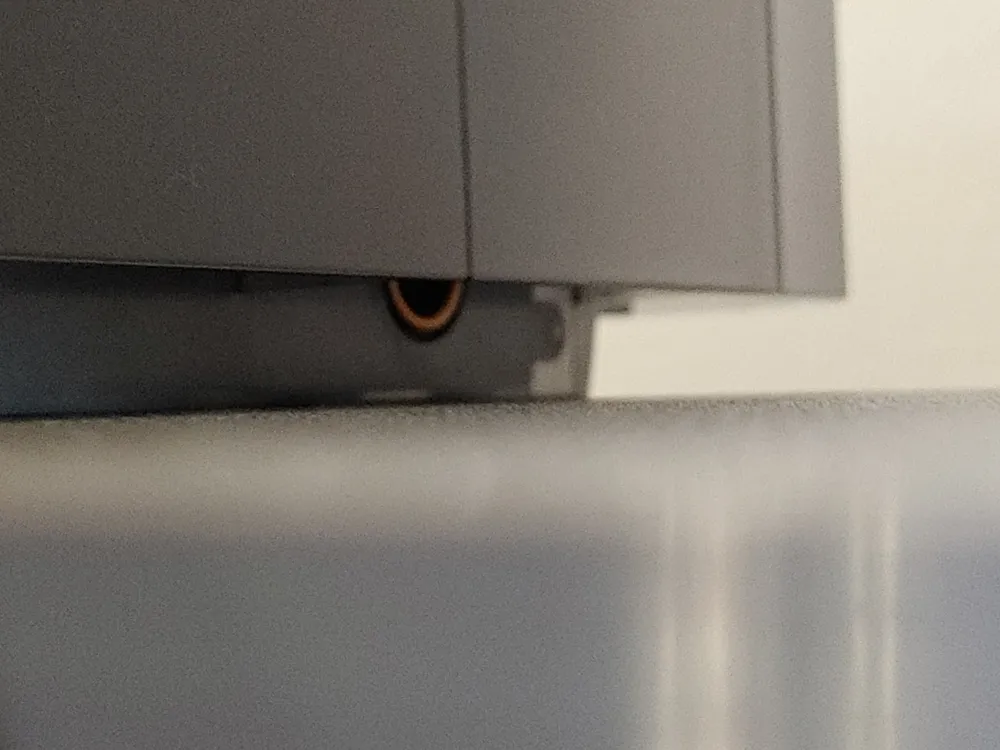
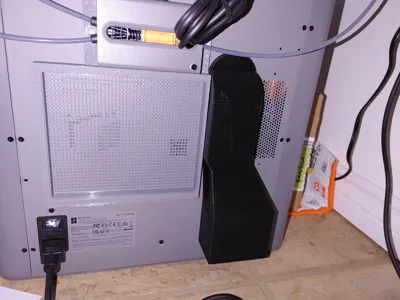
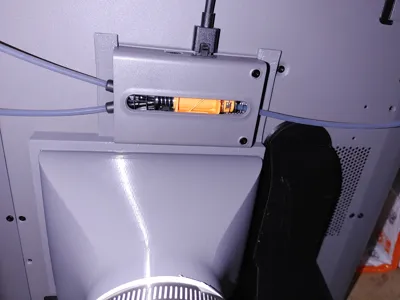
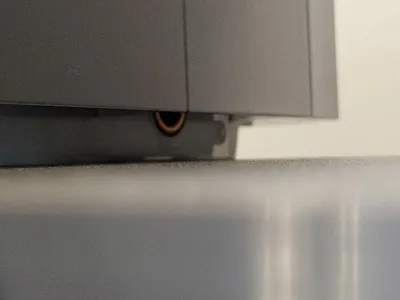
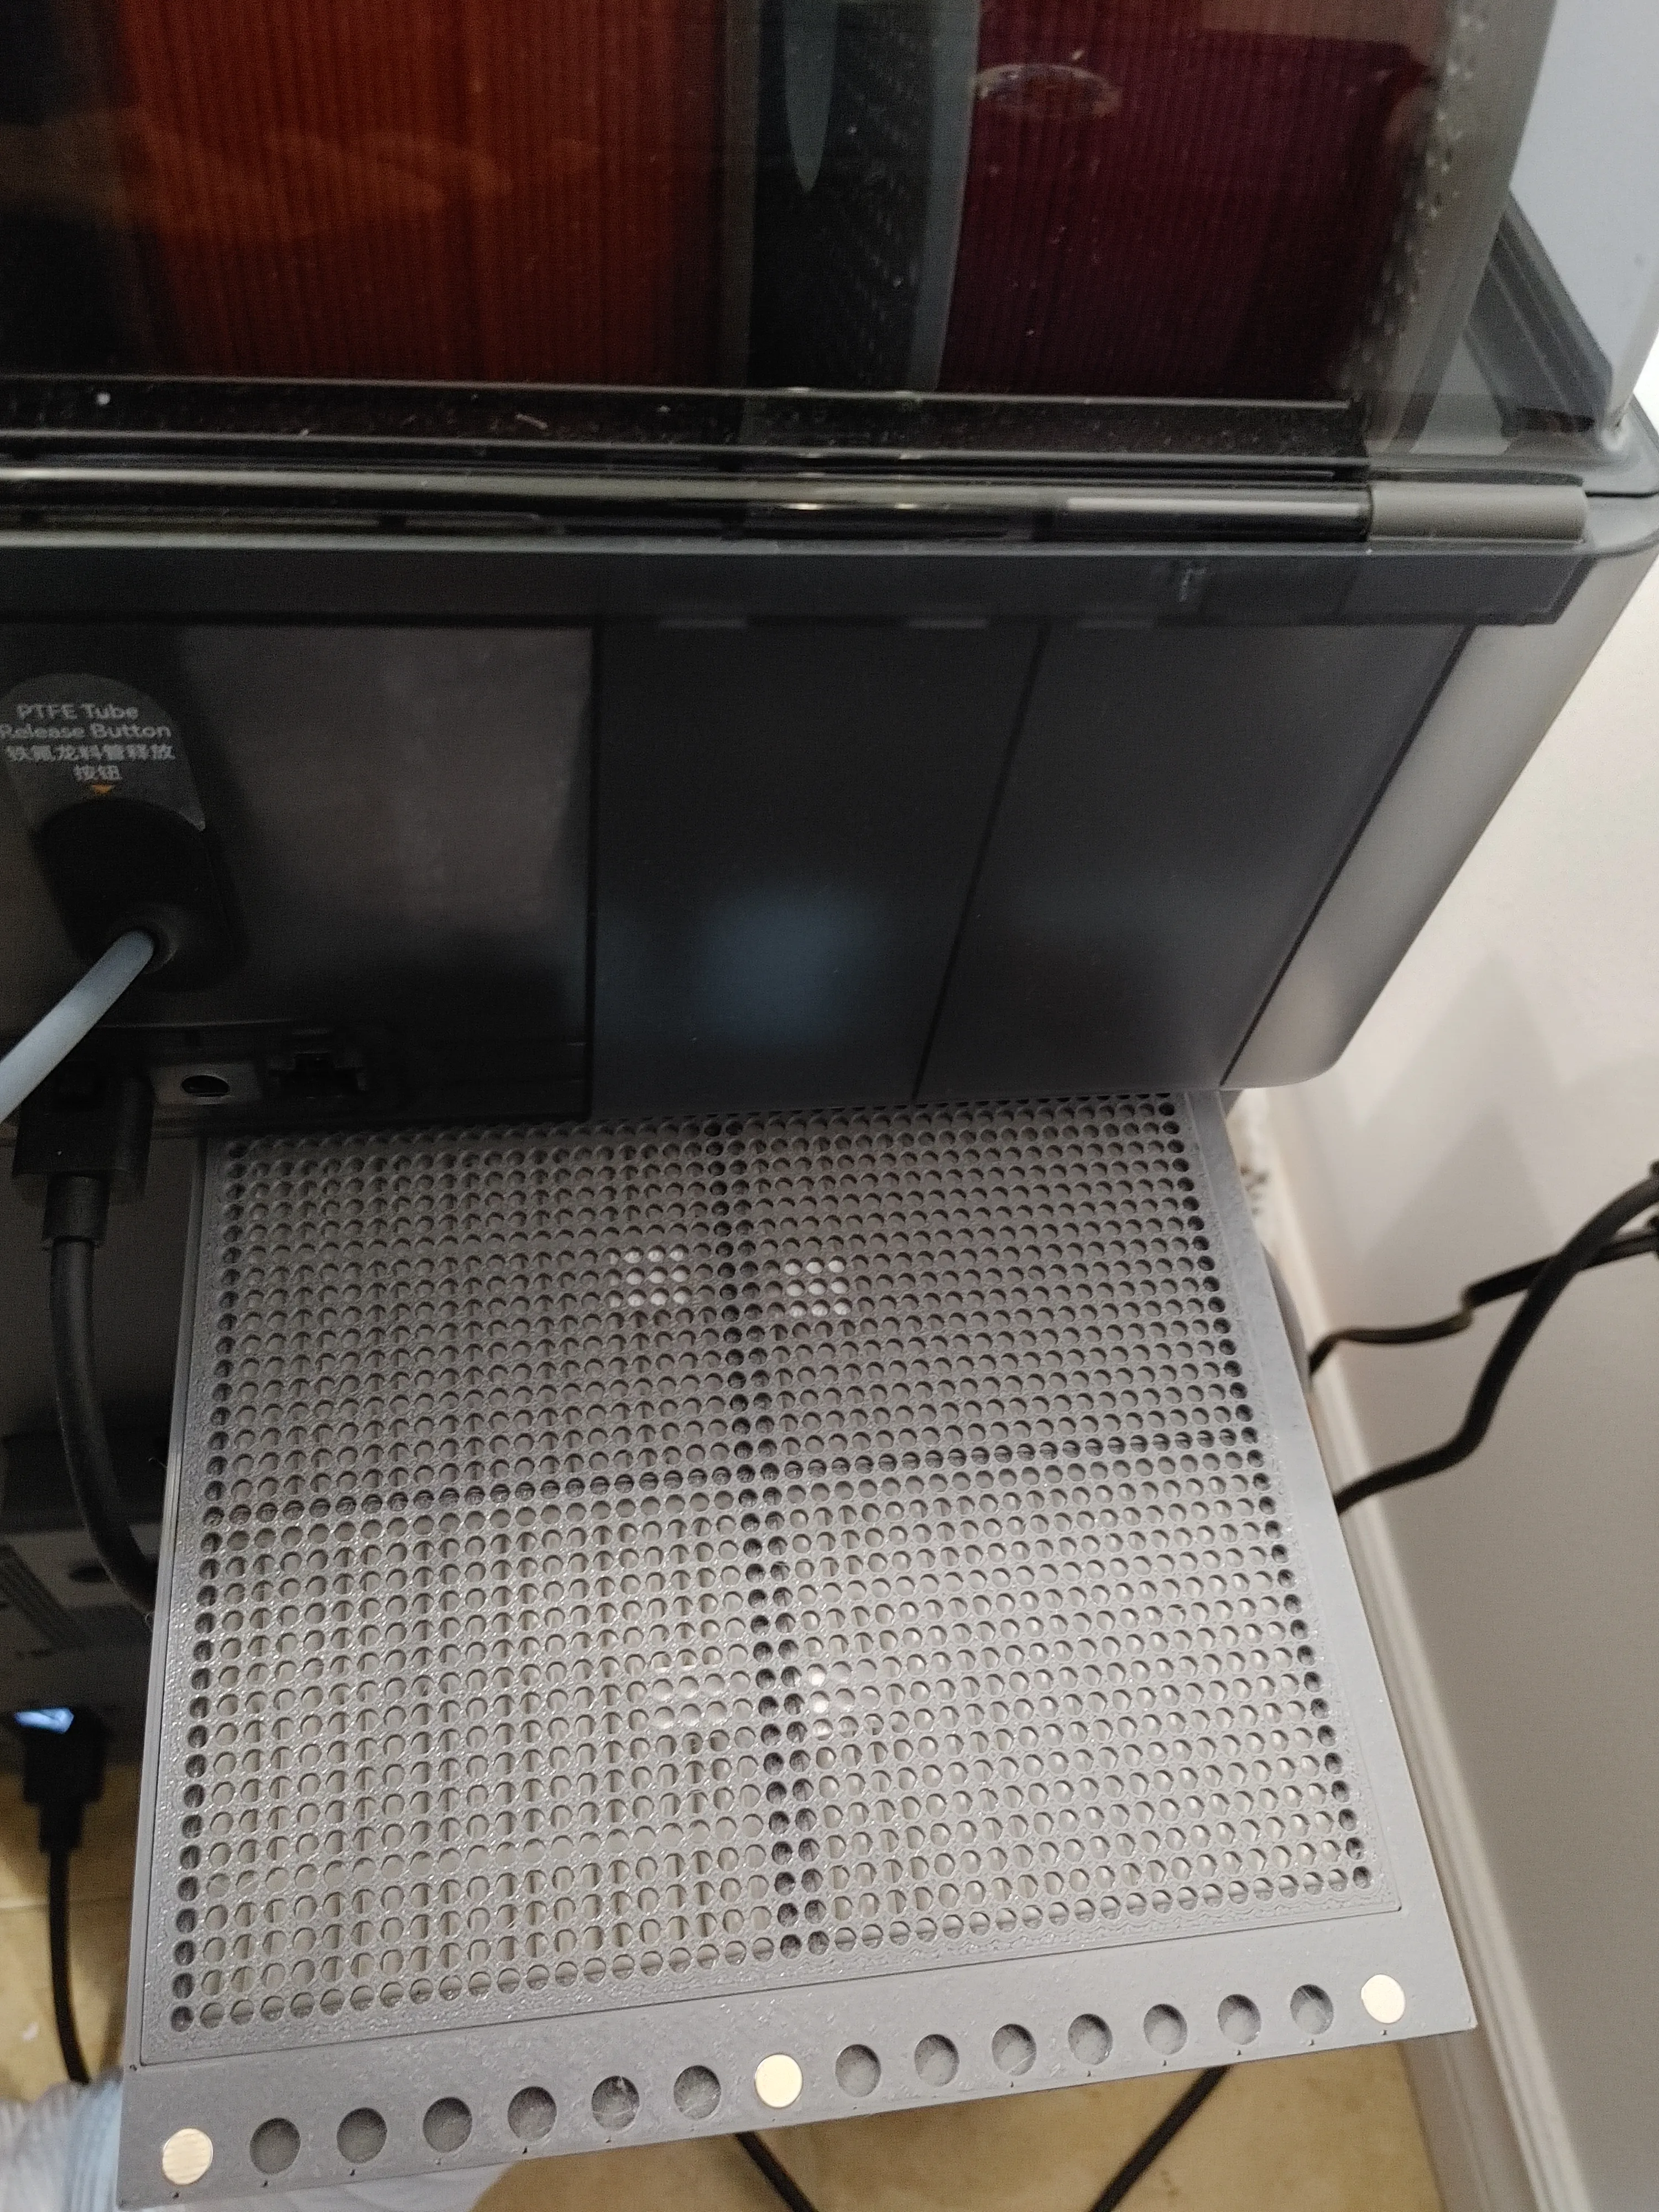
Bonus Feature: Vent the heat from the AMS2Pro when drying and not printing, observe picture below
The weight of the AMS system holds the filters in front of the exhaust port of the AMS2PRO.
Modular System (IMPORTANT)
This is part of a scalable ventilation system:
Core Setup: Negative Pressure - Fan closes system
[P2S] → [Filter] → [Adapter] → [Duct] → [Fan & Housing] → [Outside]
Compatible With:
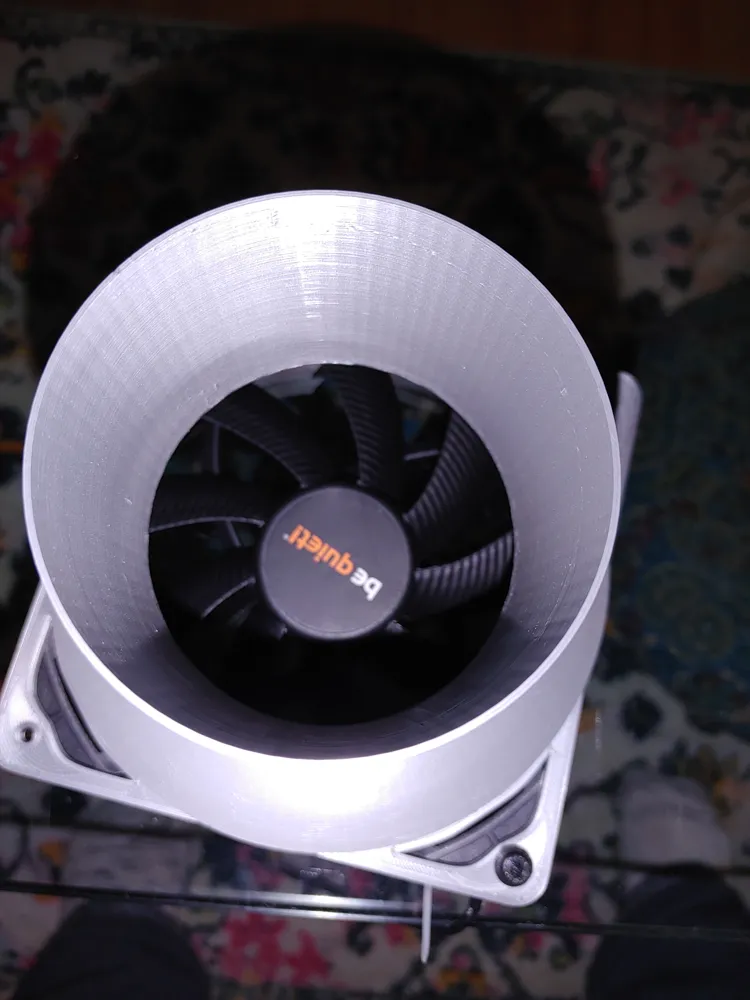
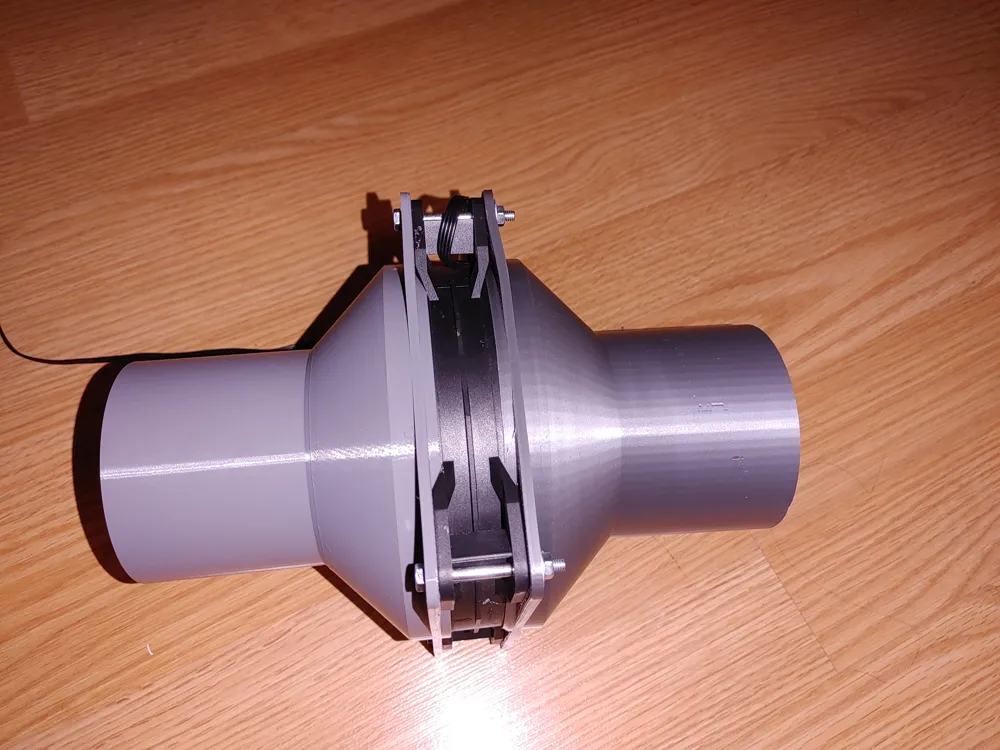
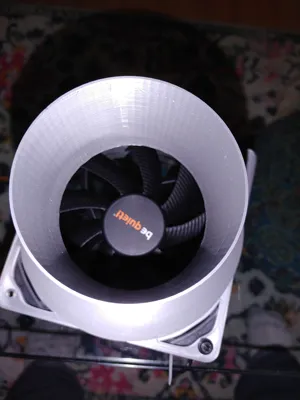
- My Water-Resistant Fan Housing Found Here: Wathai Water-Resistant Fan Housing - MakerWorld
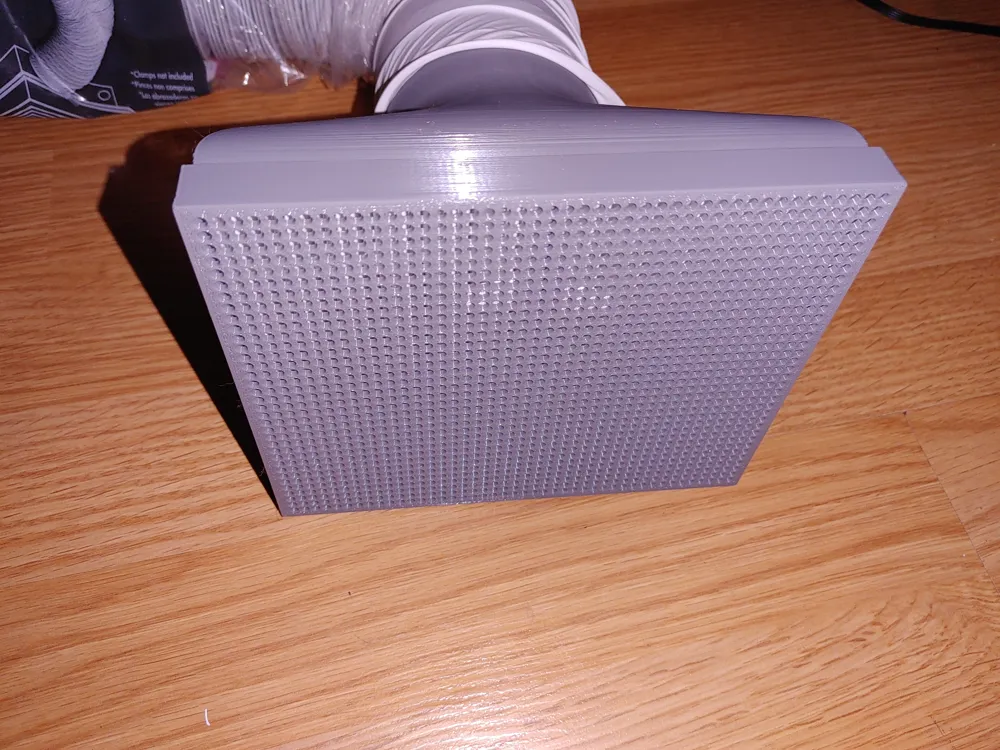
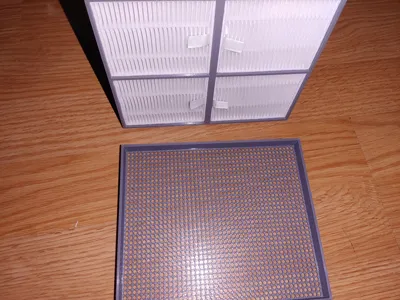
- Designed for Roborock Q7 L5 Filters found on amazon here: https://a.co/d/0b98PVc3
- Standard 3" Vinyl ducting
- Inline fans + carbon filters
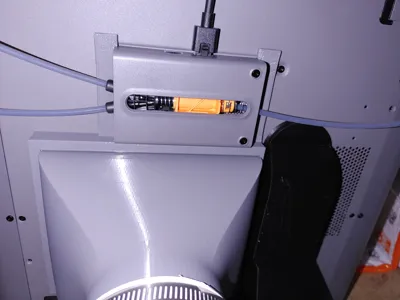
- Compatible with this poop chute from the pictures: P2S Magnetic Poop Chute for Exhaust Kit - MakerWorld
Credit to Throwthatback! for the poop chute! :D
Use Cases
- All filament and/or resin printing - All filaments release VOCs/UFPs.
- ABS / ASA printing (Fan is not so strong as to cause warping on low setting)
- Other high risk filaments
- Indoor printing setups
- Small rooms / offices
- Enclosures and cabinets
Installation Notes
- Mount directly to rear exhaust
- Connect to duct
- Add fan + filter for full system
- Breathe clean
⭐ If This Helped You
Leave a boost 🚀 — I’m actively expanding this into a full modular ecosystem.
Edits Below
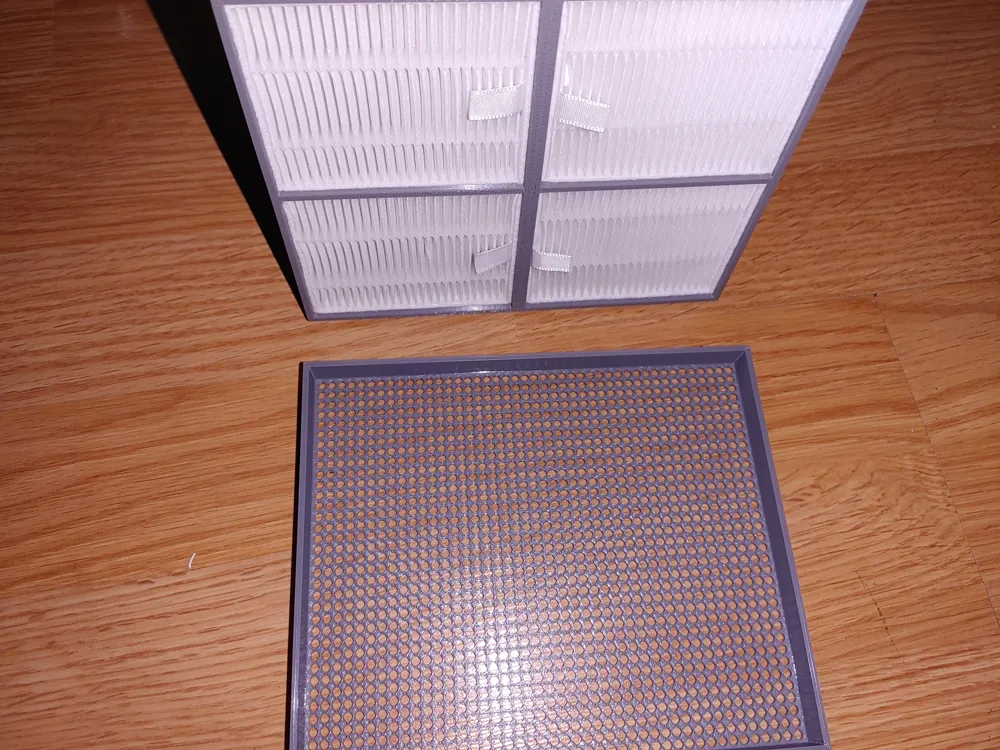
Filters: I should have been more descriptive with filter installation as even I questioned myself recently on my own model lmao. The filters can/should be pressed down gently around the edges until they meet the stops, this recesses them slightly within the frame leaving room between the filters and the back of the face (backside of the holes that are facing the filters). It will work regardless but this is what I designed the minor added depth for.
Also I have noted some confusion on here and other places I have shared this print so I'd like to add some clarification. If you are using this for the P2S/X2D and only want to print what you need for printer-side connections you should print the following:
- Plate #3: This is a filter housing to 3" ducting adapter, housing the filters linked above. Will work without them as well.
- Plate #7: (Holes in face for 5x3 magnets) This slides over plate #3 to retain the filters as well as has ears to hold onto the AMS hub. Adds an interface between the housing and the actual printer.
OR
- Plate #3: This is a filter housing to 3" ducting adapter, housing the filters linked above. Will work without them as well.
- Plate #8: This is identical to plate #7 except for the magnet size, there are 6x3 magnet holes on the ears that grab the AMS hub and 5x3 magnets on the rest of the face. Giving some variation to those that may not have 5x3 magnets but have some 6x3 magnets laying around.
This covers everything that is physically attached to the printer.
If you want to use the Wathai fan waterproof housing to complete the system; that model is linked above. Otherwise all the other plates are just for extra options if people only have the Bequiet fan (plate #2) or another fan with the same frame/body. Or if you simply want to connect ducting to the wathai fan without any fan housing that is what plate #4 & #5 are for.
If you want to print it for other uses (soldering, air extraction for installing heatserts etc) you would print plate #1 & #3 and then connect it to my Wathai fan model linked above (or plate #4 & #5 here if you don't want a fan housing) to actively extract the air from wherever you place the air inlet; or connect it to any other extraction system with a simple adapter if it is a different size.
IMPORTANT: If you printed plate #1 to use it for other uses as stated above but then at a later point want to be able to attach it to your P2S/X2D without printing all the holes over again which takes a fair bit of time, that is what plate #6 is for! Plate #1 & #3 can be assembled and slide right inside of plate #6! That is how I have my system so it is technically ‘modular’ as it can be with or without the ears/magnets on face by simply sliding off the frame with the ears/magnets; leaving plate #1 & #3 still assembled together with the filters installed and retained.
License

You shall not share, sub-license, sell, rent, host, transfer, or distribute in any way the digital or 3D printed versions of this object, nor any other derivative work of this object in its digital or physical format (including - but not limited to - remixes of this object, and hosting on other digital platforms). The objects may not be used without permission in any way whatsoever in which you charge money, or collect fees.


Comment & Rating (4)