
Luxury Led Lamp a Italian Design (Led Kit-001)
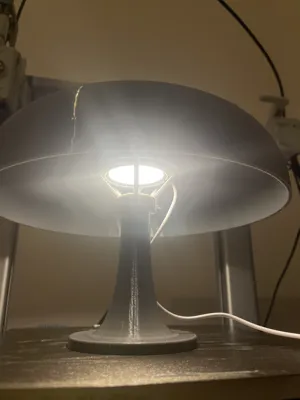
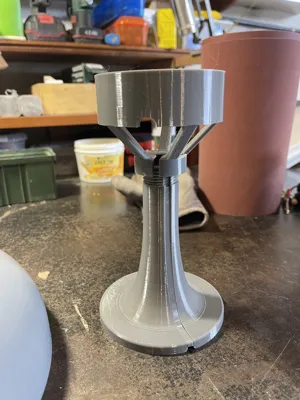
Print Profile(3)
Bill of Materials

Description
🌟 The Perfect Challenge: Create a Design Icon in Your Home!
Are you ready for a creative challenge? If you've never tried post-processing with primer and paint on a 3D print, this is the perfect project to test yourself and transform a simple piece of plastic into a true design object!
Boost Me (for free)
A small support if you liked the project ❤️
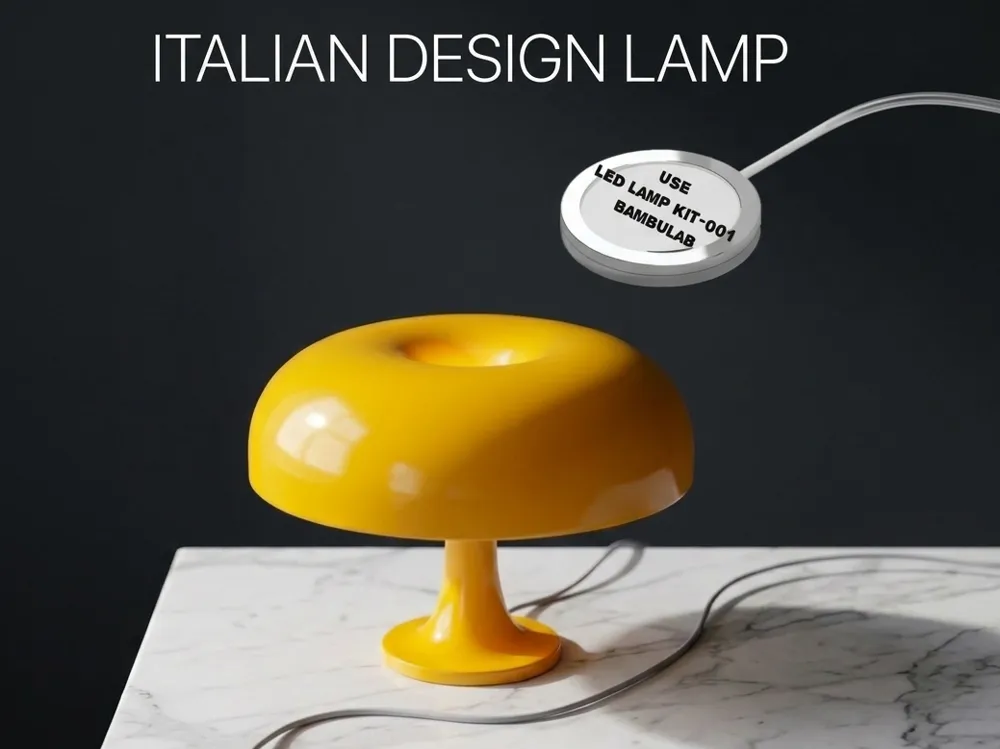
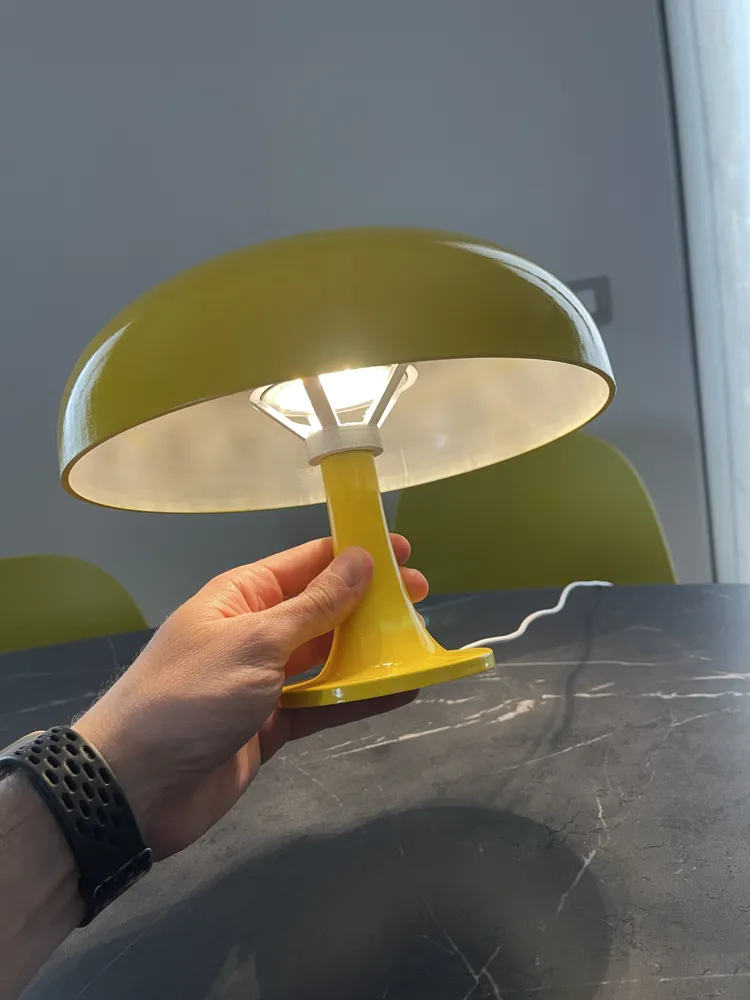
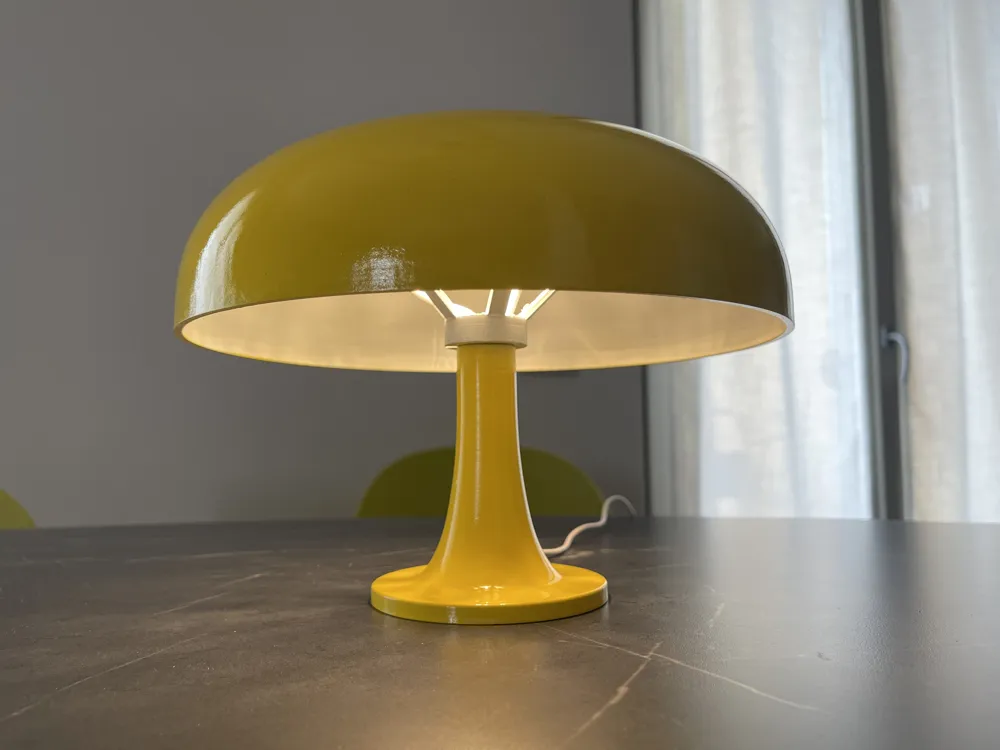
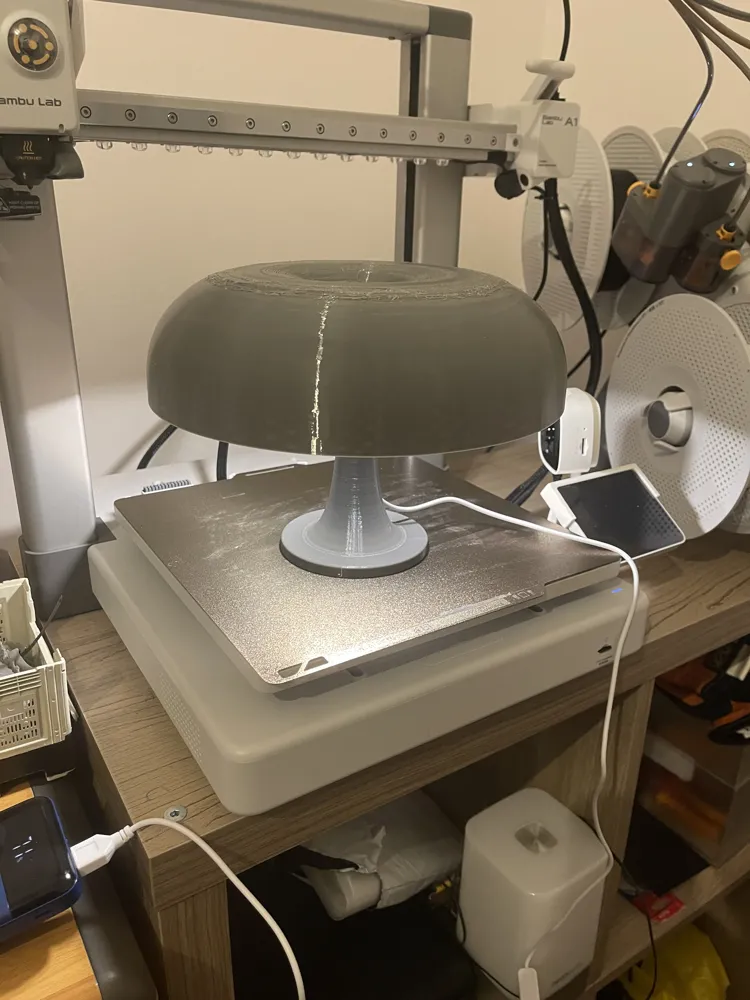
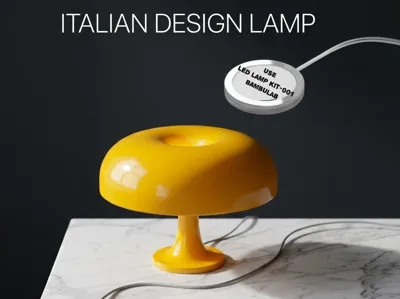
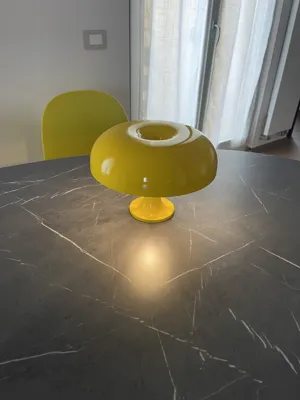
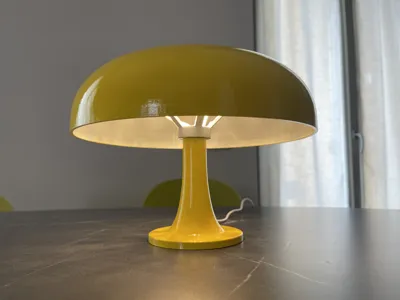
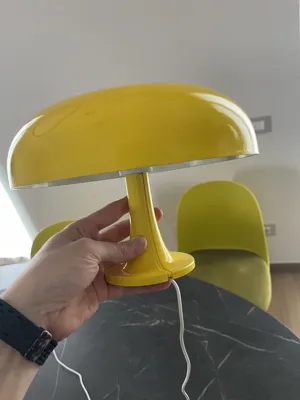
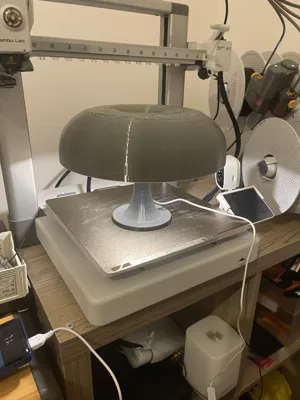
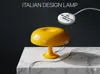
I took inspiration from a very famous and iconic Italian design lamp to create this modern, elegant, and completely 3D printable replica.
PRINT IT WITH THE MATERIAL YOU PREFER, I USED PETG BUT PLA IS ALSO PERFECT!
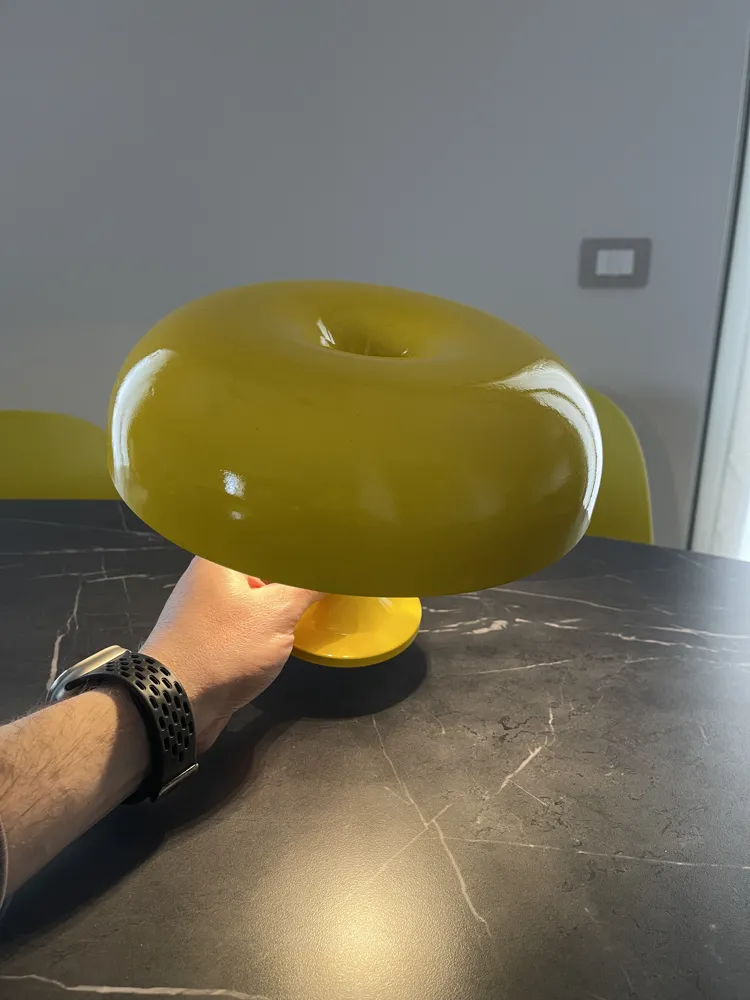
MODEL DIAMETER 245MM
💡 Designed for the Bambu Lab Kit
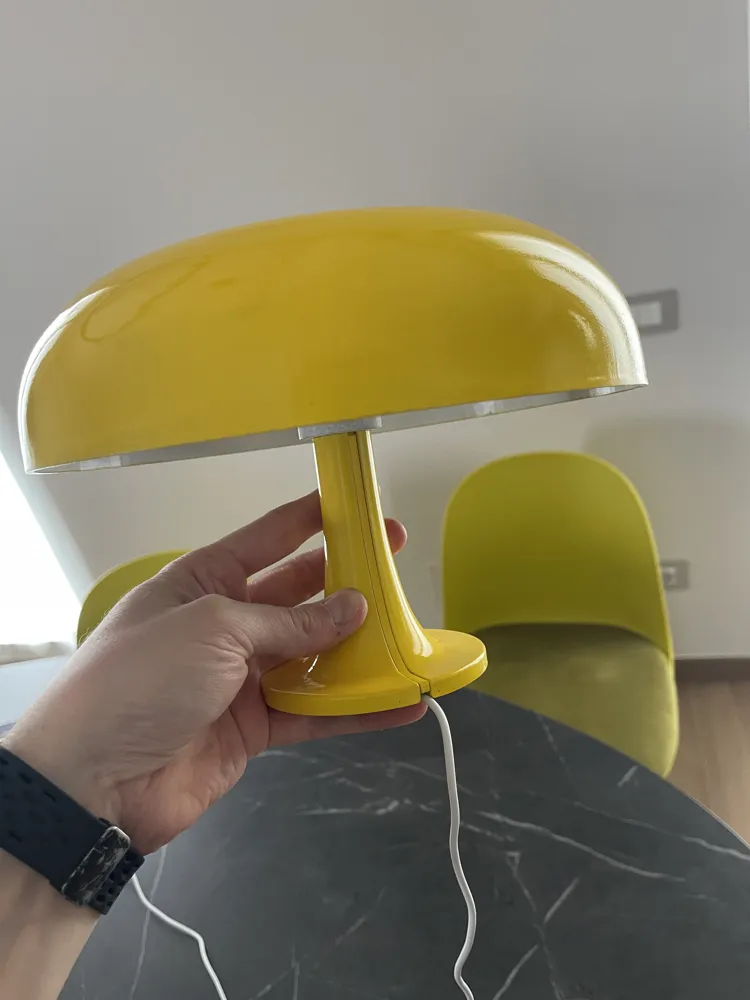
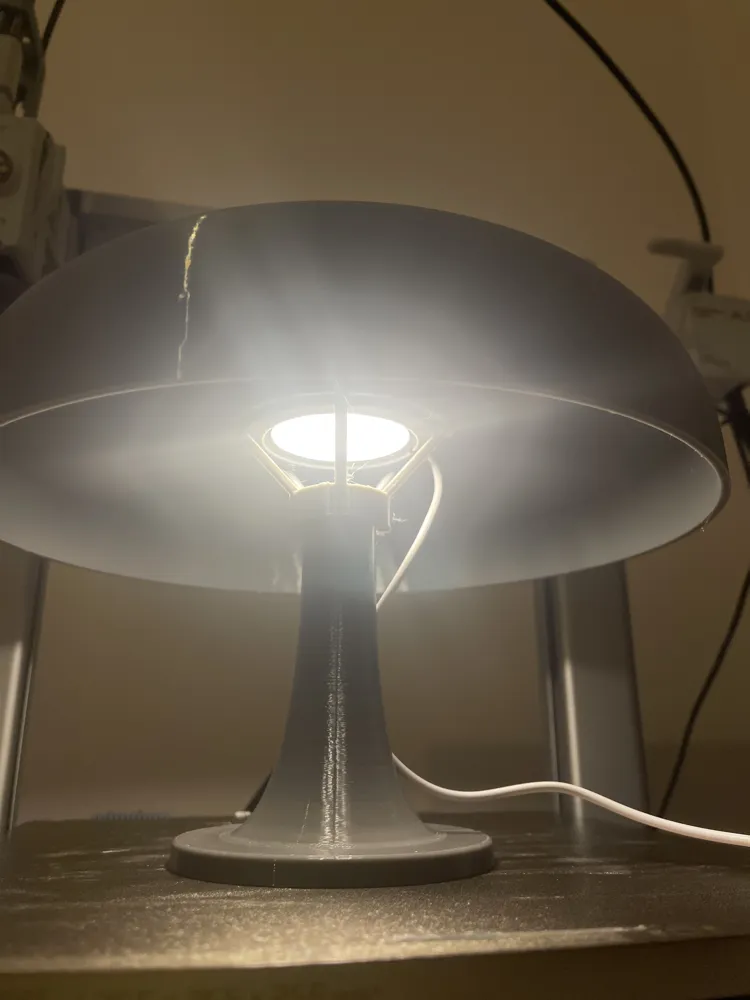
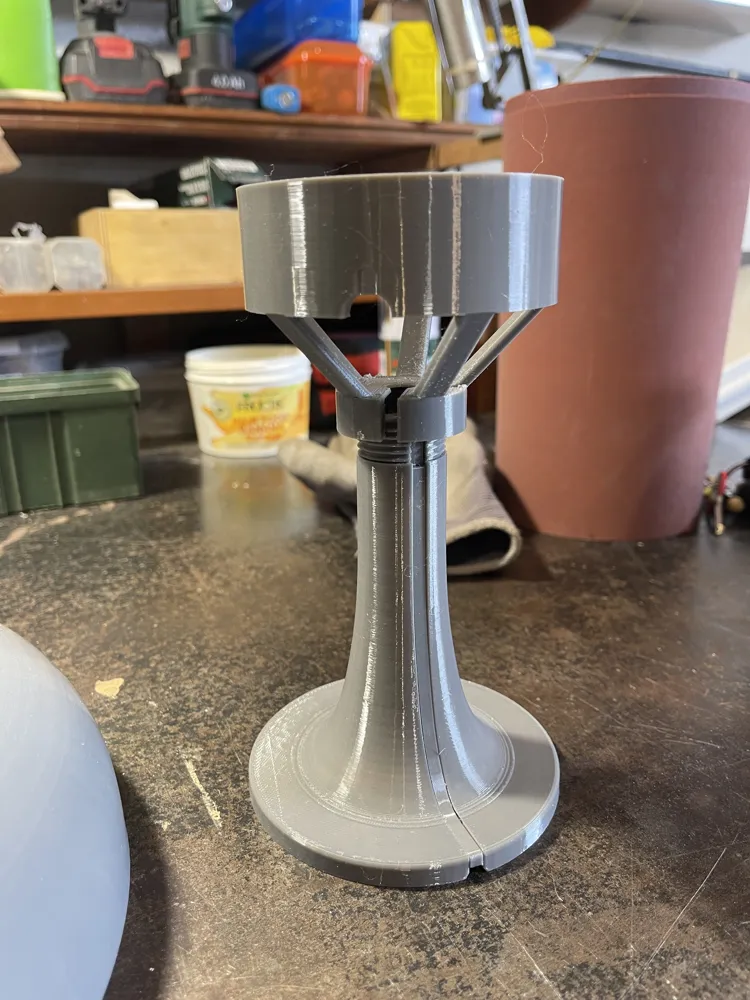
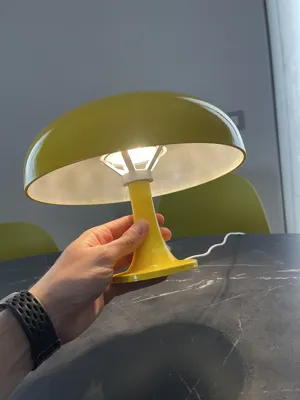
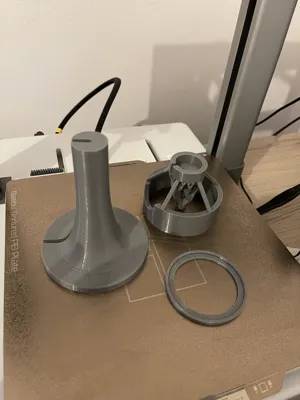
This model is not only beautiful to look at, but it has been built and designed in every detail to be functional. It is calibrated to the millimeter to use the Bambu Lab LED Lamp Kit-001.
The kit costs only a few euros, it fits perfectly and makes the final assembly a breeze.
🔗 Buy the LED kit below, you will be redirected to the bambulab store!
🎨 Option 1: The "Perfect" Result (Recommended)
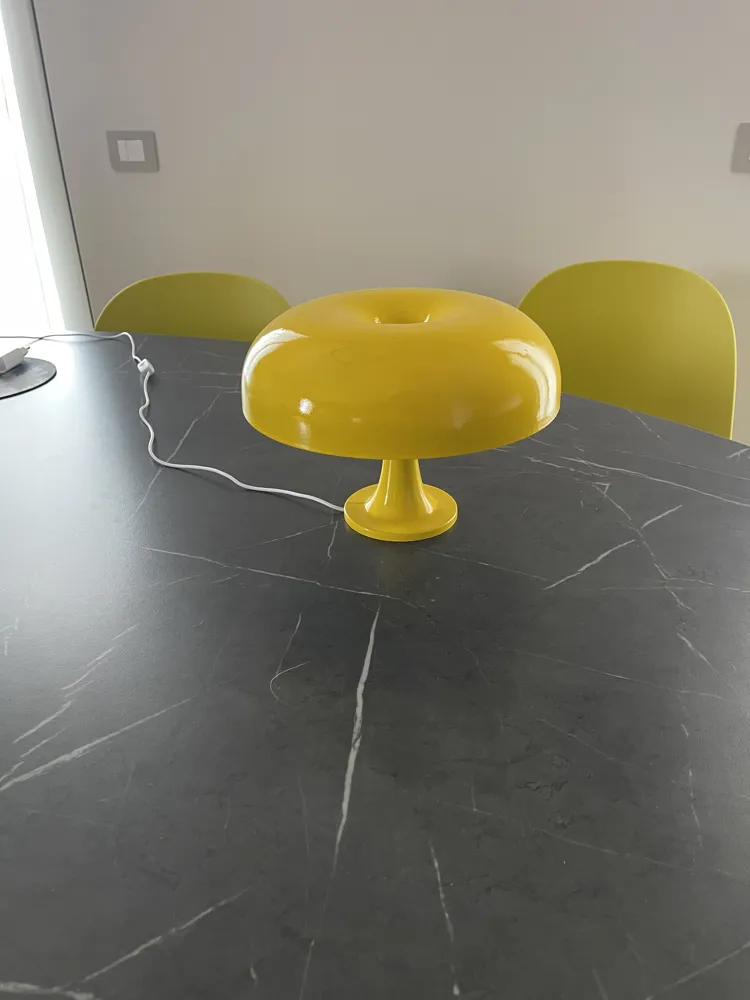
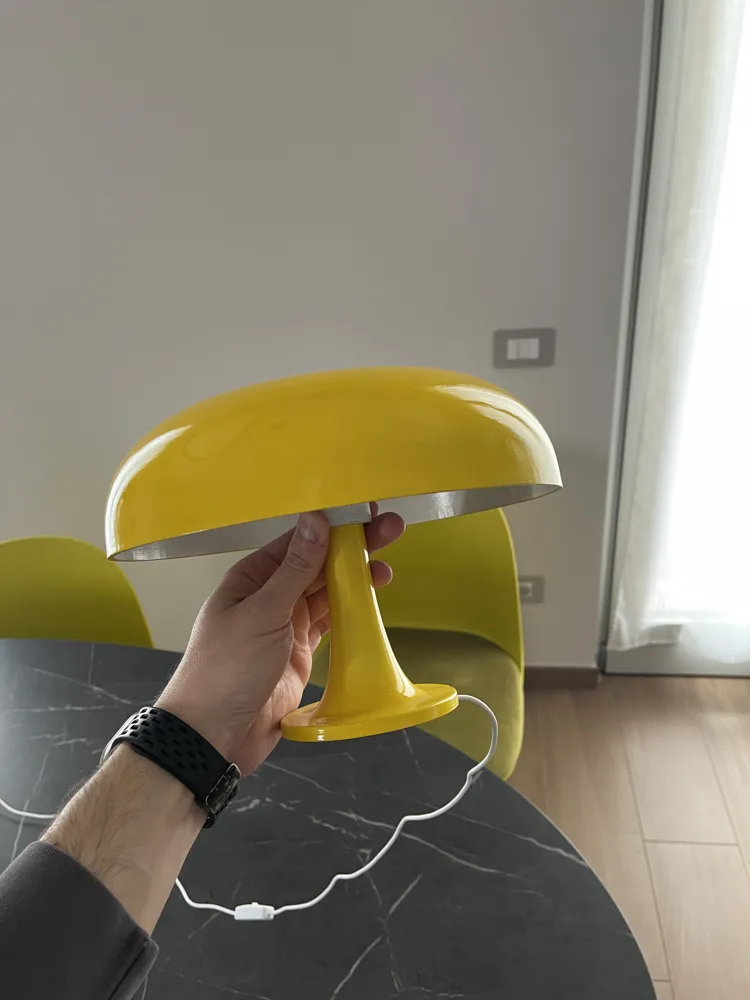
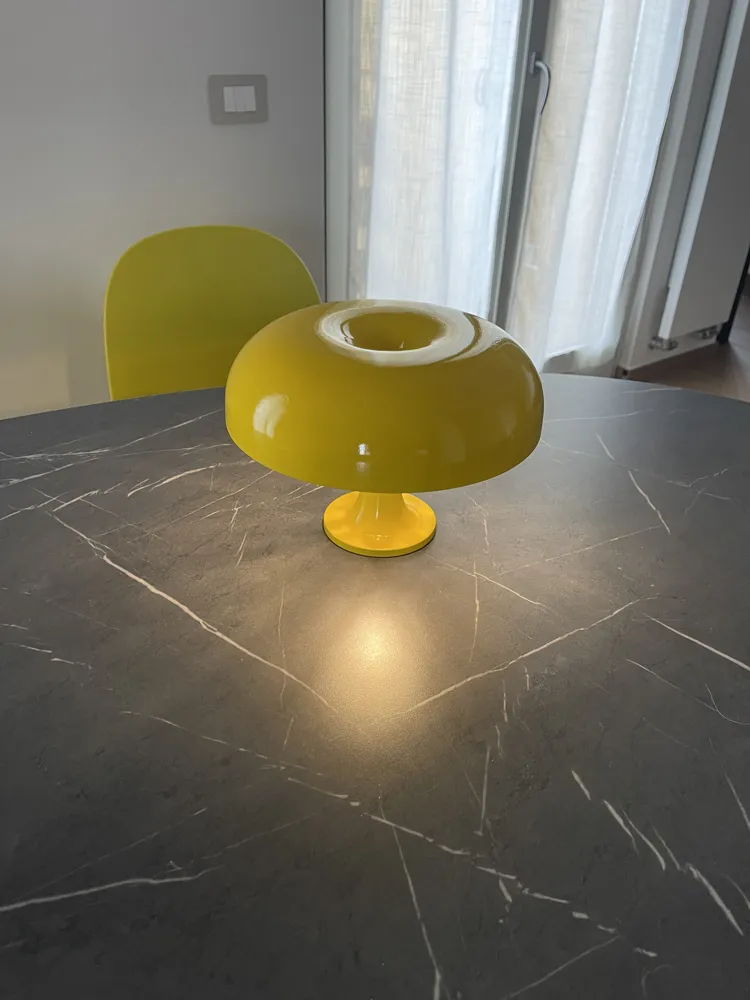
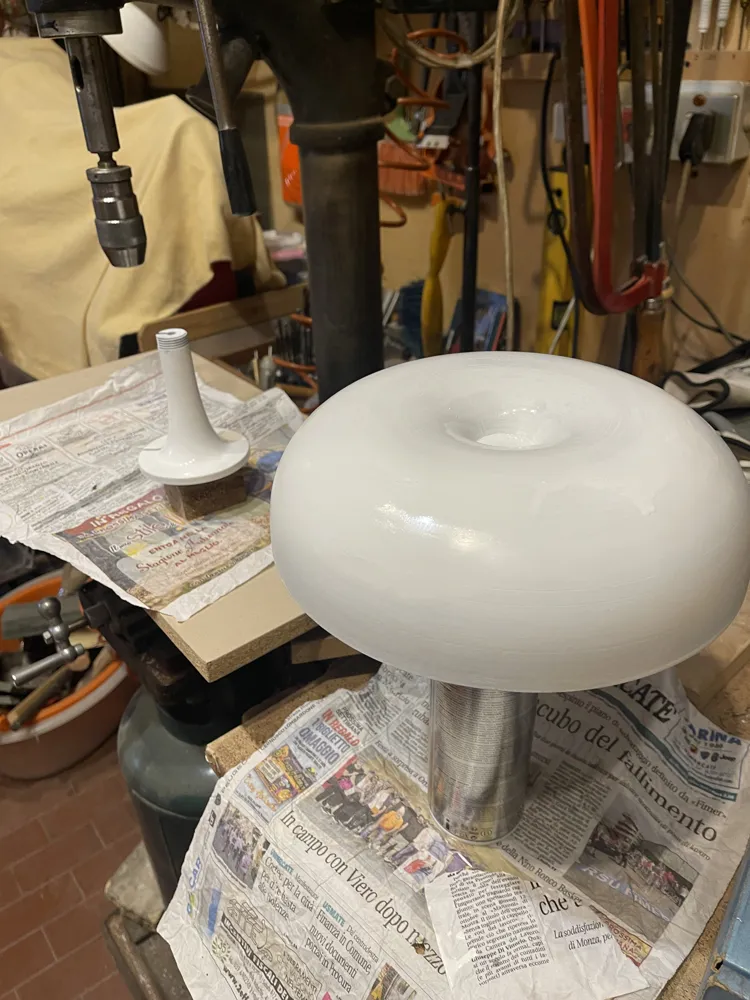
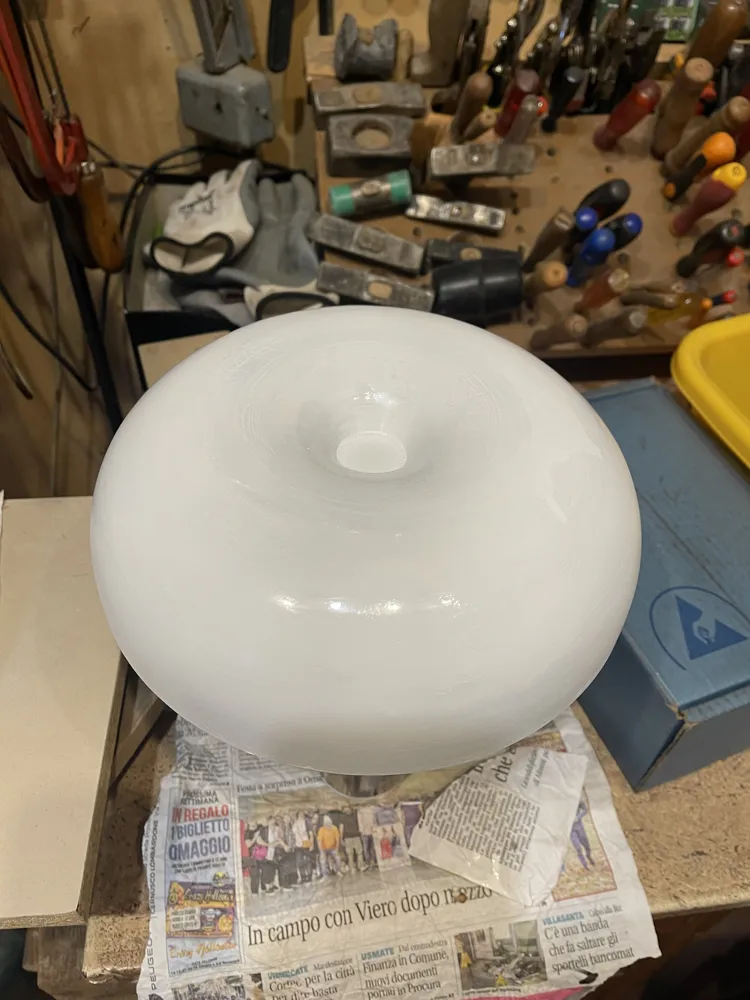
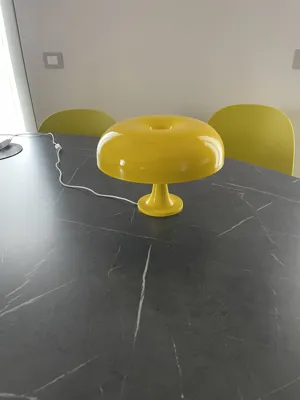
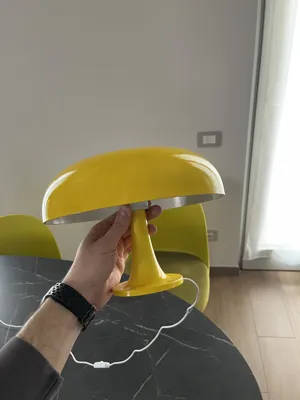
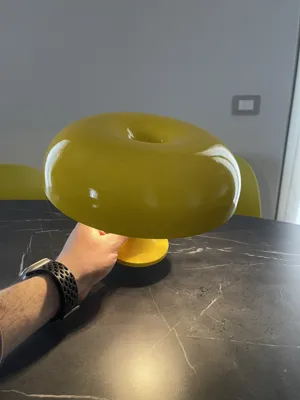
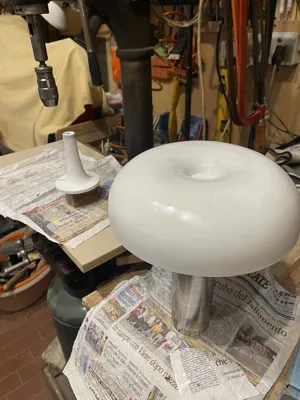
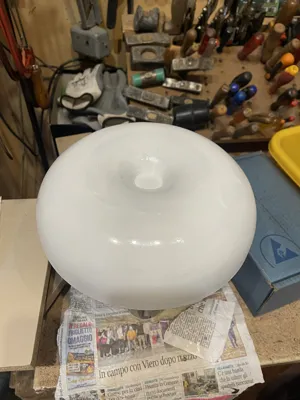
To achieve the ultra-smooth and shiny finish you see in the photos (ceramic/injection molded plastic effect), I used a simple post-processing technique. Here are the steps:
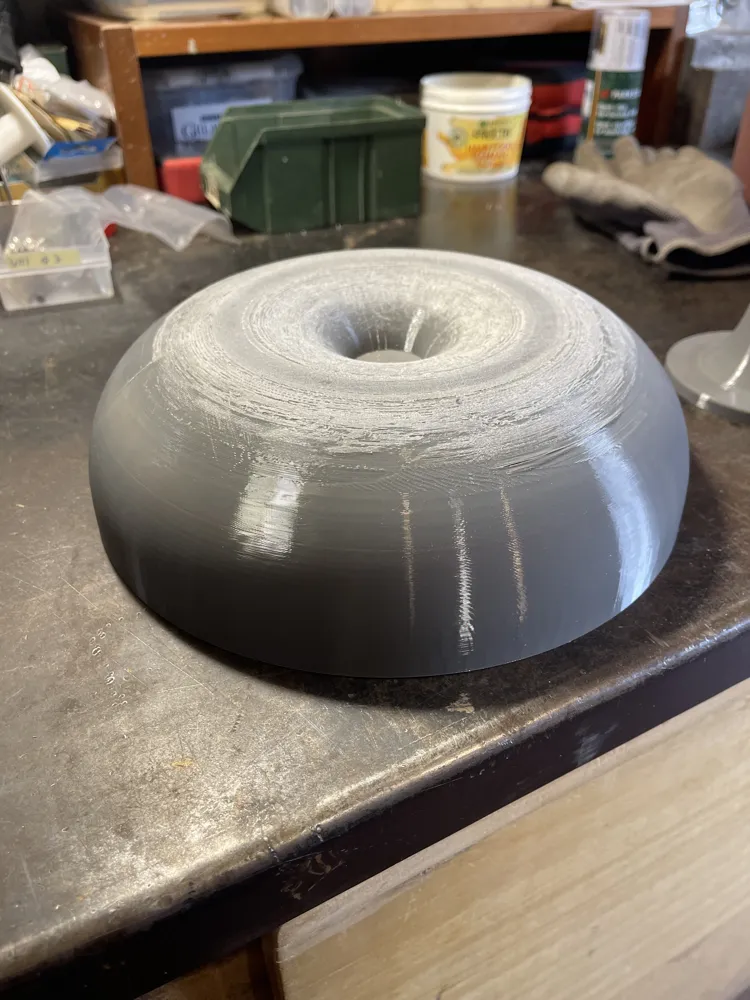
1. Sanding: A quick pass to smooth out the layers.
2. Wood filler: Applied to perfectly fill and level the print lines, once dry another pass of sanding with finer grit.
3. Primer: To prepare the surface.
4. Colored paint: Choose your favorite color (bright yellow is a timeless classic!).
5. Protective clear coat: The final step to give that shiny effect and protect the color.
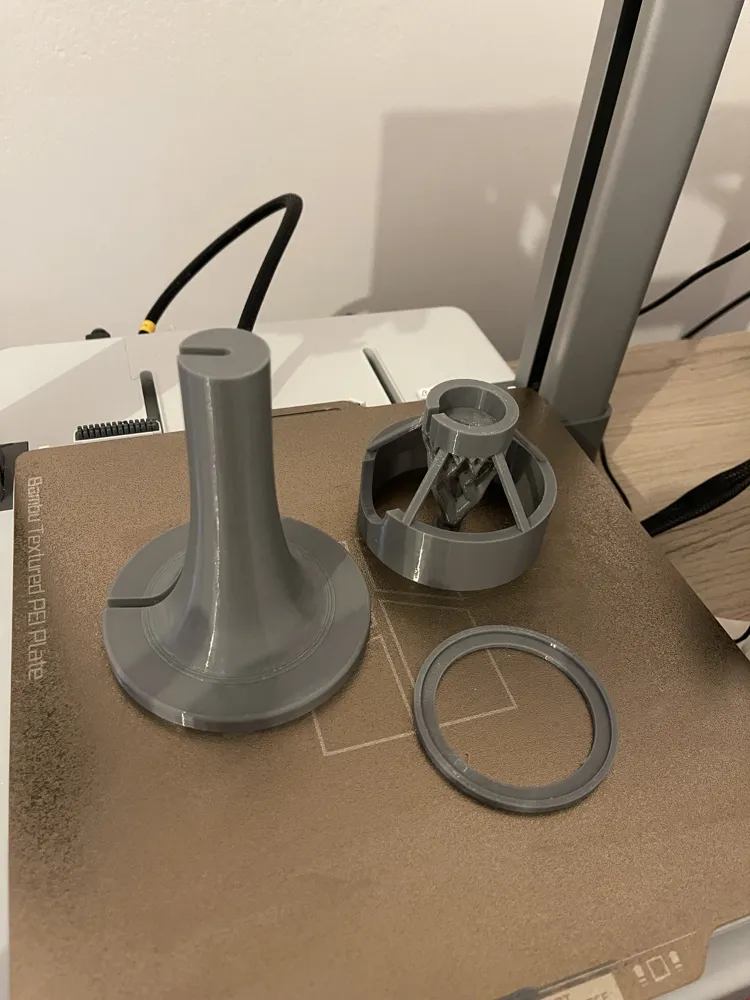
Assembling the printed components is intuitive and takes only a few moments.
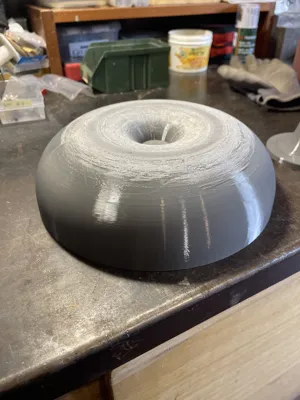
⏳ Option 2: No Post-Processing (Upside Down Print)
Don't have the time, desire, or materials for filling and painting? No problem!
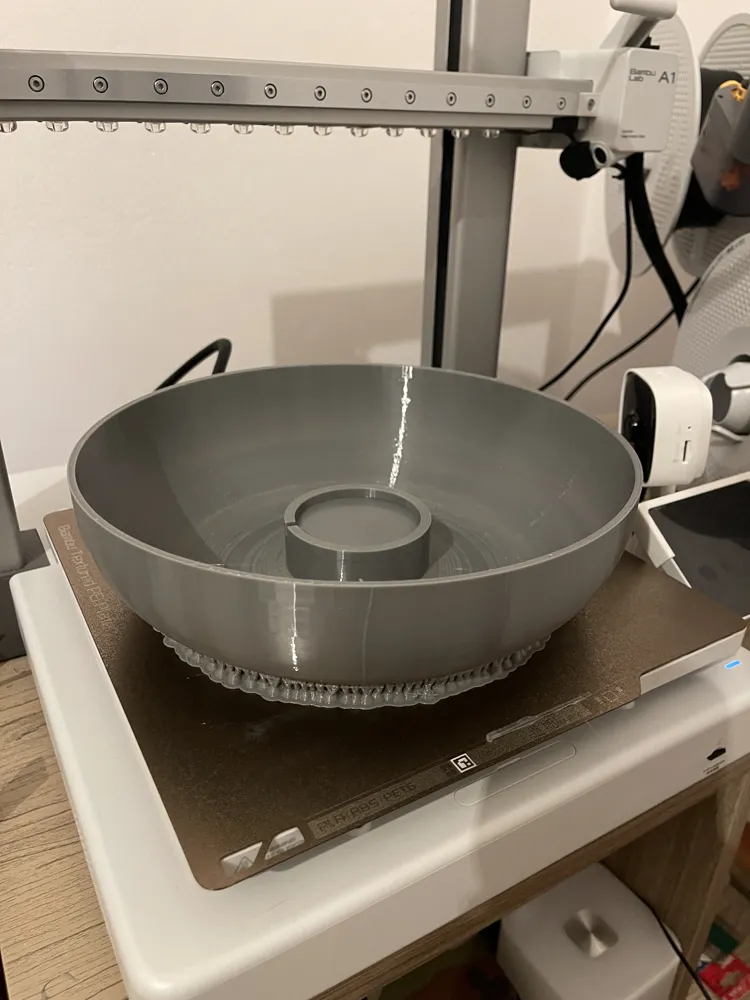
I have uploaded a second print profile specifically designed for those who want a finished piece directly from the build plate.
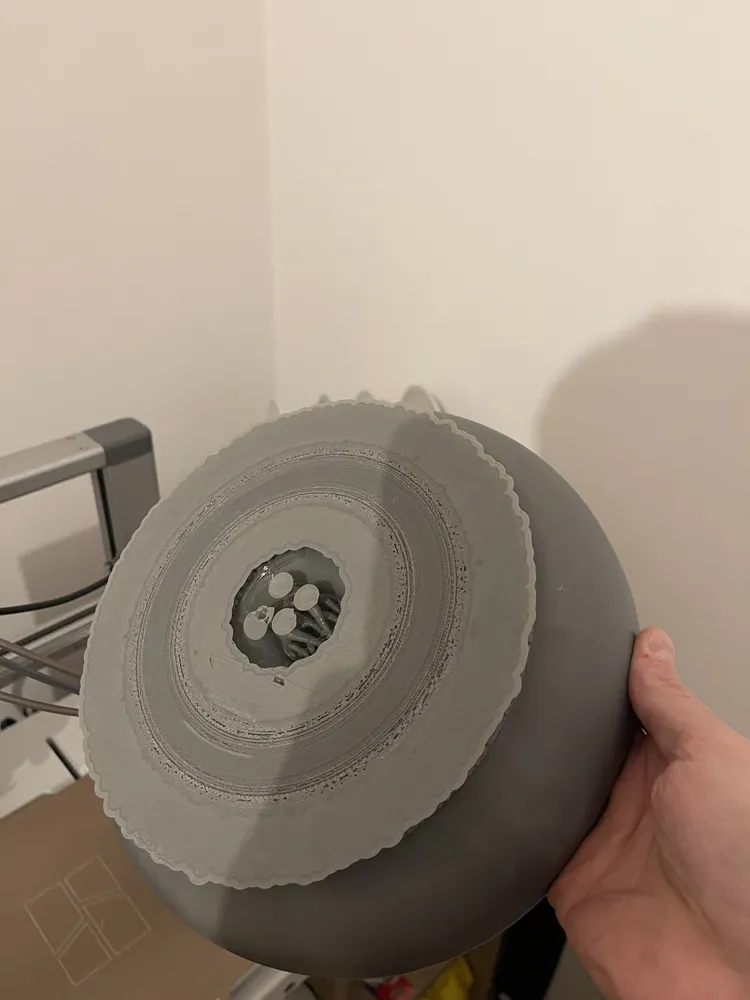
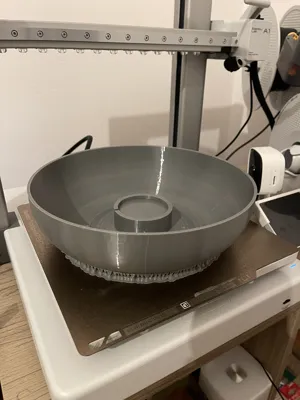
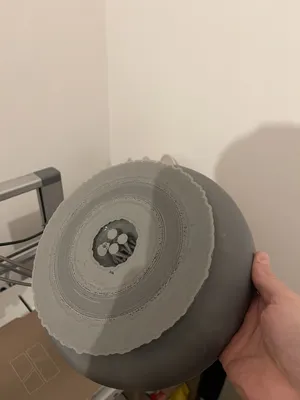
• How it works: The dome is printed upside down.
• Pro: The outer surface of the lamp will be perfectly smooth thanks to the printer's quality, without the need for any additional treatment.
• Con: This mode requires more printing time and consumes more filament due to the supports needed to hold the internal structure of the dome.
Choose the method you prefer, turn on your printer, and bring a piece of design history to your desk! Have fun and happy printing! 🛠️✨
License

You shall not share, sub-license, sell, rent, host, transfer, or distribute in any way the digital or 3D printed versions of this object, nor any other derivative work of this object in its digital or physical format (including - but not limited to - remixes of this object, and hosting on other digital platforms). The objects may not be used without permission in any way whatsoever in which you charge money, or collect fees.


Comment & Rating (6)