Roof Hatch Fan for Motorhomes/Caravans - HekiMiniFan


Print Profile(1)
Bill of Materials
- Lüfter 140mm x 1: https://amzn.to/3PX666N
- PWM Controller x 1: https://amzn.to/4t0fPrf
- Einschweißmuttern x 1: https://amzn.to/3PWkdJC
Description
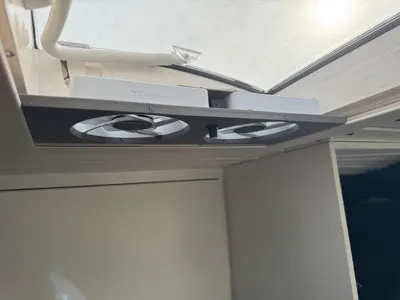
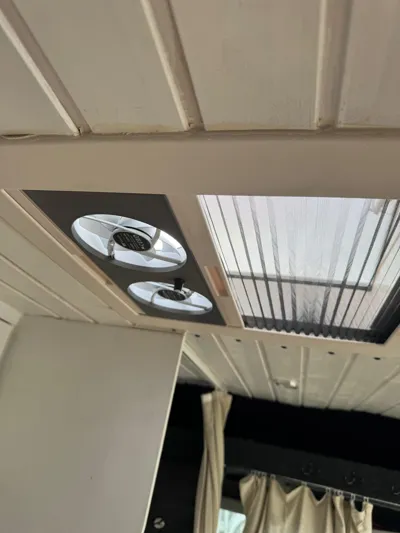
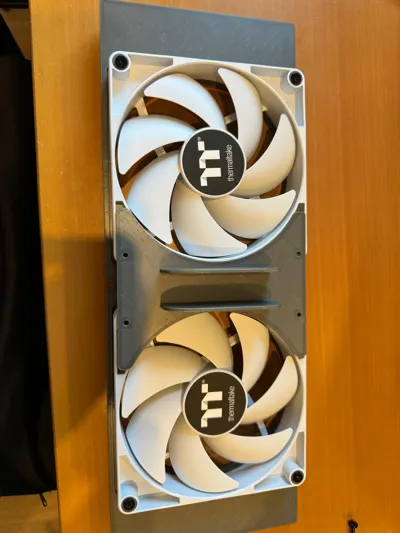
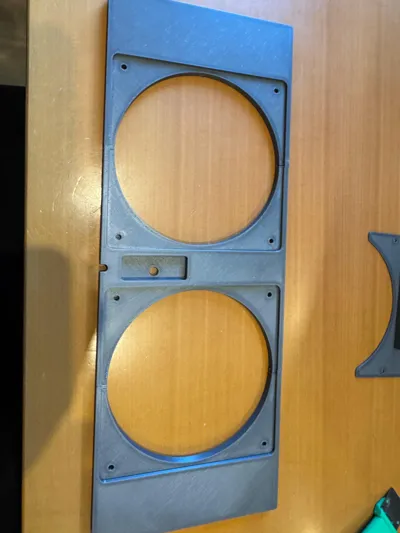
This 3D print template offers a practical and efficient solution to improve air circulation in motorhomes and caravans with a Heki Mini roof window (40x40cm). The fan insert is precisely integrated into the roof window, ensuring a continuous supply of fresh air and better air exchange inside.
Ideal for warm days, the fan reduces heat buildup and provides a pleasant indoor climate – without extensive modifications. The design is compact, lightweight, and specifically tailored to the dimensions of the Heki Mini.
The fan can be powered via a direct USB connection in the vehicle or via a power bank.
The following components are required to build the model:
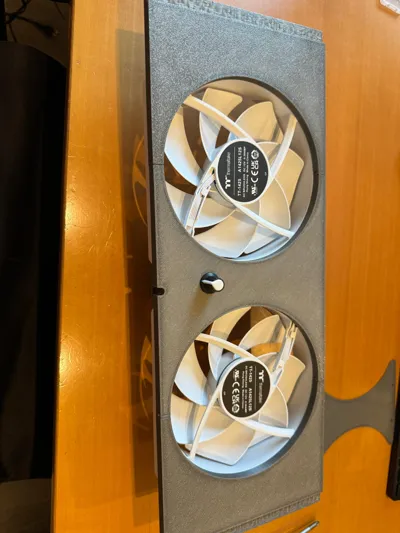
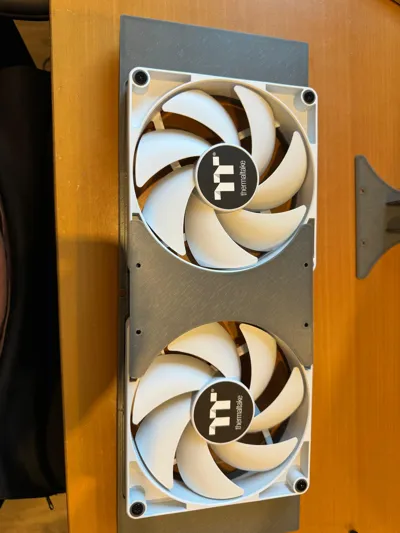
1x Fan set (140mm)
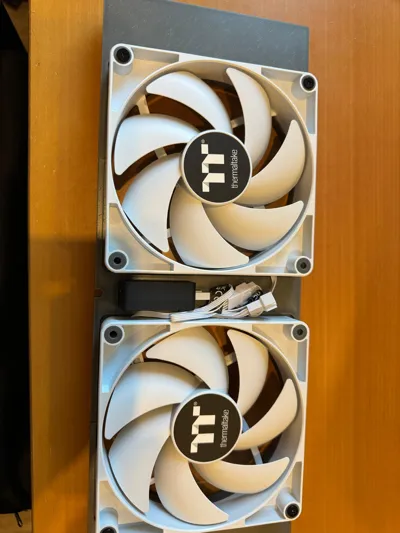
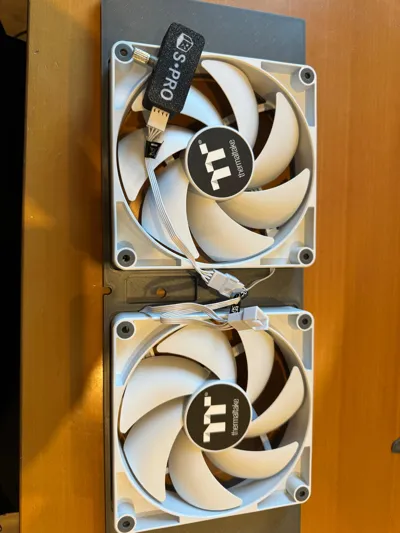
1x PWM controller
8x M3x5mm heat-set inserts
The accessories supplied with the fans are used for fastening and wiring
Features:
- Perfect fit for Heki Mini roof windows
- Improved air circulation in the vehicle
- Easy assembly without soldering
- Easy installation without drilling or gluing
Lightweight and stable design
Assembly:
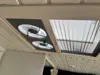
The fan is simply inserted into the open roof window and can be removed at any time if needed. Optionally, a small fan can be integrated (depending on the version/design).
Construction:
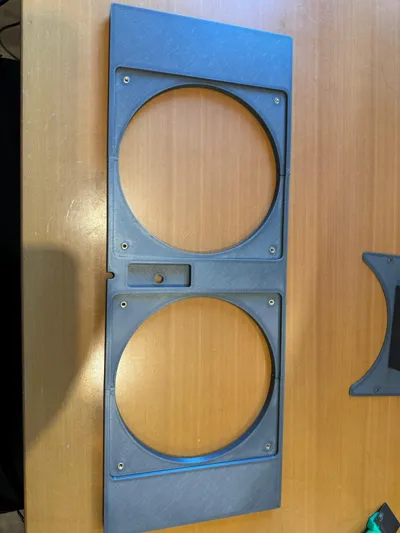
- Print all components and, if necessary, rework the areas where the supports were.

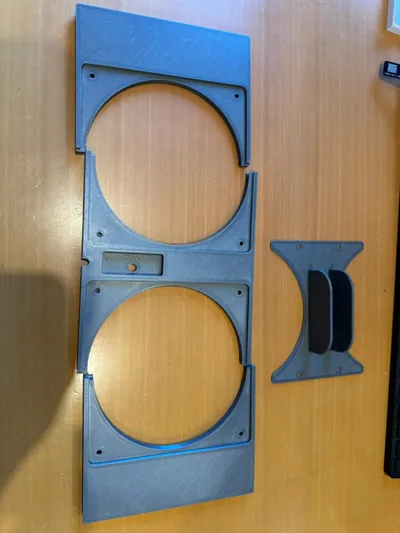
- Slide the three parts of the base plate together

- Insert nuts

- Wire the fan and PWM controller using the fan cables
- Pull off the PWM controller knob

- Screw the fan into the outer corners using the supplied screws
- Insert the PWM controller into the corresponding recess

- Attach the cover plate, either with or without the power bank holder, using the 4 remaining screws.


- Lightly sand the PWM controller knob and then attach it

I was inspired by a model for the Midi Heki roof hatch
License
You shall not share, sub-license, sell, rent, host, transfer, or distribute in any way the digital or 3D printed versions of this object, nor any other derivative work of this object in its digital or physical format (including - but not limited to - remixes of this object, and hosting on other digital platforms). The objects may not be used without permission in any way whatsoever in which you charge money, or collect fees.
Comment & Rating (45)