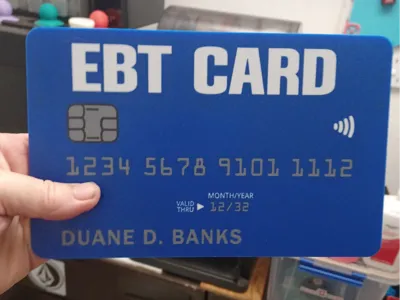
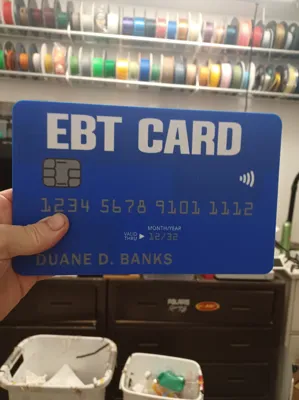
PRANK GIANT EBT TAP TO PAY CREDIT CARD (AMS)


Print Profile(1)
Description
Boost Me (for free)
If you like my designs, please consider boosting me to show your support!
***PLEASE CLEAN YOUR BED PROPERLY BEFORE PRINTING. DAWN DISH SOAP(Or Equivalent) AND HOT WATER THEN DRY WITH PAPER TOWEL OR AIR DRY!! NOTHING ELSE NEEDED!! THIS WILL ENSURE YOUR PRINT IS SUCCESSFUL***
## These models printed as shown but if you dont clean your bed properly and have adhesion issues, then you can add a brim or mouse ears. I test all my prints and it is proven to print as I set it up. ##
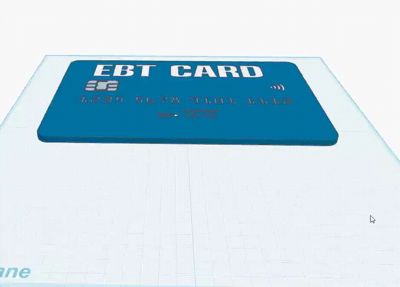
PRANK GIANT EBT TAP TO PAY CREDIT CARD (for AMS) April Fools Prank with editable name text.
*** ATTENTION!! PLEASE DISABLE AUXILLARY FAN OR PRINT A DIVERTER IF USING P SERIES OR X1 SERIES AS ITS KNOWN TO CAUSE ISSUES ON LARGER PRINTS AS AIR BLOWS DIRECTLY ONTO THE MODEL AUX FAN IS NOT NEEDED IN MOST CASES ***
ALSO -→ OEM plates are highly recommended for FACE DOWN prints as I have found most 3rd party “cool plates” dont leave a clean texture ←-
Funny prank prop to pay for stuff with your welfare/ food stamps card
I designed this using Tinkercad as a gag gift for April fools and inspired by the expect the unexpected contest. The giant card has a space to insert your normal credit/debit card so you can then use it to “tap to pay” at places that offer it.
To edit the name on the card go under objects then right click and select edit text then enter your name of choice and make sure to properly position it if necessary.
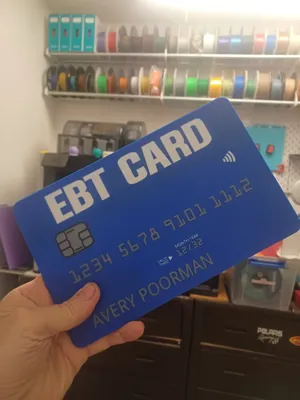
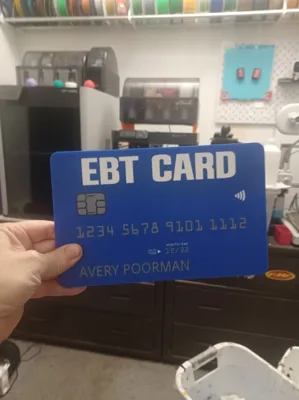
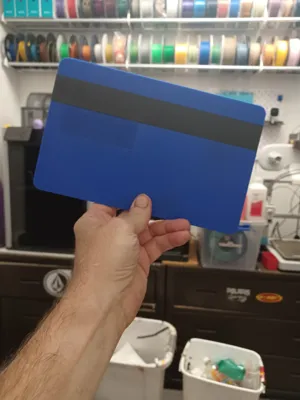
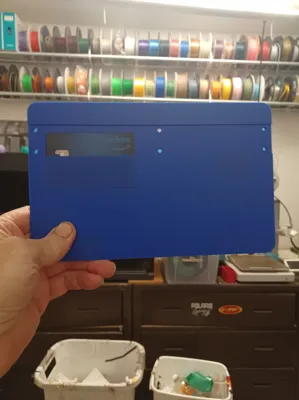
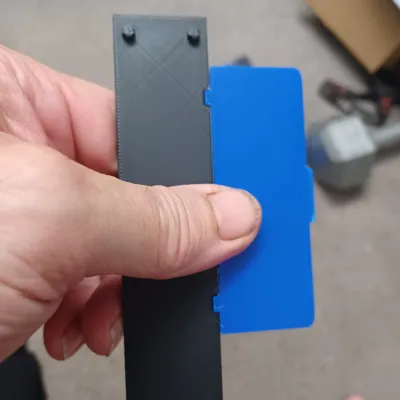
Insert your credit card into the tray then insert the tray into back of card, finally snap the black strip over the upper thinner portion of the tray to help secure it.
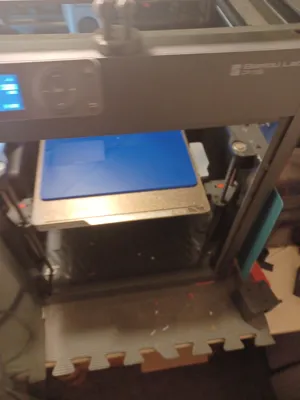
I made this to fit the 256 build plates while allowing a little space towards edges.
ASSEMBLY INSTRUCTIONS
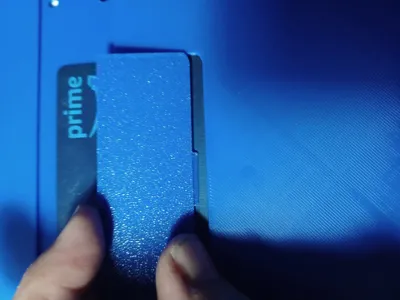
- Insert a credit card into the provided slot aligning your wifi icon below the wifi icon on the giant card(it fits a bit snug so press it in if needed)
- Place the card cover piece first inserting the bottom tab into the provided groove
- Align the 2 notches of the black strip over the 2 tabs on the card cover part then press in the 6 pin areas snugly to lock in the credit card.
- Remove your credit card by carefully prying the black strip up then remove card cover and then the card
Membership
Join my Commercial Membership and enjoy selling rights for all of my models for as low as $3 per month.
License
You shall not share, sub-license, sell, rent, host, transfer, or distribute in any way the digital or 3D printed versions of this object, nor any other derivative work of this object in its digital or physical format (including - but not limited to - remixes of this object, and hosting on other digital platforms). The objects may not be used without permission in any way whatsoever in which you charge money, or collect fees.
Comment & Rating (49)