Realistic life-size Kingfisher Kit Card


Print Profile(8)


Description
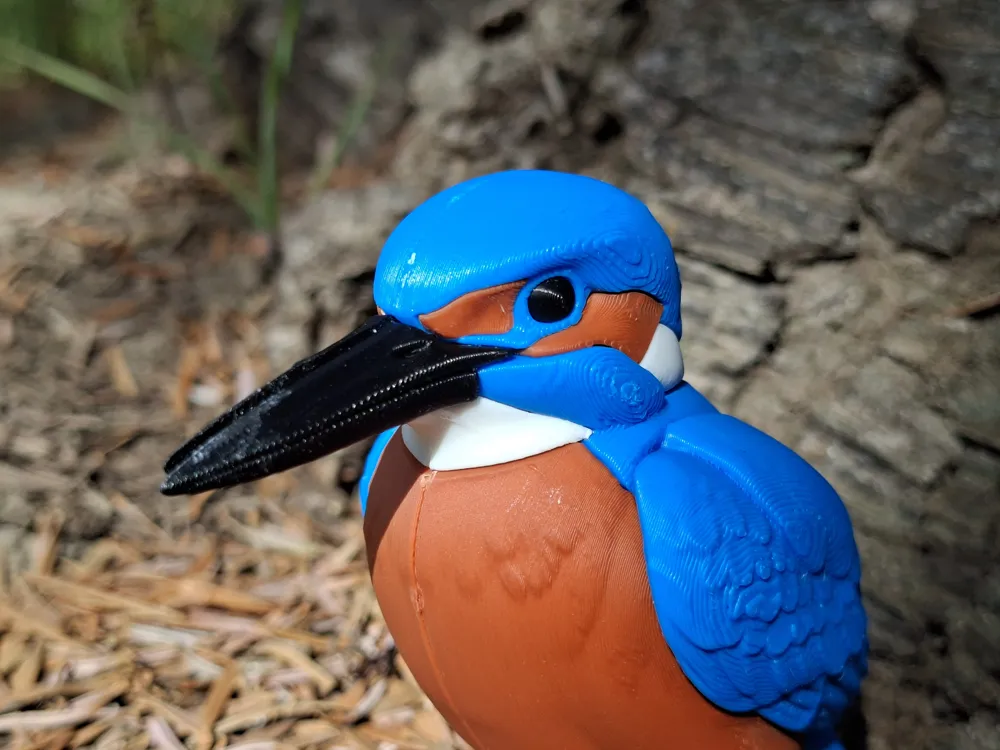
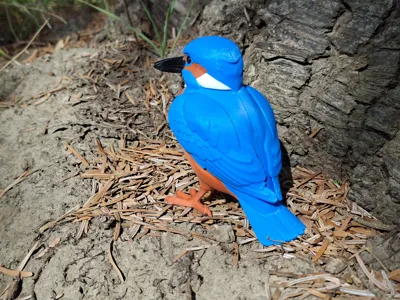
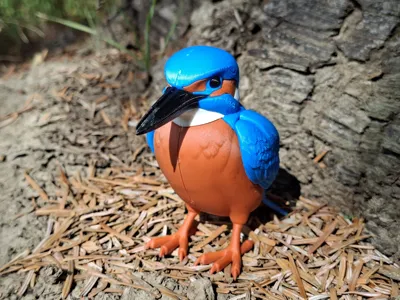
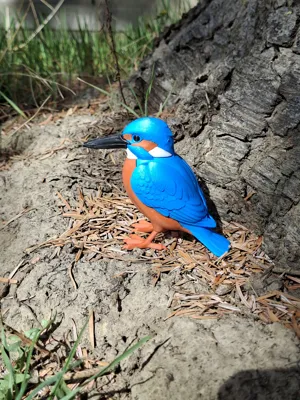
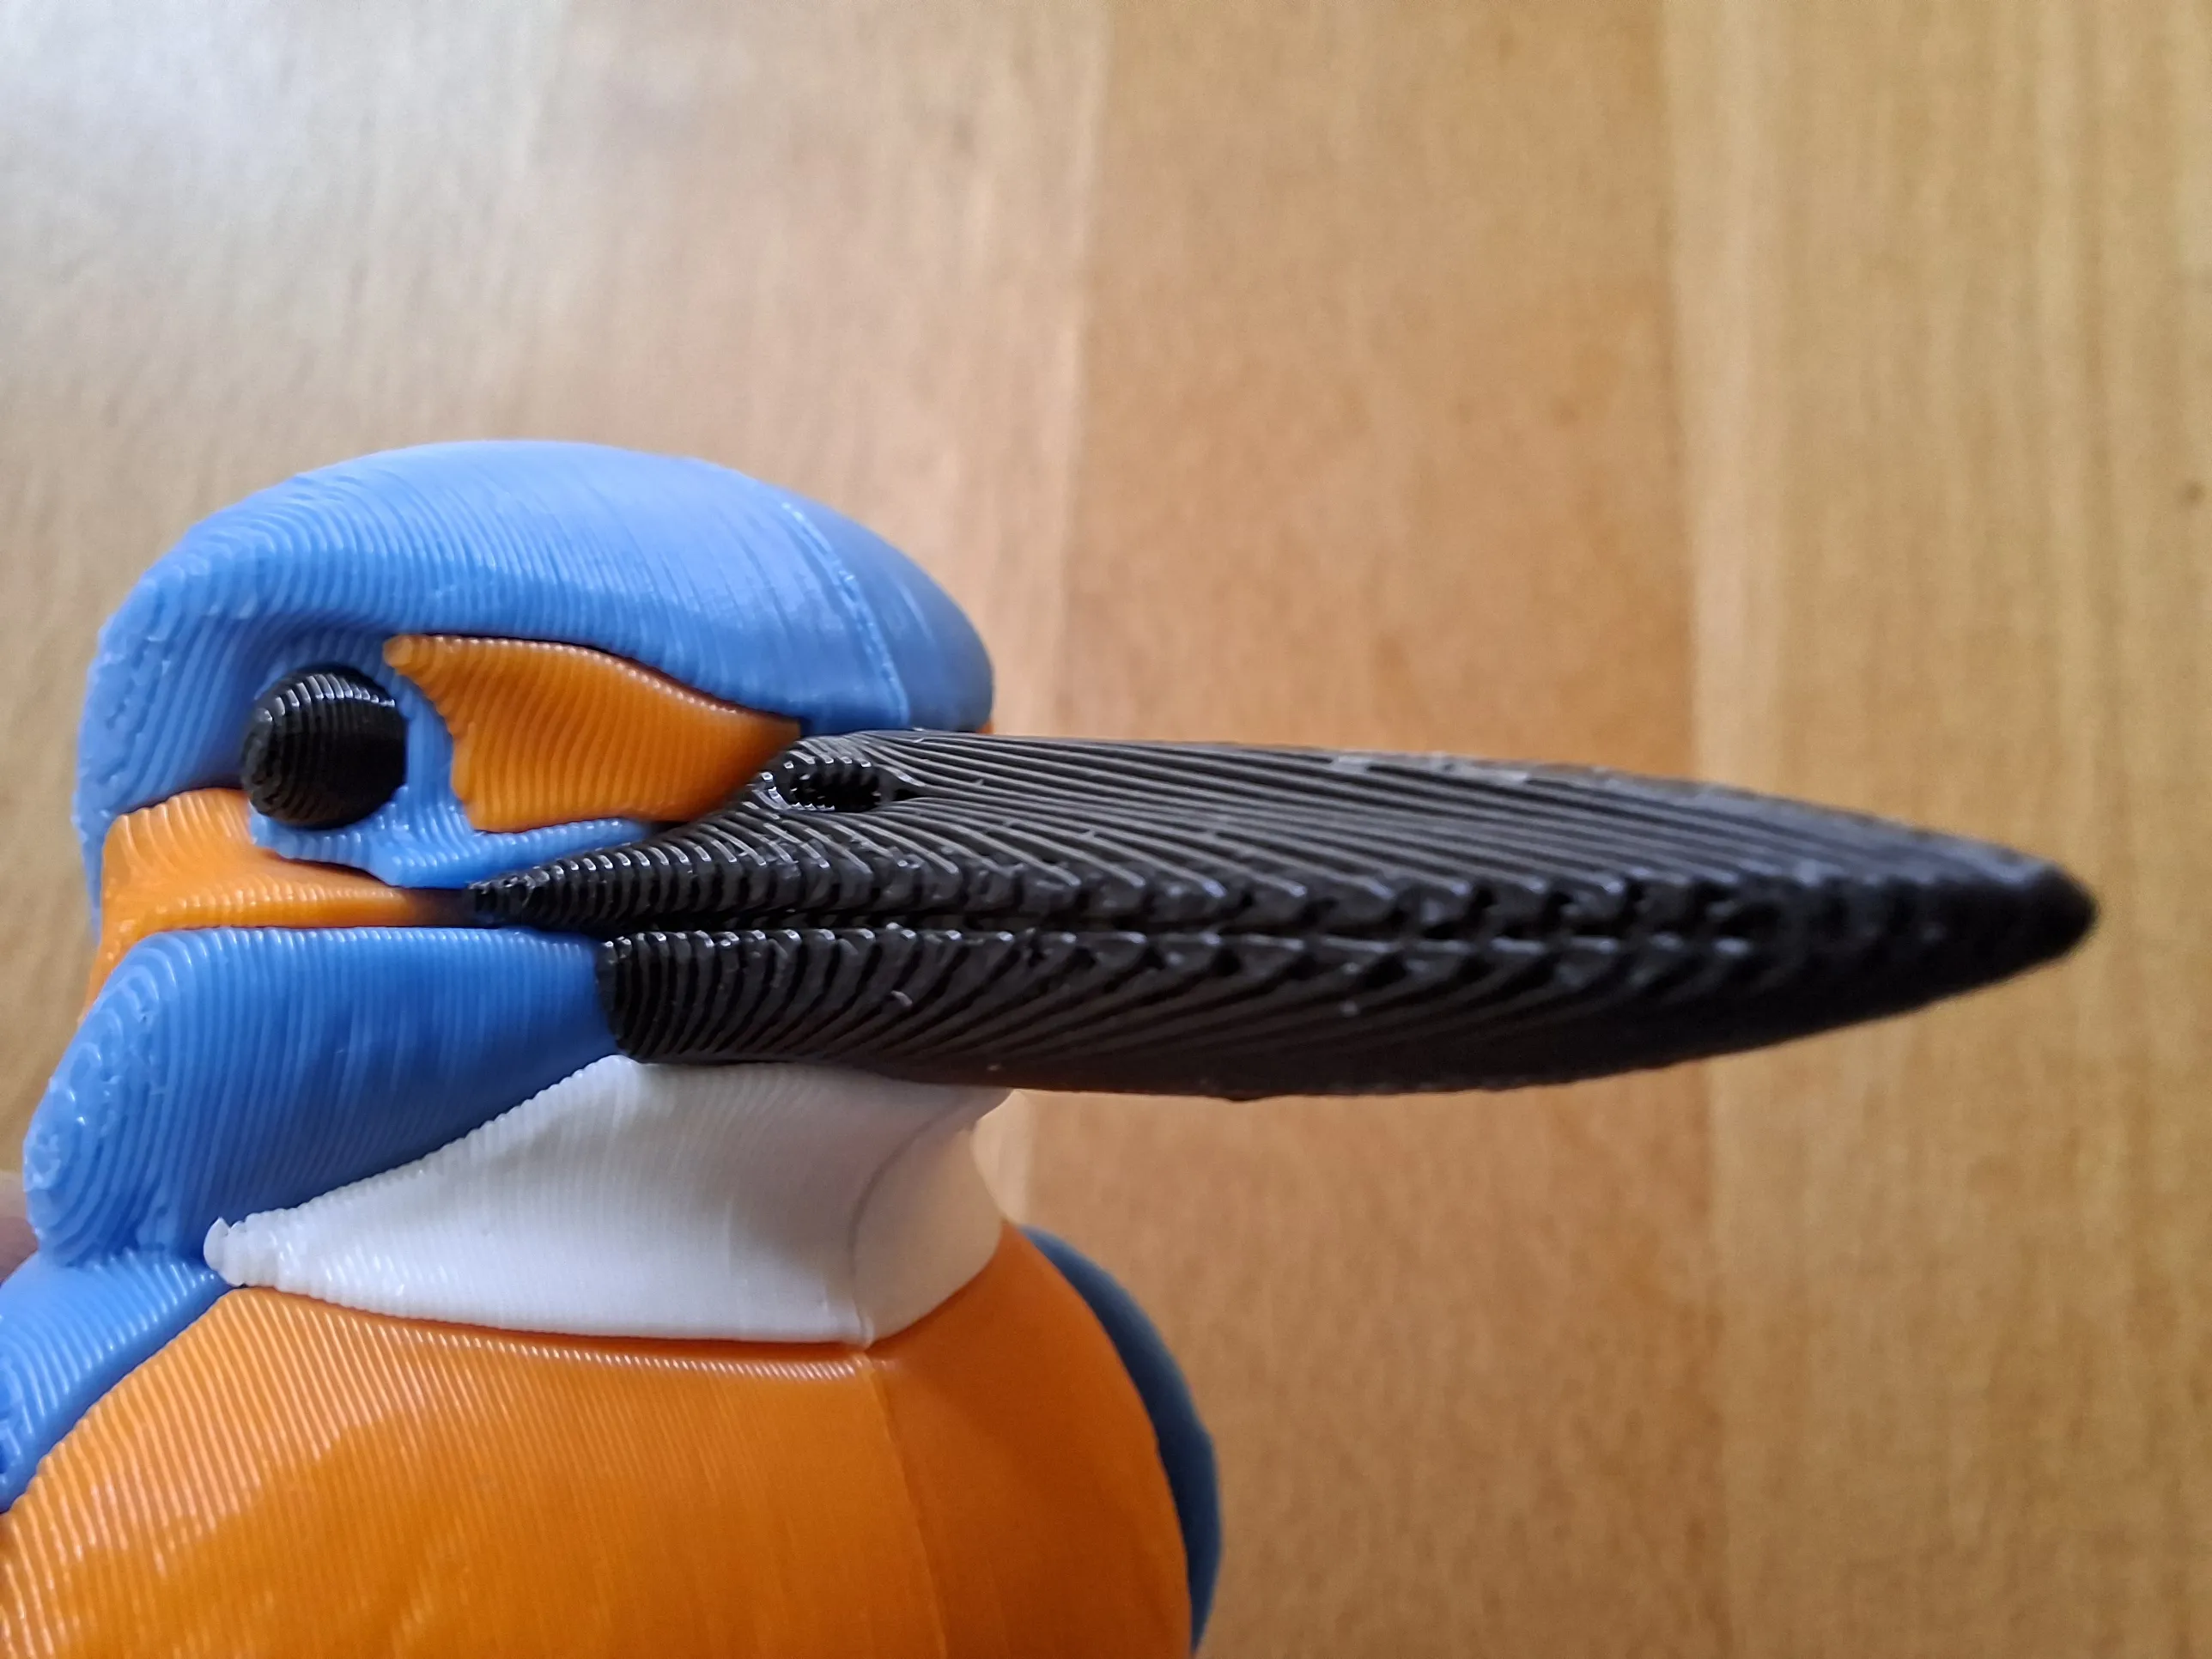
This highly detailed 3D model of the Common Kingfisher (Alcedo atthis) captures the vibrant blue back and bright orange belly that make this bird so iconic. This is one of the most colorful birds in Europe, and I tried to capture its detail as accurately as possible (and viable) in 1:1 scale. Printed at 100% scale, it’s 10 cm (4 inches) tall – perfect as a display piece, collector’s item, desk decoration, or educational model.
Features
- Life-size scale (1:1)
- Great detail with feathers, beak, and characteristic pose
- Designed as a Kit Card / easy-to-print model
- No AMS required
- Perfect gift for bird lovers, nature enthusiasts, or 3D printing fans

Enjoy printing this beautiful little fisherman of the rivers!
If you print it, I’d love to see your make – feel free to post a photo!
Meet Family & Friends


Print recommendations
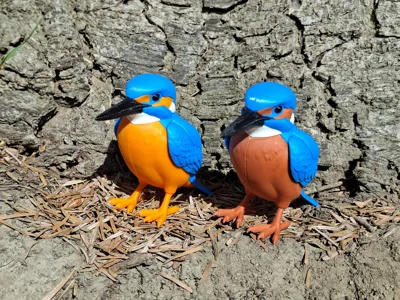
- For the blue parts, you can use Bambu Lab's PLA Basic Cyan or Matte Marine Blue
- Using PLA Pumpkin Orange, you get a very colorful, pretty model. With Matte Terracotta, it looks more natural, but also less spectacular. I can't tell which is closer to the original, so I let you choose what you prefer or have available
Which profile to print?
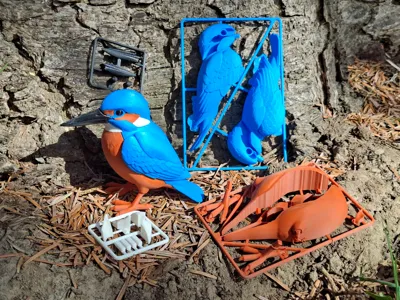
- Kit Card: The version to gift or assemble later. All the parts are kept together in order. Thus, you can print and gift it to someone, or keep it in store for a family activity on the weekend, without worry of losing a part. The downside is that you have a bit more work with separating the parts from the frames and treating the cut marks.
- Loose Parts (HQ): Provides higher quality than the kit card. No kit card cut marks to take care of, and faster prints. No real downside.
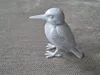
- Single color: Uses only a single color and is the fastest print of all. The bird is reduced to only 4 main parts, making it super easy and fast to assemble. The downside is that the result is only single colored.
- AMS version: Few parts and super easy assembly, like the single color version, but the result is multicolored. The downside is very long print times and possible (depending on your printer model) a significant filament waste.
Assembly Video
Assembly Instructions
- See the Print Recommendations and photo above for filament selection
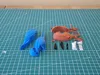
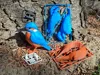
- Print the kit cards in the chosen colors
Carefully separate the model parts from the kit card

Most kit card connectors are in places that will not be visible in the assembled model, but this cannot be avoided for the biggest four parts. You can easily blend the cut marks with the aid of a jet lighter

Insert the small white and orange parts into the head section of the blue main parts. Depending on your filament selection, you may need to use glue to attach them firmly.

- Join the blue halves using the white dowels
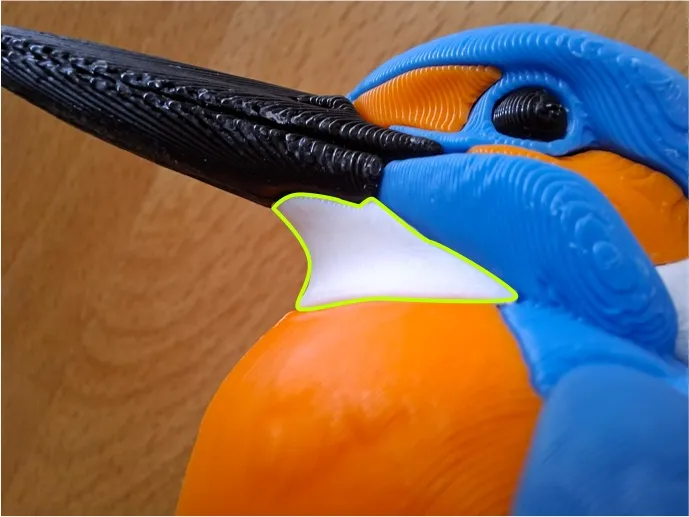
Attach the white parts of the throat using glue
Attach the two beak parts to the head with glue
- Join the two biggest orange parts with dowels and attach them to the blue body
Insert the legs

Boost Me (for free)
Thanks a lot for your interest in supporting my 3D prints! I really appreciate your help in spreading the word. A boost will help me reach more people who might be interested in my designs. If you have any ideas that you would like to see realized, or if you want to know more about my work, feel free to ask!
License
You shall not share, sub-license, sell, rent, host, transfer, or distribute in any way the digital or 3D printed versions of this object, nor any other derivative work of this object in its digital or physical format (including - but not limited to - remixes of this object, and hosting on other digital platforms). The objects may not be used without permission in any way whatsoever in which you charge money, or collect fees.
Comment & Rating (107)