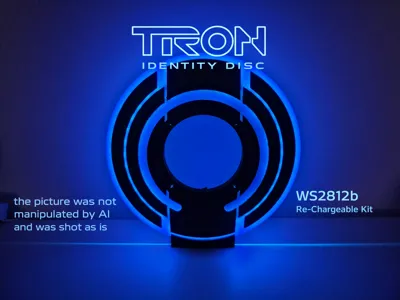
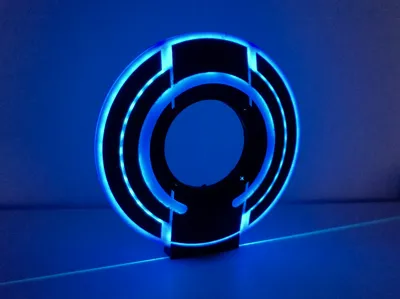
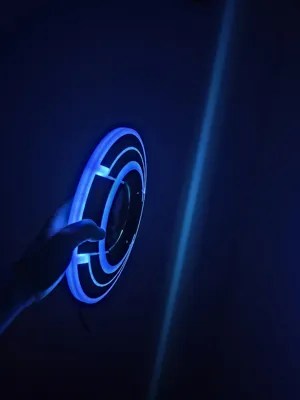
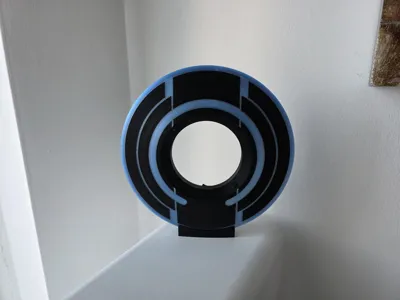
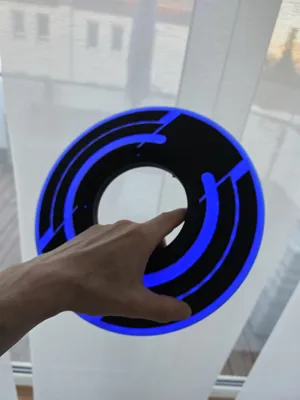
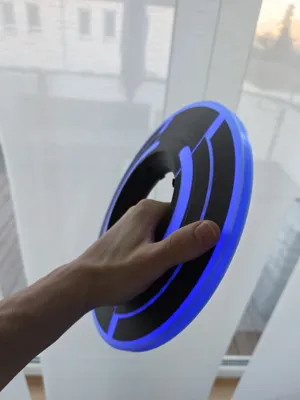
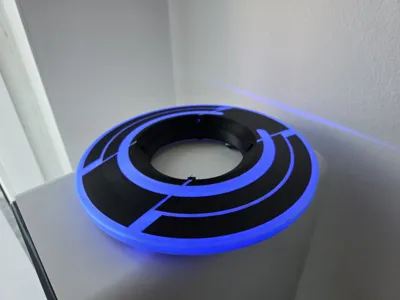
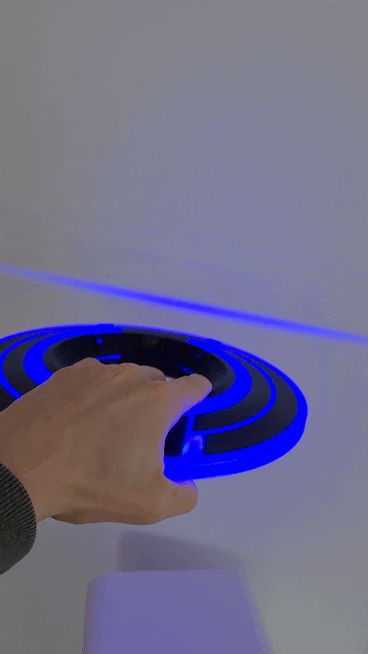
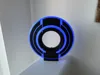
Tron Identity Disc [WLED / ESP32]


Print Profile(1)
Bill of Materials


- power switch x 1: https://www.amazon.de/dp/B08CY41YT5?ref_=ppx_hzsearch_conn_dt_b_fed_asin_title_1
- voltage converter x 1: https://www.amazon.de/dp/B0D2CSHWC4?ref=ppx_yo2ov_dt_b_fed_asin_title
- battery driver x 1: https://www.amazon.de/dp/B0FJY6JFRH?ref=ppx_yo2ov_dt_b_fed_asin_title
- battery x 1: https://www.amazon.de/dp/B0F9XD989N?ref=ppx_yo2ov_dt_b_fed_asin_title
- pogo pins x 1: https://www.amazon.de/dp/B0BKPY29V7?ref_=ppx_hzsearch_conn_dt_b_fed_asin_title_1
- esp32 c3 mini x 1: https://www.amazon.de/dp/B0CPY6LMSJ?ref_=ppx_hzsearch_conn_dt_b_fed_asin_title_1
- usb c socket x 1: https://www.amazon.de/dp/B0BGK46LVY?ref_=ppx_hzsearch_conn_dt_b_fed_asin_title_22
Description
Hi guys,
it's been a while since I created my Stargate Deluxe which was the first of my models which got featured. ..so hopefully this one does as well :) And here is the next movie item (unfortunately I never saw it yet) → a WLED featured Tron Disc.

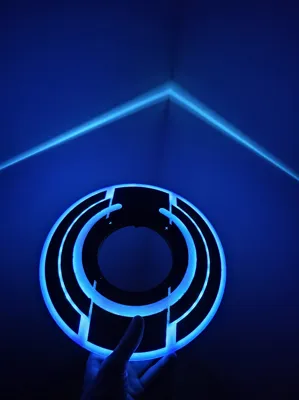
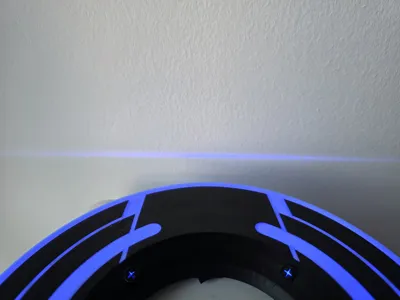
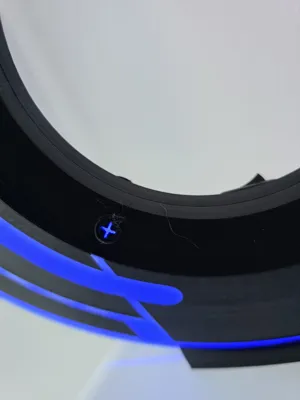
I created a lot of prototypes and finally got a satisfying solution. You do not need any glue for mounting the parts together and can re-assemble the disc any time. In my previous prototypes I used glue. ..this was not the best option as I had to open it again due to electronic failures (some of the solderpoints decided to break).
The assembly is pretty simple → you insert three screws and lock it via rotation. Then you can insert a screw from outside to prevent it from unlocking again. The project uses pogo pins to power the stripe / reload the battery. I also used a voltage converter to increase the battery voltage from 3.7V to 5V in order to power an ESB32 C3 Mini and the WS2812b stripe. There is also a power switch after the converter and before the consumer. I decided to do it this way as I do not know whether the converter may deliver higher voltages in the beginning and I do not want to burn the board / the stripe. Finally there is also a board for driving the battery. I will upload a complete assembly video including a show off regarding the electronics soon.
Printing
Use my optimized print profile to print the following:
- top disc part
- bottom disc part
- LED ring, lockers & base
I used
- Bambulab PETG HF black
- Bambulab translucent PETG light blue
I recommend to use at least a H2-Series printer as otherwise there will be a lot of waste (nozzle / filament switch on each layer!)
Parts
I used the following non-printed items:
- pogo pins
- battery
- battery driver board
- voltage converter
- usb c socket
- esp32 c3 mini
- ws2812b 5m stripe (60 LEDs / meter)
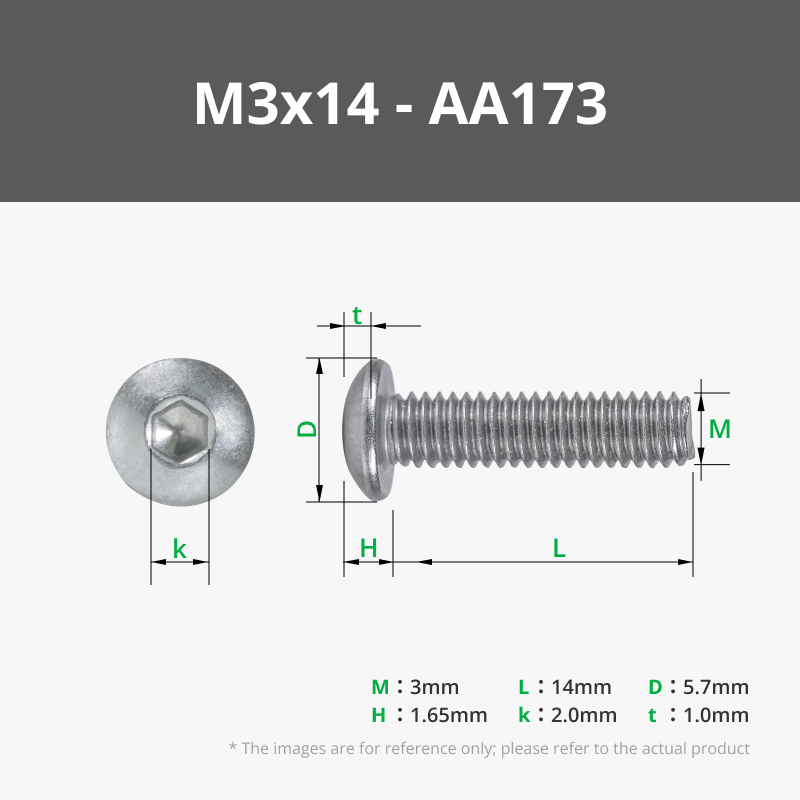
- 4xM3 14mm screw
You can also use Bambulab's “Rechargabe Power Kit” and skip the voltage converter, battery & the battery driver board (due to the specs it should deliver 5V directly!).
LED ring
Check (it depends on your LED stripe) how many LEDs you can insert into the ring. You need to go through the ring on the right side when going around the ring and again when you finish internally. Going through is maybe a bit tricky. It does not matter when it breaks. Count the LEDs. We later need the exact amount of LEDs internally BEFORE going outside, the amount of LEDs outside and the amount of LEDs going through the ring again for the last internal part. Note down those numbers!
Soldering
assemble the LED ring first and put it into the disc
- solder cables to the pogo pins → base & disc (2x +, -)
- solder cables to the usb c socket (+, -)
- solder one cable to the switch (+)
- solder cables to the stripe (+, -, data)
- solder cables to the battery driver (out → +, -)
solder cables to the voltage converter (out → +, -)
- solder + and - cable from the small pogo pins to in + and - of the battery driver
solder + and - cable from battery driver to in + and - of the voltage converter
- NOW insert the switch into the bottom lid and switch off
- solder + cable from the voltage converter to the power switch
- combine the other + cable from the power switch with the + cable of the stripe and solder to 5V pin on the esp32
combine the - cable from the voltage converter with the - cable of the stripe and solder to ground pin on the esp32
- solder data cable from the stripe to pin 2 on the esp32
- plugin the battery / solder the battery to the battery driver board
- solder the + and - cables of the usb c socket to the remaining pogo pins (make sure you match the right pins from the smaller pogo pins)
Now glue the small pogo pins into the lid. May also glue the other electronic boards into the empty space between the leds. Place the battery on top.

Assembly
Fasten three screws into the bottom lid

- Place the top lid onto the bottom part (see matching holes) ~10 degrees shifted against the clock. Slightly push it together and then rotate the lid 10 degress clockwise.
- fasten the last screw beneath the pogo pins
- done with the disc :)
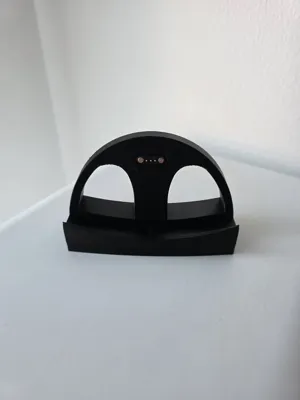
- insert the remaining pogo pins into the base and place the usb c socket. Insert a cable into the usb c socket. Glue the socket into the base and move it with the cable. Now glue the pogo pins and the cable to the base.
- done with the base :)

WLED
Boost Me (for free)
as always.. feel free to boost me any time :)
I hope you can enjoy your Tron Disc as much as I do. Do not hesitate to contact me when you got questions.
Happy printing,
BR
B@sti
License
You shall not share, sub-license, sell, rent, host, transfer, or distribute in any way the digital or 3D printed versions of this object, nor any other derivative work of this object in its digital or physical format (including - but not limited to - remixes of this object, and hosting on other digital platforms). The objects may not be used without permission in any way whatsoever in which you charge money, or collect fees.
Comment & Rating (0)