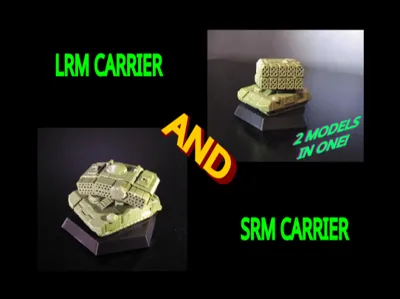
LRM and SRM Carrier for Battletech


Print Profile(1)
Description
This file inculdes 2 plates.
PLATE 1: includes all parts needed to make an LRM or SRM Carrier. This plate is more stable and less likely to fail.
PLATE 2: inludes all parts to make both an LRM and SRM Carrier. Please make sure to use glue stick if planning on using plate 2. Because printing this many small parts will result in failure, or decreased details without glue.
Print Recommendations:
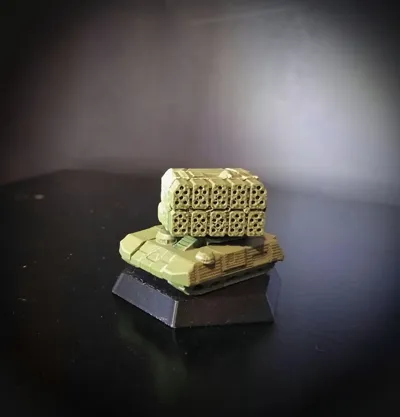
Unfortunately the LRM faceplate with missile tubes did not come out very well with the 0.4 so I included a substitute LRM faceplate, that does not have any missile tubes in it. You can print this tubeless LRM faceplate well with a 0.4 nozzle and add holes in with a small drill or something.
I highly recommend printing hex bases as separate prints, as it can waste time printing with a 0.2, and would probably yield better results to the miniature itself overall.
Although I did provide the option to print both models at the same time, I would recommend printing them one at a time for best results.
PARTS:
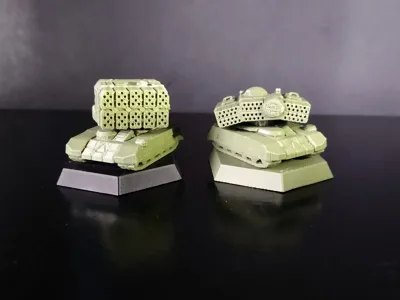
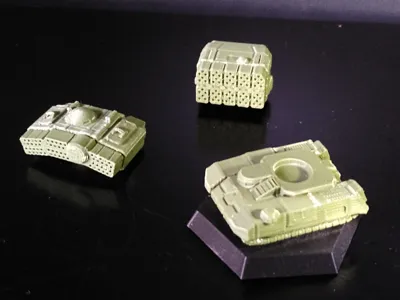
The SRM carrier has 4 parts. The LRM has 5 parts, plus an extra tubeless LRM faceplate if you cant get the one with tubes to print well.
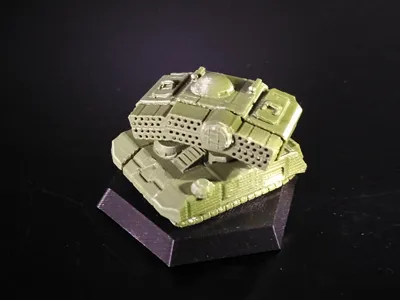
the main chassis of both vehicles is identical, meaning LRM and SRM turrets are interchangeable. hex bases are included.
Assembly:
Note: all parts except the turret to main chassis, can snap-fit. But I HIGHLY recommend using glue.
For LRM
1: Glue the tank treads to the main hull of the vehicle.
2: Glue the missile tube faceplate to the front of the turret.
3: Glue the turret to the top of the vehicle in its desired position.
For SRM simply skip step 2, as missile tubes are one piece, connected to the whole turret.
Boost Me (for free)
If you enjoy my models consider boosting
Comment & Rating (3)