


Print Profile(1)
Description
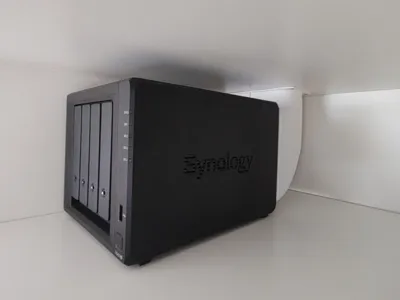
Simple exhaust vent for installation of a Synology Diskstation DS423+ or DS923+ in an IKEA PAX wardrobe.
It probably works with other 4-bay Synology NAS versions as well, but I only have the DS423+ to test this.
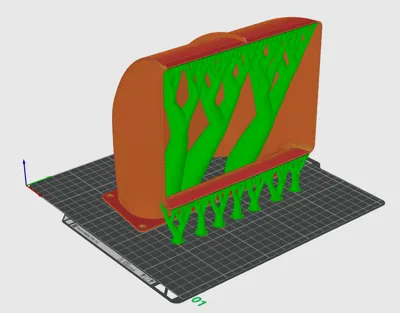
For the duct, supports are needed. I printed everything in PLA and it worked just fine for over 2 years. If you are worried about heat, you can also print this in PETG or ABS. I also applied a clear coat on the inside of the duct to smooth out the layer lines, but this is probably not necessary.
Installation:
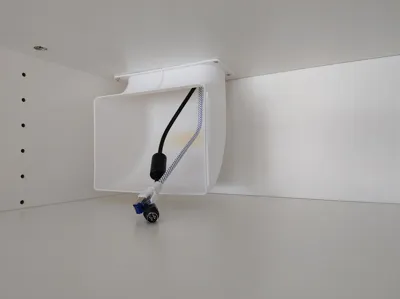
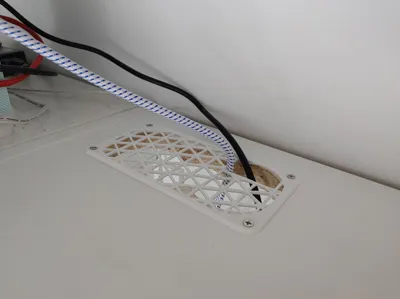
The vent is mounted on the inside of the top cover plate. You need to drill some holes with a hole saw or cut the hole to size for the vent.
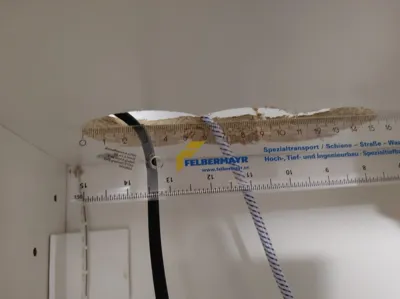
The cutout needs to be 155x75mm. I positioned my hole approximately 30mm from the left side.

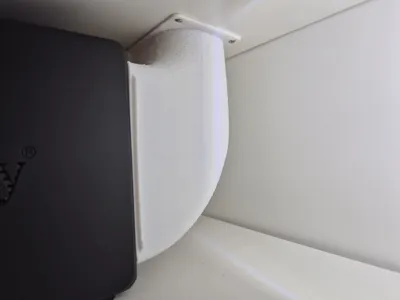
Make sure to align the duct straight forward so that the Diskstation can be placed flush to the duct. Screw the duct with 4 screws to the ceiling and place the cables through the duct. Since I placed the cuct to the corner of the wardrobe, I left the last screw out, but it shouldn't affect the airflow.

To prevent items from falling in, you can optionally install the cover.

This installation reduces the noise significantly and still keeps the Diskstation cool. Just make sure that the front of the NAS has enough airflow. I have this installed for 2 years now and never had any problems or overheating warnings.
The doors of the wardrobe can be closed, the gap should be large enough to let air through.
Boost Me (for free)
If this model is usefull to you, a Boost would be higly appreciated :)
Comment & Rating (0)