
FlexChroma Blend Color Checker
Print Profile(4)

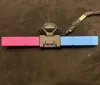
Description
You can find the links to each models in the Blend Filament Index.
🌈 FlexChroma™ Blend Color Checker
🟦 Overview
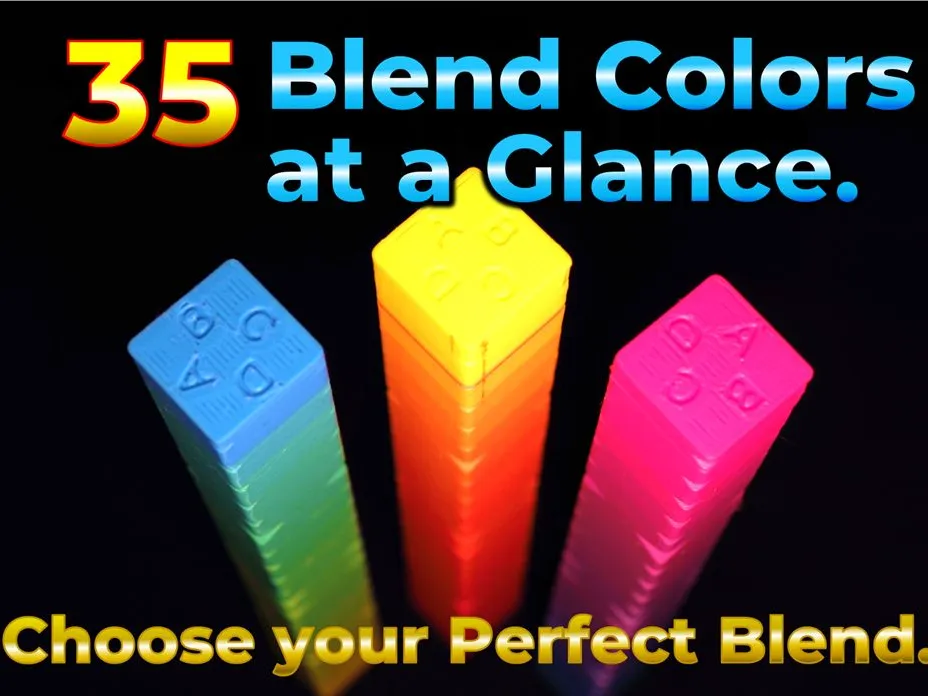
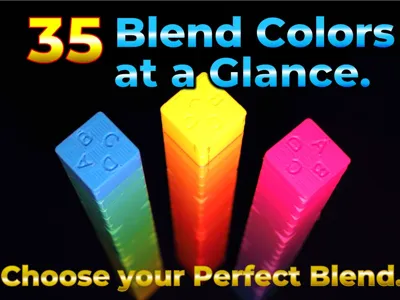
The Blend Color Checker allows you to visually inspect
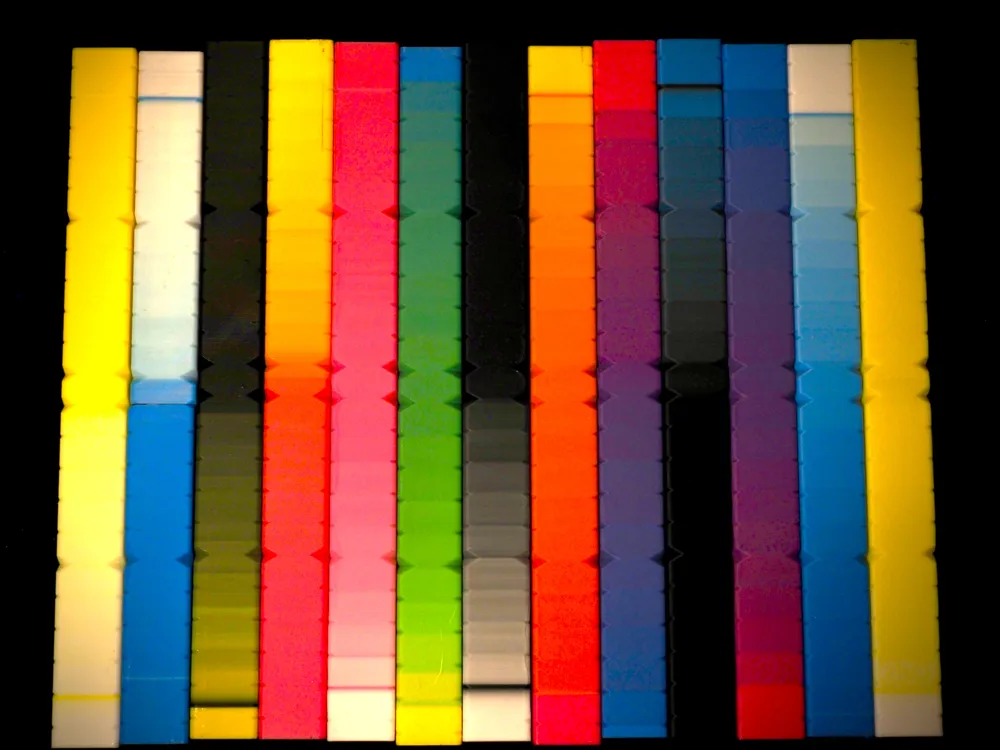
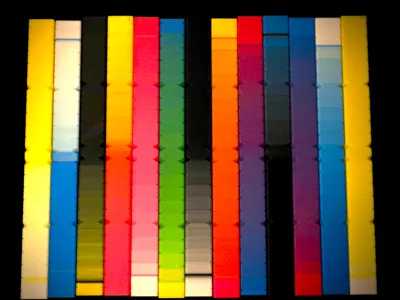
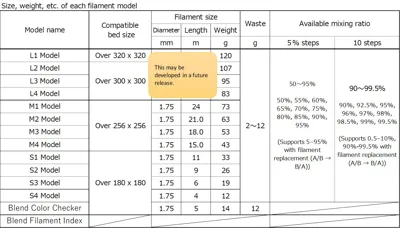
35 total colors (33 blended colors + 2 base colors) produced by Blend Filament.
It lets you compare blend ratios quickly with minimal filament consumption, dramatically reducing the time and filament normally required to find your ideal color.
This model is designed to be printable on the A1 mini as well.
📁 Included Data
1️⃣ Check Filament Models
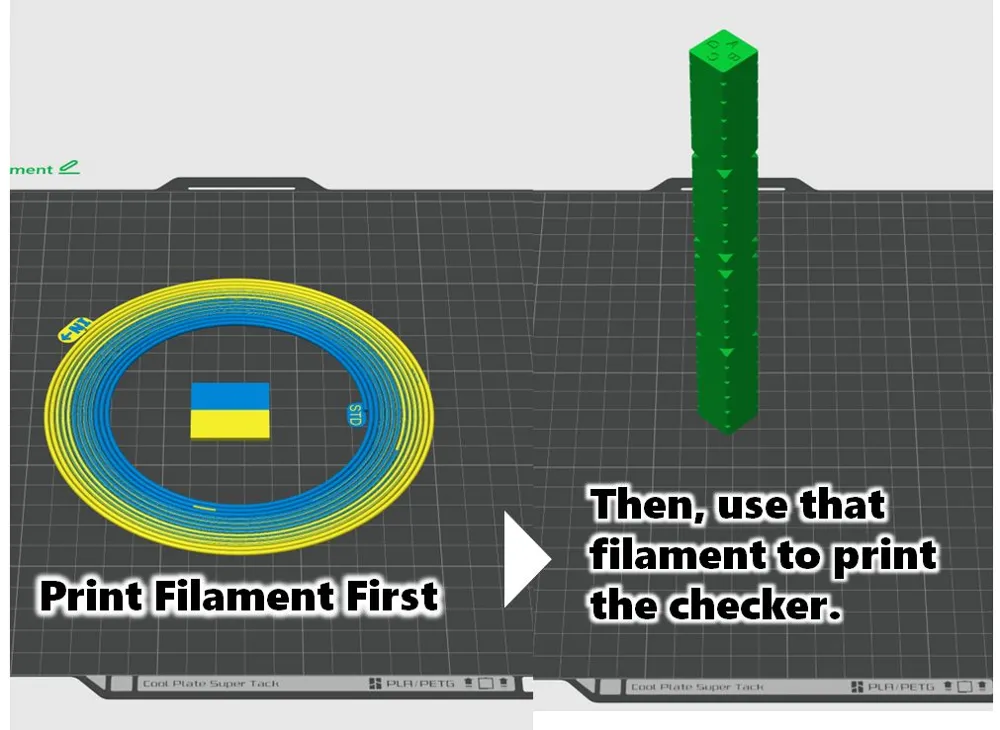
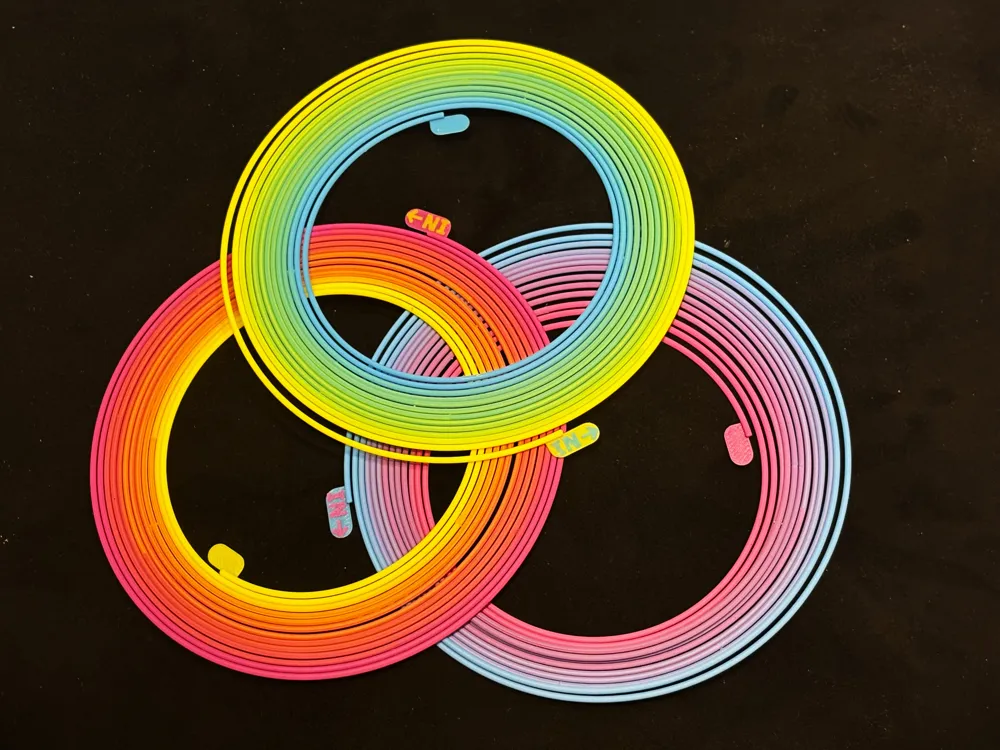
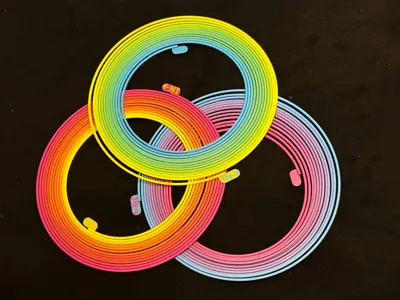
Data for generating blended filament before printing the tower.
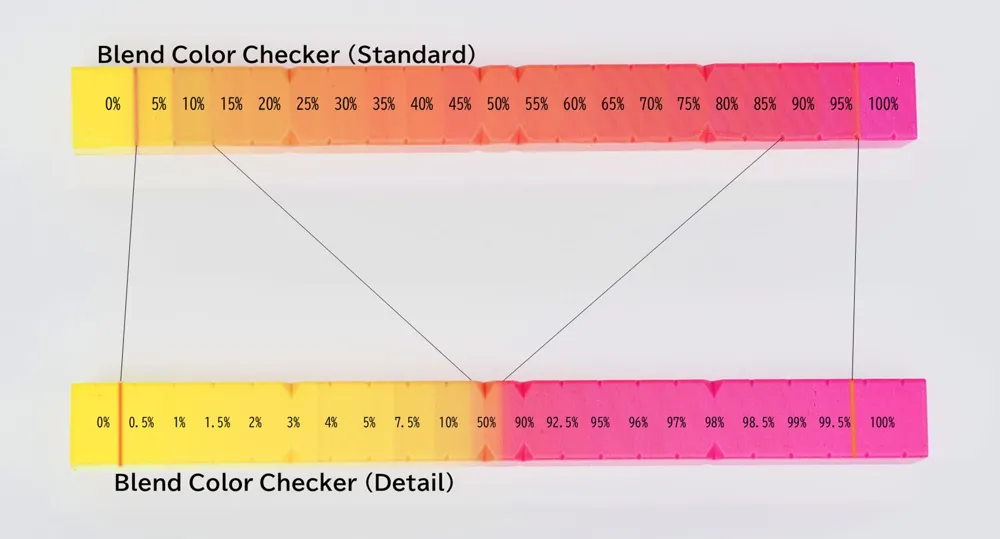
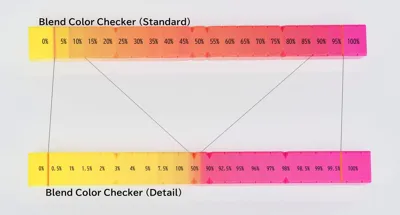
Each blend ratio switches at equal‑length segments.
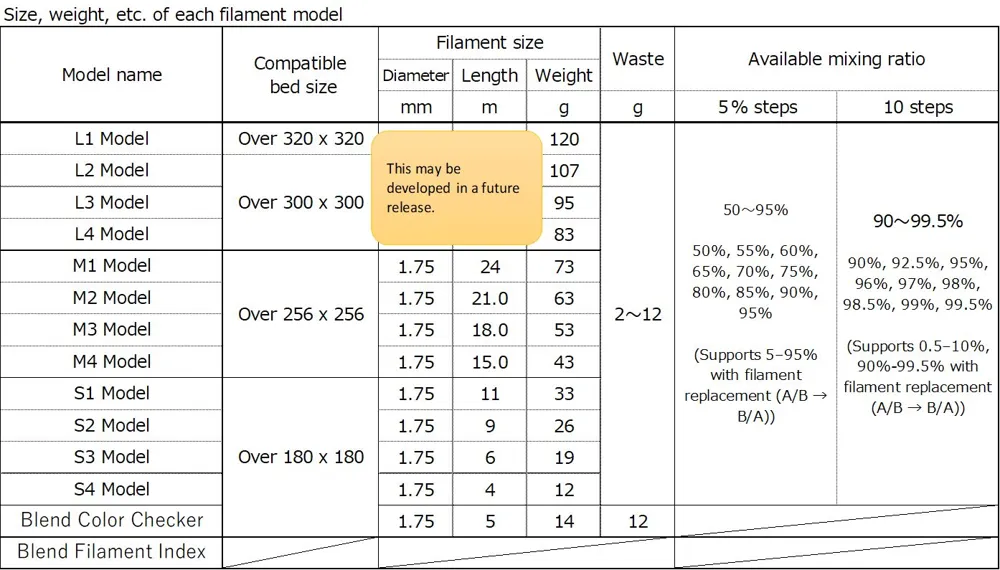
● Standard
0%, 5%, 10%, 15%, 20%, 25%, 30%, 35%, 40%, 45%,
50%, 55%, 60%, 65%, 70%, 75%, 80%, 85%, 90%, 95%, 100%
21 colors (including base colors)
● Detail
0%, 0.5%, 1%, 1.5%, 2%, 3%, 4%, 5%, 7.5%, 10%,
connection layer,
90%, 92.5%, 95%, 96%, 97%, 98%, 98.5%, 99%, 99.5%, 100%
20 colors (including base colors / excluding connection layer)
※ Two versions are available: without marks / with color‑coded marks (Under construction)
※ The connection layer is a joining segment and not used for color evaluation.
2️⃣ Check Tower
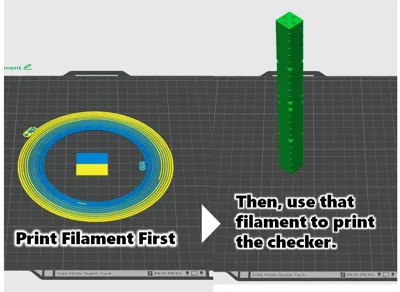
A tower model printed using the generated check filament.
Each color segment corresponds to a notch position on the tower.
3️⃣ Optional: NIX MINI3 Adapter
An optional adapter for measuring the tower with the NIX MINI3 color sensor.
Not required for normal use.
🛠 Workflow
- Prepare the two filaments to be blended.
- Generate the check filament (AMS required).
- Print the tower(use external spool) and Choose the mixing ratio.
- Generate the blend filament in the size you need for your final print.
📌 Notes
Check Filament
- Use filaments with same printing temperatures
- AMS required
- 0.4 mm nozzle required
- Glue not allowed
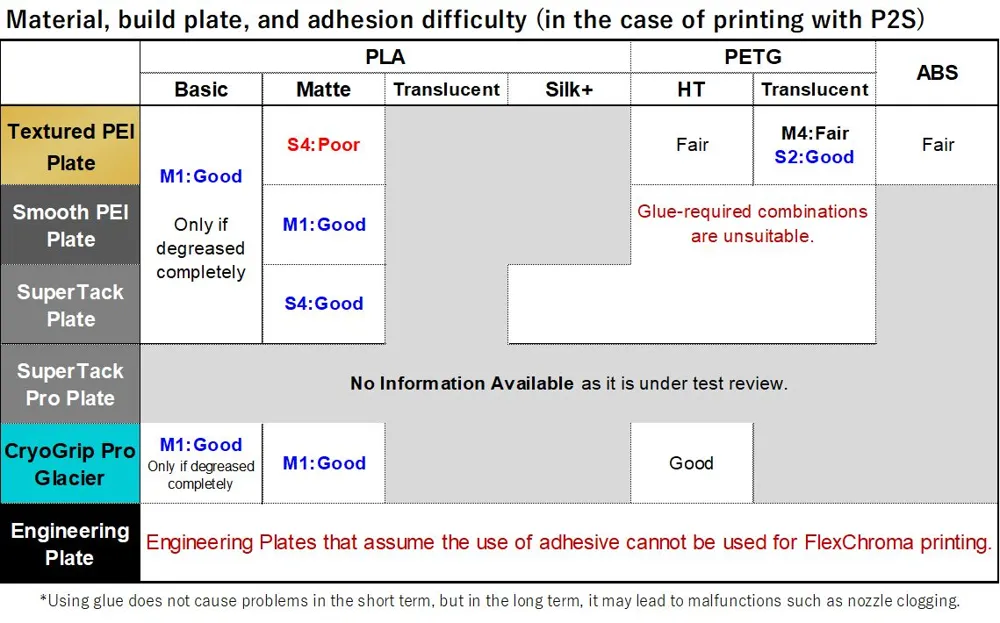
- Wash your hands and the build plate thoroughly before printing to improve bed adhesion.
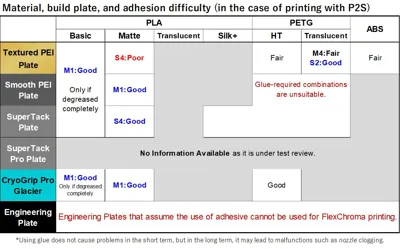
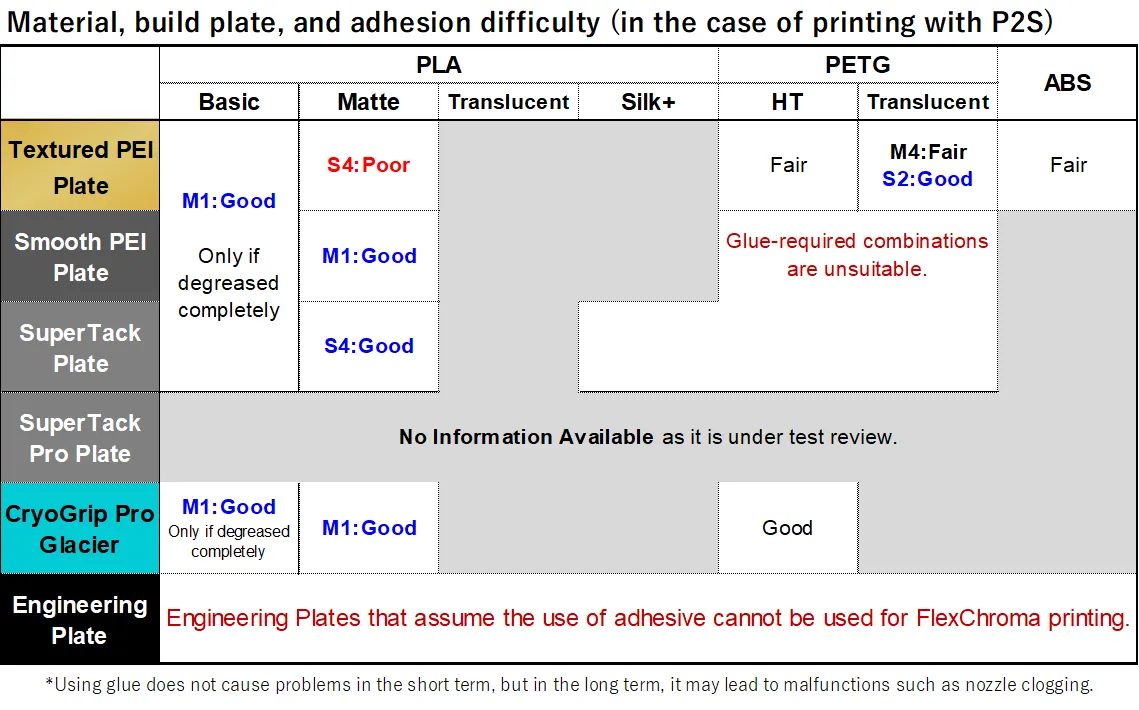
- Please check the adhesion chart below for the material of the filament and the adhesion to the build plate.
Check Tower
- The side marked ‘IN’ on the brim is the loading side.
- Remove the brim before printing the check tower.
- Print the tower from an external spool, as AMS buffer timing can shift the color boundaries.
- Color boundaries may not perfectly match the notch positions
Boost Me (for free)
Boost this post to fuel the next FlexChroma update! ⚡
Documentation (4)
License

You shall not share, sub-license, sell, rent, host, transfer, or distribute in any way the digital or 3D printed versions of this object, nor any other derivative work of this object in its digital or physical format (including - but not limited to - remixes of this object, and hosting on other digital platforms). The objects may not be used without permission in any way whatsoever in which you charge money, or collect fees.


Comment & Rating (22)