
Print Profile(2)
Description
Boost Me (for free)
Hello all, I put my soul into this model and I'm going to push my desing further with new iconic and vintage object. Thinking of making a lamp from the 70s telephones. Little boost we'll definitely give me a bit of a push :)
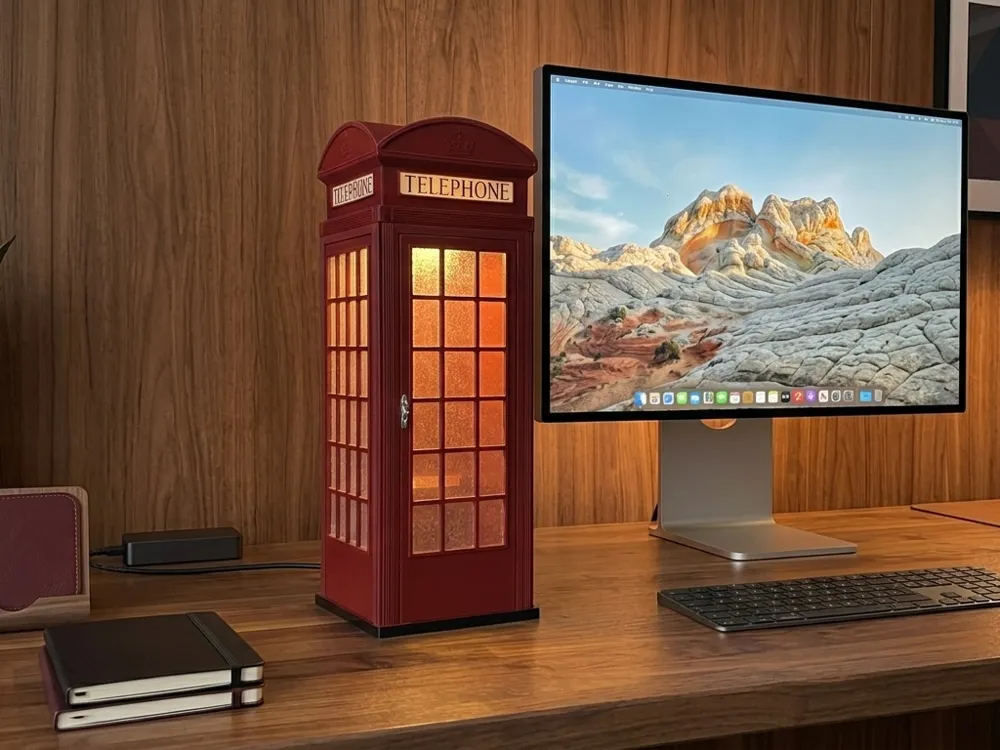
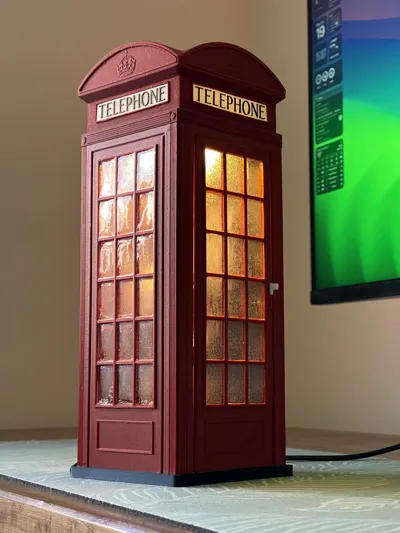
Vintage British K2 Telephone Booth/box Lamp
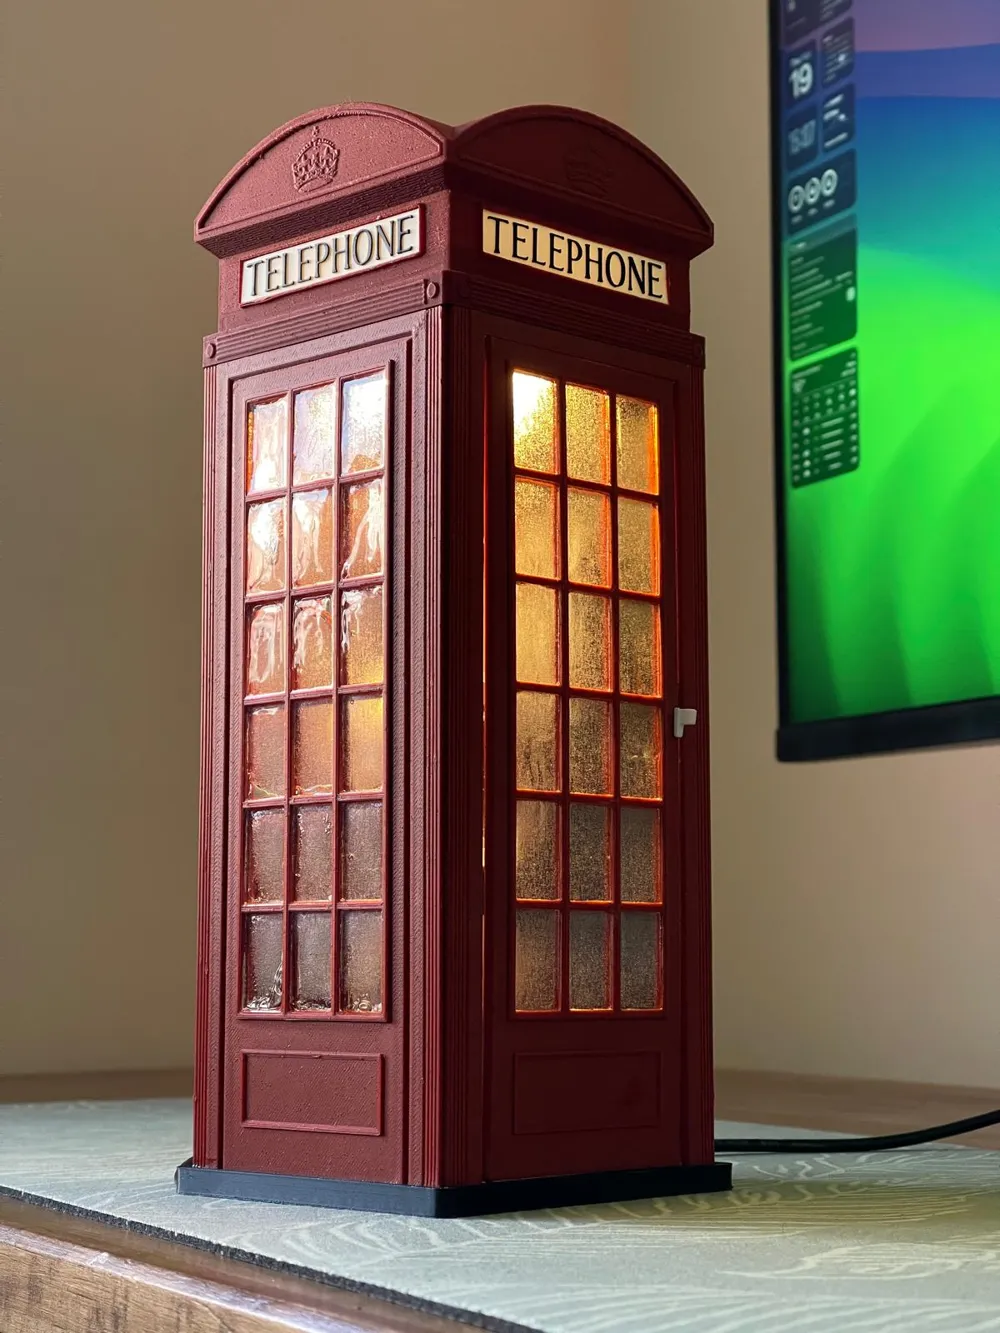
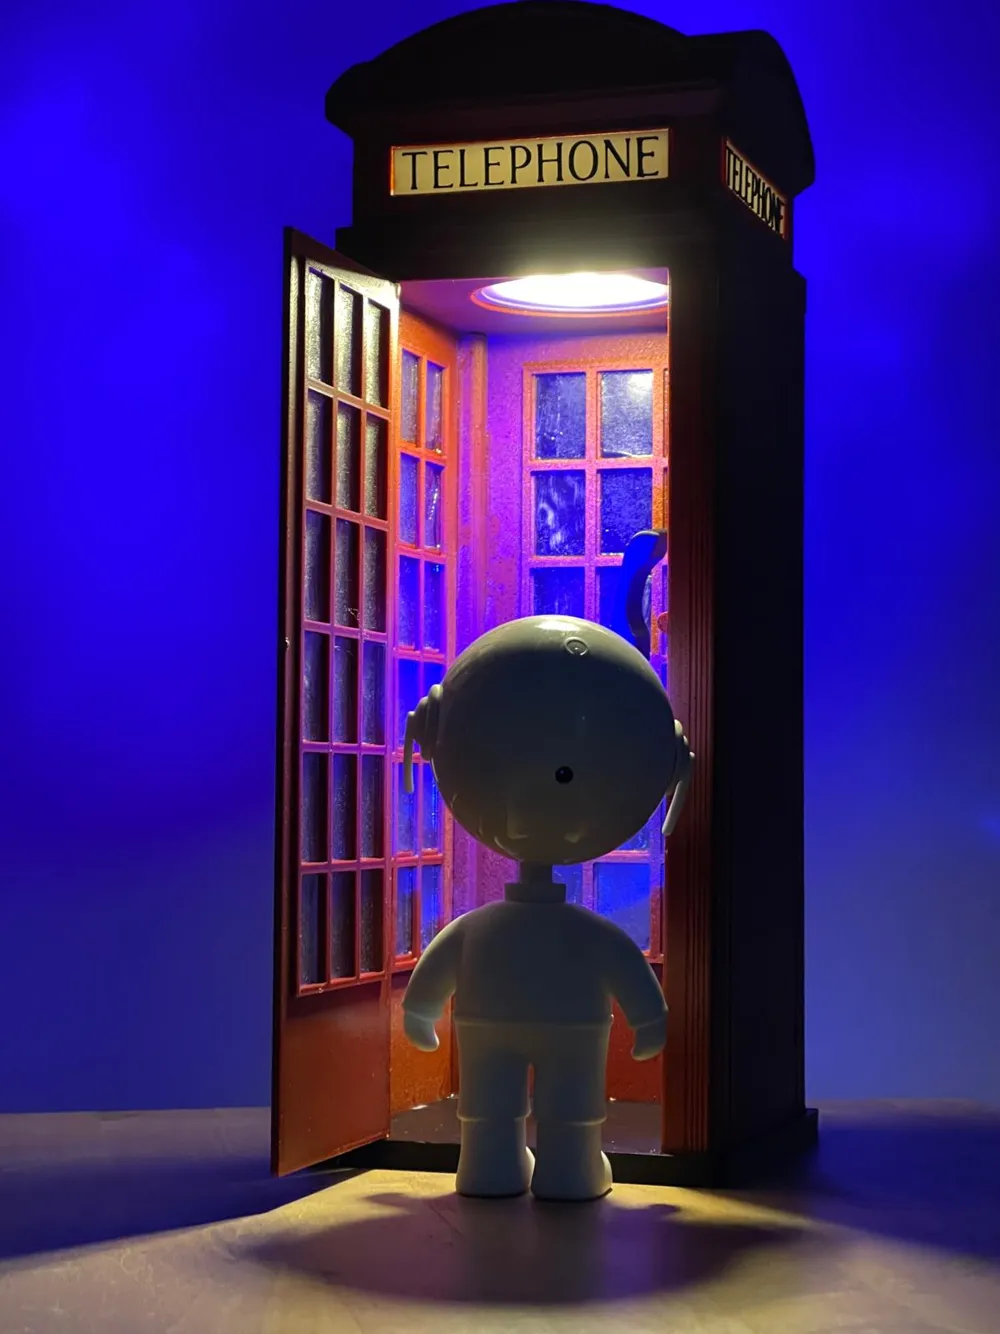
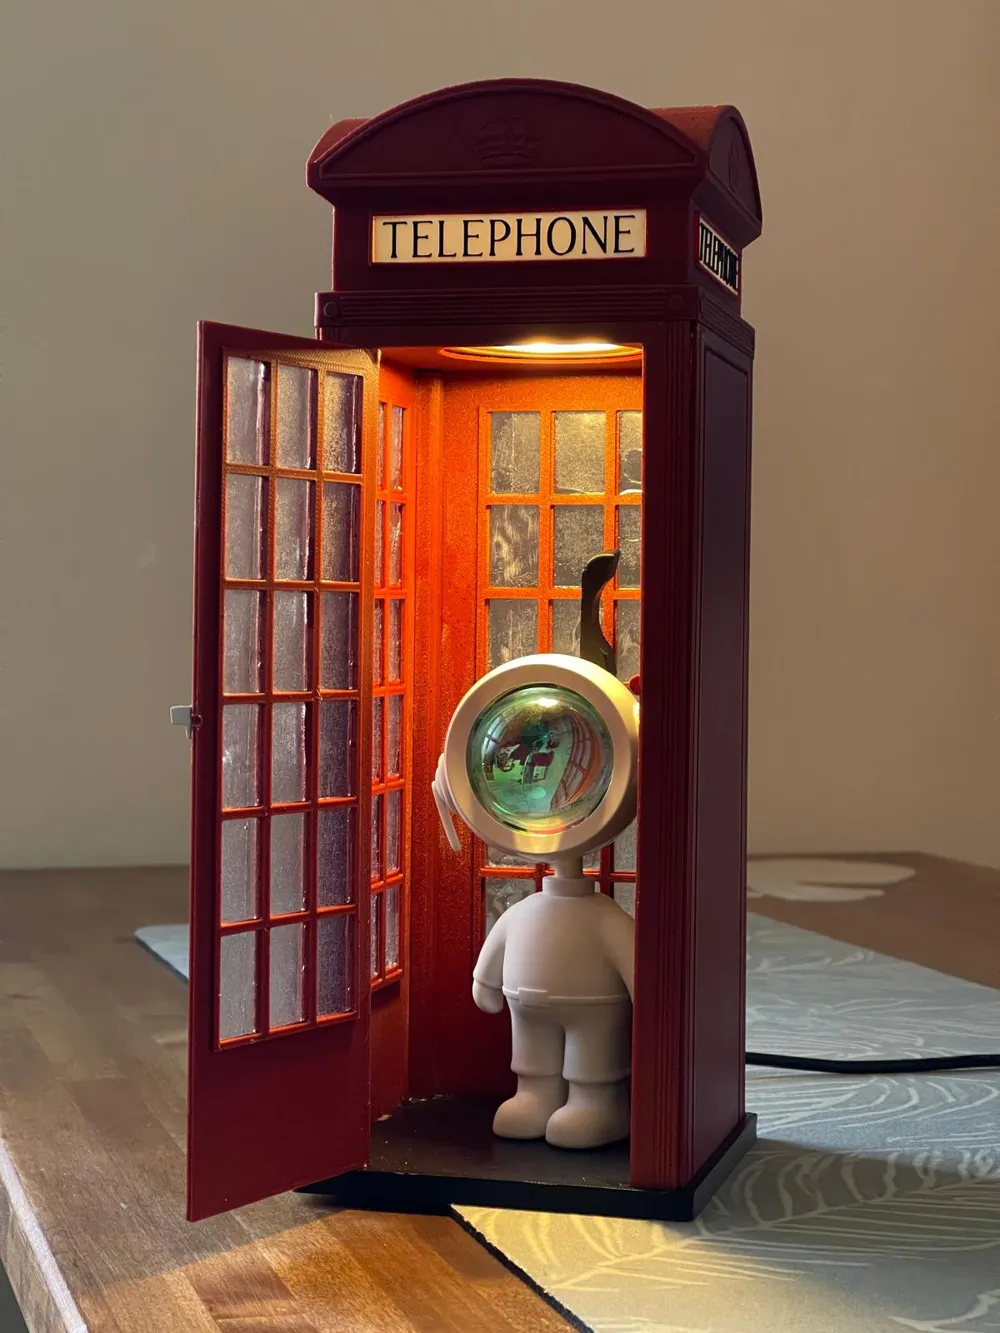
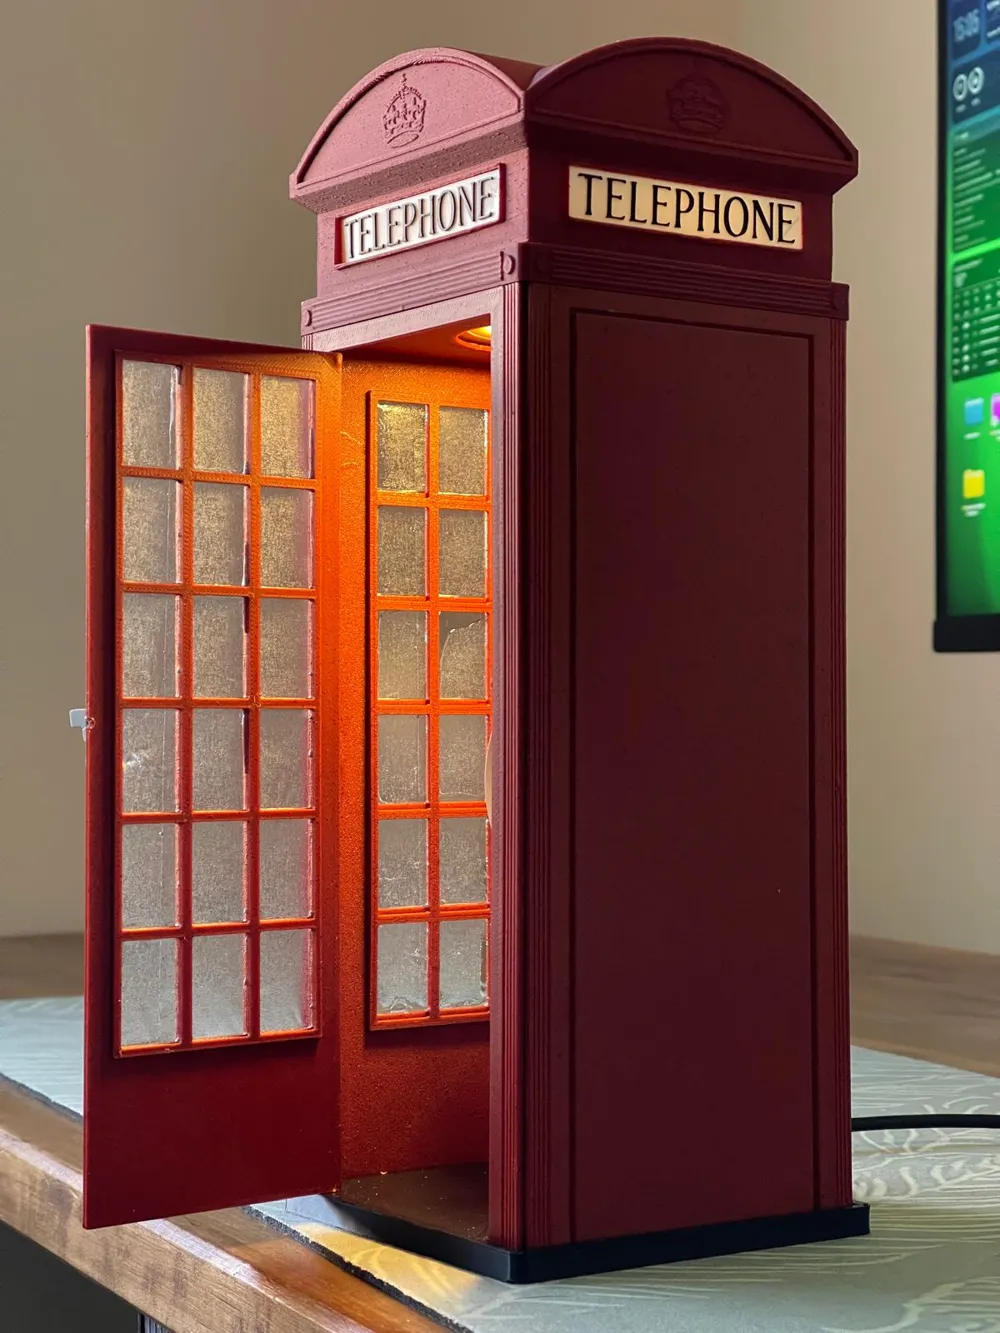
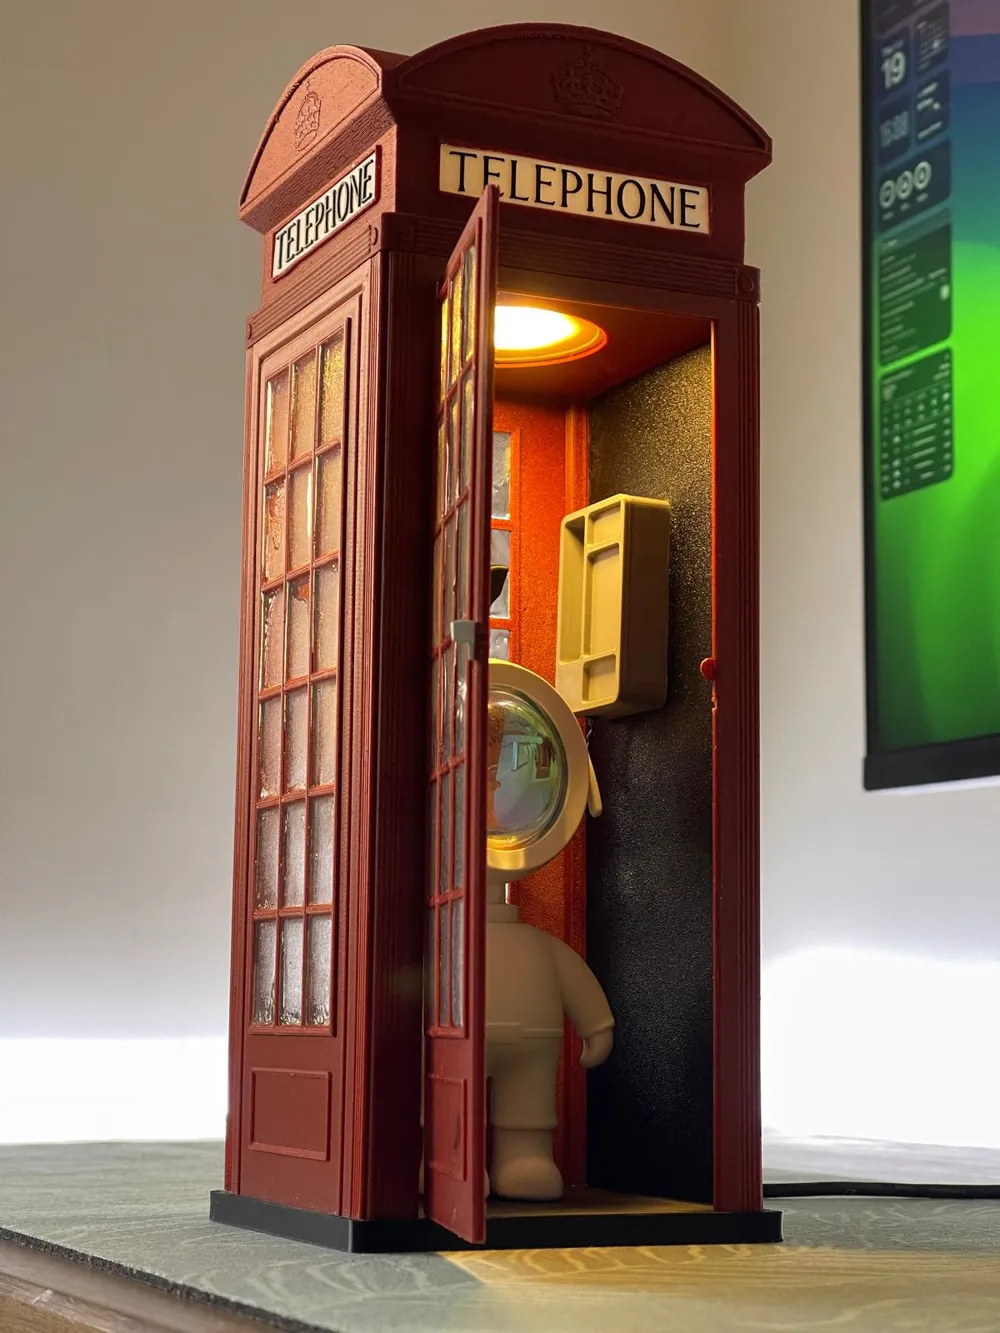
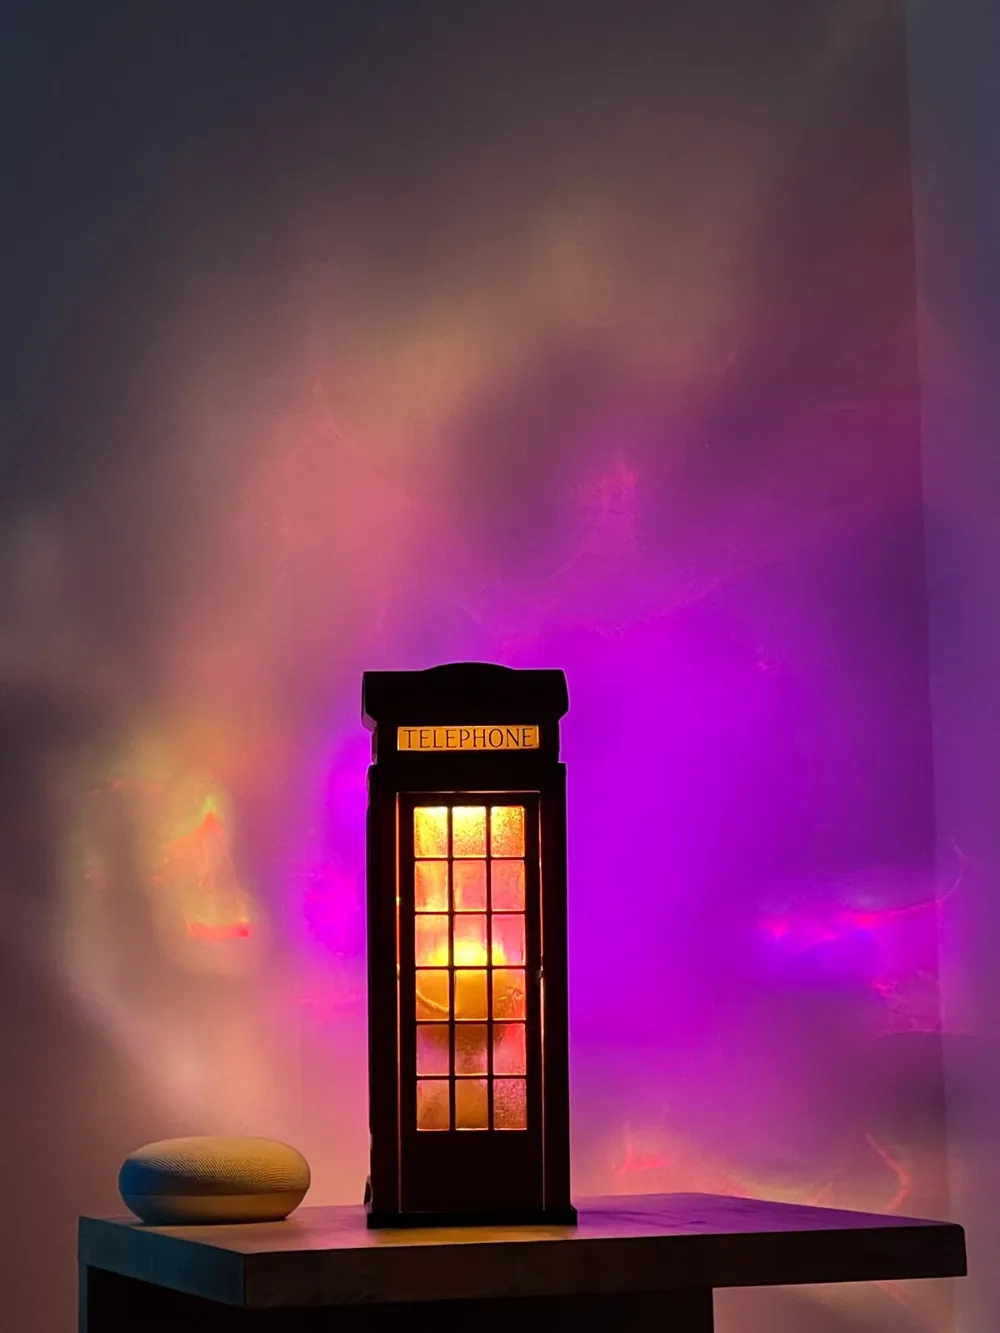
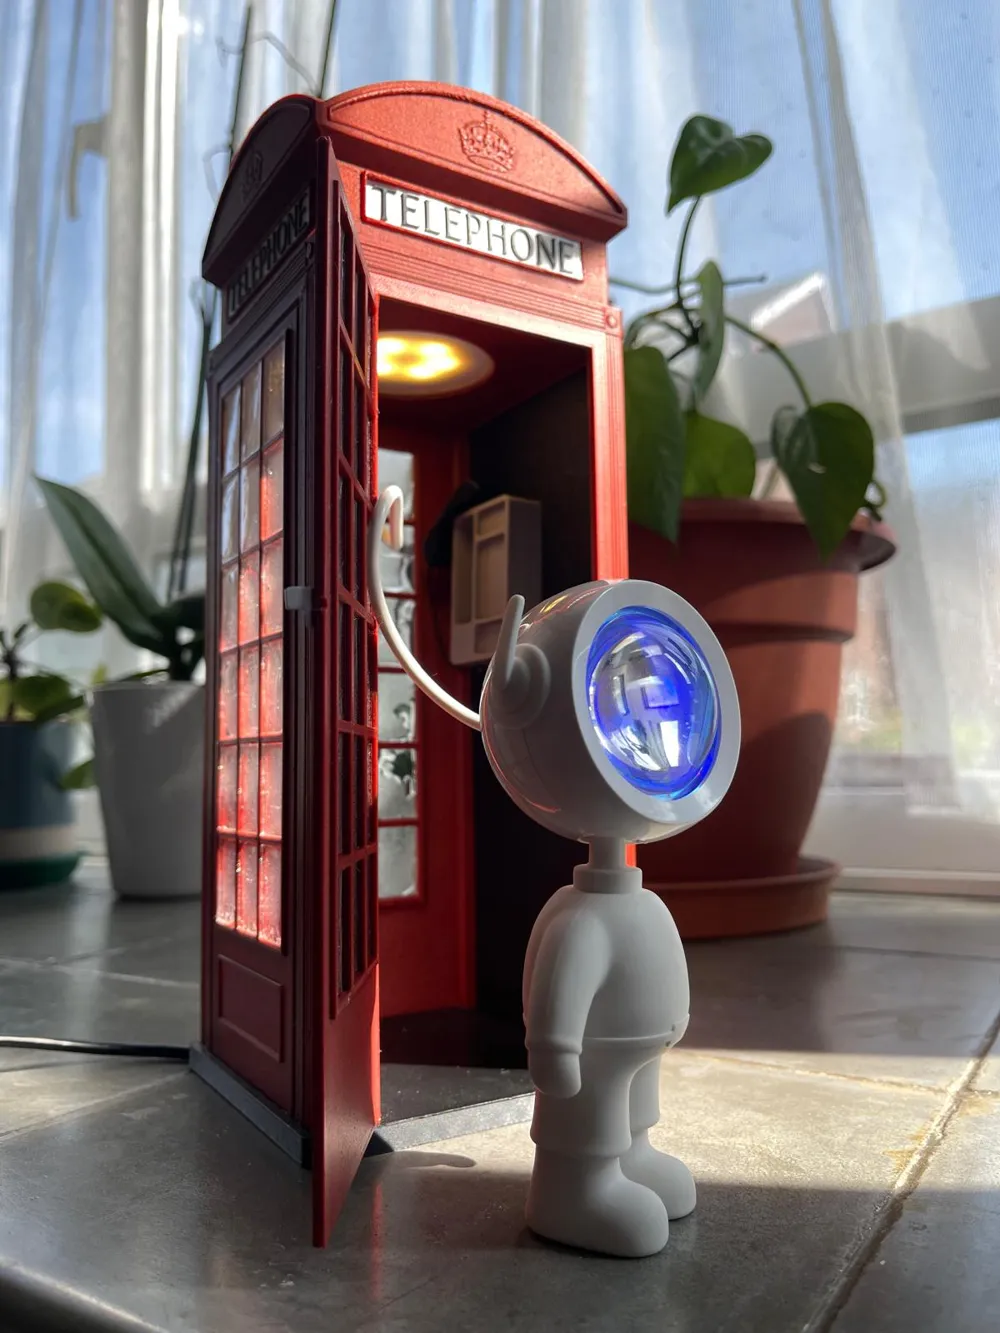
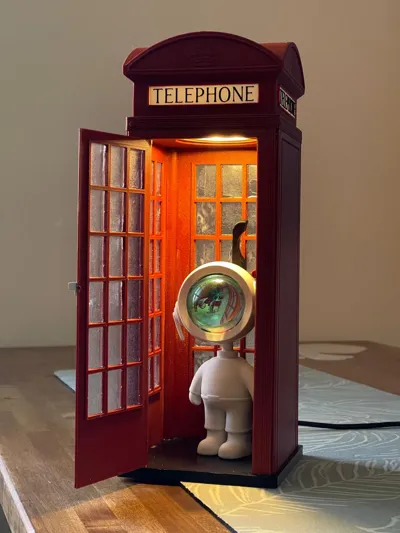
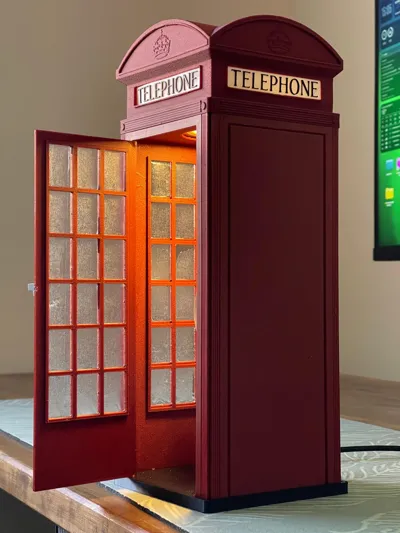
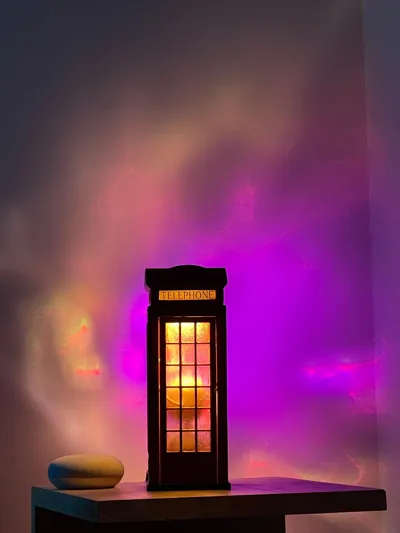
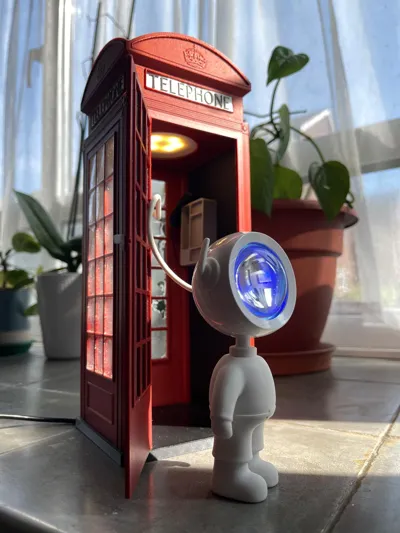
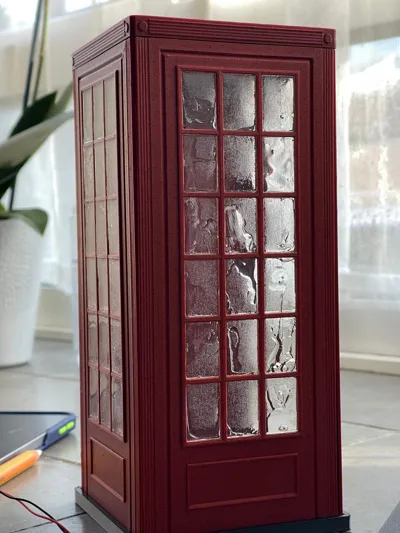
Hello everyone welcome to my hardest project so far, Add a touch of classic British charm to your home with this detailed K2 telephone box Lamp model.
Inspired by the iconic design by Sir Giles Gilbert Scott (1924), this piece captures the timeless look of the original red telephone boxes that became a symbol of British heritage, today no longer used but still there as a symbol and icon of the past.
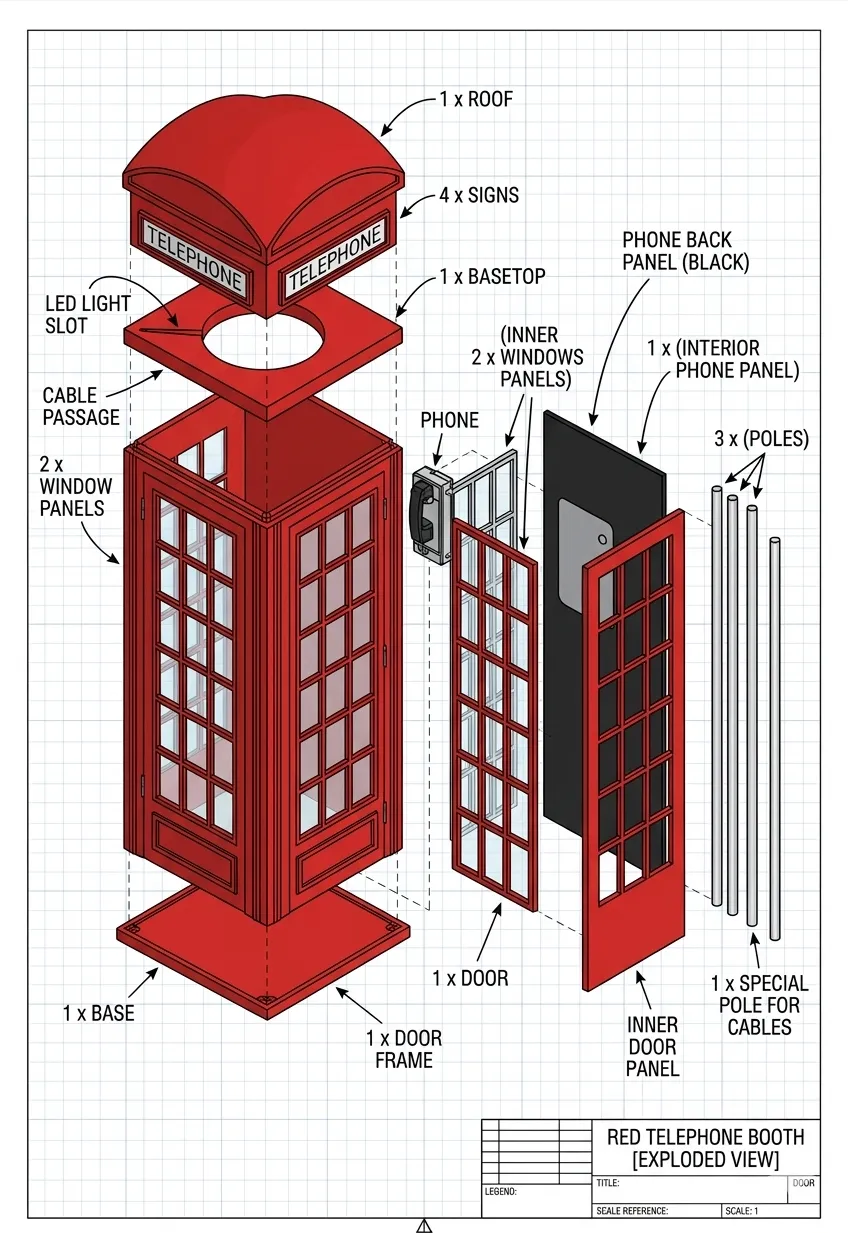
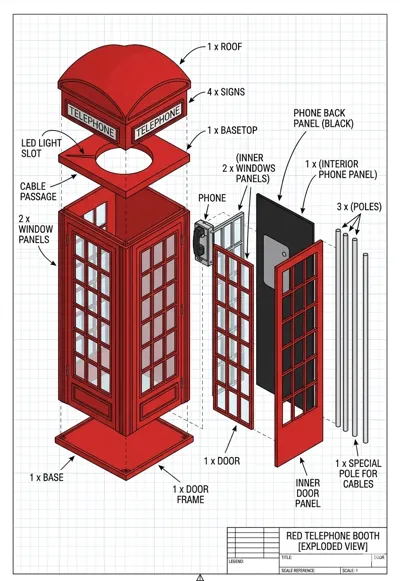
This is a lamp with a complex yet highly enjoyable modular design, offering a rewarding, puzzle-like assembly experience.
Before applying any glue, it’s a good idea to plan the assembly sequence and decide which pieces should go together first. In the early stages, you can use masking tape to temporarily hold parts in place this makes adjustments easier before committing with glue.
Since this model functions as a lamp, it requires two LED lights (inexpensive options are available from Temu) and a small amount of very simple soldering and glueing.
Parts requiured: LED1 it comes in 10 pieces but you only need one https://tinyurl.com/firstlightlamp and LED2 which will be the ceiling light, you will use its switch and the cable with USB at the end https://tinyurl.com/BoothLed
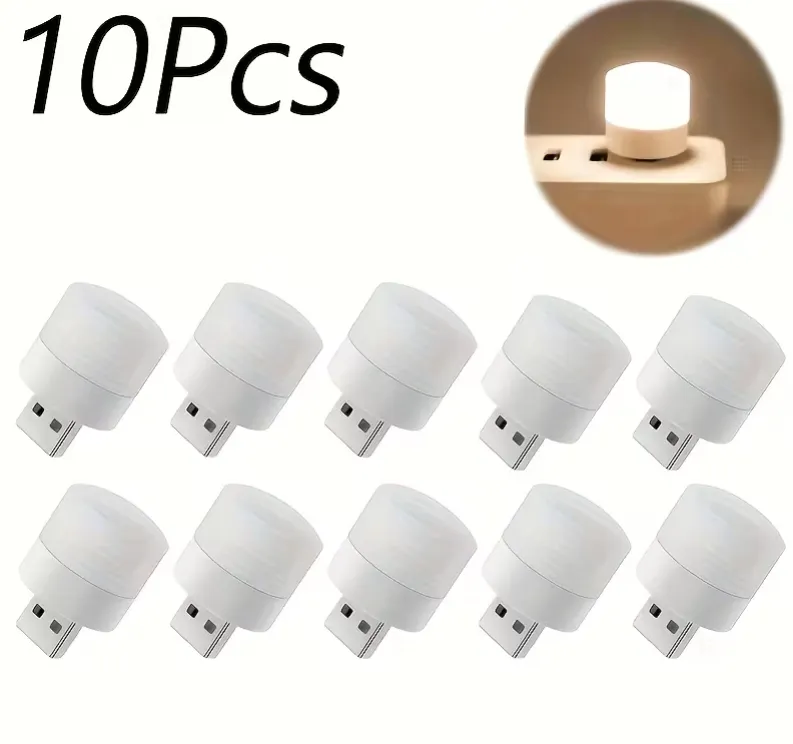
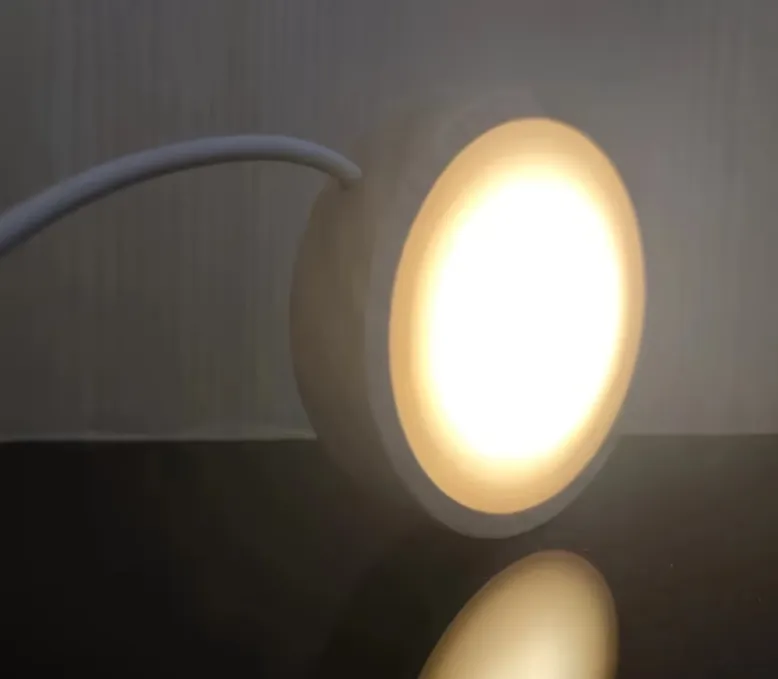
LED1 is the light that will illuminate the four TELEPHONE signs in the roof section. For this step, you’ll need to open the LED unit and gently remove the USB connector (it comes off very easily). This will expose two metal contacts, to which you will solder two wires.
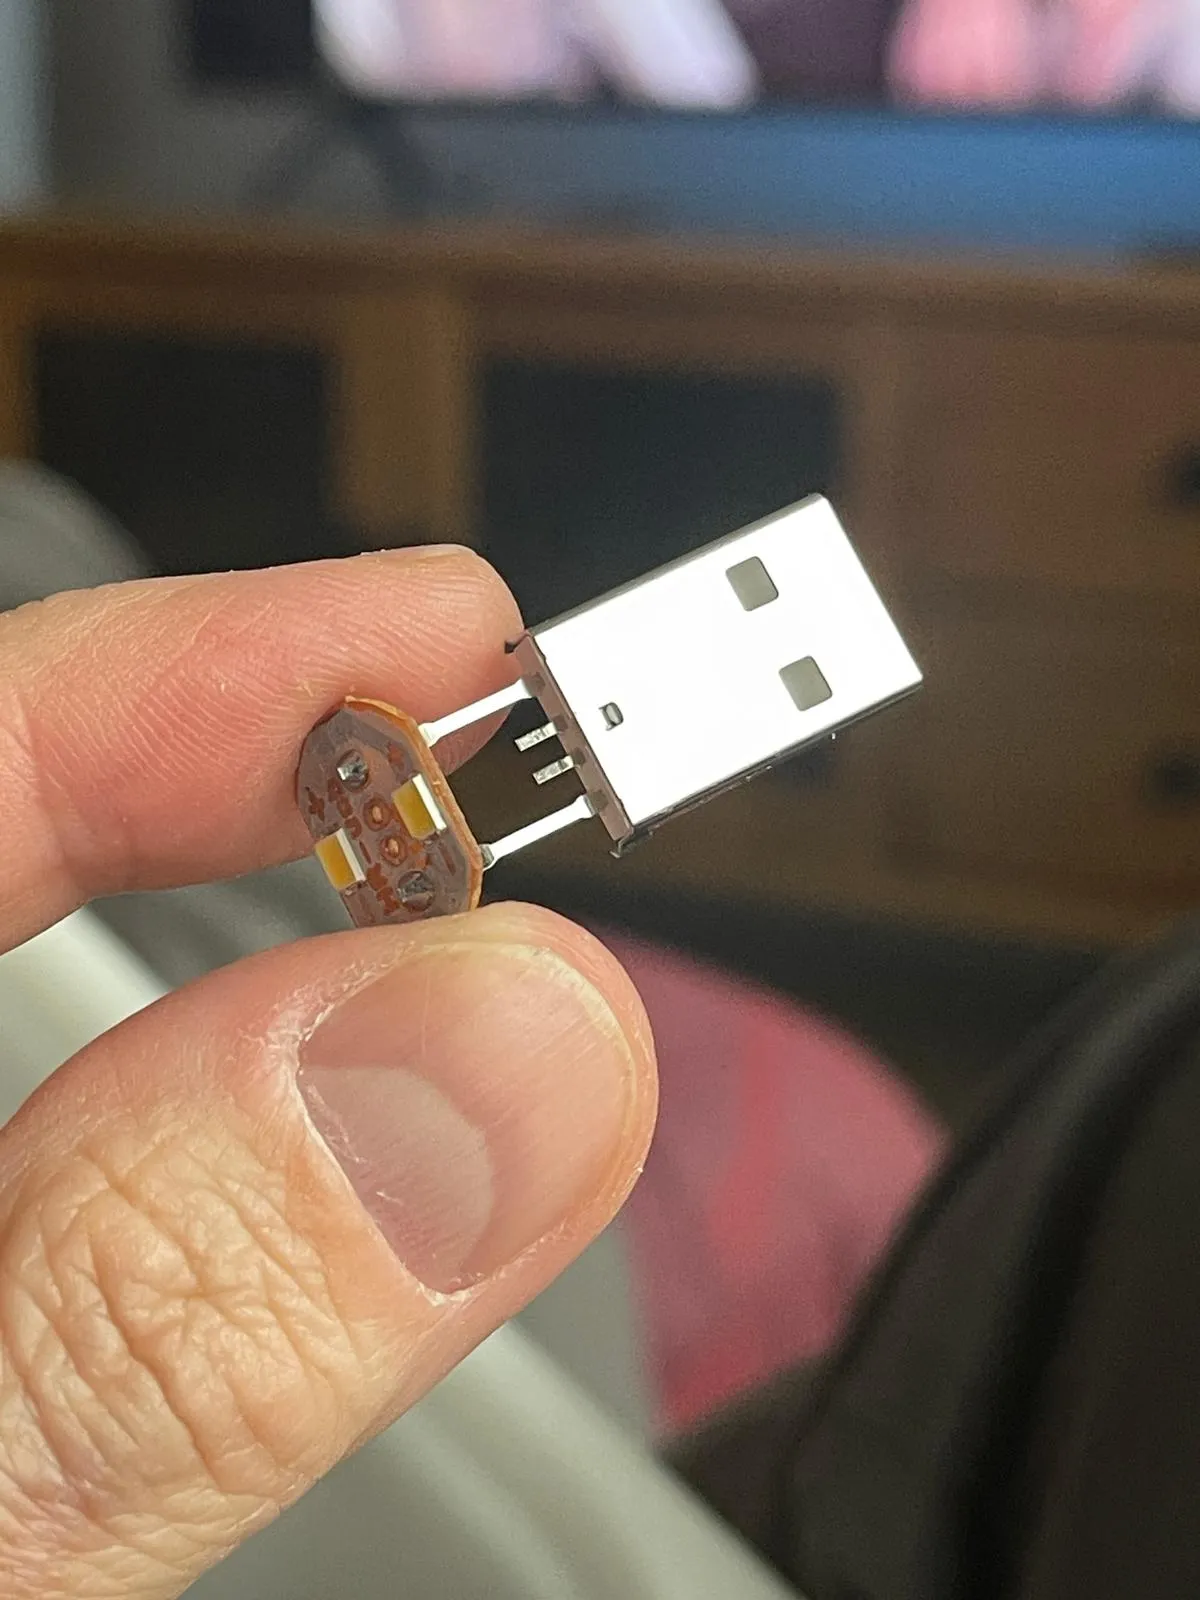
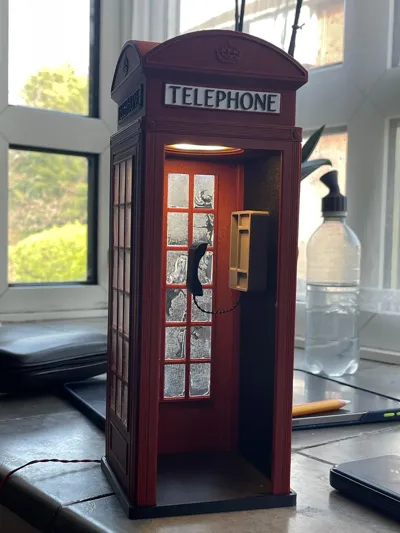
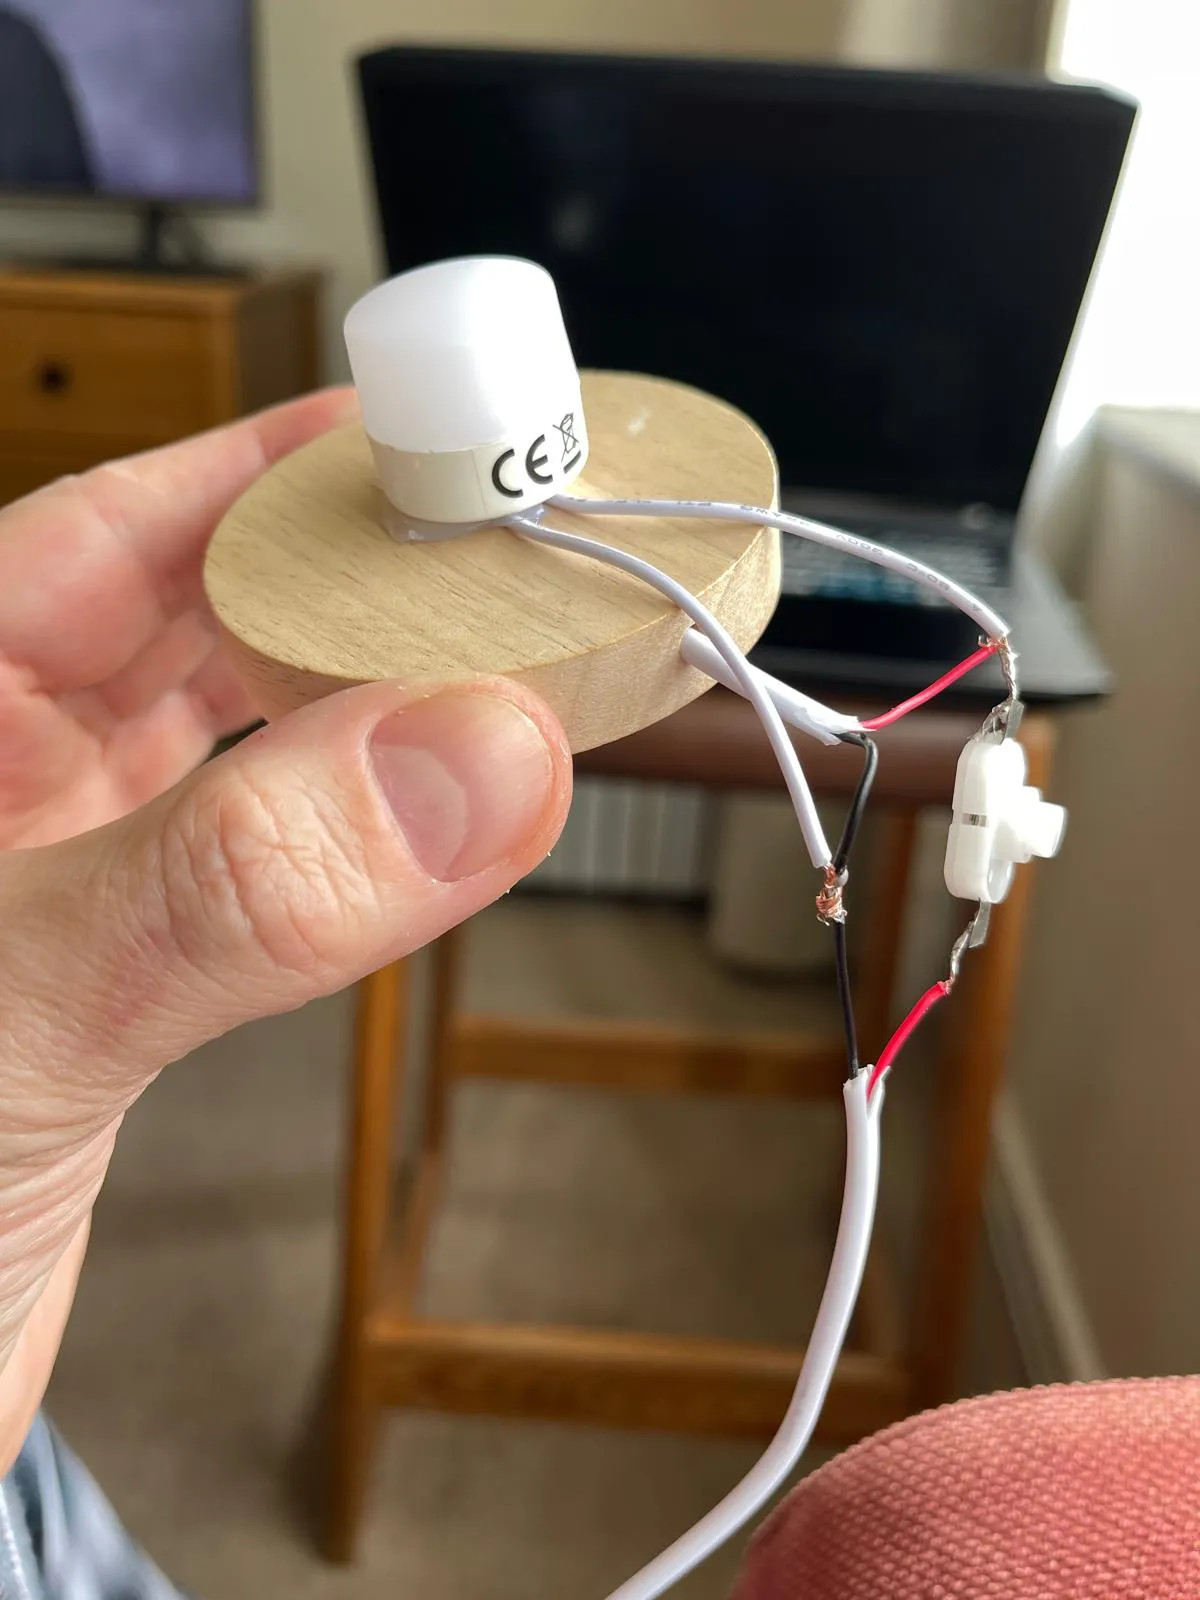
Once the two wires are soldered, reassemble the LED unit in its casing, leaving the two wires exiting from the bottom. After that, use hot glue to secure LED1 to LED2, as shown in the reference images.
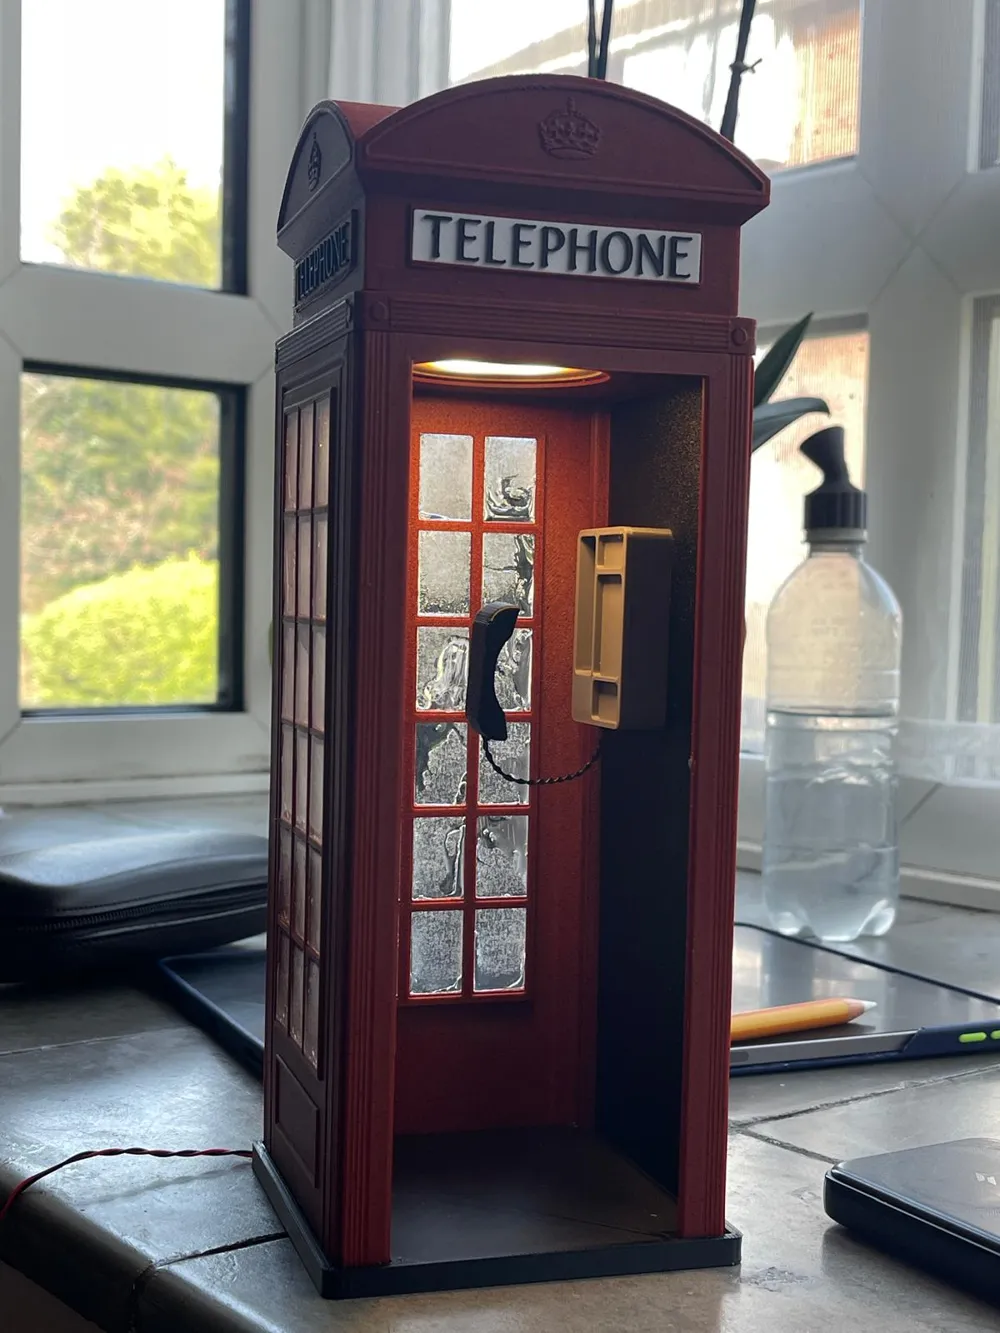
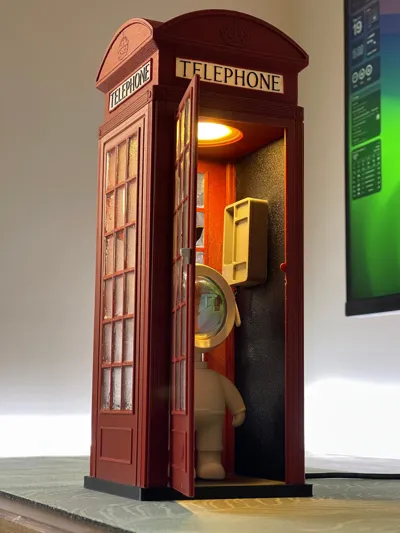
LED2 comes with a switch. Open it up and remove the existing cables, then proceed with soldering the connections. Once everything is wired, the roof section has a dedicated slot for this component. LED2 also includes a USB connector, which will serve as the lamp’s power lead for plugging into an outlet.
Once the two LEDs are secured together, follow the wiring shown in the reference images so both lights can turn on simultaneously using the same cable. The wiring diagram is only a guide, adjust wire lengths as needed during assembly. Ensure the wire connected to the switch is long enough to reach the top section, as shown in the images.
There is a dedicated slot at the top of the roof to house the switch. Route the remaining cable through the internal channel in the pole (see picture 4) and out through the base, this will act as the final lead to the USB outlet.
For the door hinge, you can use apaper clip, heat it up and push it in where the guide hole is. It is very important to install and hinge the door before attaching the top and roof sections.
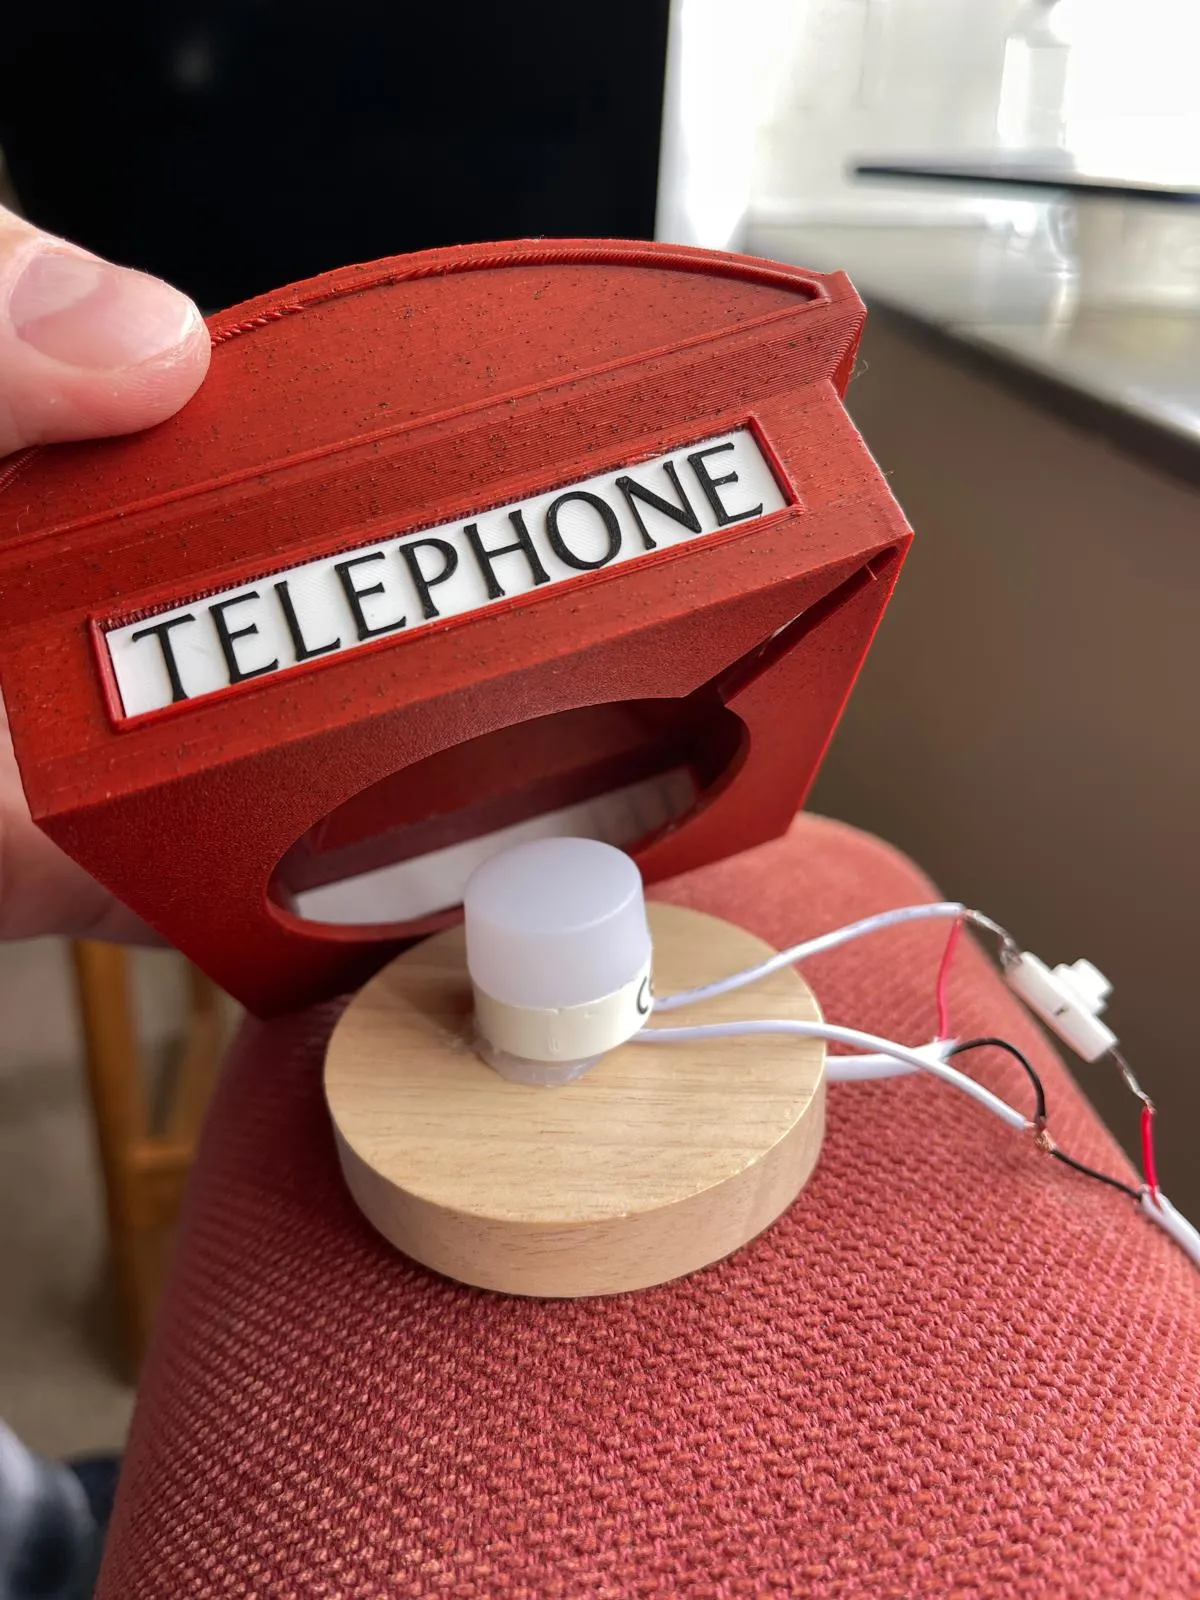
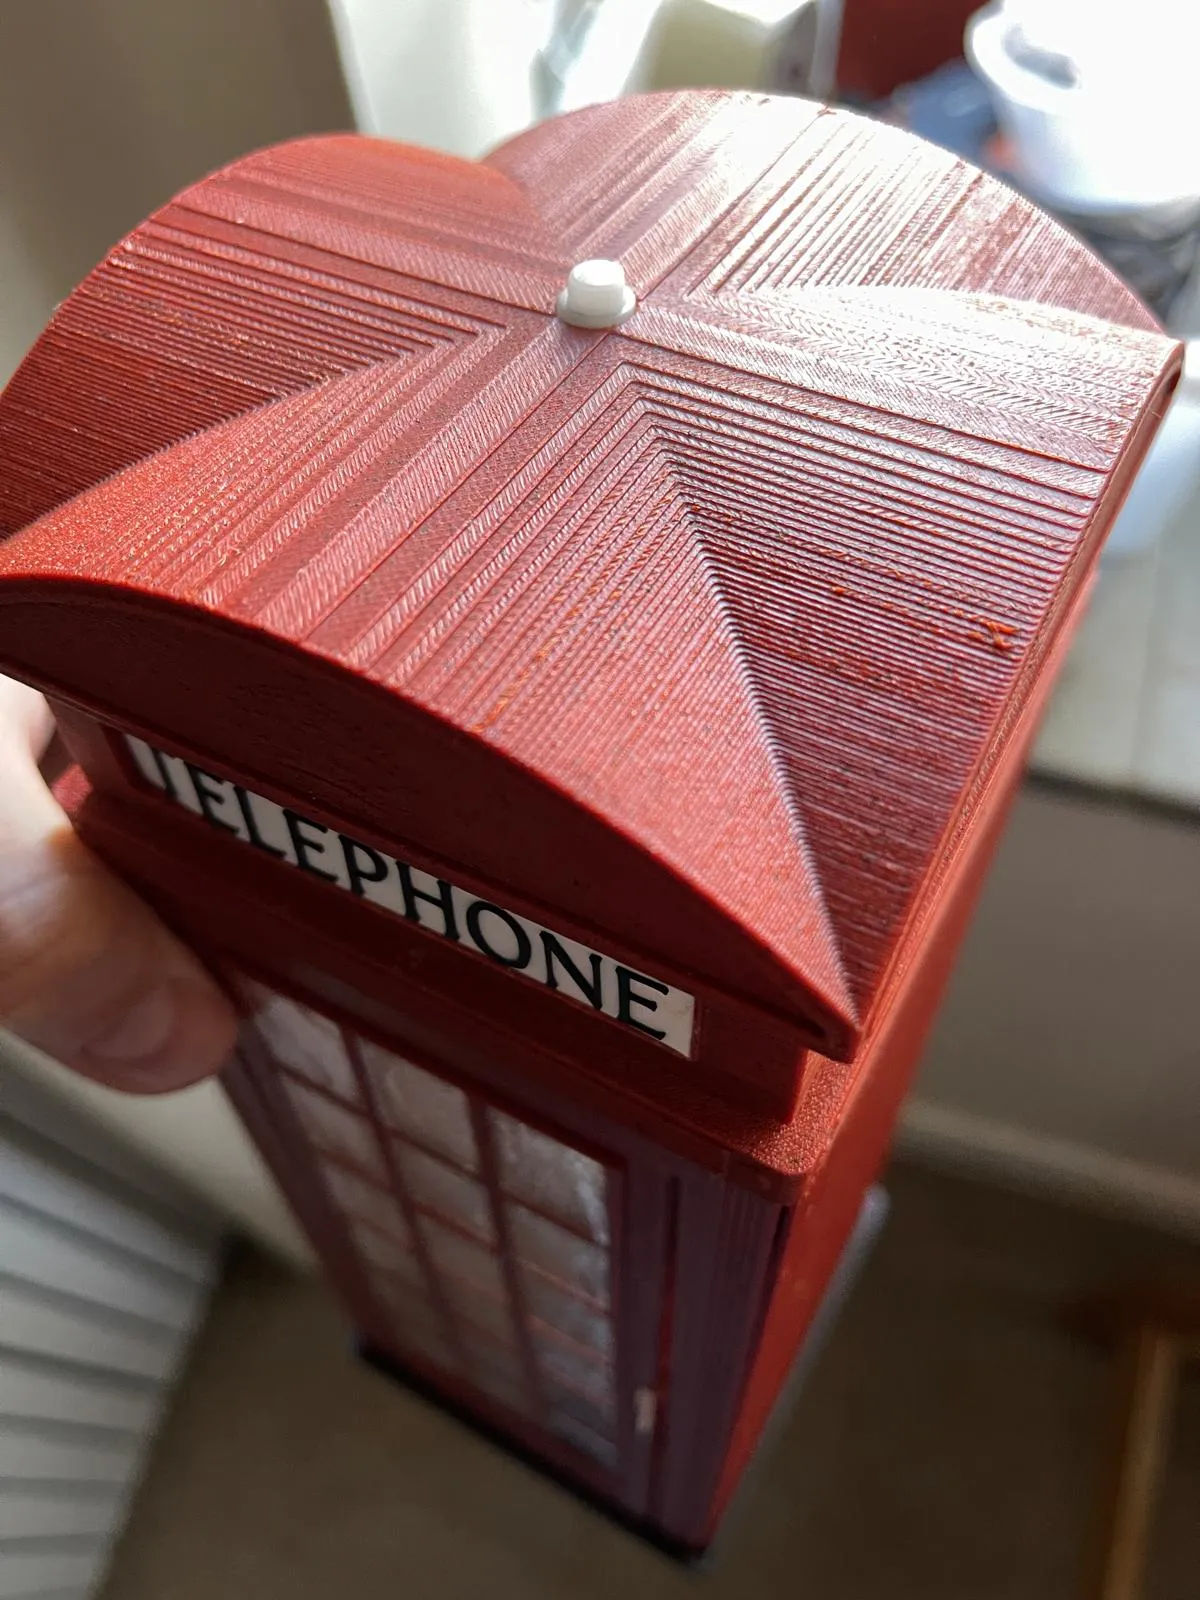
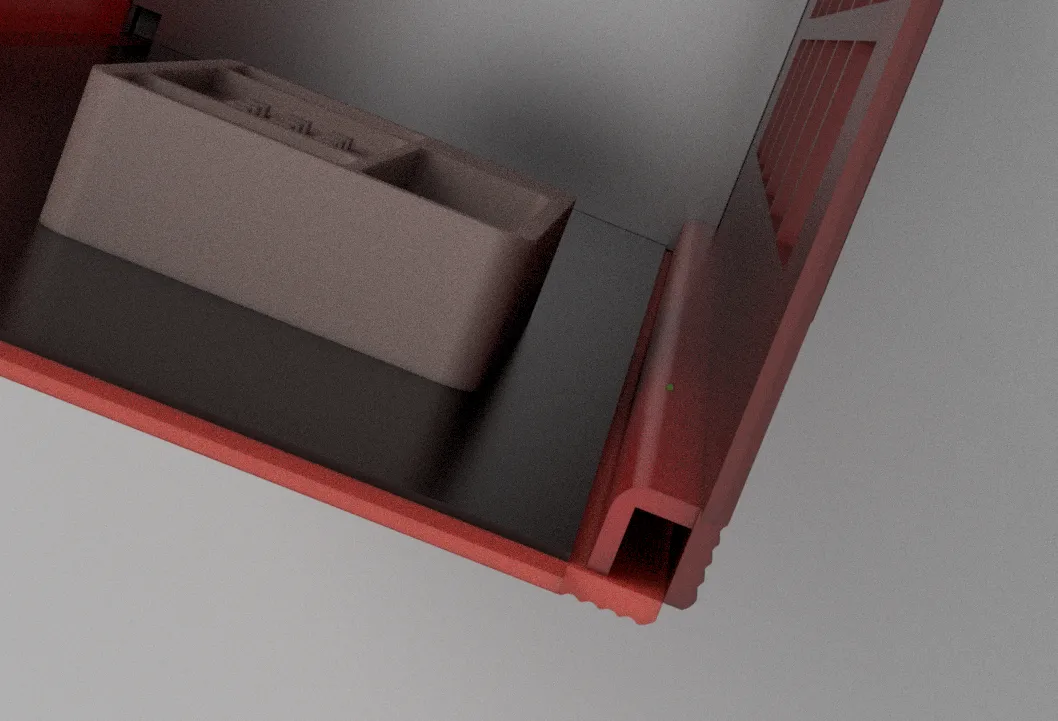
Features:
- Detailed Design: Includes crown insignia, panelled windows, and authentic proportions
- Compact Size: Approx. 10m × 10cm × 28 cm – perfect for desks, shelves, or bookends
- Easy Assembly: 23 simple parts for an enjoyable DIY modular build
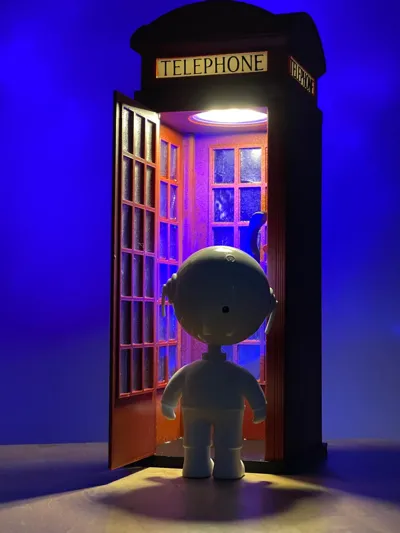
- Functional Lamp: 2 small LEDs (e.g. from Temu) to create a warm glowing lamp
- Versatile Decor: Great for homes, offices, or gifts
Assembly Overview:
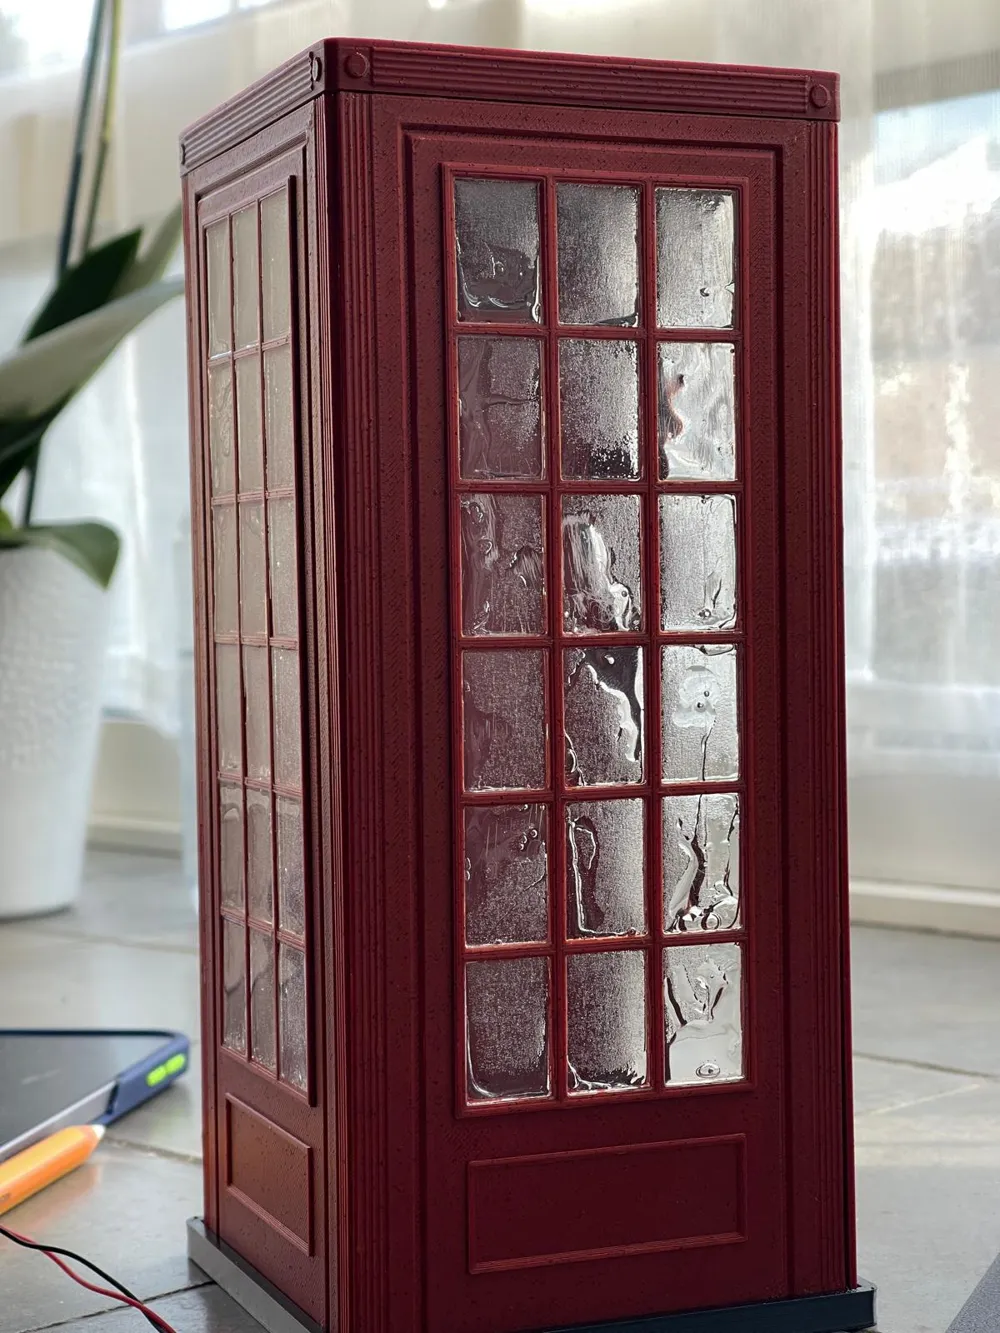
- Glue all the internal panels to its relative glassed panels
- Put the 3 regular poles up
- Now put the door frame up, then the door, and hinge it with a piece of filament or a metal wire
- Now it's time to put the other 3 glassed panels up, use masking tape to hold them together
- Next glue the hollow pole
- Now cut and pass the cable from the base all the way up to the hollow pole
- Next put the top on, the cable now will come out from the hole
- Do your wiring as from the above instructions
- Glue the “Telephone” signs to the dome, paint the crowns with a black marker
- Put the lights in place, the switch in its slot in the dome
- Add the top dome, don't glue it as you might want to rewire things in the future
- Done now, just plug it in and enjoy the lovely Lamp
- Optional as in my pictures you can use uv resin to create the glass for the small windows, if you do use it rather than using a UV light to cure it just putting under the sun indoor, UV light heats up and deform the PLA whereas the sun might take a bit longer but the result will be perfect
A unique decorative piece that doubles as a charming illuminated lamp.
License

You shall not share, sub-license, sell, rent, host, transfer, or distribute in any way the digital or 3D printed versions of this object, nor any other derivative work of this object in its digital or physical format (including - but not limited to - remixes of this object, and hosting on other digital platforms). The objects may not be used without permission in any way whatsoever in which you charge money, or collect fees.


Comment & Rating (24)