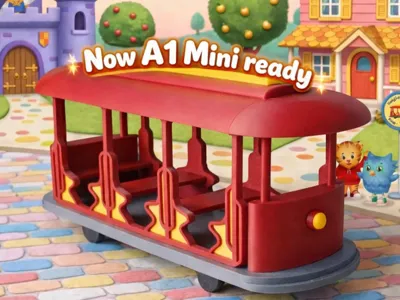
Trolley - Daniel Tiger's Neighbourhood

Print Profile(2)


Description
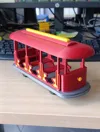
All aboard! Inspired by Daniel Tiger’s Neighborhood, this 3D‑printable trolley is designed to capture the charm of the show while staying practical and maker‑friendly.
- A1 Mini version
This version is compatible with the A1 Mini printer. The join plates may need slight adjustment depending on each user’s tolerance settings and filament behavior. The provided profile worked for me with Bambu PLA Basic, but results may vary. Adjust accordingly.
As a side note, the roof and floor orientation in the profile is intentional to ensure that the connecting‑area holes remain properly aligned. With a thin screwdriver and about five minutes, I was able to remove the supports from inside the join‑plate holes easily and cleanly.
 |  |
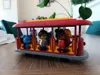
Both models includes two versions of the wheel axles:
- Vertical print version for a single‑piece, straightforward print
- Split‑in‑half horizontal version for those who prefer stronger layer orientation
The wheel section has been intentionally designed with extra clearance, allowing you to replace the printed wheels with real rolling wheels if you want smoother movement or a more toy‑like feel.
For dimensional tuning, I used XY Hole / Contour Compensation but my values may not be the best for you, depending on your printer/filament. Also, in my case, the front light detail printed perfectly at 99% scale. Feel free to adjust any of the parameters if your tolerances differ.
As Daniel Tiger would say: “It’s a beautiful day in the neighborhood to make something new!” Enjoy printing, customizing, and taking your trolley on little adventures around your maker space.
License
You shall not share, sub-license, sell, rent, host, transfer, or distribute in any way the digital or 3D printed versions of this object, nor any other derivative work of this object in its digital or physical format (including - but not limited to - remixes of this object, and hosting on other digital platforms). The objects may not be used without permission in any way whatsoever in which you charge money, or collect fees.
Comment & Rating (25)