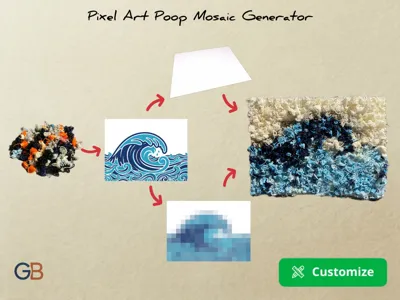
Pixel Art Poop Mosaic Generator


Print Profile(3)

Description
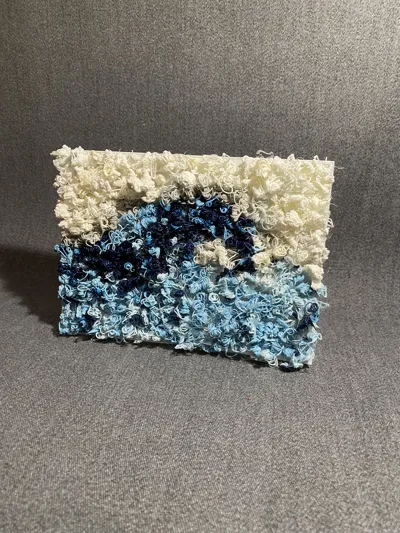
Don't throw away your filament poops! Turn your 3D printer waste into your own beautiful, personalized pixel art mosaics.
If you want to dive right in, I highly recommend downloading my pre-made grid from the available print profile. It prints a grid where you can glue your filament waste to create a standard 1:1, 3:4 or 4:3, 16:9 or 9:16 ratio picture, with the longest side being 180mm. You can either follow the same reference image I used, or let your imagination run wild and create your own unique design!
If you want something completely custom instead, follow these simple instructions. This way, you can create your own pixel art starting from any image and in whatever size you prefer!
| How to get your parameters and your pixelated image (Step-by-Step) | |
| 1. Go to Google Colab (it's a free Google tool). | |
| 2. Click on "New Notebook" (or File > New notebook). | |
| 3. Copy the entire Python code provided at the bottom of this description. | |
| 4. Paste the code into the empty grey cell in your new Colab notebook. | |
| 5. Click the "Play" button (▶️) on the left side of the cell to run it. |  |
| 6. Follow the on-screen prompts: upload your own photo (must be in .JPG or .PNG format) and enter the desired maximum length of the long edge of the mosaic. 💡 Pro-Tip for the photo: I highly recommend using an image with simple shapes and colors that roughly match the poop colors you actually have at home! For example, I had blue, light blue, and white poops, so I used this photo: |  |
| 7. The script will output two exact numbers: Columns and Rows, along with your custom Pixel Art Color Legend. Save that image! |  |
| 8. Come back to this page on MakerWorld! Check out the already available print profiles! You might find exactly what you need. If you find it, print it right away and enjoy the gluing process! | |
| 9. If a profile for your specific image isn't available, click on ‘Customize’. |  |
| 10. Enter your Columns and Rows numbers, and click Generate. Download your custom STL grid. |  |
| 11. Now that you have the STL, choose any of my print profiles and open it in Bambu Studio (this way, you'll load my tested and efficient print settings). Then, simply drag and drop your STL into the Bambu Studio window and hit print! | |
🖨️ Print & Assembly Settings
- The grid is designed to be ultra-thin to save time and filament.
- Once the grid is printed, grab your hot glue gun or whatever other tool you prefer to stick the poops to the grid (PVA/wood glue, a soldering iron... whatever you want!).
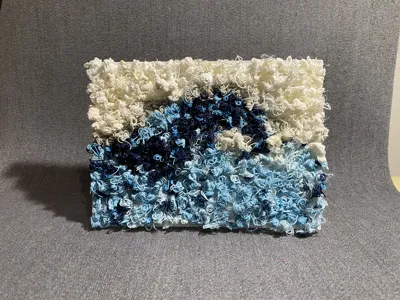
- Follow the Color Legend generated by the web tool. Have fun matching each color in the photo with the color of one of the poops you have!
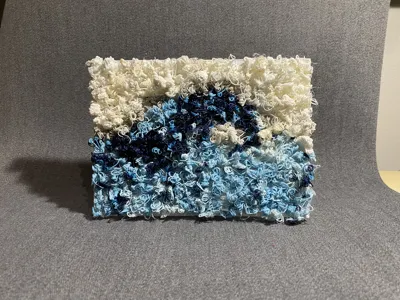
- Secure each poop inside its designated square. You can even smash poops into smaller fragments to completely cover the gaps left by irregular shapes.
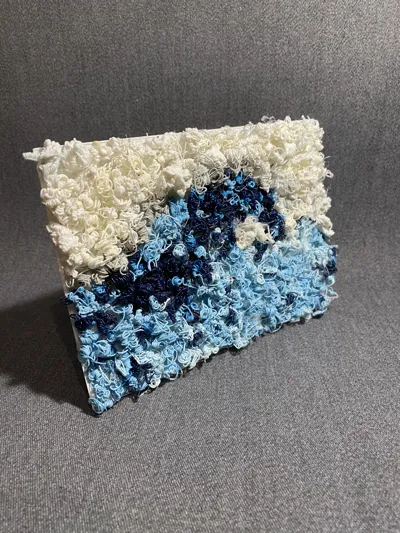
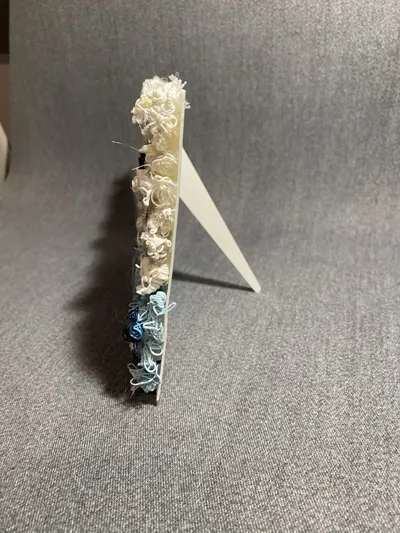
🖼️ Display Your Art
Once your mosaic is fully assembled and the glue has dried, you might want to show it off on your desk or shelf! You can easily turn your flat grid into a beautiful display piece by printing a small stand to glue on the back. I highly recommend using this great one: Universal Stand
CODE
|
Boost Me (for free)
If you liked this tool and found it useful to recycle your waste, please consider giving this model a Boost! It helps me a lot to create more free tools for the community.
- GB
Comment & Rating (5)