
3D Print Waste Shredder (Drill-Powered)
Print Profile(1)
Bill of Materials

.jpg)

- M5 Threaded Rods (165mm length) x 4:
- M5 Nuts x 11:
- M5x20 screws x 3:
- M4x20 screw x 1:
- M4 Nut x 1:
- M4 Heated Threaded Inserts x 8:
- M4x8 screws x 12:
- M3x30 x 10: for shredder modul small
- M4x40 x 6: for shredder modul big
- Router Bit: 12mm shank, 19.5mm Length 65mm/63.5mm x 1:
- Solid Steel Plate: 30mm x 100mm x 3mm x 1:
- Grounding Wire x 1:
Description
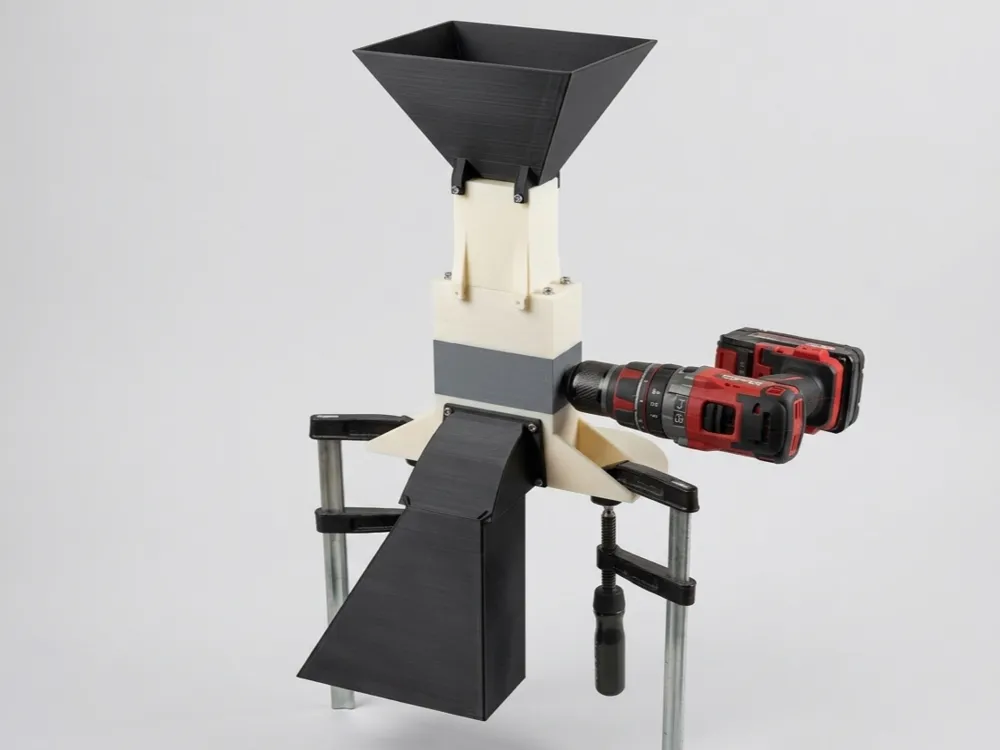
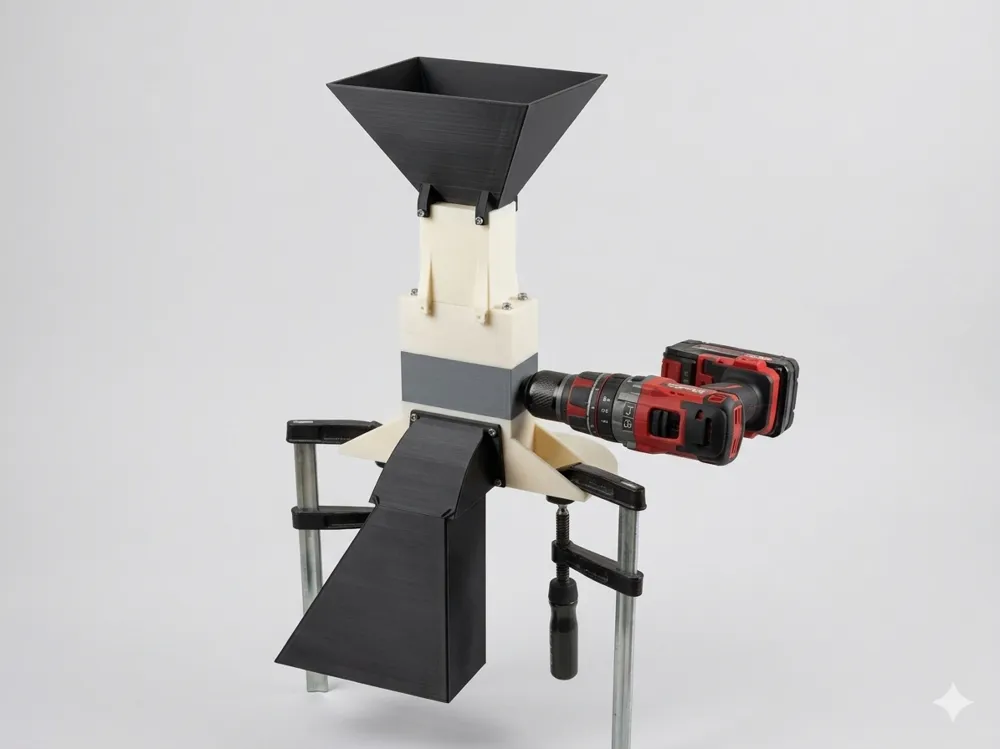
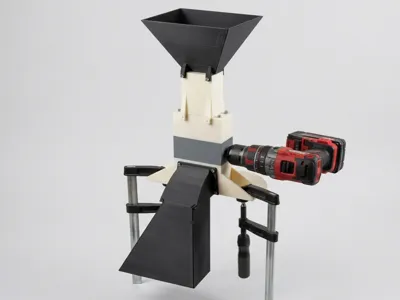
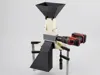
Modular Desktop 3D Print Waste Shredder (Drill-Powered)
Recycle your failed prints, supports, and filament "poop" with this modular, drill-powered desktop shredder!
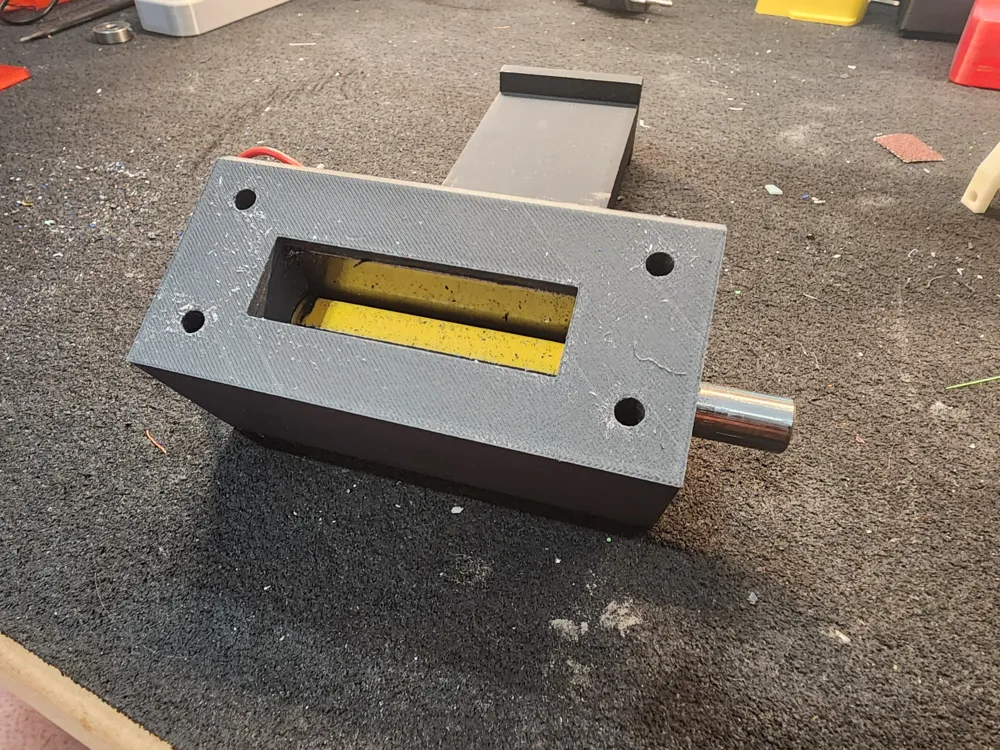
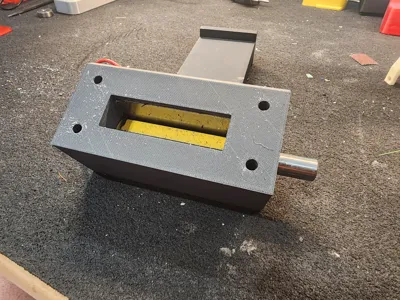
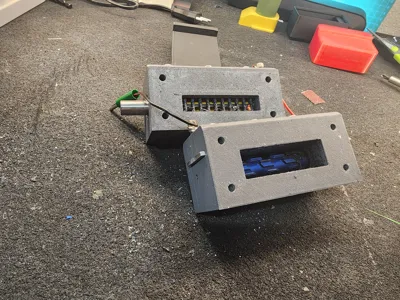
Instead of requiring expensive, custom-machined shredder blades, this design cleverly utilizes off-the-shelf woodworking router bits. By pressing a solid steel plate against the router bit's integrated guide bearings, the machine creates a highly precise, zero-clearance shearing edge. Interchangeable 3D-printed modules allow you to swap between different sizing combs depending on the material you are processing.
⚠️ Safety, Operation, & Limitations
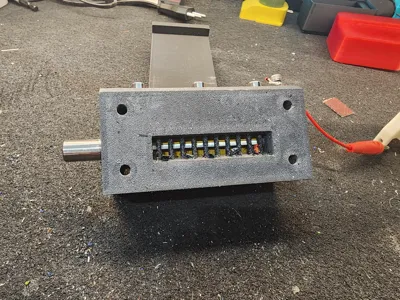
- Static Electricity: Shredding plastic generates a massive amount of static charge. Do not skip the grounding wire. Attach an alligator clip from the designated M4x20 grounding screw on the housing to a safe ground to dissipate the charge.
- Overheating: Because woodworking router bits scrape and shear rather than aggressively bite (like industrial shredders), friction is high. Do not force material through too quickly. Feeding too much plastic at once will cause friction-induced overheating, potentially melting the plastic inside the chamber and causing a jam. Feed at a measured pace.
- Safety Plunger: Always use the included 3D-printed plunger to push stubborn material down the chute. Never use your fingers!
🛠️ Bill of Materials (BOM)
1. Off-the-Shelf Components
- 1x Router Bit: 12mm shank, 19.5mm cutting diameter, with top and bottom guide bearings.
- Option A (Spiral): 65mm cutting length (Great for pulling material down). https://a.aliexpress.com/_EGpr6hi
- Option B (Straight): 63.5mm cutting length (Great for light waste). https://a.aliexpress.com/_EGLhLlI
- 1x Solid Steel Plate: 30mm x 100mm x 3mm (Acts as the primary cutting anvil).
- 1x Cordless Drill: e.g., Einhell or similar, capable of chucking a 12mm shank.
- 1x Grounding Wire: With an alligator clip.
2. Hardware & Fasteners
Chassis Clamping:
- 4x M5 Threaded Rods (165mm length)
- 8x M5 Nuts (4 for top plate, 4 for bottom plate)
Main Shredder Block:
- 3x M5x20 screws (For adjusting/pressing the steel plate against the bearings)
- 1x M4x20 screw (For attaching the grounding wire)
- 3x M5 Nuts
- 1x M4 Nut
- Comb Screws (Choose your module):
- Small Comb Module: 10x M3x30 machine screws
- Large Comb Module: 6x M4x40 machine screws
Top Plate, Chute, & Bottom Plate:
- 8x M4 Heated Threaded Inserts (4 for the top plate, 4 for the bottom plate)
- 12x M4x8 screws (4 to mount chute to top plate, 4 to mount hopper to chute, 4 to attach catch bucket to bottom plate)
3. 3D Printed Parts
- High Stress (Print in ABS/ASA): * Main housing modules (Choose Small Comb or Large Comb version)
- Top clamping plate
- Bottom mounting plate
- Material feeding plunger
- Low Stress (Print in PLA/PETG): * Feeding hopper (funnel)
- Chute extender
- Bottom catch vessel/bucket
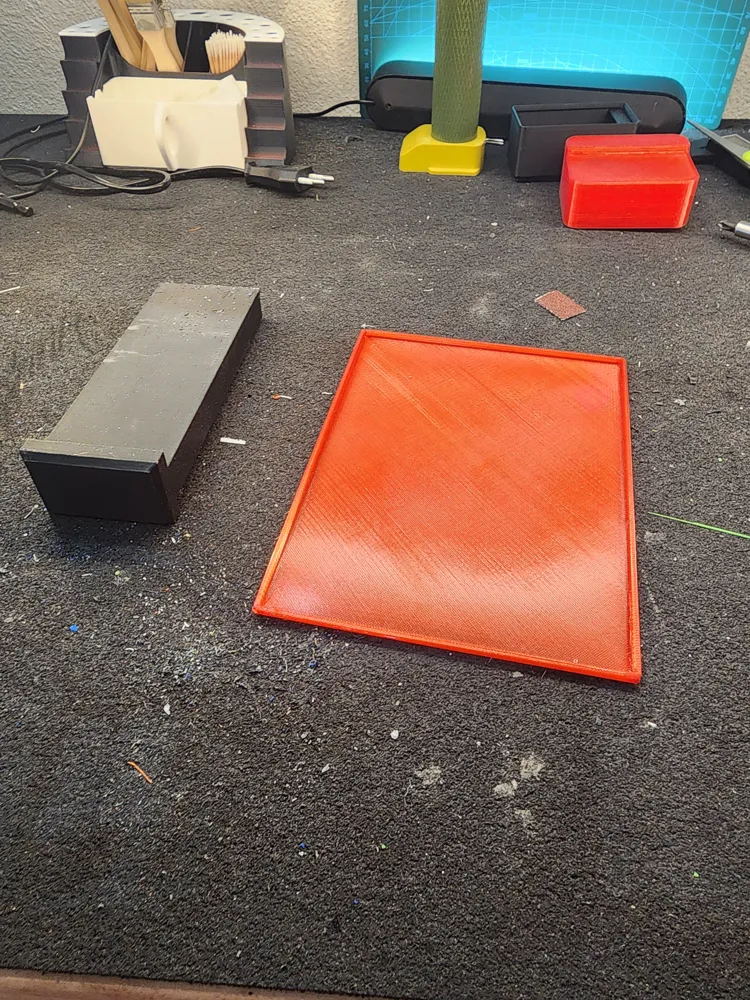
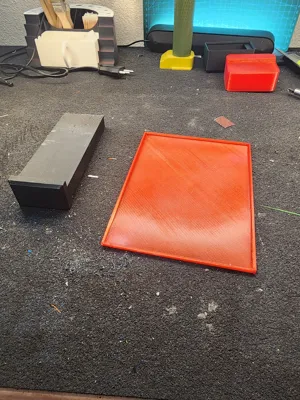
- Flexible (Print in TPU): * Catch vessel lid (Red)
⚙️ Assembly Instructions
Please use the Pdf file for the updated and more detailed Instructions.
- Prepare the Plates: Melt the 8x M4 heated threaded inserts into their designated holes on the ABS Top Plate and Bottom Mounting Plate.
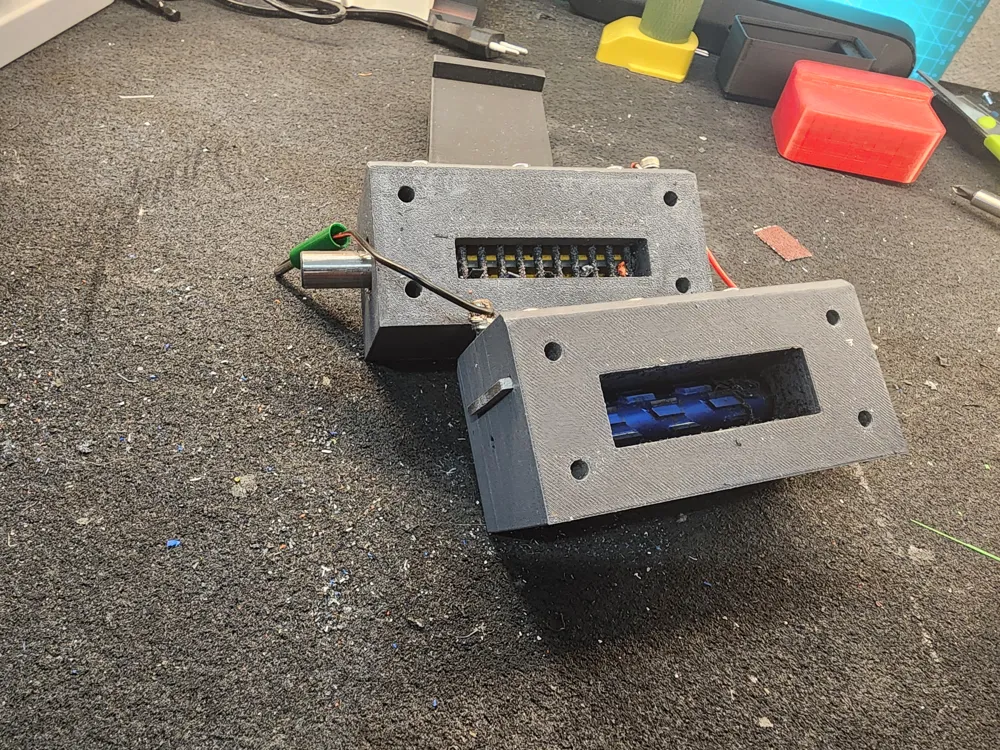
- Set Up the Main Block: Choose your main ABS housing module (Small or Large comb). Drop your router bit into the chamber so it rests perfectly on its top and bottom guide bearings.
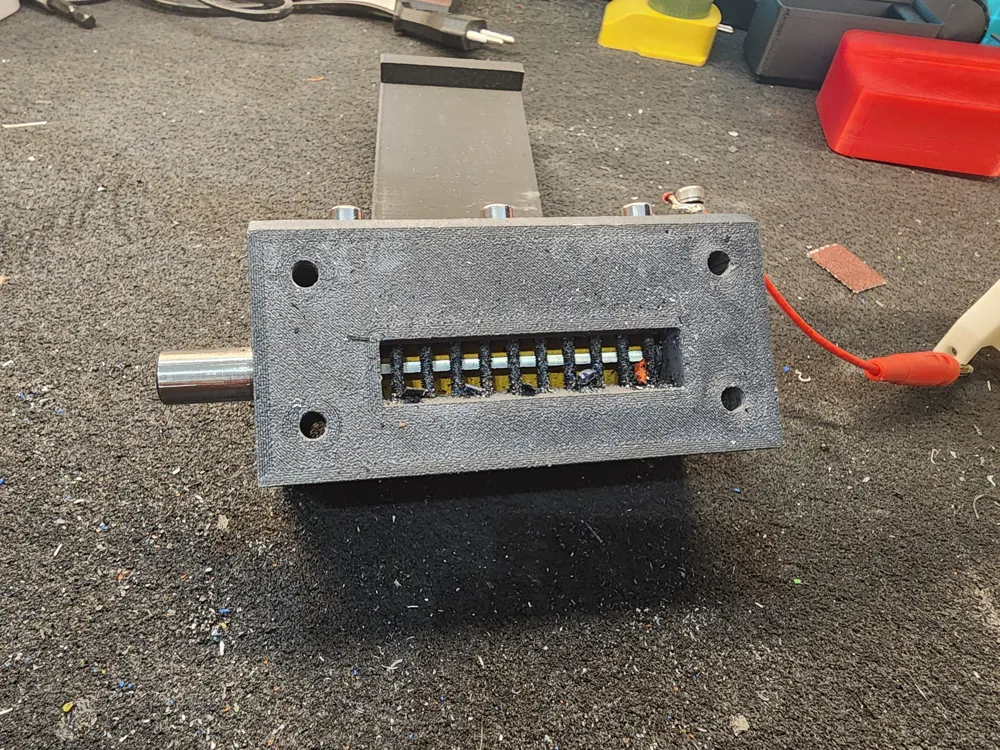
- Install the Sizing Comb: Thread your chosen machine screws (10x M3x30 for small, or 6x M4x40 for large) through the side of the module to form the stationary comb grid.
- Set the Shear Edge: Insert the 30x100x3mm steel plate into its slot. Thread the 3x M5x20 screws into the back of the block and tighten them slowly. Crucial Step: Press the plate firmly against the router bit's top and bottom guide bearings. This sets the cutting gap perfectly without allowing the blade to impact the steel.
- Clamp the Chassis: Sandwich the main block between the Top Plate and Bottom Plate. Pass the four 165mm M5 threaded rods through the corners and tighten them down securely with M5 nuts on both ends.
- Attach Peripherals: * Use 4x M4x8 screws to mount the chute extender to the top plate.
- Use 4x M4x8 screws to attach the PLA hopper to the chute.
- Use 4x M4x8 screws to attach the catch bucket to the bottom plate.
- Final Setup: Attach the grounding wire to the M4x20 grounding screw. Chuck your cordless drill onto the exposed 12mm router bit shank.
🚀 Usage Tips
- Use Gear 1 (High Torque, Low Speed) on your drill for solid, failed 3D prints to avoid stalling.
- Use Gear 2 (High Speed, Low Torque) for lighter, stringy waste like filament purges and supports.
- Keep an eye on the temperature of the router bit! If plastic begins to smear or melt, stop and let the machine cool.
📹 Short Video
To see it in action
Boost Me (for free)
Documentation (1)
License

You may create derivative works based on this object, provided that all such derivative works are published exclusively on the MakerWorld platform and include proper attribution to the original creator. You may not share, upload, host, distribute, or publish this object—or any derivative work of this object—on any other digital platform, marketplace, or distribution channel. Commercial use of this object and any derivative works is strictly prohibited. This includes, but is not limited to, selling, renting, sublicensing, or using the object in any context in which you receive monetary compensation or other financial benefits.


Comment & Rating (68)