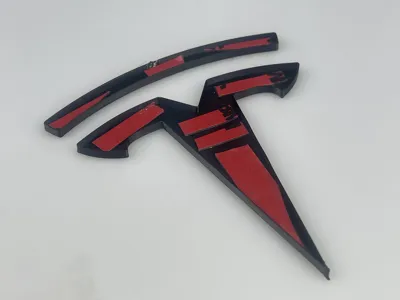
Tesla Wrap-Around Emblem Cover, Shell-Type Full Coverage Modified Emblem, Integrated Emblem Hood, Tesla Shell-Type Modified Front Emblem Full Coverage Cover


Print Profile(1)
Description
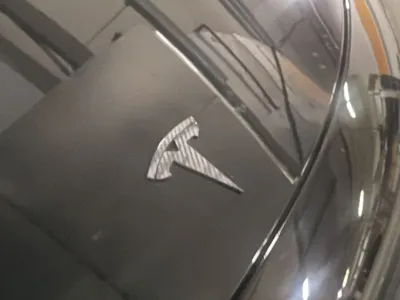
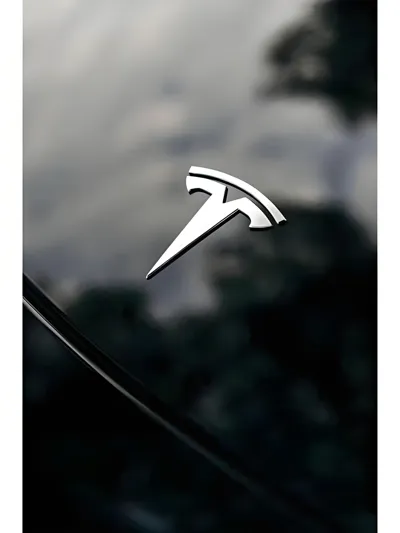
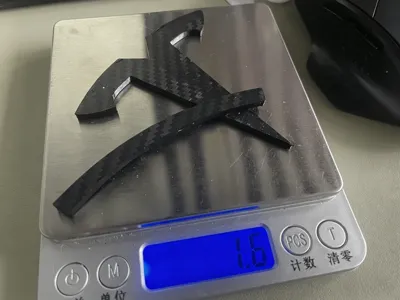
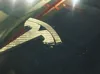
This model is made according to the dimensions of the Tesla front emblem, the original car emblem is about 82mm high, and the total weight of the model is only about 1.6g
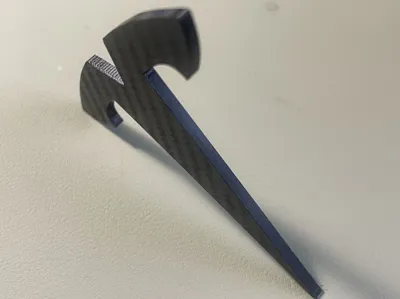
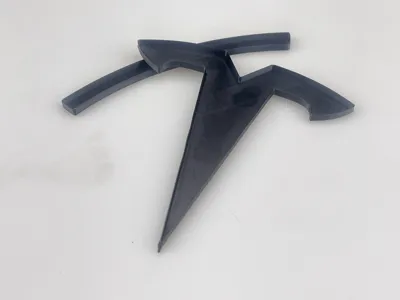
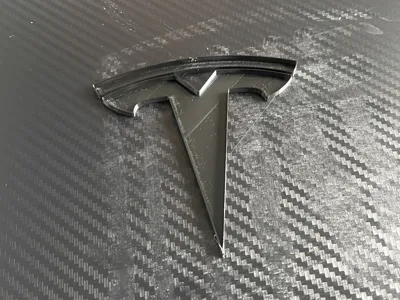
This model has a reserved tolerance of 0.3mm based on the original emblem size, the shell thickness is 0.3mm, and the bottom thickness is 0.5mm
The original emblem thickness is about 2mm, and on this basis, we have reserved 0.4mm for 3M VHB double-sided tape, making the total height of the model less than 3mm
If you are concerned about the dimensions, you can measure your vehicle's emblem, either width or height (the aspect ratio is fixed), and then measure the dimensions between the inner walls in the slicer software to ensure a proper fit
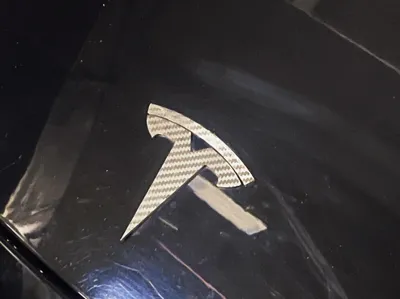
This model has been tested and fits perfectly
Because the bottom of the emblem and the shell thickness are very small, for printing safety and to enhance the carbon fiber texture as much as possible, we have adjusted some print parameters, so you can print directly
Please check the preset printing temperature for the 'Textured PEI build plate' for the filament you are using, and regardless of the filament you use, adjust this temperature down by 5°C, for example, adjust PETG 70°C to 65°C
As often mentioned, it is recommended to use PVP solid glue (such as Deli 709X etc), or a 1:9 solvent prepared with food-grade polyvinylpyrrolidone (PVP powder) and 95% alcohol also works quite well. Apply (spray) it on the carbon fiber textured build plate to fully cover the contact area between the model and the build plate, and after printing, wipe off any residual glue from the model surface with a damp cloth
When removing it from the build plate, be sure to be slow, as all wall thicknesses are very thin, almost like paper, and too much force will tear it, so use a scraper to gently pry it open
If you remove a complete model without any tearing or deformation, that's fantastic~~~
If you are satisfied with the print quality, you can also try importing other models that require a carbon fiber effect on the bottom surface and print them using this model's print profile
Hope you like it, happy printing The video below shows how to use the carbon fiber textured PEI build plate for your reference
License
You shall not share, sub-license, sell, rent, host, transfer, or distribute in any way the digital or 3D printed versions of this object, nor any other derivative work of this object in its digital or physical format (including - but not limited to - remixes of this object, and hosting on other digital platforms). The objects may not be used without permission in any way whatsoever in which you charge money, or collect fees.
Comment & Rating (1)