Articulated Charm Hairclip


Print Profile(6)


Description
Hello everyone! I am newer to 3D modeling but I do highly value the quality of my models and would love feedback.
Happy Printing!
Boost Me (for free)
If you like what I do feel free to give me a free boost, I would highly appreciate it!
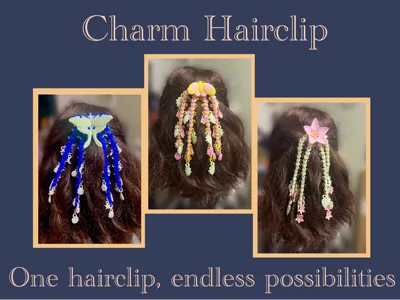
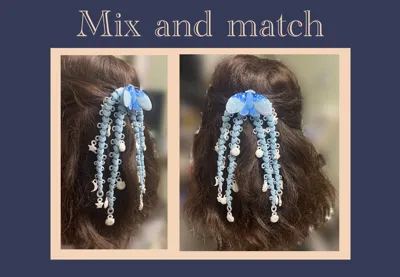
Have you ever felt like you didn't have enough things in your hair? Well with this hairclip design I have the solution. This “one of a kind idea” (based on my eyeball jewelry) mixes the flexi fad with fashion creating a lovably dangly experience for anyone who loves to hear lots of noise when nodding their head. And to add even more icing to the cake you can accessorize it with all sorts of different charms!
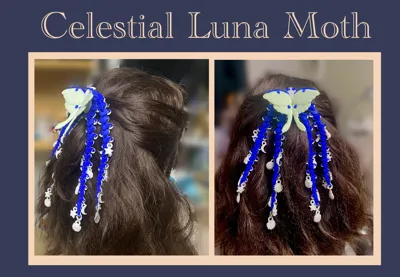
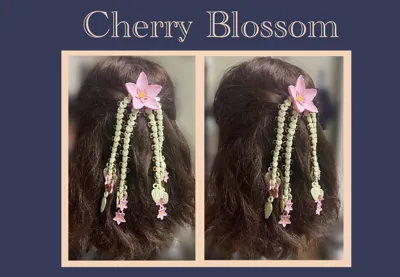
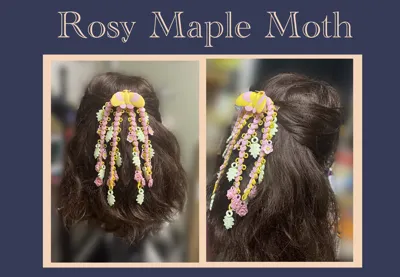
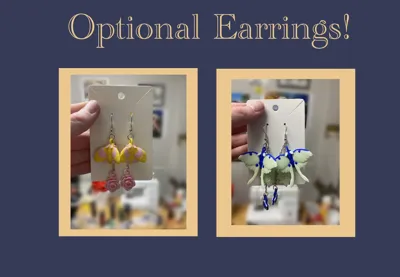
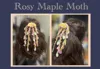
When printing this hairclip you get to choose between the Celestial Luna Moth, the Rosy Maple Moth, or the Cherry Blossom (all of which have their own charm designs) The moth designs even come with tinier moths to use as earrings :)
Bill of materials-
With this design, if you don't want to just do the plain version at least, you will need a few things to assemble it.
-metal hairclip, I recommend one that has teeth because the smooth ones tend to fall out of hair especially with heavier items. you can get ones meant for crafts relatively cheap from amazon.
-E6000 glue (super glue might work, I just haven't tried it and know that E6000 works reliably for it)
-Jump rings, they have to be big enough for the loops of both the charm, and hair piece.
-small pliers for bending the jump rings.
Optional items
-Earring hooks
-Chain
-Chain cutters (you might be able to use scissors, I just can't say it would be good for them)
Printing instructions
While printing this design is relatively simple there are still some things to watch out for.
-make sure the moth butts, and Luna moth's wings have supports before printing. when auto generating supports the slicer didn't create supports for those spots and in some of the hair clips I have there is a hole where the butt should be. I fixed this issue with the supports painting tool, so if you notice the butt doesn't have support you can just paint some on.
-Remember to have a clean board to prevent bed adhesion issues.
-after printing carefully wiggle each joint around to loosen it up a bit.
Assembly instructions
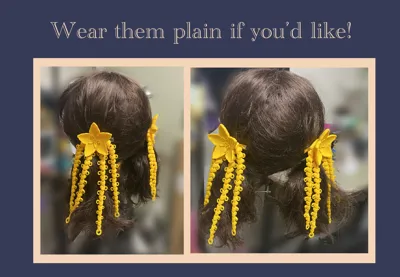
-when assembling you can choose many different routes with how you want the hairclip to look. you can fill it up with charms on each loop (which might get very heavy) or you can even choose to not put charms on it at all. The first step to assembly is choosing how full you want the hair clip and where to put each charm. The next step is attaching the each charm to a hairclip loop with jump rings. Then you glue the back of the metal clip to the flat side of the hairpiece using E6000 glue. And voila, you have a unique hairclip just for you.
-for the earrings you can choose to attach a charm to a small bit of chain (I use necklace chain) with a jump ring. then you can attach that to the back of the moth loop wit another jump ring. After that you attach the loop of the moth to the earring hook with a third jump ring.
-Have fun!
License
You shall not share, sub-license, sell, rent, host, transfer, or distribute in any way the digital or 3D printed versions of this object, nor any other derivative work of this object in its digital or physical format (including - but not limited to - remixes of this object, and hosting on other digital platforms). The objects may not be used without permission in any way whatsoever in which you charge money, or collect fees.
Comment & Rating (19)