
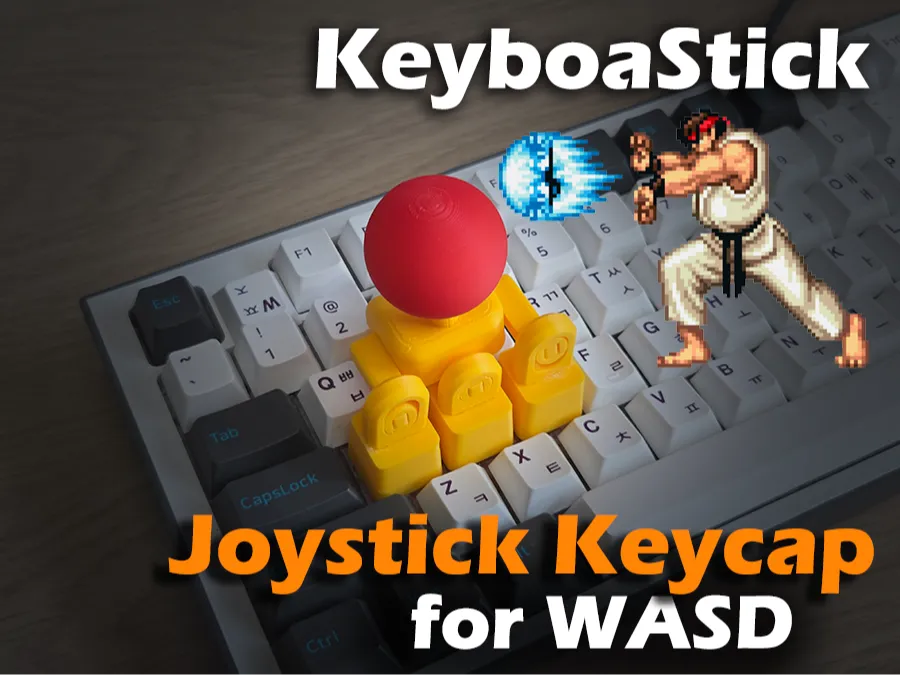
Joystick Keycap for WASD (KeyboaStick WASD)
Print Profile(3)
Description

Congratulations on finally discovering FunOrNothing :)
This model is currently being sold by many sellers without my permission. For those who do not own a printer, please note that this model is being officially sold through RadianLab.
⌨️KeyboaStick Series🕹️
KeyboaStick is a new name for a joystick that can be easily attached to a keyboard.
Clicking on a character inside the table opens the page of the corresponding design.
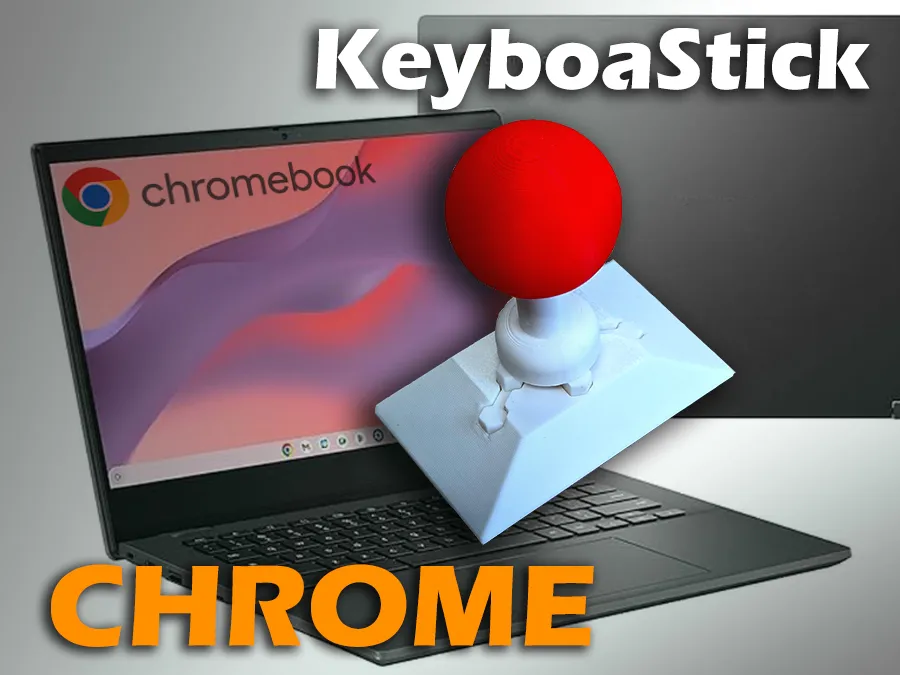
KeyboaStick Chrome is ready
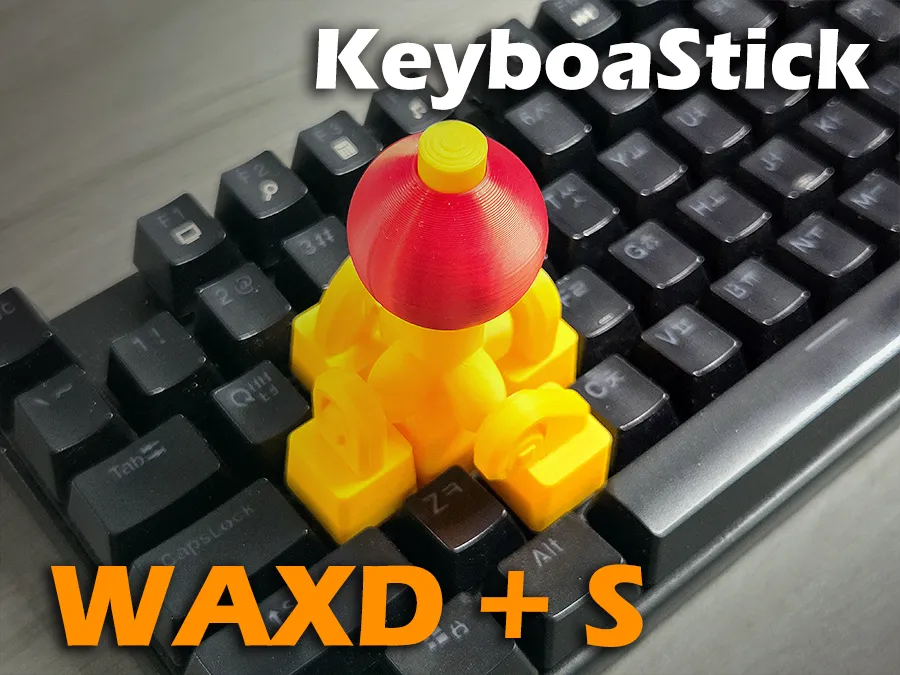
KeyboaStick WAXD+S is ready

KeyboaStick Button is ready
The new NUM model released

KeyboaStick MAGNET WASD is ready(CLICK)
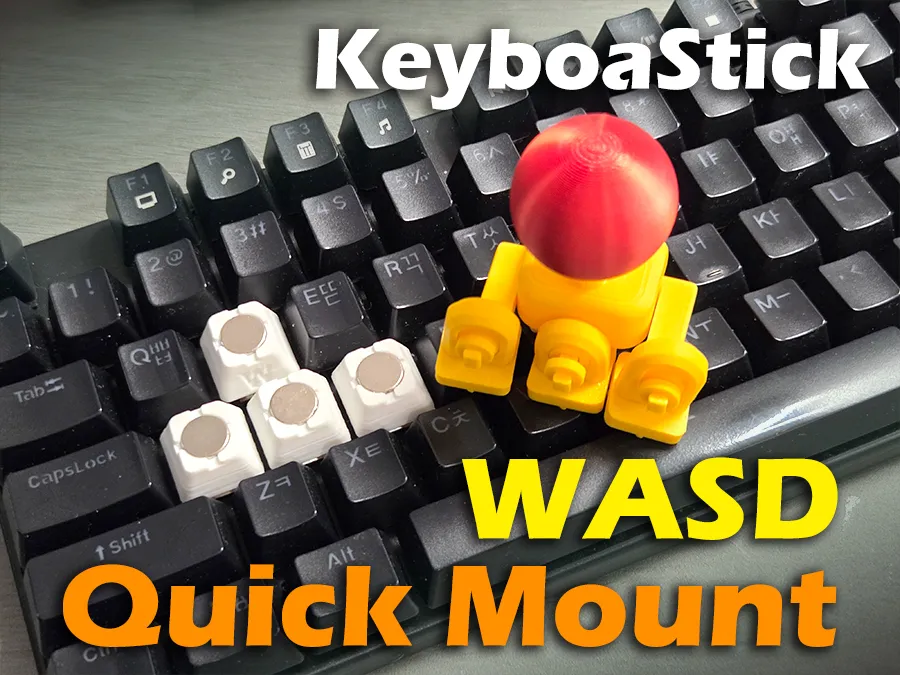
⌨️🕹️KeyboaStick WASD
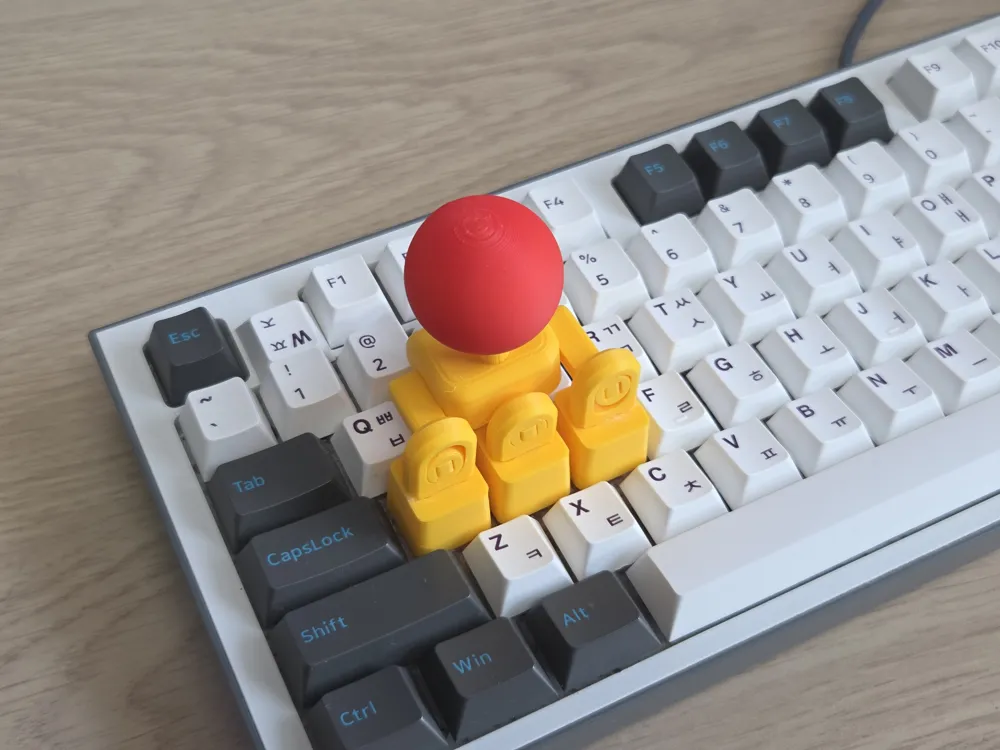
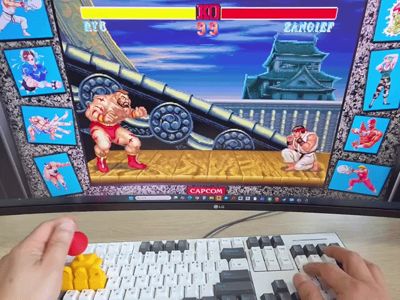
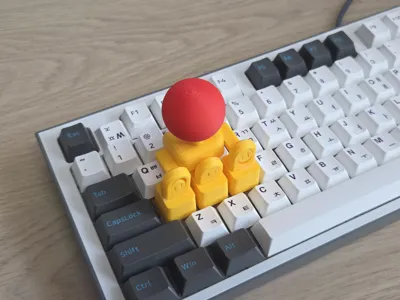
This model is designed to fit the positions of the WASD keys. It features asymmetrical keycaps to accommodate the slightly offset W key. Additionally, it has taller keycaps and thinner arms to avoid interference with the side Q and E keys.

I purchased StreetFighter to test this model. :)

Key Features
- 4-Way Integrated Control: Navigate Up, Down, Left, and Right with a simple tilt of the knob (using WASD)
- Intuitive UX: Easy to install on standard key clusters for immediate use.
- Precision Engineering: Optimized pivot structure ensures accurate inputs without key interference.
Printing & Assembly Tips
- Recommended Filament: PLA or PETG. (I used PLA)
- No Hardware: You can make it without any Hardwares.
- No Support
Do you prefer using IJKL keys?
Since IJKL keys are identical to WASD keys in all conditions, this model works perfectly in IJKL as well.
The list below shows places where you can enjoy games for free using this model.
Please Read before printing.
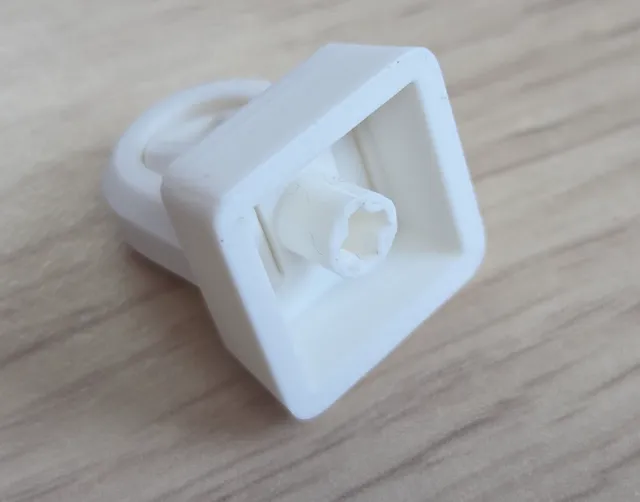
- This design is compatible with standard mechanical keycaps. It is not compatible with membrane rubber dome types. It can be installed on few membrane keyboards that follow the standard mechanical keycap design.
- This model is inserted using a standard keycap method, so it may detach from the keyboard if handled roughly. This design is not intended to completely replace a joystick; it is intended for simple attachment to the keyboard for use by people who don't have joystick or in locations where a joystick is unavailable.
General Licensing Statement
This model is copyrighted and its commercial use is strictly prohibited.
This falls under the Non-Commercial (NC) condition of the Creative Commons license.
If you would like to sell printed materials of this design, please sign up for a membership. Please do not become a thief.
This model is currently being sold by many sellers without my permission. For those who do not own a printer, please note that this model is being officially sold through RadianLab.
Assemble Guide
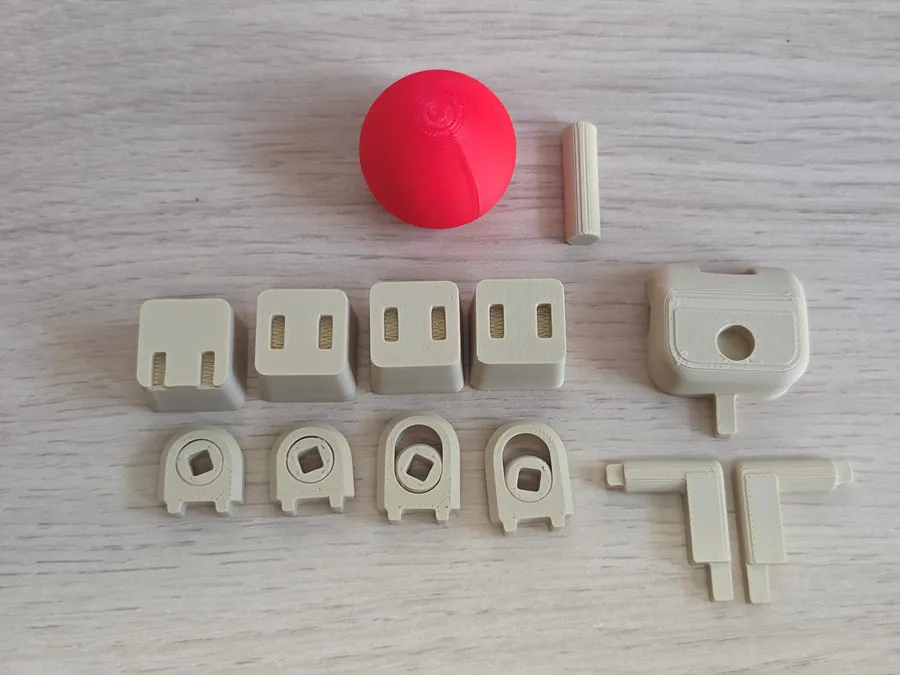
Check if the balls in the center of the joints moves well.(The large joint is for both Side arrows; please be careful as the ball may fall out before assembly.)
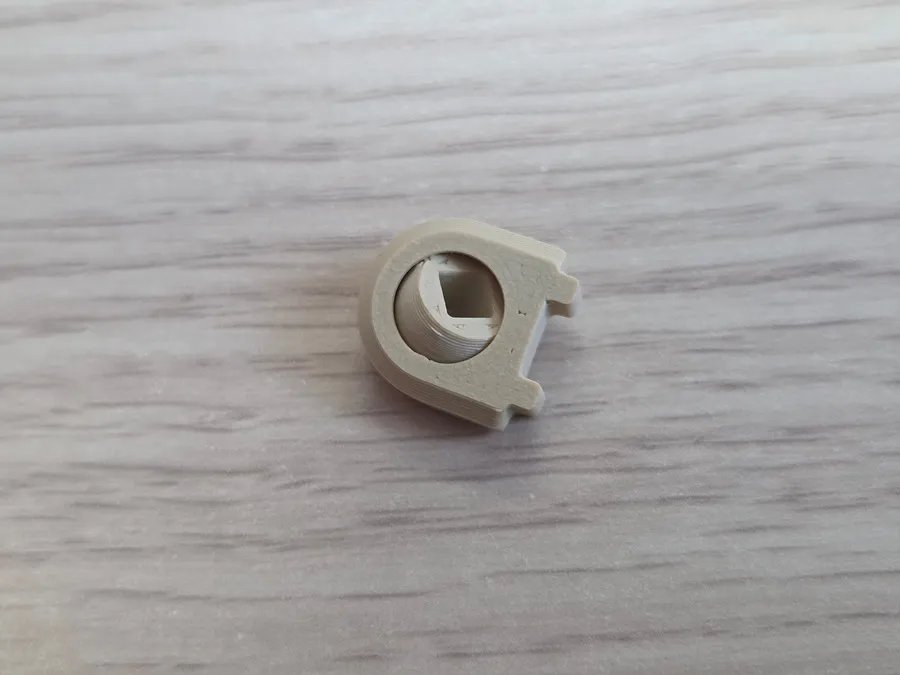
Assemble the joints onto the four keycaps (use adhesive). Only the keycap assigned to the W key has a different shape.
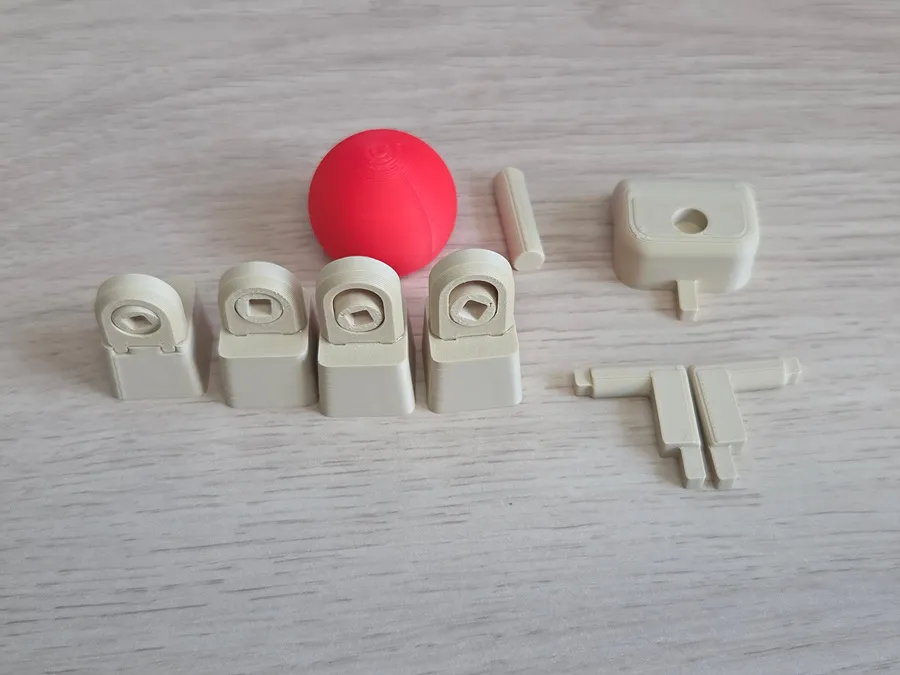
Attach both arms to the one of the small keycap joints (Use glue at joint hole). Check direction as below.
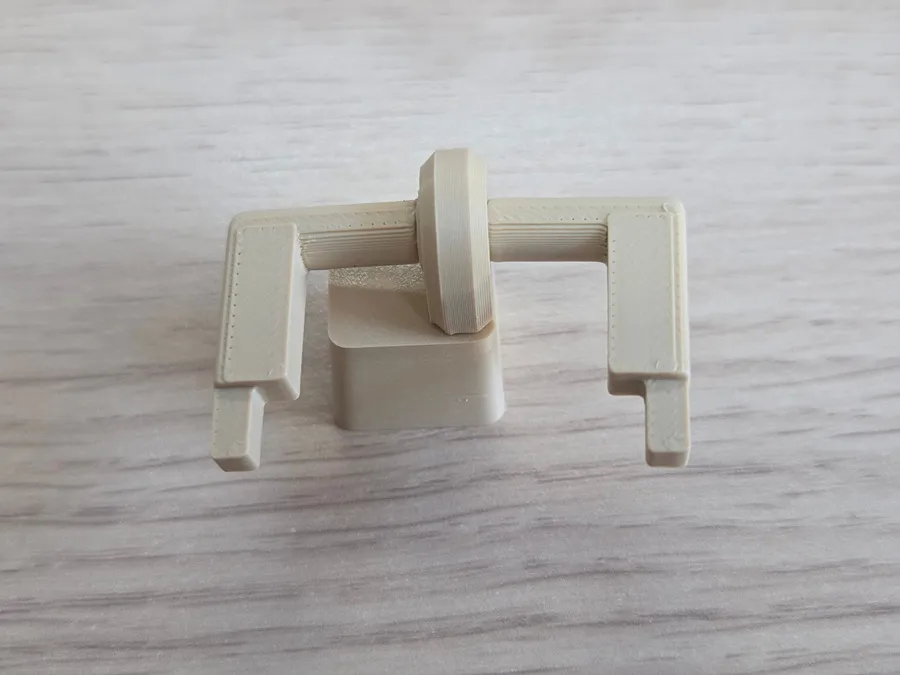
Assemble the lever. (glue if necessary)
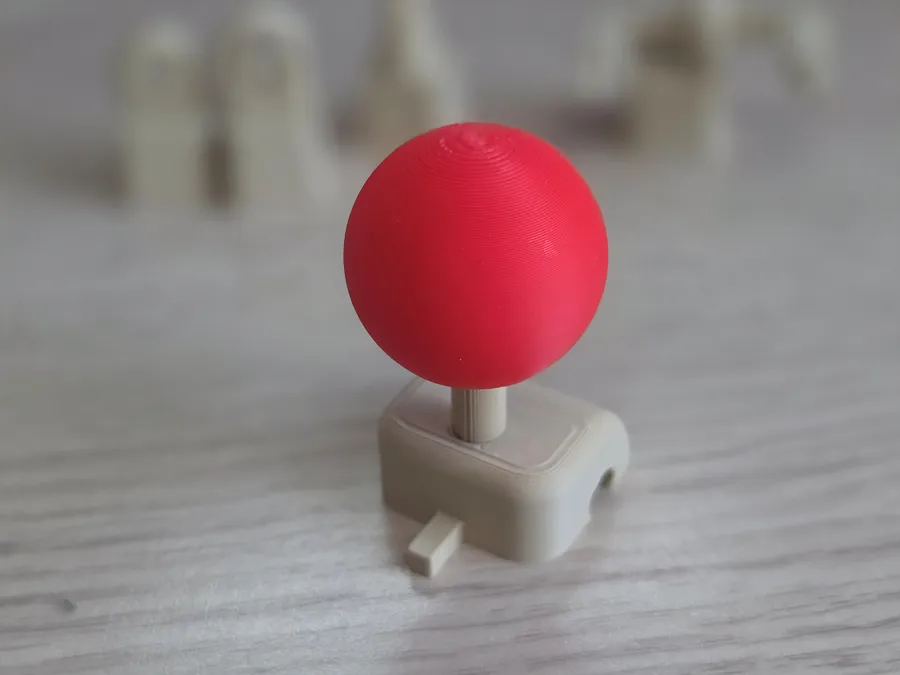
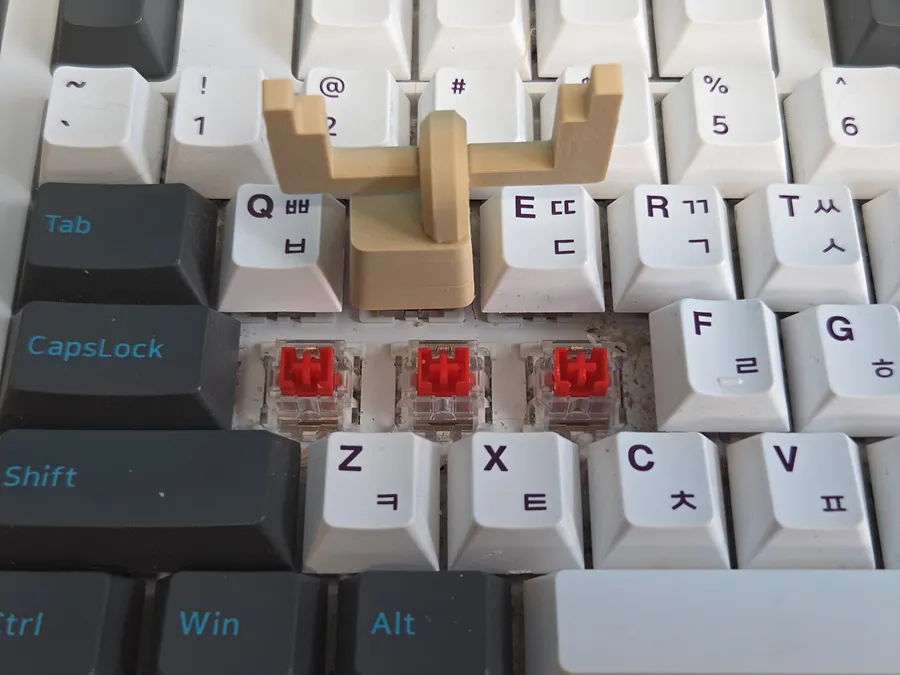
Insert the assembly assembled above into the position indicated by the upward arrow as shown in the photo below.
Rotate the arm as shown in the picture to attach the center cover. (Don't use glue)
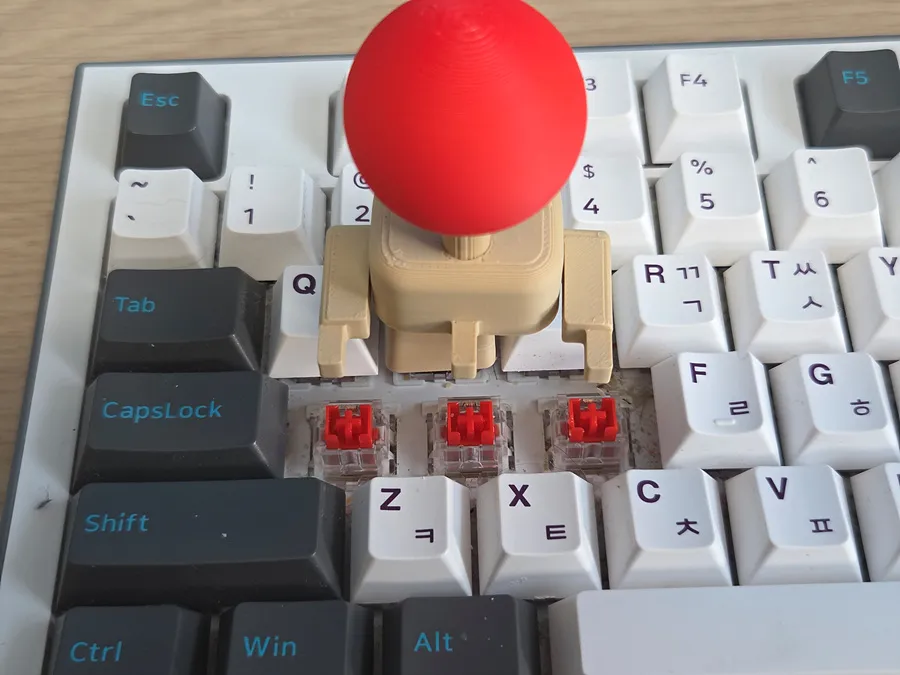
Assemble the down arrow keycap as shown in the photo below. (Don't glue joint hole)
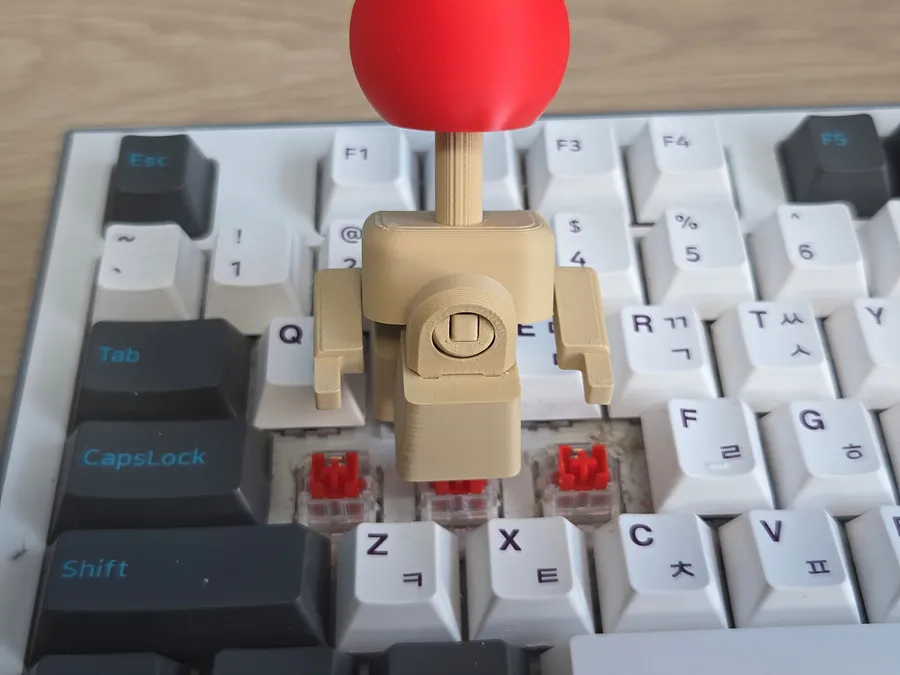
After attaching the remaining keycaps to the left and right arms, insert it into the keyboard. (Don't glue joint hole)
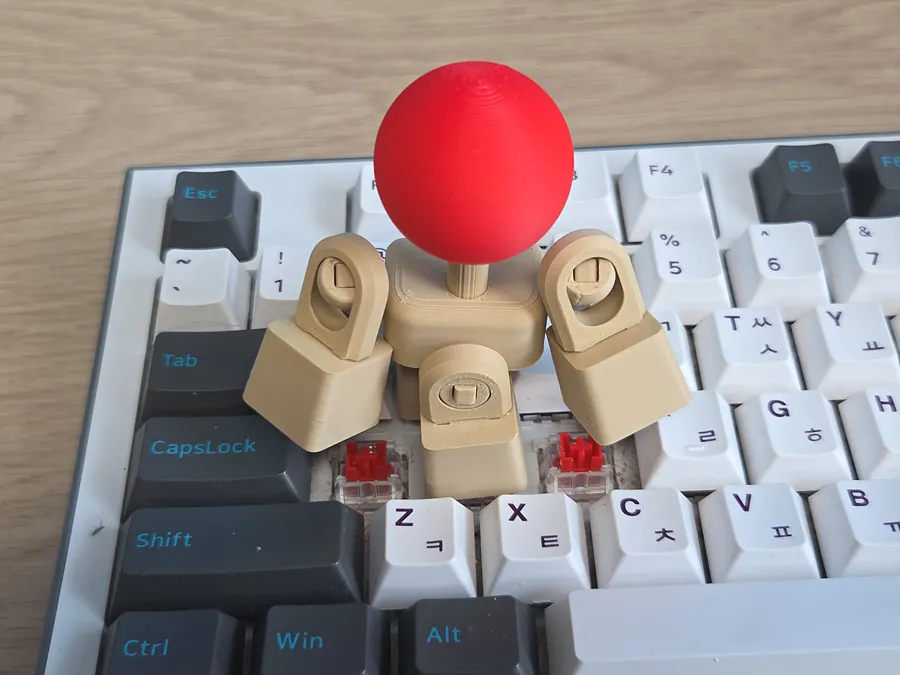
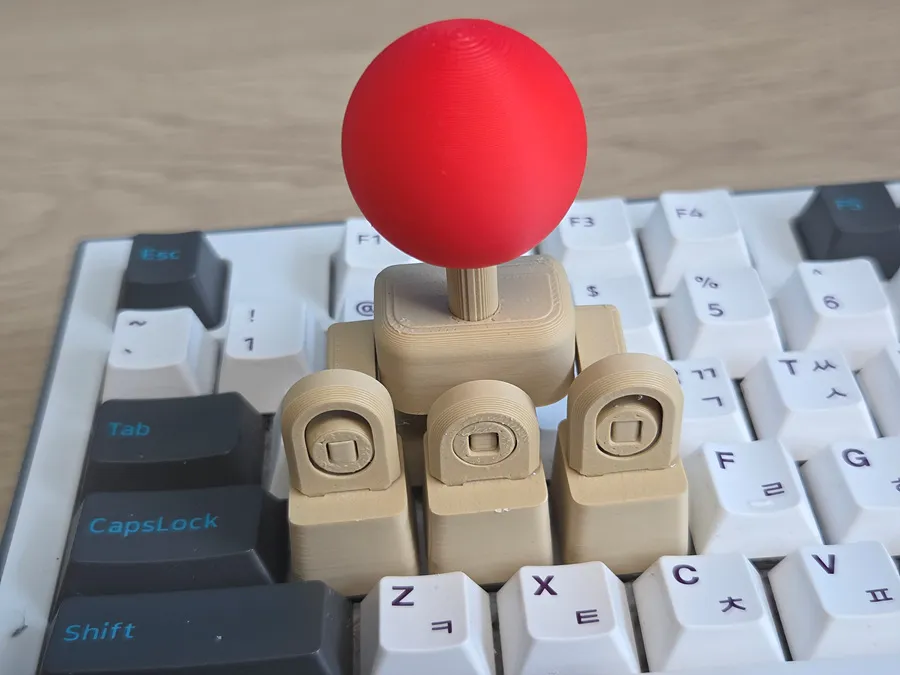
Congratulations. You now have the perfect joystick for HADOUKEN!
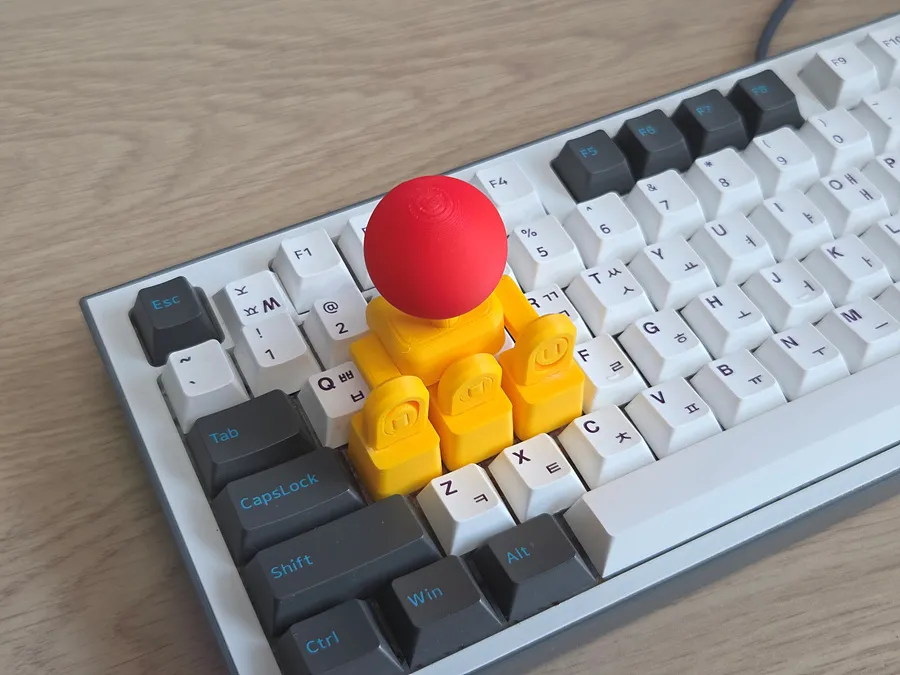
🛠️ For a Perfect Fit: Troubleshooting Guide
The KeyboaStick series is designed to fit standard MX-style switches perfectly. However, depending on your printer’s calibration or filament shrinkage, the fit may occasionally feel loose.
If you experience a loose connection, please try the following simple solutions:
1. Slicer Adjustment (Recommended)
You don't need to change your entire profile. Just adjust this single setting to tighten the fit:
- Setting: Hole Horizontal Expansion (in the Precision/Quality tab)
- Value: Input -0.05mm or -0.1mm
- Effect: This slightly shrinks the inner dimensions of the cross-stem hole, ensuring a tighter grip on the switch.
2. Fine-tune Flow Rate
Increasing the flow rate slightly can help bridge the gap:
- Adjustment: Increase your Flow Rate (Extrusion Multiplier) by 1–2% (e.g., from 0.98 to 1.0).
- Effect: This thickens the walls of the stem mount, making the connection more secure.
3. Quick Physical Fix (No Re-print Required)
If you've already printed the model and it feels a bit loose:
- The Plastic Wrap Trick: Place a tiny piece of thin plastic wrap (clinging film) or a small scrap of paper over the switch stem before pressing the KeyboaStick on. This instantly eliminates any wobble.
- Coating: Apply a tiny drop of superglue inside the cross-hole of the KeyboaStick. Let it dry completely before mounting it to create a thin, grippy internal layer. (Warning: Do not mount while wet!)
Hope you Enjoy this model.
As always, I welcome your feedback.
Click to Check out FunOrNothing's interesting designs.
Boost Me (for free)
Your boost helps me spend more time creating better designs. And don’t forget to check my other models — you might discover something useful and fun! 😊
You can sell printed products of my models by joining FON Membership, please sign up for the membership below. Please do not become a thief.
Membership
The best way to support my work is to join the FON membership. You can be my Supporter, Seller, or Partner. If you join the membership, you can communicate more closely with me through Discord.
You can be a friend who encourages me by buying me a cup of coffee.
License

You shall not share, sub-license, sell, rent, host, transfer, or distribute in any way the digital or 3D printed versions of this object, nor any other derivative work of this object in its digital or physical format (including - but not limited to - remixes of this object, and hosting on other digital platforms). The objects may not be used without permission in any way whatsoever in which you charge money, or collect fees.


Comment & Rating (336)