
Optimized 0.2 nozzle settings for miniatures (P2S)
Print Profile(1)
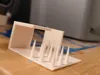
Description
Disclaimer- any images other than the first one or similar are not of models included here, the only one is the test print so you can try my settings with a basic model, I highly recommend checking out my minis if you would like to try them, but do keep in mind that any made before the date I uploaded this model(3/24/2026(M/D/Y) will have my a1 settings attached to it.
I have been printing and optimizing these print settings since I got my p2s about a month ago. These print settings, while not import, slice, and print, are much simpler than many other methods I've seen, and half of the steps are optional but recommended.
Steps for saving these settings (NOT OPTIONAL):
- open in Bambu studio and make sure your p2s is on so it auto connects (or other printer you want to try these settings on)
- click the save button next to the drop-down menu under global print settings
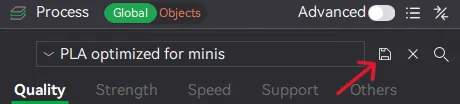
3. click on the 3 dots next to filament and click edit, and save this as well

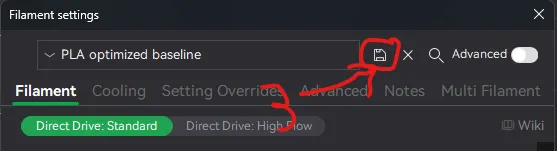
Now that you've saved these settings please refer to these steps in order to use them effectively(although these are technically optional, they are recommended)
- import your desired mini
- import your base(tecnically the most optional part if you want to print it separately with a 0.4mm nozzle to save time)
- merge these together in your desired way, I usually scale both to desired size and center both and then move the base down as much as it lets me and move it up 1mm from there.
- arrange your parts to make sure you first merged them properly, but also to make sure everything is in plate boundaries
- rotate the mini 45 degrees so the back is facing the plate
- using the cutting tool cut about 2.5mm off of the base to increase surface contact on the bed
- slice and print
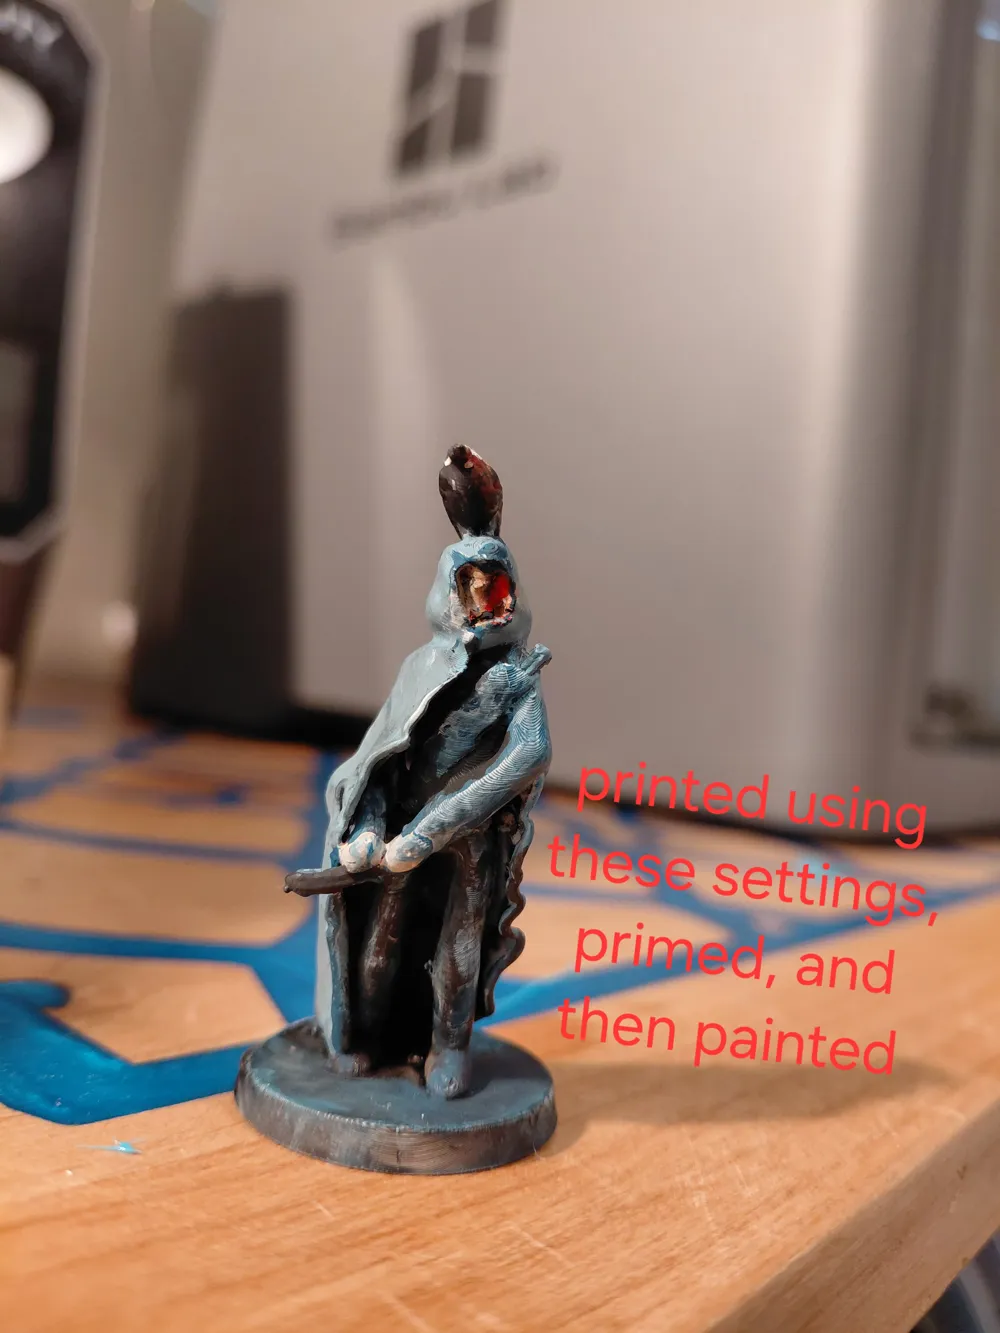
After these steps it should look something like this-
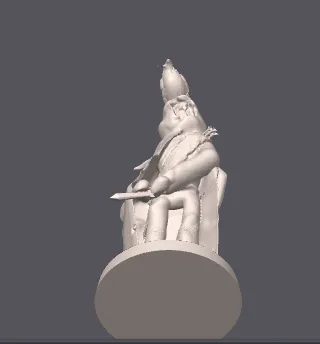
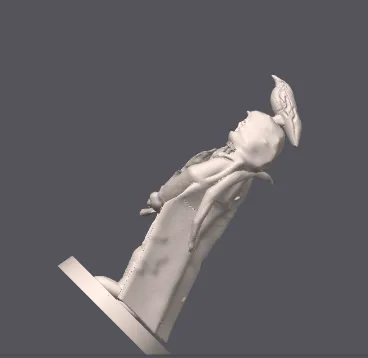
Other important things-
- dry filament
- use PLA basic, not matte or any other type of filament
- be patient, they print very slow, that mini took about 2.5 hours
- be very careful removing support, and if you have issues with bed adhesion add some support by painting an upside down “T” on the bottom of the base
- ONLY USE A TEXTURED PEI PLATE, it sticks too well to others, and you will scratch your plate getting it off otherwise since the textured PEI will mostly self-release
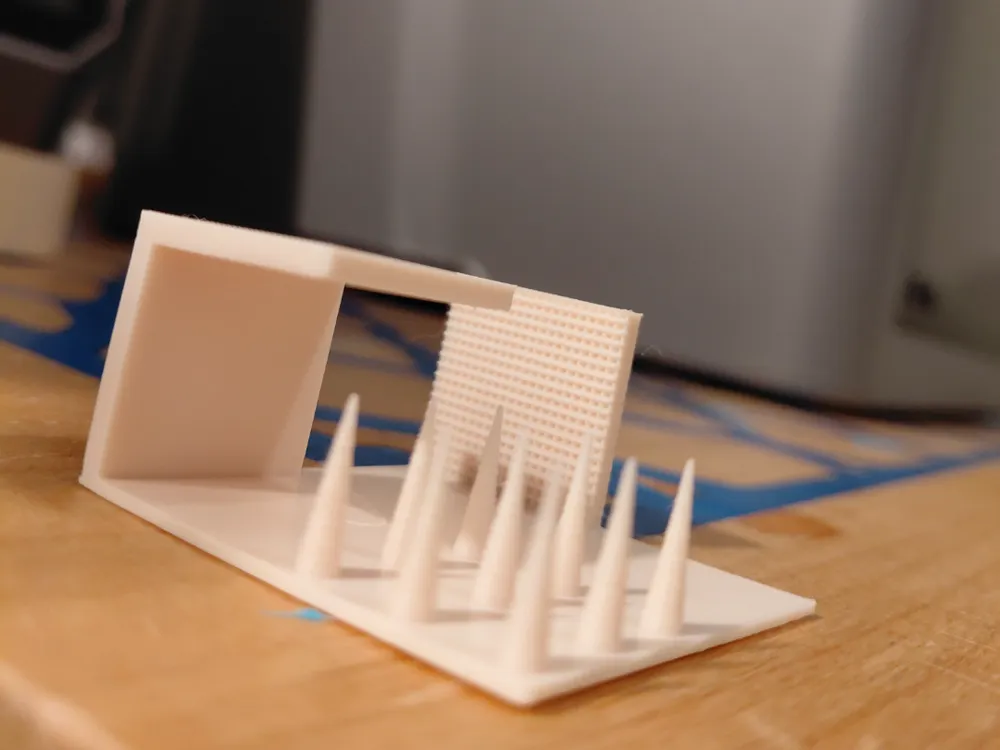
The file included here is similar in its purpose as to a benchy, please keep in mind that this is not a miniature but rather a proof that these settings are somewhat capable. If you want to check out my minis please do so here, and keep in mind that any mini made before the date this model was uploaded(3/24/2026(month/day/year)) will have my A1 setting attached to it if it is a miniature, and I may or may not upload a P2S profile.
Warning- If your internal temp gets above 34C open your door or adjust the initial layer fan speed up to adapt it to your room temp. Mine sits at about 33-34C with a room temp of 66-74F(19-22C). If you do get heat creep yout will get a pressure error with your nozzle. Stop the print and do a cold pull to fix it. It usually happens on the first layer because the nozzle is pushing plastic slower and the filament gets heat soaked before getting to the nozzle.
License

You shall not share, sub-license, sell, rent, host, transfer, or distribute in any way the digital or 3D printed versions of this object, nor any other derivative work of this object in its digital or physical format (including - but not limited to - remixes of this object, and hosting on other digital platforms). The objects may not be used without permission in any way whatsoever in which you charge money, or collect fees.


Comment & Rating (5)