
Pegboard Art Stitches
Print Profile(6)
Description
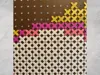
Make your own wall art! You can use pixel art designs, cross stitch patterns, perler or diamond art designs---anything that is grid-based can be converted into a custom wall art piece!
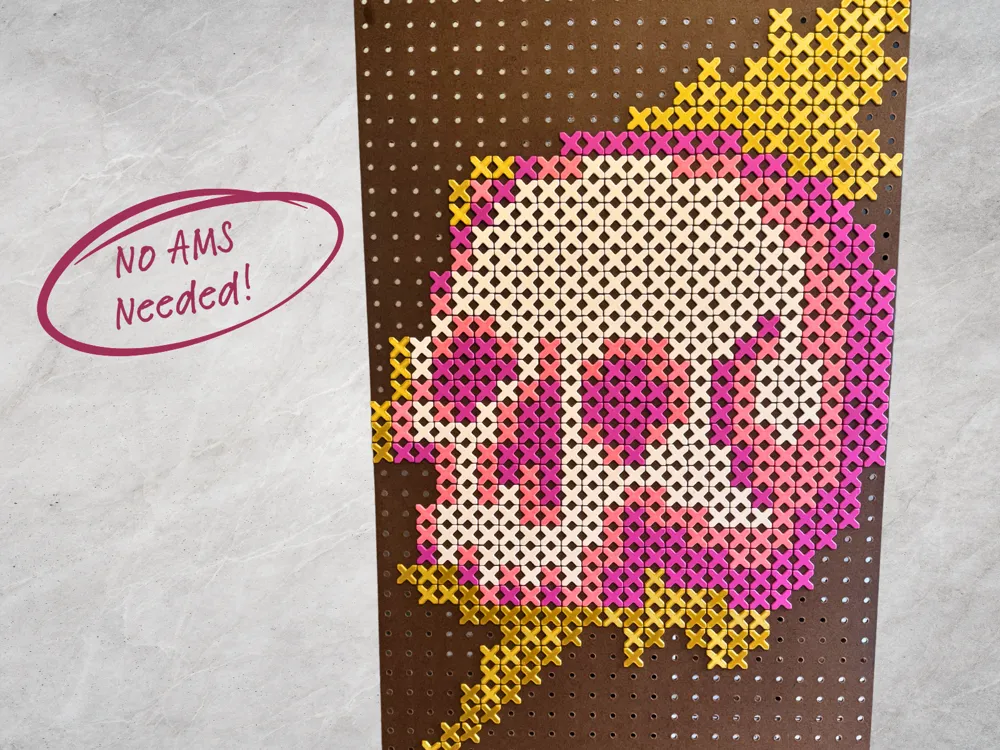
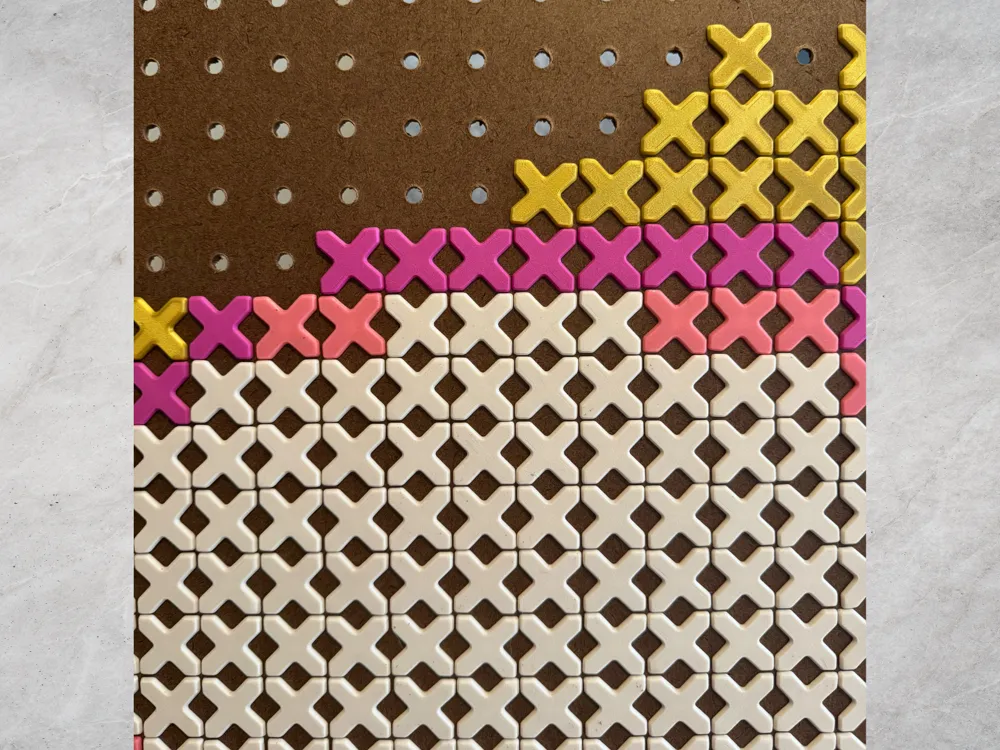
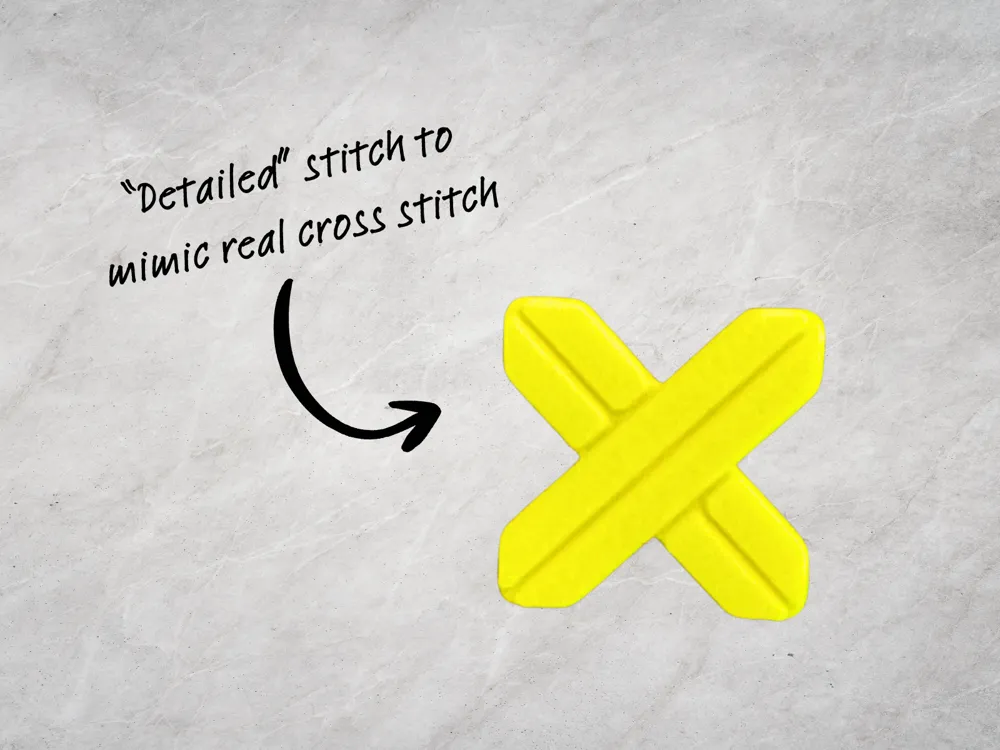
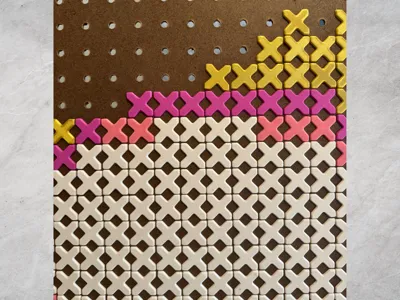
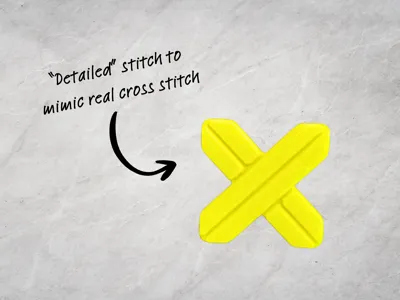
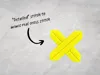
I love the giant cross stitch patterns stitched onto peg boards, but I didn't want to mess with ordering colored rope and sitting there “stitching” for ages. So, I put my 3d printer to work and designed these “faux” cross stitch pegs! I've designed both basic “flat” stitched (pictured in profile pic) and “detailed” stitches that mirror threaded stitches. For the cross stitchers out there, I've also included half stitches and ¾ stitches :)
You can print the stitches in one solid color (no AMS required!), OR if you want to save your “fancy” filament (or use up those awkward filament leftovers) you can print the stitches with different colored pegs (AMS needed). You could even add a stitch to your other multicolor prints as a purge object!
I've included several profiles:
- Flat-faced stitches (pictured in profile photo), AMS and no-AMS versions
- These two profiles also have a “screw stitch," which has a hole in the center and no peg on the back for holes you use to hang the pegboard itself.
- Detailed stitches, AMS and no-AMS versions
- The FULL stitch set for the skull design! AMS and no-AMS versions, flat-faced stitches only.
A note on fit: To prevent the stitches from spinning, I've designed the pegs to be fairly tight. However, the “tightness” will depend on your pegboard and its level of wear. The pegboard I used was brand new, but I noticed that the holes on the very edge were looser. You may want to print a test stitch or two and make scale adjustments (TINY ADJUSTMENTS, like less than 1%…) before printing a full project's worth of stitches.
About removing stitches: While the tight fit of the pegs keeps the stitches from spinning, it also makes it a bit difficult to remove the stitches from the board. The best way I've found to remove stitches is to lift the stitch just enough to get a fork underneath (push the peg from the back if possible) and then use the fork to lift the stitch. Metal fork recommended; a butter knife might also work. Your fingers will thank you!
Art Credit: I found the skull art used in the profile picture on Pinterest and adjusted it to fit on my pegbaord, which was 24 stitches wide. I did a google picture search and couldn't find the designer's name/where the design originated. It looks like a you-know-what art design, but I don't know if it's “official.” If you know the designer's name please leave a comment or message me and I'll add the appropriate credit!
Boost Me (for free)
Please like/boost if you enjoy this design! It helps others find my models. I make models to try and support my 3D printing hobby and it also lets me know what you want to see more of!
License

You shall not share, sub-license, sell, rent, host, transfer, or distribute in any way the digital or 3D printed versions of this object, nor any other derivative work of this object in its digital or physical format (including - but not limited to - remixes of this object, and hosting on other digital platforms). The objects may not be used without permission in any way whatsoever in which you charge money, or collect fees.


Comment & Rating (4)