
Overengineerd on! Nicotine Pouch Tin Ammo Insert

Print Profile(1)
Description
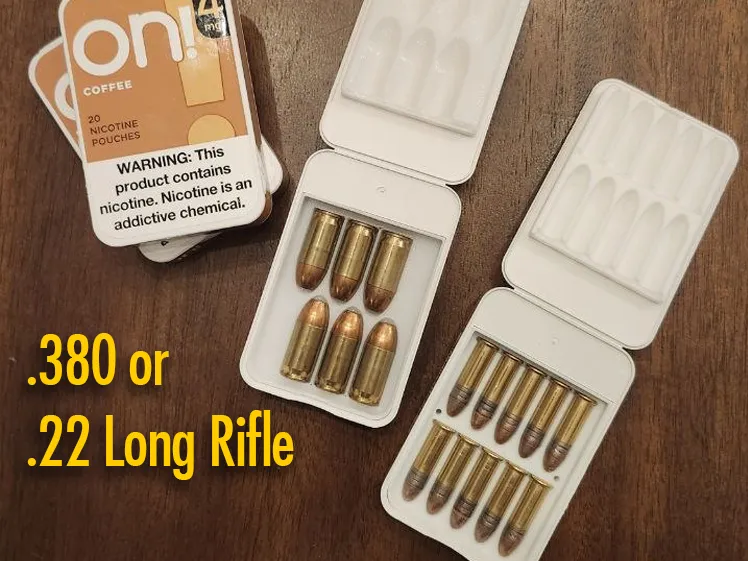
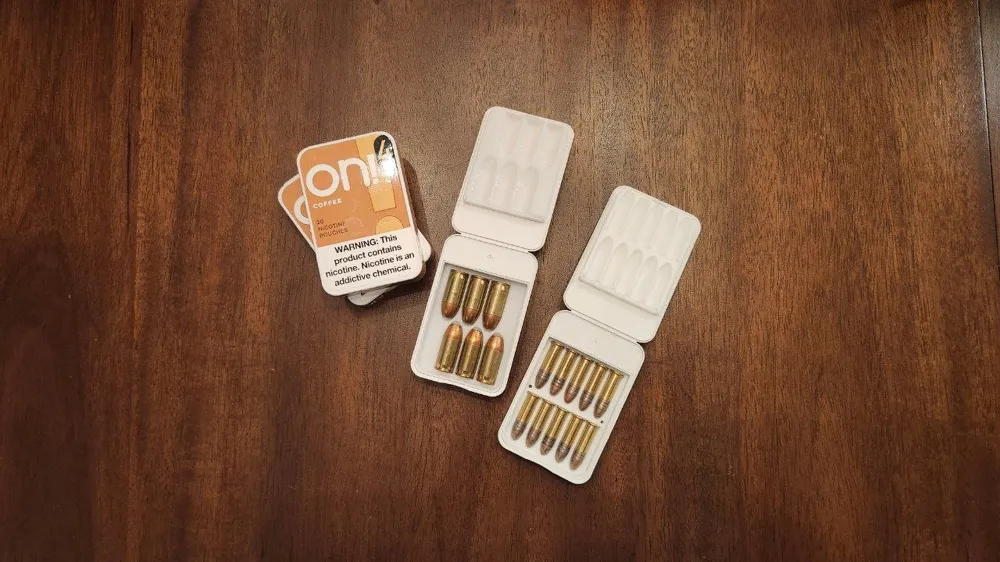
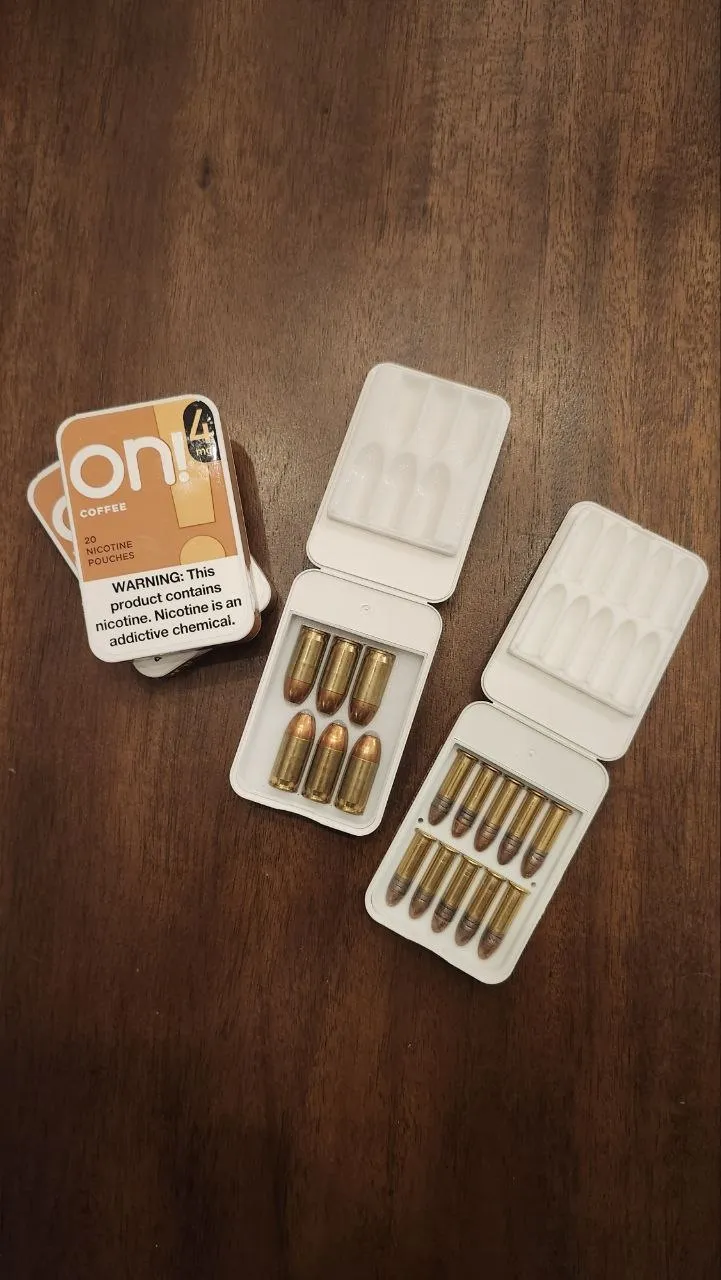
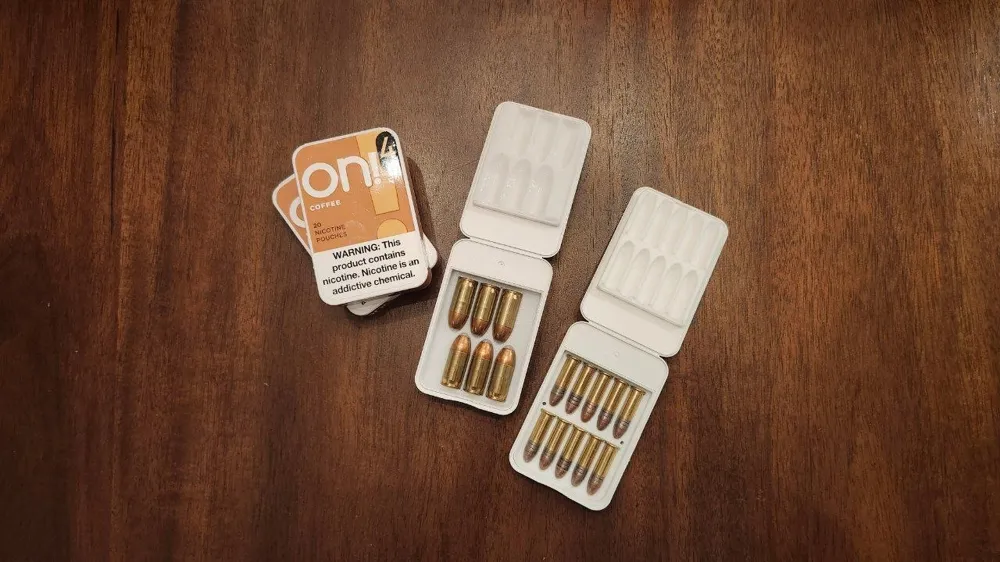
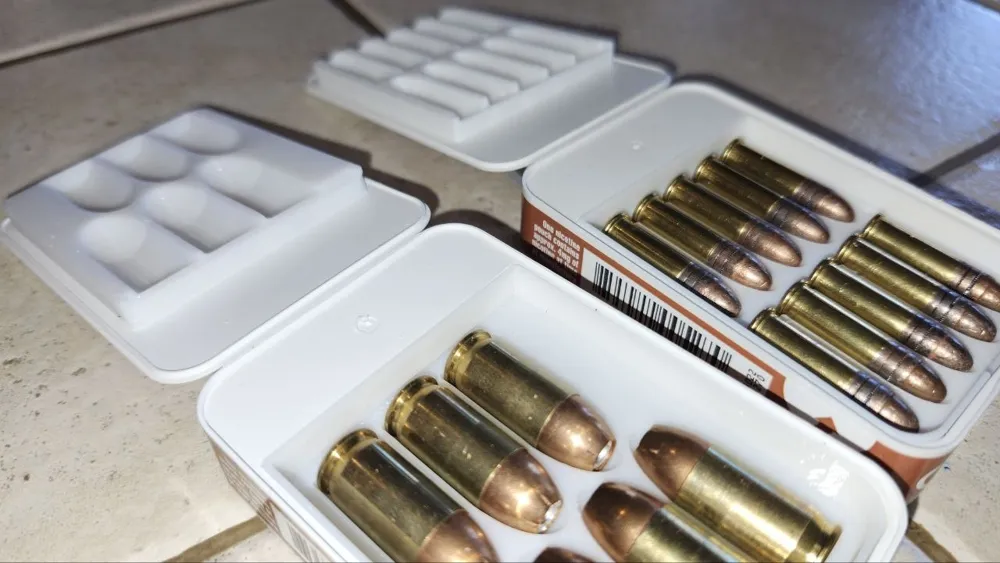
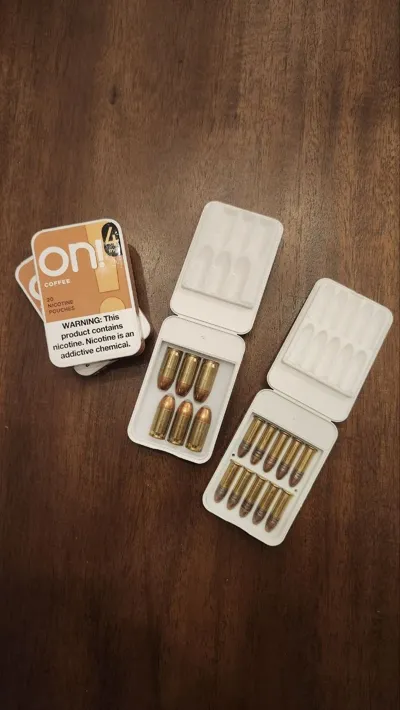
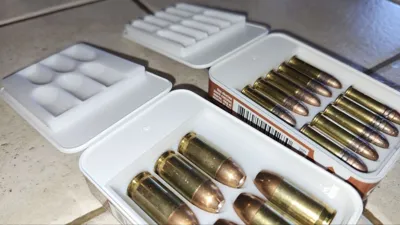
Overengineered Ammo Inserts for on! Nicotine Pouch Tins
These inserts are purpose-built for the rectangular-style on! nicotine pouch tins, converting them into compact, organized ammo storage with a clean, precision fit.
Unlike round tin inserts, this design takes advantage of the rectangular footprint to maximize usable space while maintaining secure retention and easy access.
⚠ Caliber limitations apply
Due to the internal dimensions of on! tins, 9mm will not fit in this format.
I also have ammo inserts for round nicotine pouch tins.
US Zyn tins:
https://makerworld.com/en/models/2357396-ammo-zynserts-inserts-for-usa-sized-zyn-tin-only
Swedish Tins (and VELO)
https://makerworld.com/en/models/2439273-ammo-inserts-velo-77-dope-etc-not-zyn-tin-usa
Compatibility
• Designed specifically for on! nicotine pouch tins
• Rectangular tin format only
• Designed for used tins
Current calibers:
• .22 LR
• .380 ACP
Additional small calibers may be added over time if they fit within the available space.
Design Features
• Precision-fit drop-in insert
• Optimized layout for rectangular geometry
• Individual round channels for clean organization
• Semi-snug retention to prevent movement
• Optional lid insert for added retention during transport
The rounds are retained securely with the base insert alone. The lid insert is optional, but adds an extra layer of retention for situations where additional security is preferred.
Print Notes
• Prints flat — no supports required
• PLA, PETG, or ABS
• 0.2 mm layer height recommended
• 15–25% infill
Tolerances are intentionally snug for a proper fit. If your printer runs slightly hot or over-extrudes, a small flow adjustment may help.
Assembly Instructions
Be careful with the edges of the bottom insert. Press on the ammo cavities, not the protruding sides. I almost cracked mine making this video.
License

You may create derivative works based on this object, provided that all such derivative works are published exclusively on the MakerWorld platform and include proper attribution to the original creator. You may not share, upload, host, distribute, or publish this object—or any derivative work of this object—on any other digital platform, marketplace, or distribution channel. Commercial use of this object and any derivative works is strictly prohibited. This includes, but is not limited to, selling, renting, sublicensing, or using the object in any context in which you receive monetary compensation or other financial benefits.


Comment & Rating (1)