
Fishing Rod Holder V2
Print Profile(1)
Description
Boost Me (for free)
Membership
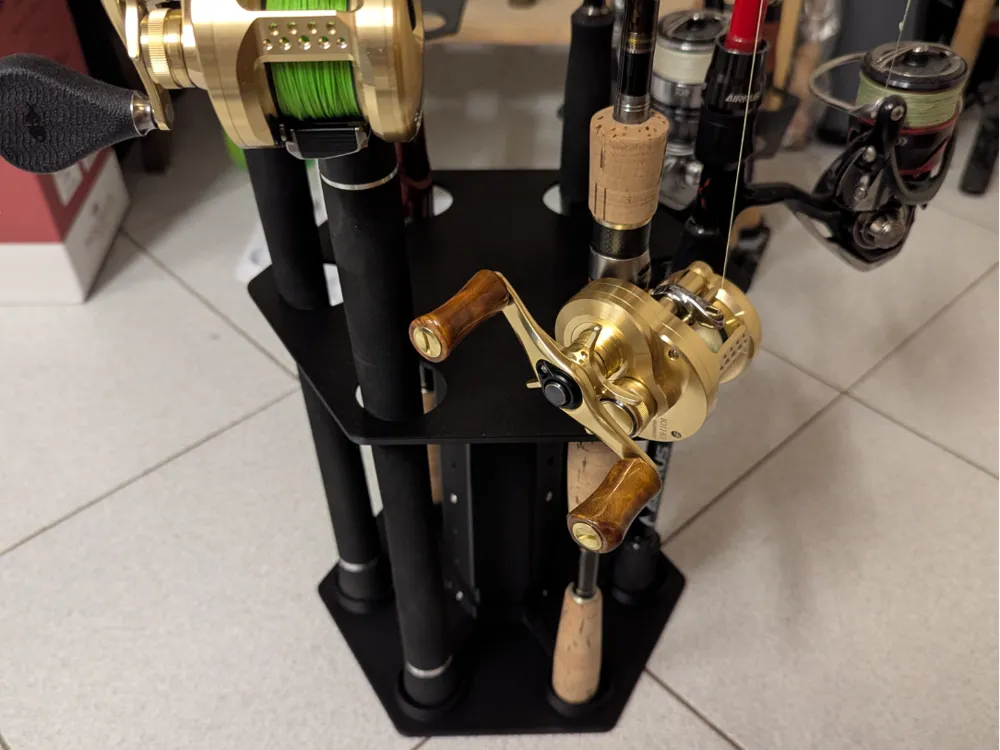
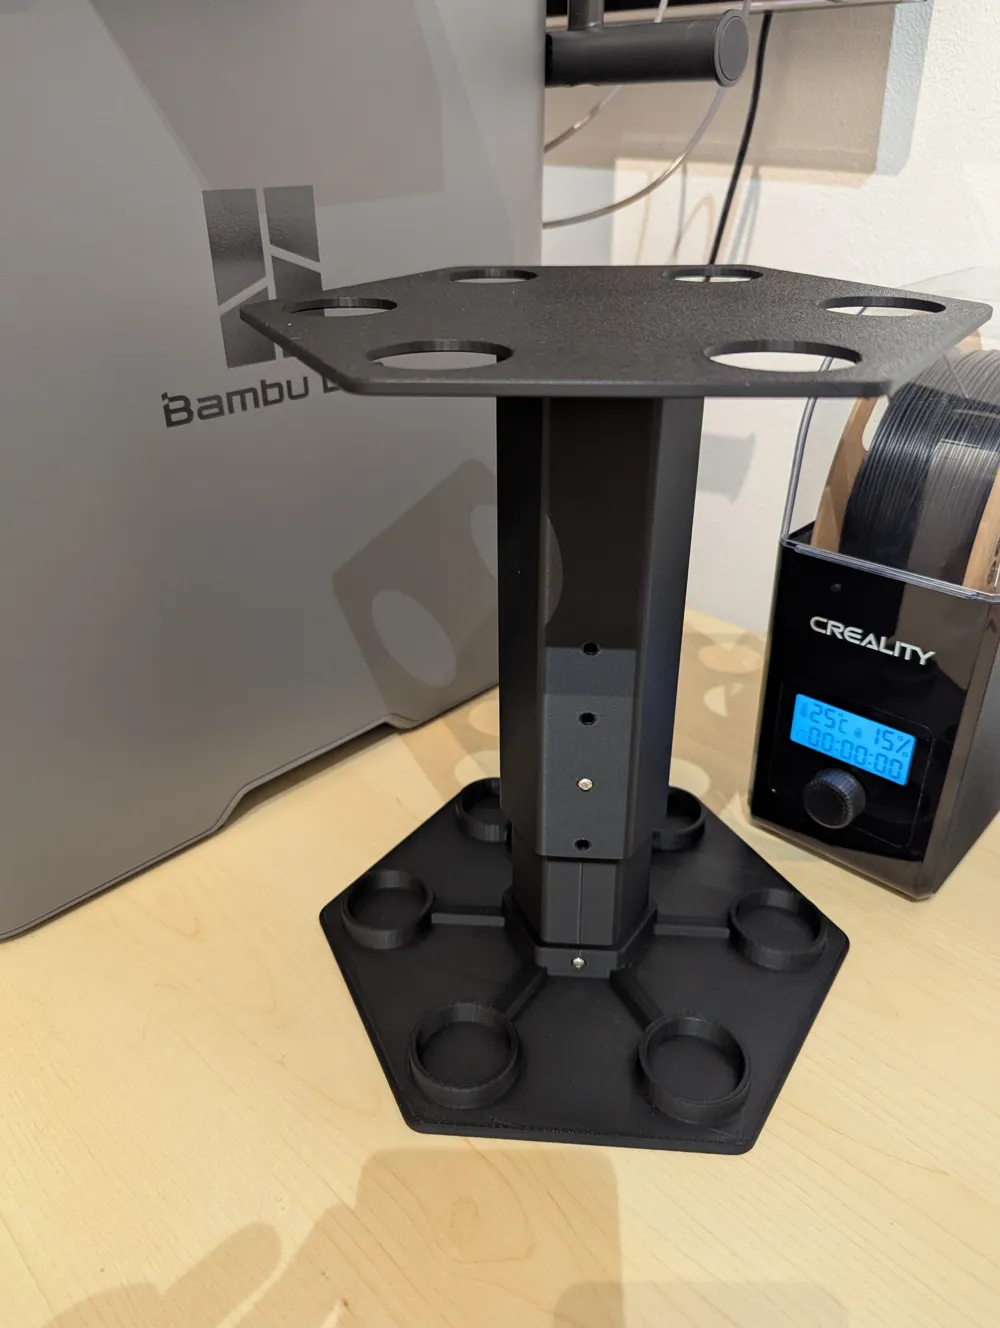
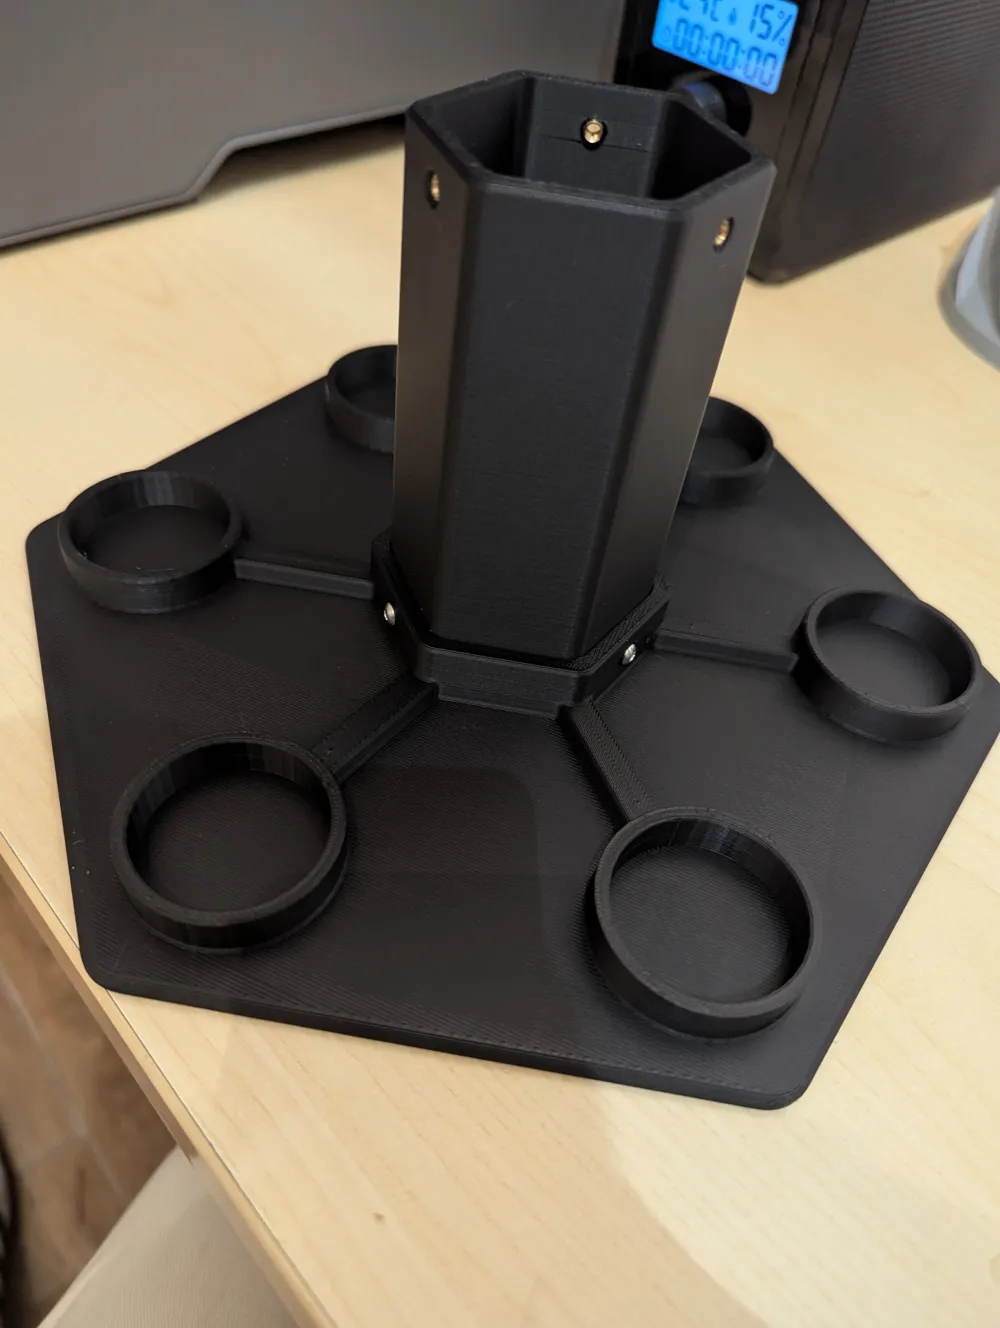
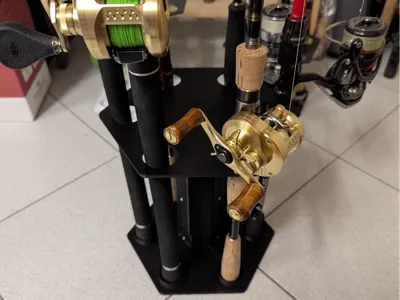
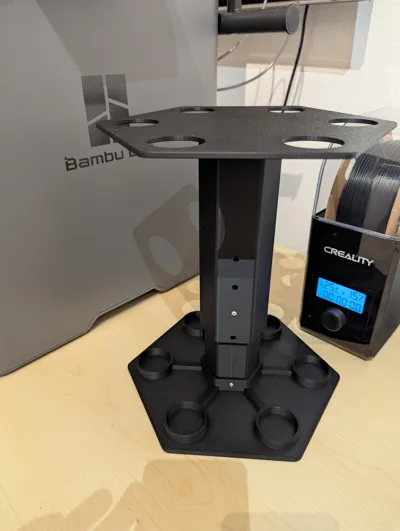
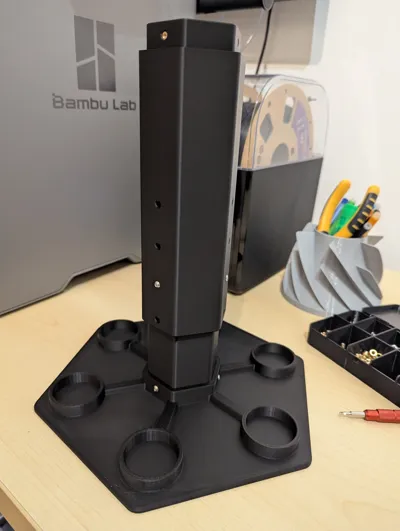
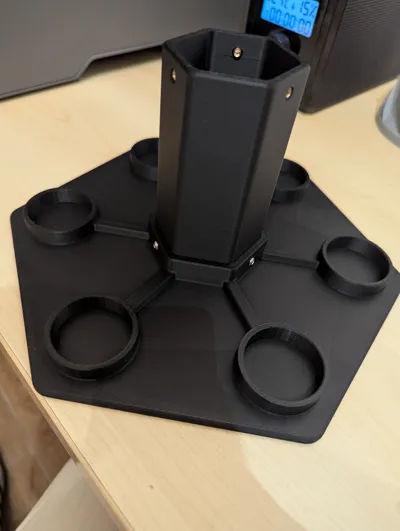
Telescopic Fishing Rod Holder V2
A modular, height-adjustable fishing rod holder designed for easy 3D printing and quick assembly using standard hardware.
This holder is engineered to support a wide range of rods, from long pike fishing rods to compact BFS setups, making it versatile for different fishing styles.
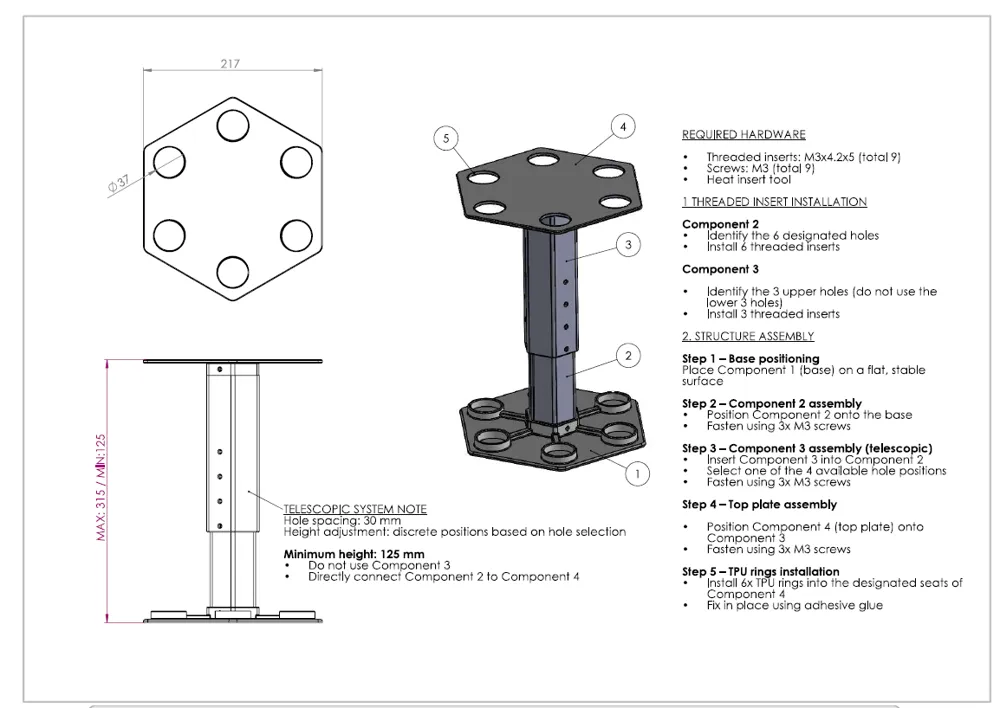
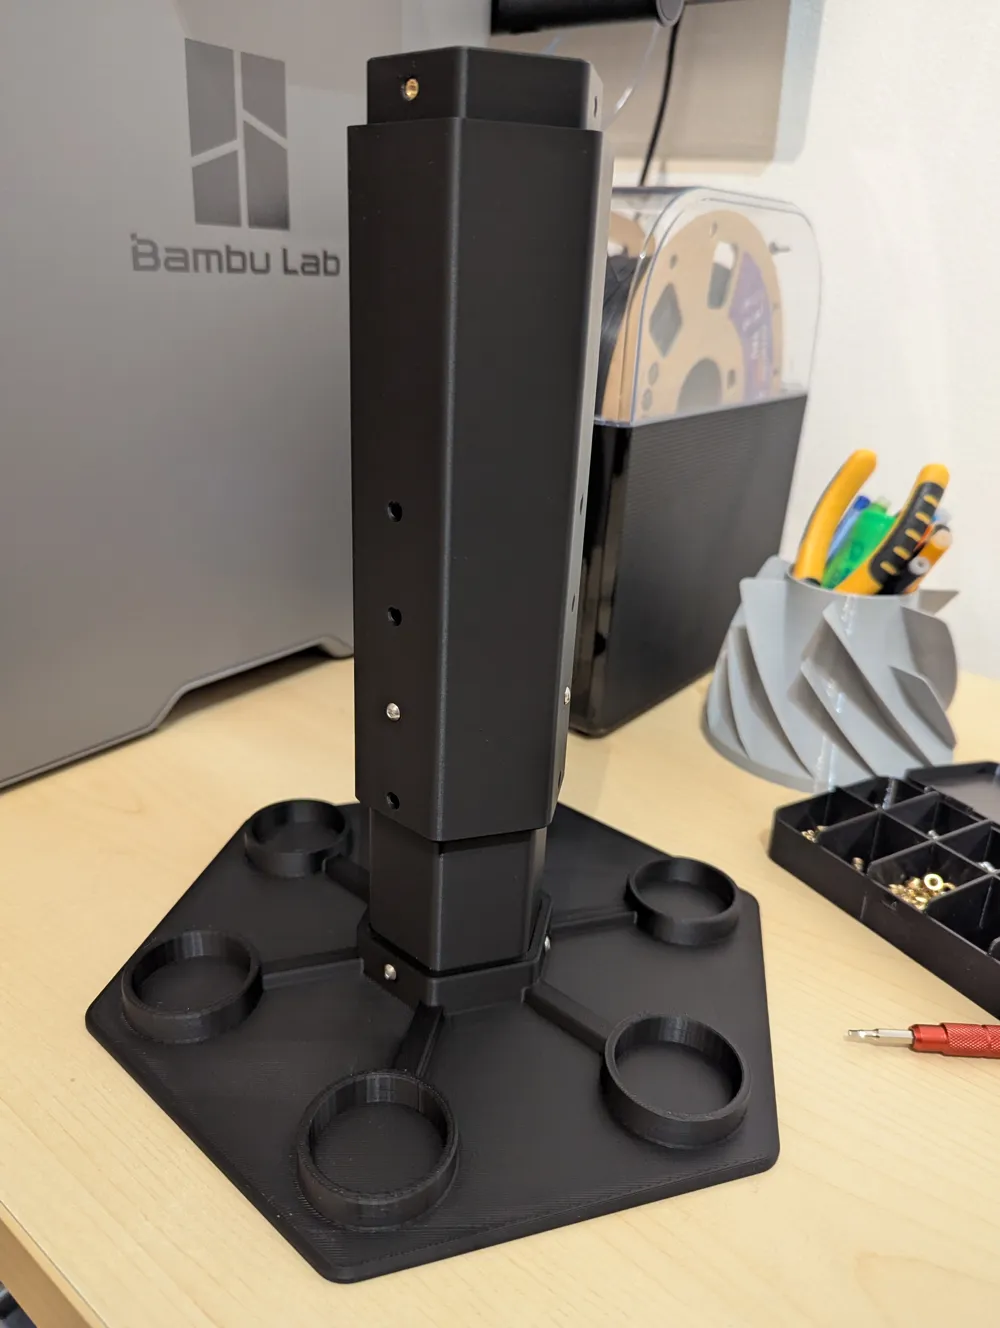
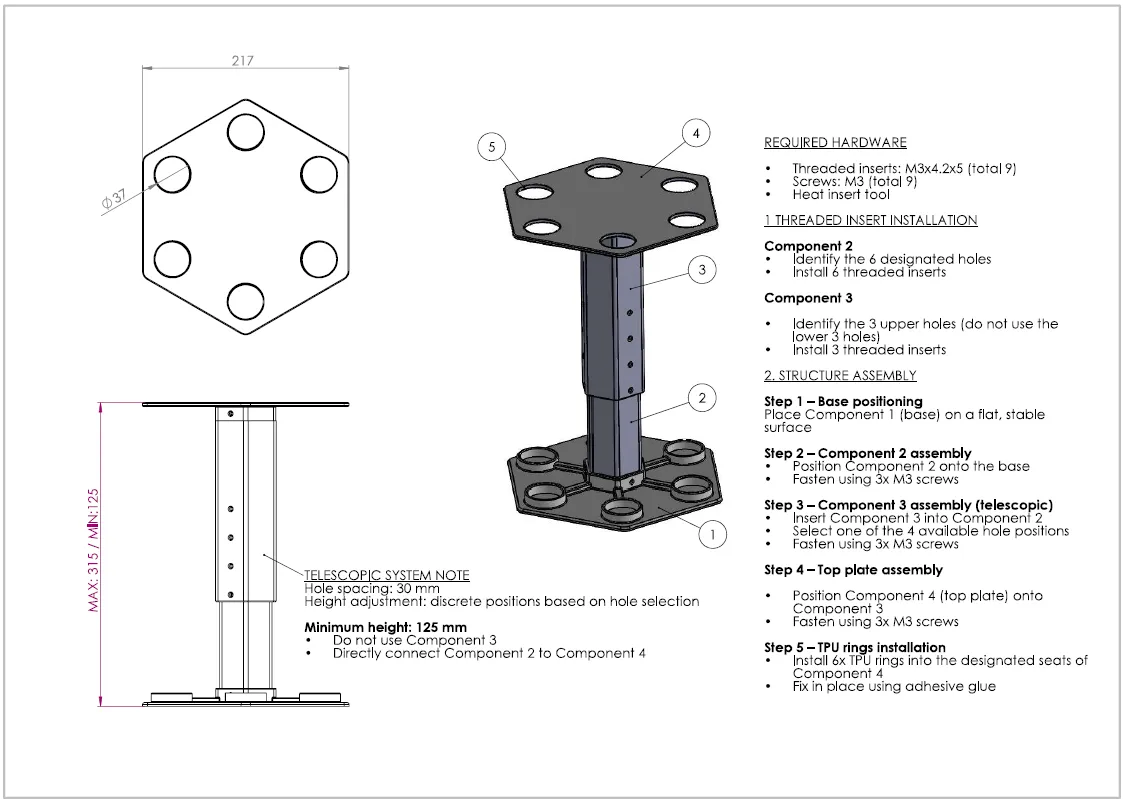
The telescopic design allows fast and precise height adjustment through 30 mm incremental steps, ensuring stability and adaptability. Threaded inserts provide a strong, durable connection, ideal for repeated assembly and long-term use.
The top plate includes TPU protective rings, preventing damage to rods while improving grip and stability.
Key Features
- Adjustable telescopic system
- Modular design (4 printed parts)
- Wide compatibility (BFS to pike rods)
- TPU inserts for protection and grip
- Strong structure with threaded inserts
- Height adjustment in 30 mm increments
Dimensions
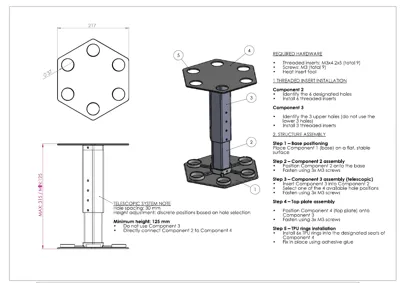
- Minimum height: ~115 mm (compact mode)
- Maximum height: ~315 mm
Hardware & Materials
- 9x Threaded inserts M3x4.2
- 9x M3 screws
- Adhesive (cyanoacrylate recommended)
- Heat insert tool
Assembly Instructions
1. Install Threaded Inserts
Component 2
- Install 6 inserts into the designated holes
- Ensure they are flush and properly aligned
Component 3
- Install 3 inserts in the upper holes only
- Do not use the lower holes
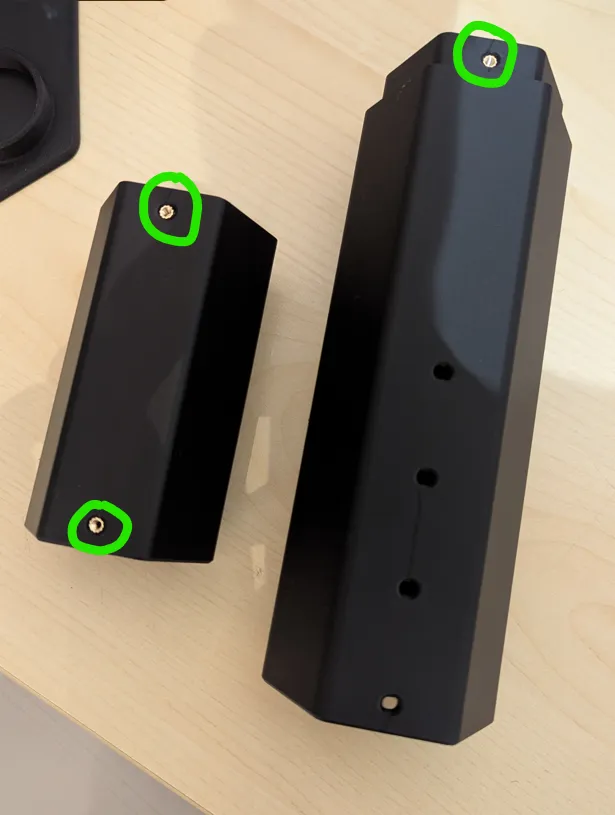
2. Assemble the Structure
Step 1 – Base
- Place Component 1 on a flat, stable surface
Step 2 – Lower section
- Attach Component 2 to the base
- Fasten with 3 M3 screws
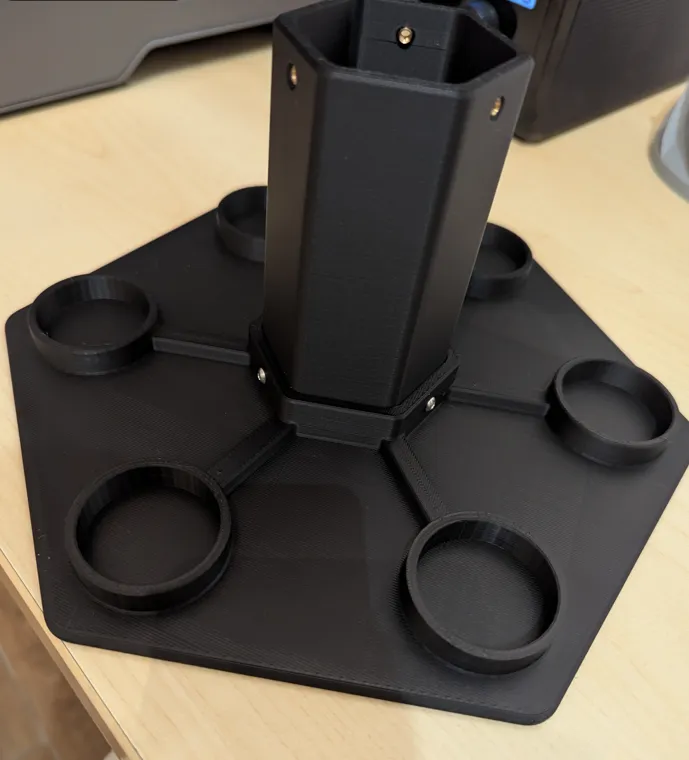
Step 3 – Telescopic adjustment
- Insert Component 3 into Component 2
- Select desired height using the holes (30 mm spacing)
- Secure with 3 M3 screws
Minimum configuration (115 mm):
- Do not use Component 3
- Connect Component 2 directly to Component 4
Step 4 – Top plate
- Attach Component 4 with 3 M3 screws
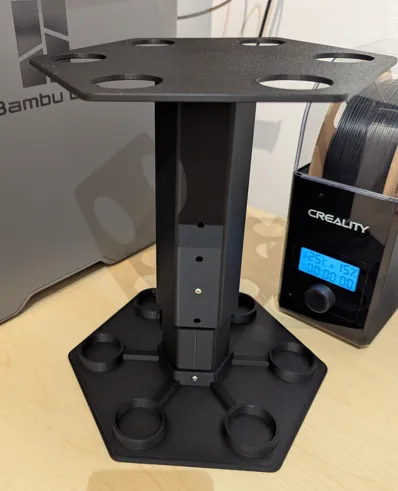
3. Install TPU Rings
- Insert 6 TPU rings into the top plate
- Fix using adhesive
- Ensure proper seating and alignment
License

You shall not share, sub-license, sell, rent, host, transfer, or distribute in any way the digital or 3D printed versions of this object, nor any other derivative work of this object in its digital or physical format (including - but not limited to - remixes of this object, and hosting on other digital platforms). The objects may not be used without permission in any way whatsoever in which you charge money, or collect fees.


Comment & Rating (10)