


Print Profile(1)
Bill of Materials
- Canola Spray Oil x 1:
- Automotive Spray Putty x 1:
- Pot Sealer x 1:
- Sandpaper (various grits – ~120 to 400+) x 1:
- Off-white concrete mix (for detail layer) x 1:
- Mortar / cement mix (for strength) x 1:
- Small fibreglass strands (reinforcement) x 1:
Description

SIGN UP TO MY PATREON FOR A COMMERCIAL LICENSE AT ONLY $5USD/MONTH.
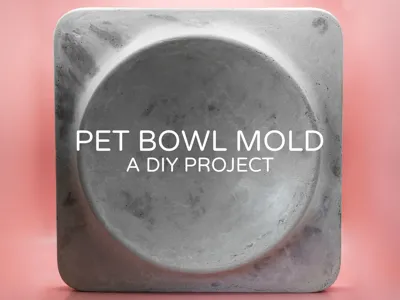
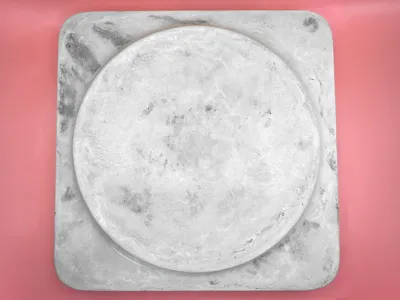
Concrete Pet Bowl Mold – DIY Project
This project is a simple and rewarding way to create your own custom concrete pet bowl using a 3D printed mold. The process focuses on refining the mold surface to achieve a clean, smooth finish on the final cast, while keeping everything accessible for home makers.
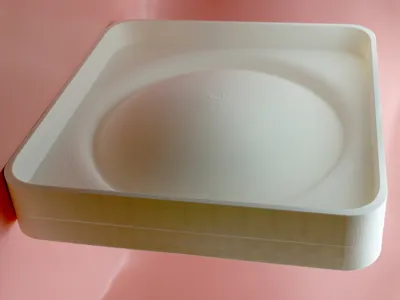
The mold is designed for FDM 3D printing and is then progressively finished using automotive spray putty and sanding to remove layer lines. Once prepared, it can be used to cast a durable concrete bowl with a clean, modern shape.

Process Overview
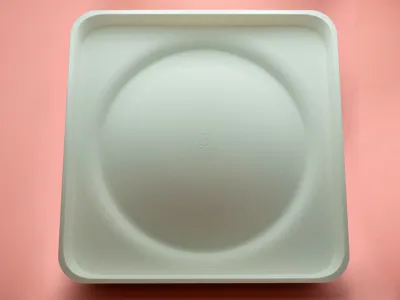
1. Print the mold
Start by 3D printing the mold using an FDM printer. No supports are required.
2. Apply spray putty
Coat the mold with automotive spray putty to begin filling layer lines and surface imperfections.
3. Sand
Sand the surface to smooth it out and remove high spots.
4. Repeat finishing
Apply another coat of spray putty, then sand again. Repeat this process multiple times until the surface is consistently smooth.
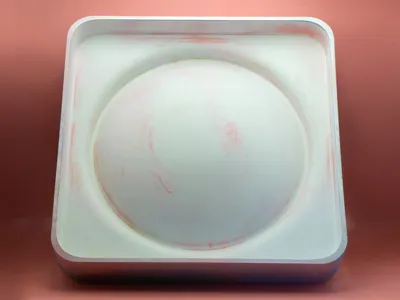
5. Final surface check
Apply a light coat of normal spray paint. This helps highlight any remaining imperfections so they can be sanded out.
6. Prepare for casting
Spray the mold with canola oil to act as a simple release agent.
7. Concrete pour
Start with an off-white concrete slurry to capture surface detail, then back it up with a stronger mortar mix with extra cement and small fibreglass threads for reinforcement.
8. Finishing
Once cured, use a quick pass with a flame torch to remove any loose fibreglass strands.
9. Seal the bowl
Finish with a simple pot sealer applied via spray bottle to protect the surface.
Result
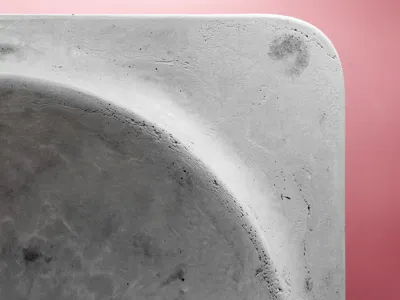
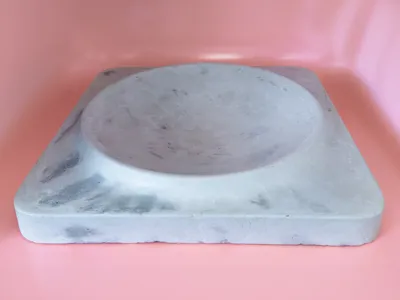
The final piece is a solid, modern concrete pet bowl with a smooth interior and subtle handmade character. Each cast will have slight variations, giving every piece a unique look.

----------------------------------
What You’ll Need
3D Printing
FDM 3D printer
Filament (PLA or PETG recommended)
Surface Finishing
Automotive spray putty (filler primer)
Sandpaper (various grits – approx. 120 to 400+)
Regular spray paint (for surface checking)
Mold Preparation
Canola oil (release agent)
Cloth or paper towel
Concrete Casting
Off-white concrete mix (for detail layer)
Mortar / cement mix (for strength)
Small fibreglass strands (for reinforcement)
Mixing container (bucket or tub)
Stirring tool (stick or paddle)
Finishing the Bowl
Blow torch (to remove loose fibreglass strands)
Concrete sealer (spray bottle recommended)
-----------------------------------
Printing
No supports needed
Boost Me (for free)
Big thanks to everyone boosting Pork3D! Your support means more awesome models coming your way!
License
You shall not share, sub-license, sell, rent, host, transfer, or distribute in any way the digital or 3D printed versions of this object, nor any other derivative work of this object in its digital or physical format (including - but not limited to - remixes of this object, and hosting on other digital platforms). The objects may not be used without permission in any way whatsoever in which you charge money, or collect fees.
Comment & Rating (0)