RC Cyberbrick Tank M1A2 Abrams SEPv3 1:30


Print Profile(3)

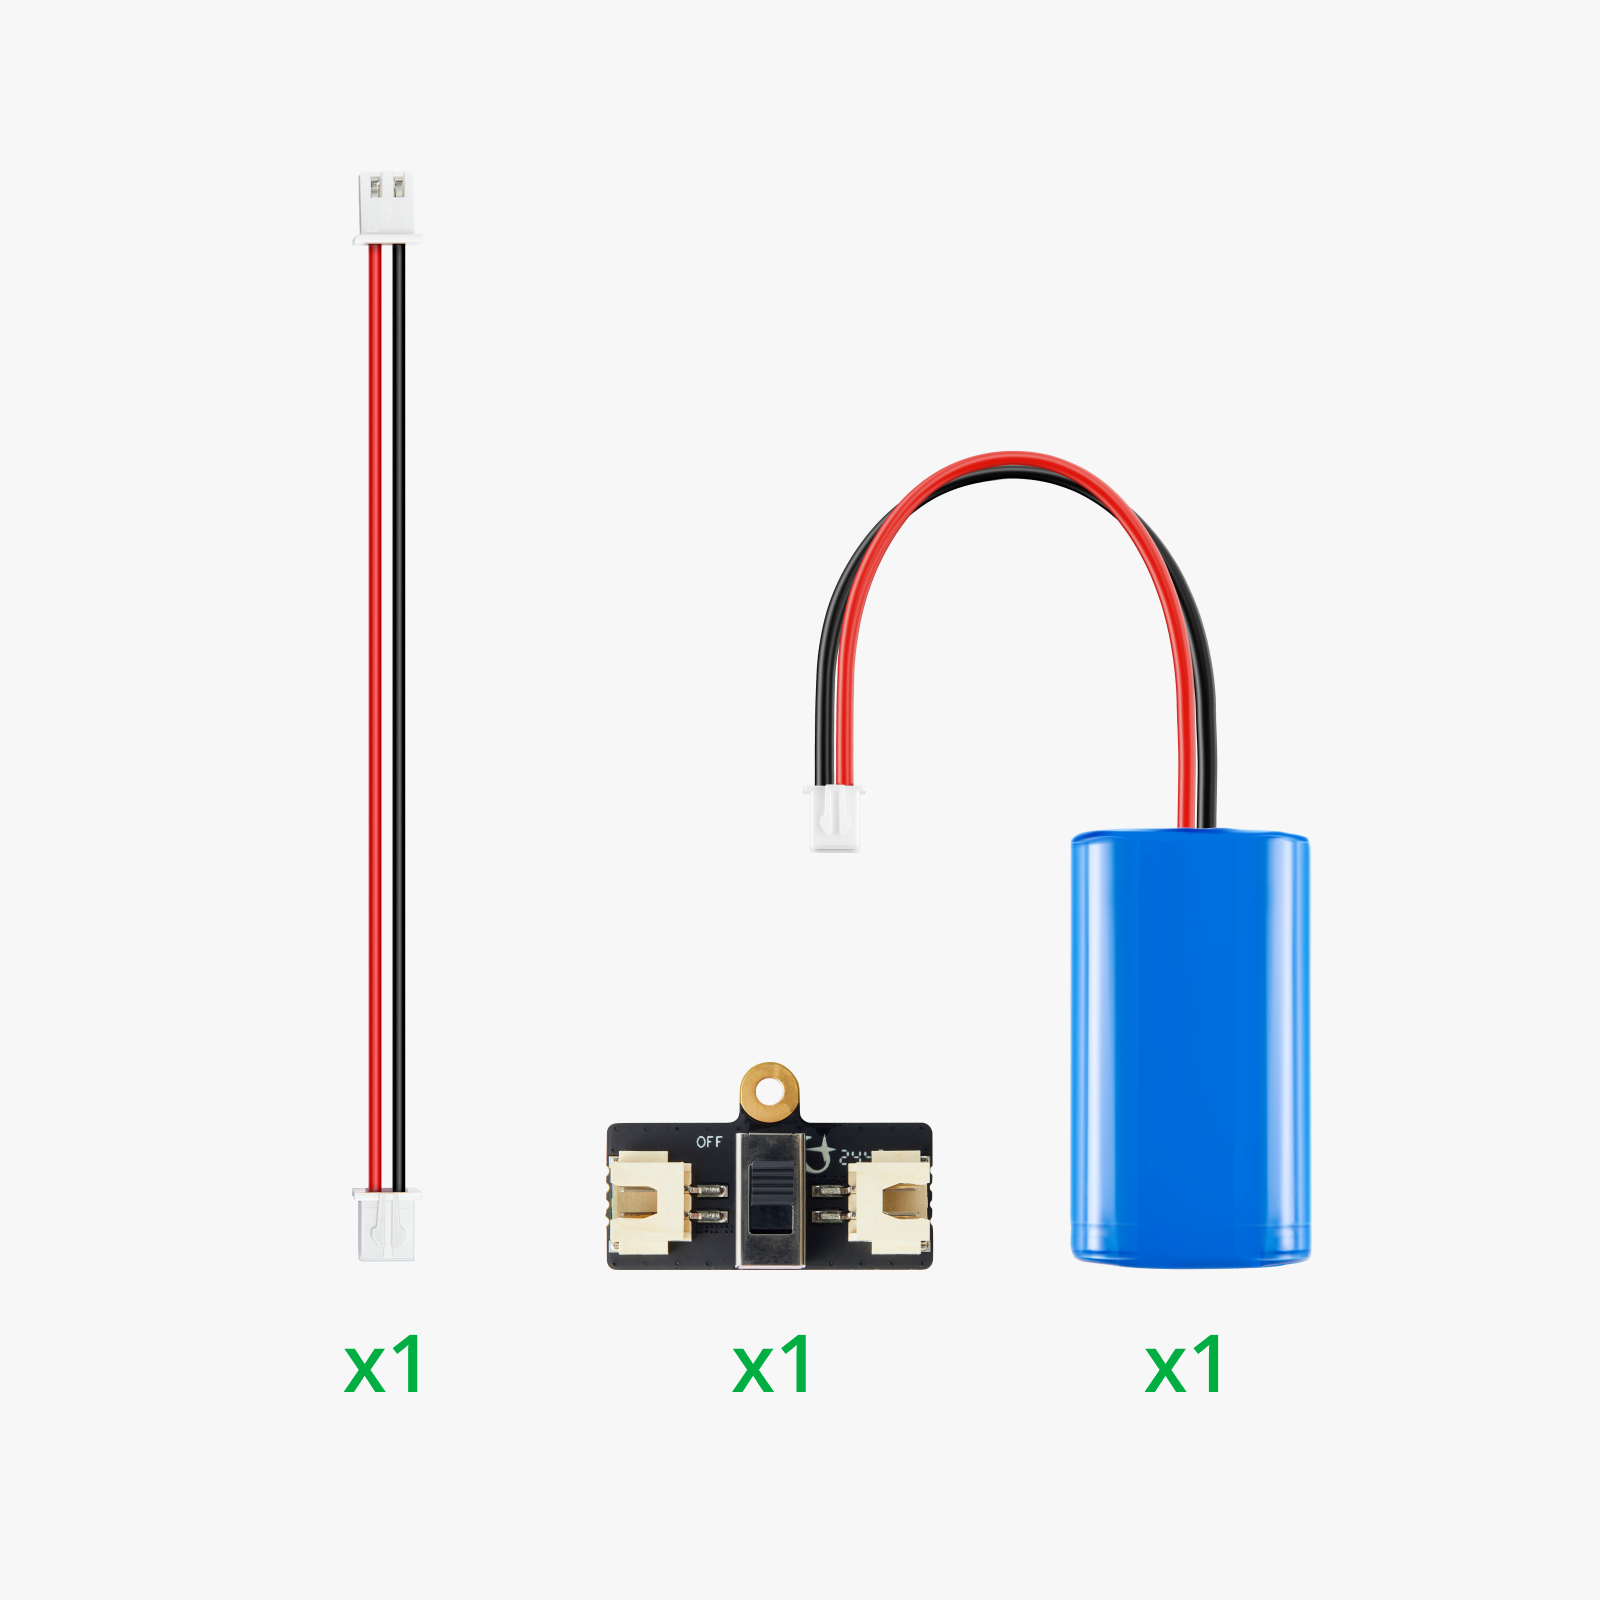
Bill of Materials


Description
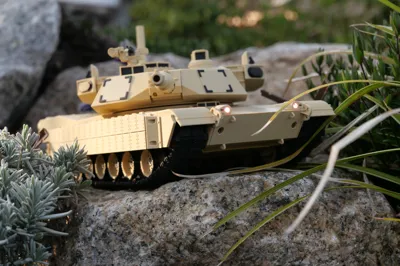
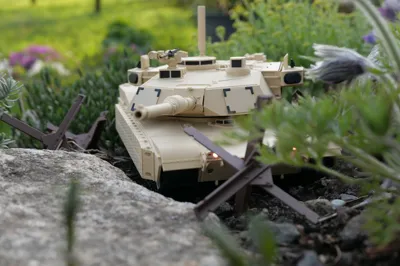
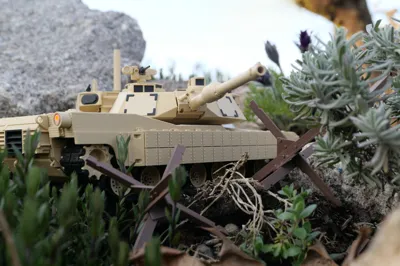
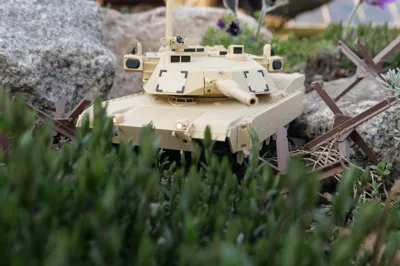
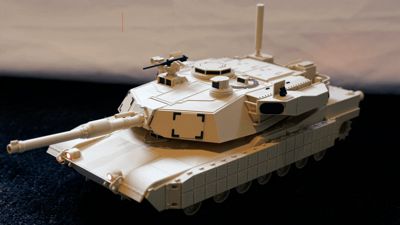
Fully 3D-Prited and CyberBrick compatible M1A2 Abrams SEPv3 Tank (1:30 scale)
This RC Cyberbrick M1A2 Abrams SEPv3 Tank is based on a display model kindly shared by @Sgt_Reckless, who gave permission to use his design as the foundation for a fully RC-compatible Cyberbrick version.
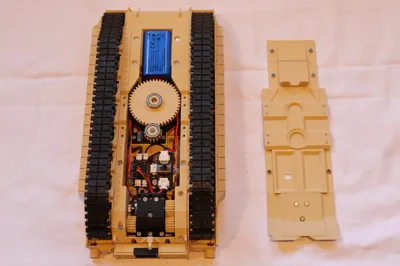
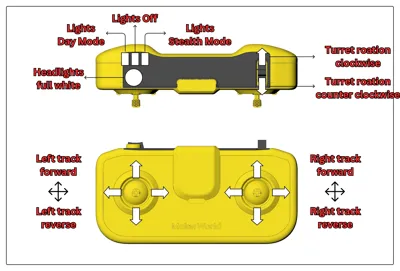
🔧 RC features:
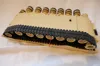
| Individual track steering | 360° turret rotation |
|---|---|
 |  |
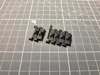
| Powerful Drivetrain | All moving parts mounted on ball bearings for smooth operation |
 |  |
→ On this model page, you’ll find the print profiles with all mechanical components, including the drivetrain, RC systems, movable parts and print-in-place tracks.
→ On Sgt. Reckless’s page, you can access the body parts of the original display model, with the necessary modifications to house the Cyberbrick hardware (look for the pinned print profile at the top). →Link
This model is very detailed. While it’s designed to be as clear and straightforward as possible, it may be challenging for beginners. Take your time and follow the steps carefully to make sure all the mechanical parts work correctly.

Before printing the full model:
→ Print the test cube with all the hole sizes to make sure all screws fit correctly.
- If the holes are too large, use a negative hole horizontal expansion offset. Start with -0.05 mm and increase by -0.05 mm steps until the screws fit properly.
- If the holes are too small, use a positive hole horizontal expansion offset. Start with +0.05 mm and increase by +0.05 mm steps until the screws fit.
It is also a good idea to read the assembly manual and check all the steps before printing.
I also recommend some connector removal tools for the CyberBrick connectors: →Link
If you are interested in the Anti Tank Hedgehog barriers used in the photos, here you go: →Link
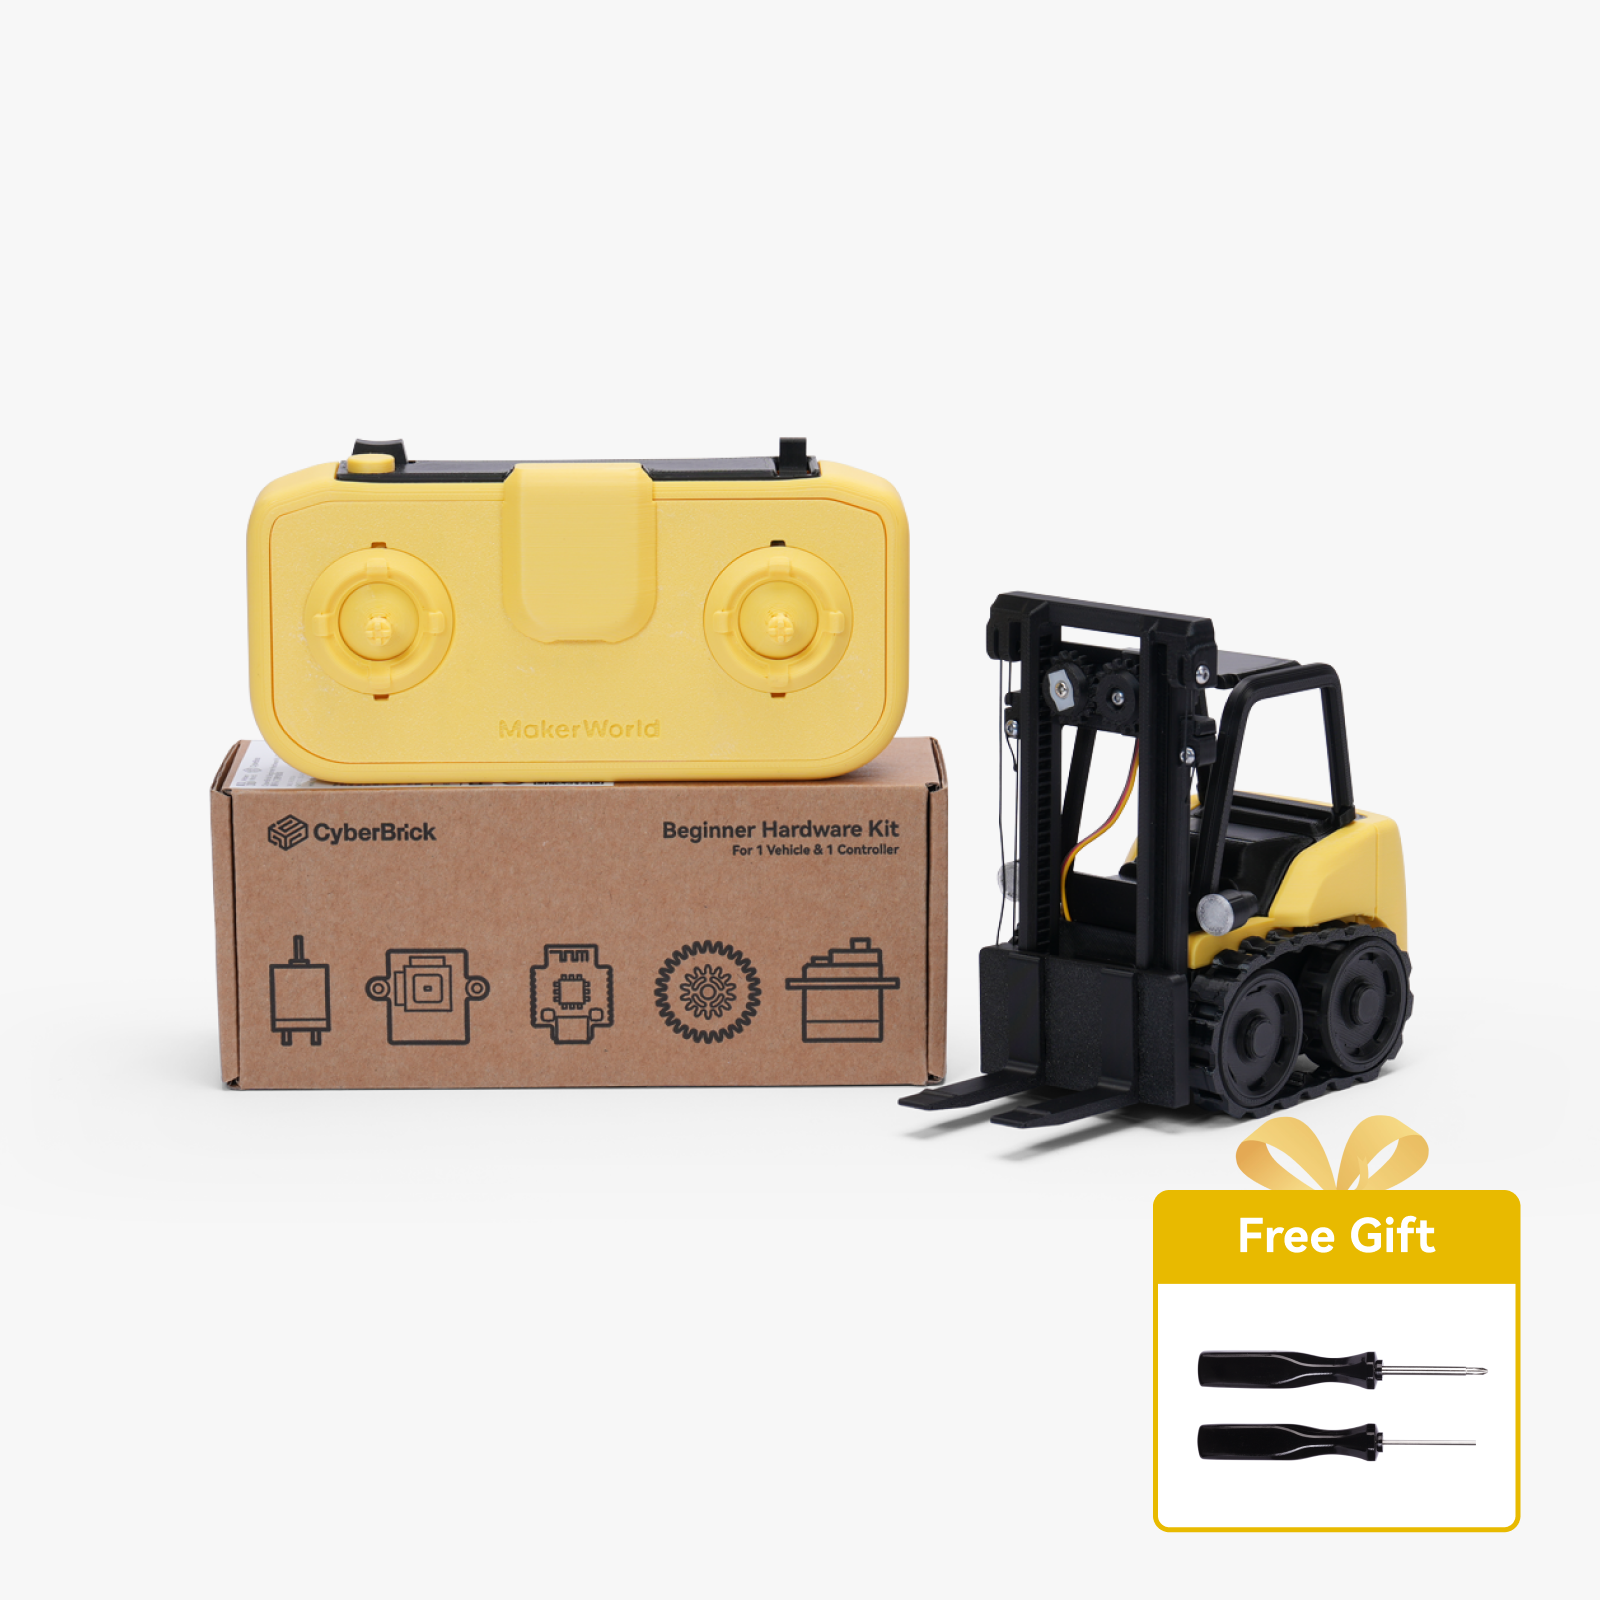
Here is the link to the CyberBrick remote (Lithium Battery Version): →Link

Boost Me (for free)
If you like my models you can gift me a free boost here :)
Documentation (2)

License
You shall not share, sub-license, sell, rent, host, transfer, or distribute in any way the digital or 3D printed versions of this object, nor any other derivative work of this object in its digital or physical format (including - but not limited to - remixes of this object, and hosting on other digital platforms). The objects may not be used without permission in any way whatsoever in which you charge money, or collect fees.
Comment & Rating (77)