Ultimate Logitech G502X / Plus Mouse Travel Case


Print Profile(4)

Bill of Materials


Description
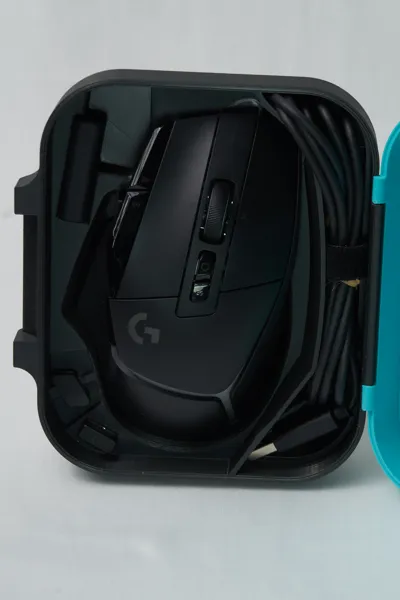
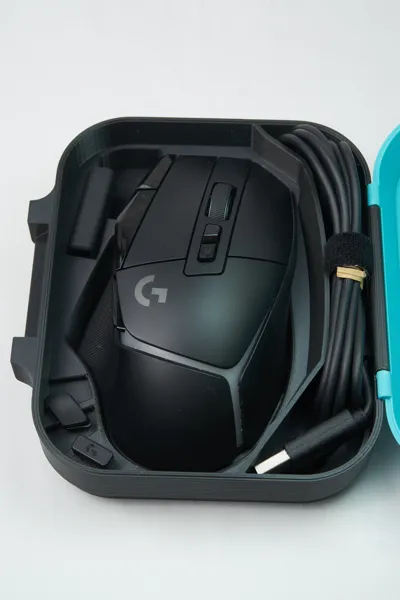
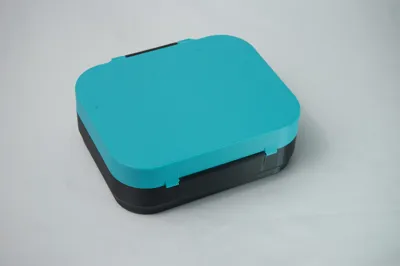
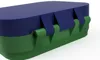
It is finally here. Ever wanted to take your logitech G502x mouse with you but dont have a way to store it safely or stop it getting damaged? Now you do.
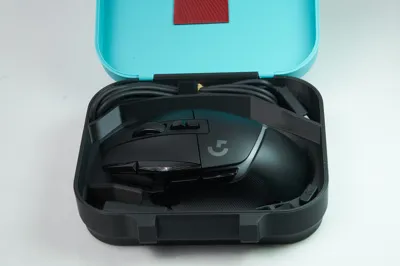
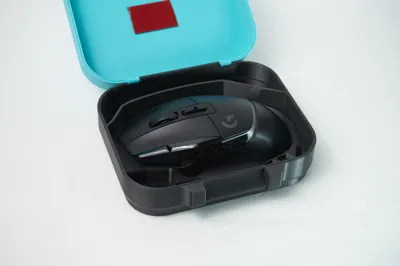
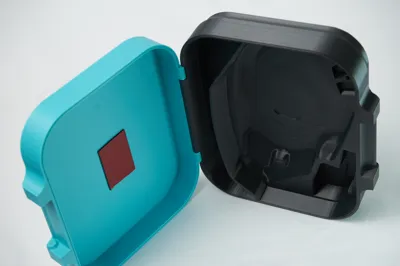
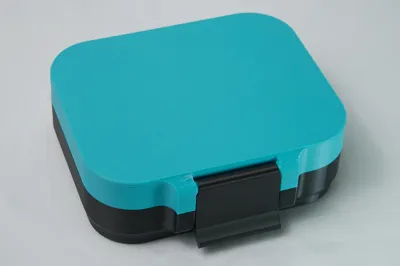
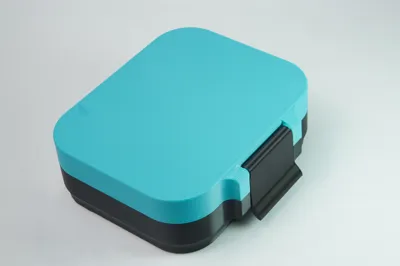
Introducing the G502X Travel case, designed to safely secure your mouse and it's accessories for travel.
The case features:
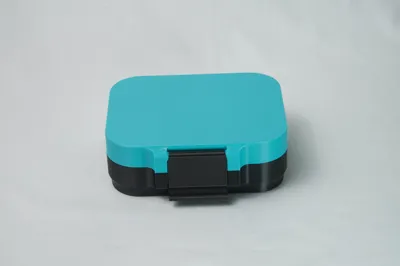
- Snap fit hinged lid
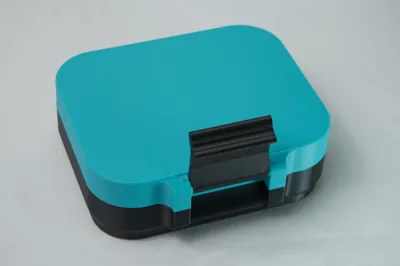
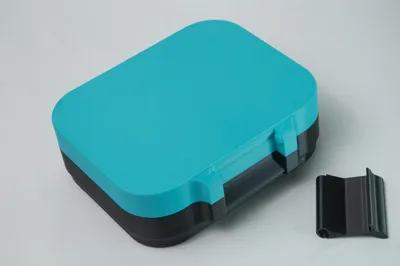
- Snap fit latch
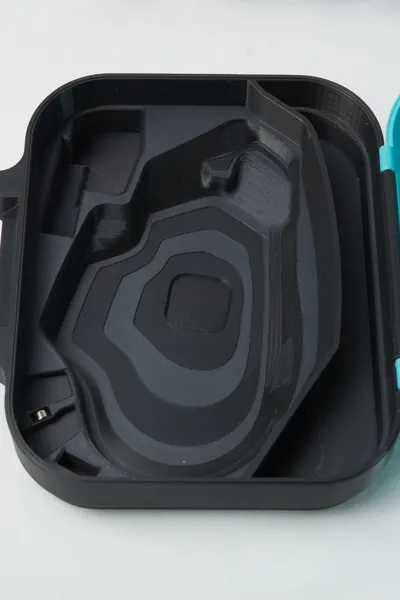
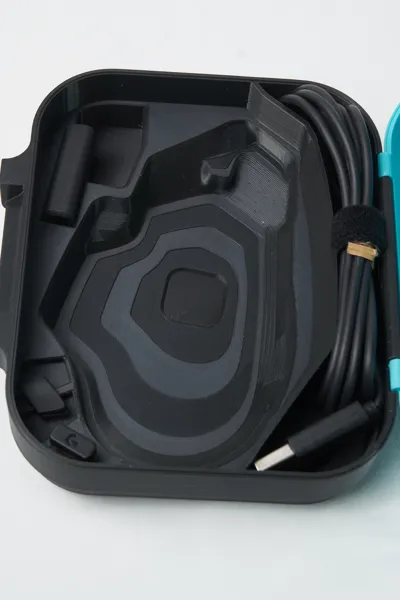
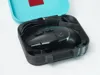
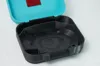
- Custom Molded G502 Storage
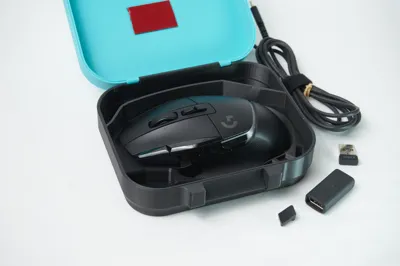
- Integrated Cable Storage
- Integrated USB C - USB A Adaptor Storage
- Intergrated USB A reciever Storage
- Integrated Magnetic Sniper/Thumbrest Storage
The current design includes the Logitech logo as a SVG which you can recolour. (All rights belong to Logitech).
Custom SVGs available on the lid, please reach out with a SVG or request and I will upload it for you as a print profile as this is done in the Bambu Slicer.
Assembly:
For the Thumb Rest and Sniper button, Please use a 6x3mm Magnet and press fit this into the magnet slot. The Thumb rest and Sniper button simply snap on top of this and locate in the recess.

Please adhere some foam tape 1-3mm on the lid above the centre top of the mouse to ensure the mouse doesnt move

The latch and Lid both have cutouts to snap fit onto the other pieces, please make note of this and gently bend
Please take care to attach the Hinge and the latch using the cutouts and by slightly flexing them.
Please take care to ensure the latch is printed the way in the profile and your filament settings are correct, it can be easily knocked over and as such has a large brim.
This case took many hours and test prints to get right, I have poured my heart and soul into this design, so please reach out if you have any feedback.
Need a custom design? I would be more than happy to help. Please reach out
Boost Me (for free)
I do this as a hobby and put alot of thought into my designs. If you like what you see, feel free to give me a boost. It will inspire me to continue providing quality content.
License
You may create derivative works based on this object, provided that all such derivative works are published exclusively on the MakerWorld platform and include proper attribution to the original creator. You may not share, upload, host, distribute, or publish this object—or any derivative work of this object—on any other digital platform, marketplace, or distribution channel. Commercial use of this object and any derivative works is strictly prohibited. This includes, but is not limited to, selling, renting, sublicensing, or using the object in any context in which you receive monetary compensation or other financial benefits.
Comment & Rating (13)