Tiny Torch (A Toy Flashlight for Little Hands)


Print Profile(1)

Description
Boost Me (for free)
This model is still under development. Please give me a boost if you like my work! Thanks!
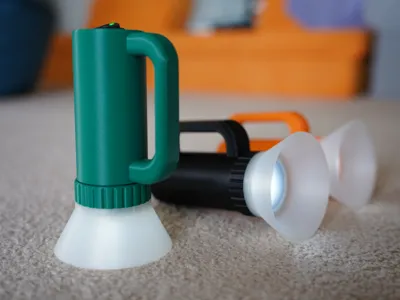
Tiny Torch (A Toy Flashlight for Little Hands)
A simple, fun, and safe flashlight designed specifically for children. Whether it's for camping trips, bedtime adventures, or power outages, Tiny Torch gives kids a light they can call their own, without the blinding brightness of adult flashlights.
Why Tiny Torch?
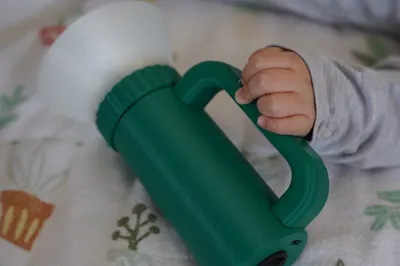
My 3-year-old wanted their own flashlight to play with, but most options on the market are far too bright for young kids. So I designed one myself.
This 3D-printed flashlight features a handle sized for small hands, snaps together with minimal components. The brightness is intentionally kept low — enough to actually light the way, but gentle enough for little eyes. It runs on an 18650 Li-ion battery, which should last hundreds of hours, and charges conveniently via USB-C.
Needed Hardware and Electronics
- 1x Lithium Battery Charger + Step-up Boost Board (Amazon*)
- Small gauge wires and electronic connectors (Amazon*)
- 1x 5mm white LED Diode (other colors work too, just adjust the resistor value accordingly to avoid overdriving)
- 1x small resistor (range 150 - 220 Ohm)
- 1 pair of battery contacts (Amazon*)
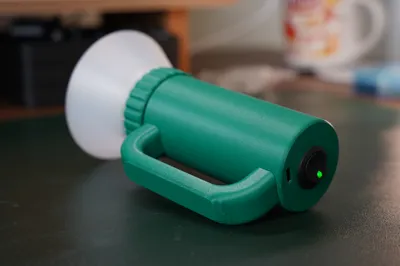
- 1x round toggle switch (Amazon*)
- 1x 18650 button-top battery (the battery case may be slightly too long for flat-top ones)
- Soldering iron and basic tools (Amazon*)
Wiring diagram

Assembly
Print all 7 parts and prepare the eletronic components


Insert the battery contacts into the battery case

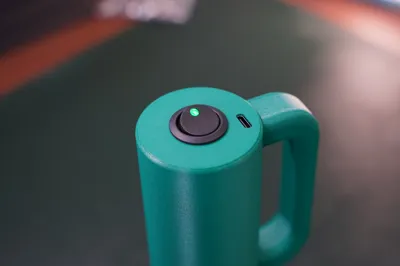
Solder the wires to the toggle switch, then insert it into the buttom hole of the flashlight.

Solder all wires to the charging module first (V+, V-, B+, B-), then install the charging module onto the platform on the battery insert.


Connect the charging module's battery terminals (B+, B-) to the battery.

Add the resistor and LED. You can insert the battery at this point to verify everything is working correctly.

Slide the battery insert into the body, making sure that the USB-C port is aligned with the opening

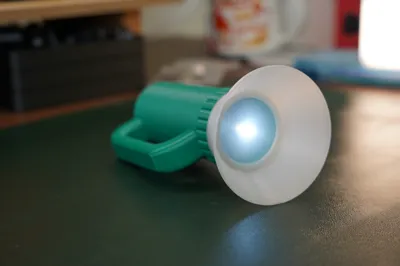
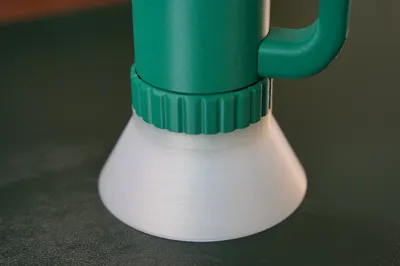
Add the reflector, and snap on the ring


Add the filter and snap on the light diffuser


- Done 🎉
* Amazon Affiliate link
Comment & Rating (0)