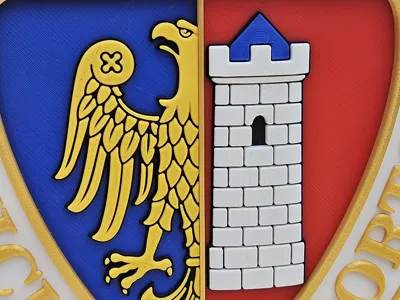
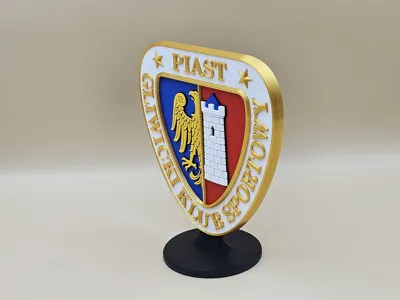
Piast Gliwice


Print Profile(2)
Bill of Materials


Description
AMS required
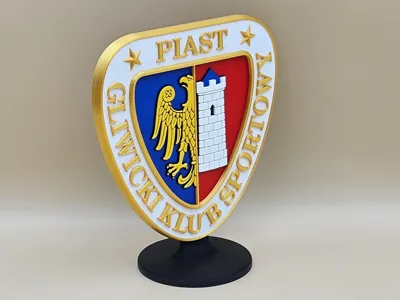
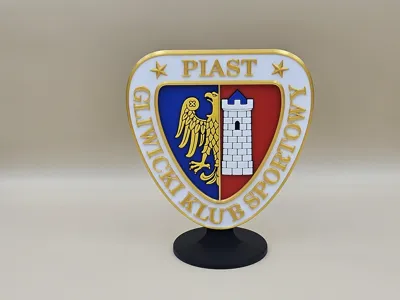
height with base: 17cm
width: 15.2cm
requires glue for assembly (e.g., superglue)
Since the Piast Gliwice logo consists of 6 colors, I have published two profiles:
First profile is designed for printers equipped with two AMS units.
The logo is printed as a single piece. This version wastes more material (unless you have H2C), but requires significantly less work during assembly.- Second profile is designed for printers equipped with one AMS unit.
The logo is printed in three separate parts that need to be glued together. This version wastes less material, but requires more time during assembly.

For printing logo elements, I recommend using a smooth PEI plate (it will be easier to glue them if the back is smooth); the base can be printed on a textured plate.
Assembly instructions:
Version one:

Insert connectors into one side, then glue both sides together and attach them to the base
Version two:

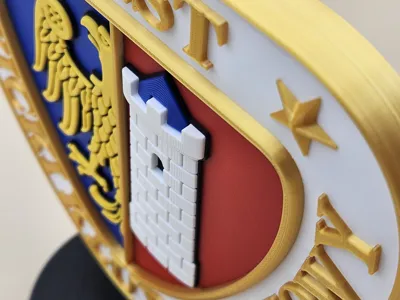
1. Glue the tower to the model

2. Insert the smaller element into the hole of the larger one, as shown in the picture (it should be slightly recessed in the hole)

3. Apply glue to the sides, as shown in the picture, then remove the excess. After the glue dries, level the surface so that the inserted element does not protrude above the hole

4. Repeat steps 1-3 for the other side of the logo
5. Insert the connectors into one side of the logo, then glue both parts together

7. Glue the logo to the base

Boost Me (for free)
If you like this project, you can support me.
See also:
Football club logos on a stand: https://makerworld.com/en/collections/8437457-football-club-logos-on-the-base

Polish Football Club Logos: https://makerworld.com/en/collections/22537425-polish-football-club-logos

Car brand keychains: https://makerworld.com/collections/9932381

License
You shall not share, sub-license, sell, rent, host, transfer, or distribute in any way the digital or 3D printed versions of this object, nor any other derivative work of this object in its digital or physical format (including - but not limited to - remixes of this object, and hosting on other digital platforms). The objects may not be used without permission in any way whatsoever in which you charge money, or collect fees.
Comment & Rating (0)