
Apex Plane Golf Swing Trainer
Print Profile(1)
Bill of Materials

Description
Apex Plane Trainer: The Ultimate Weighted Swing Aid
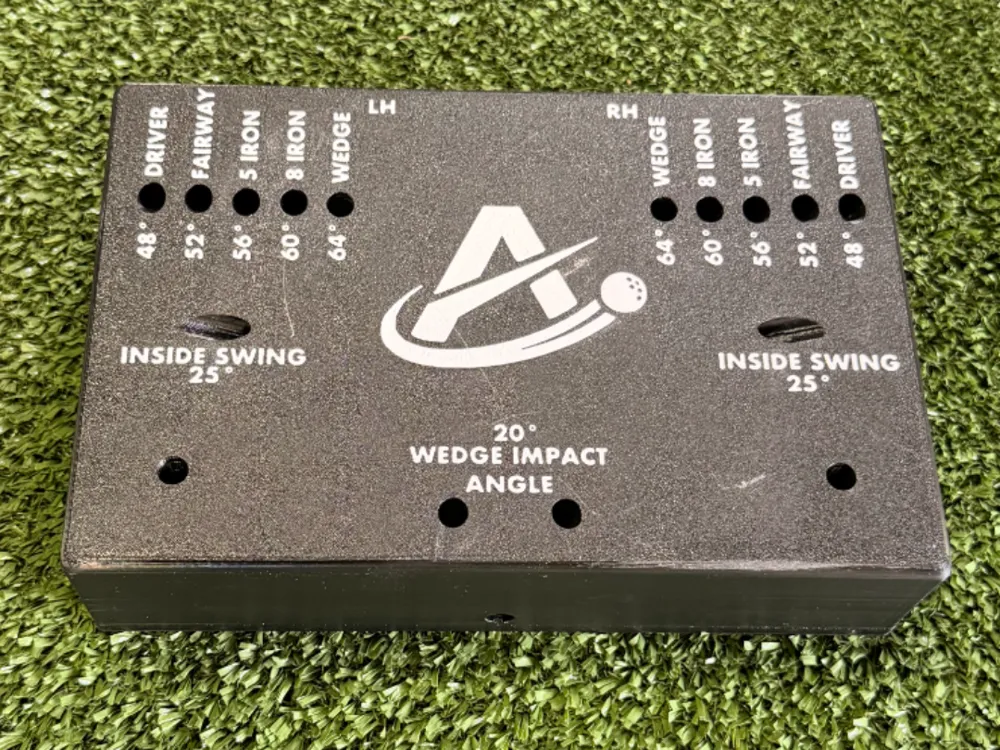
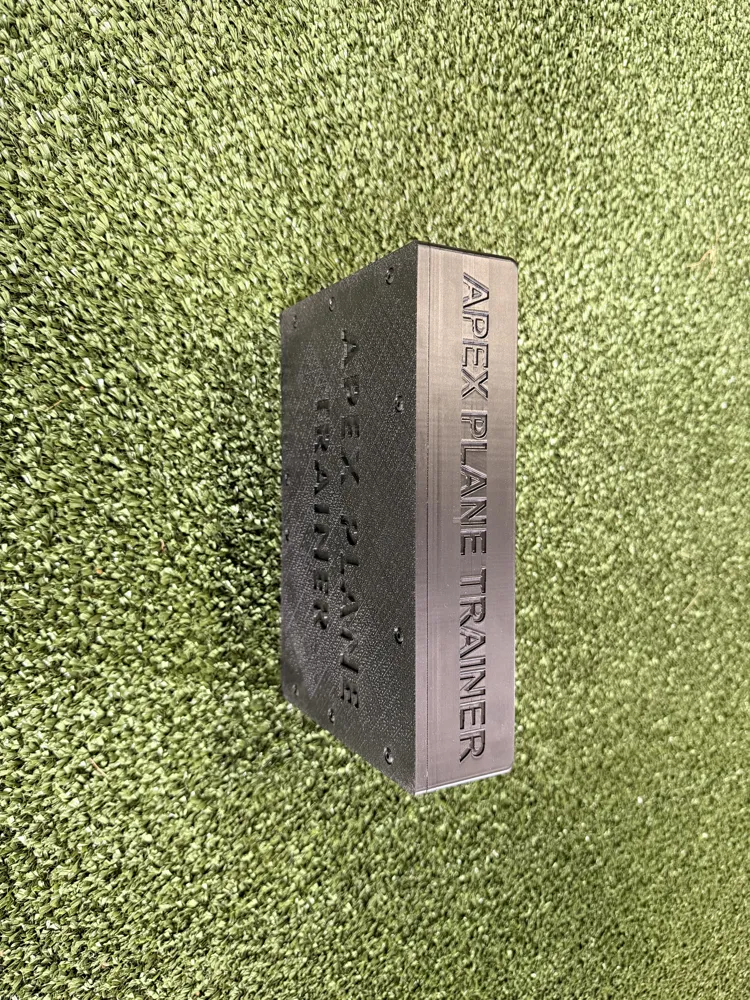
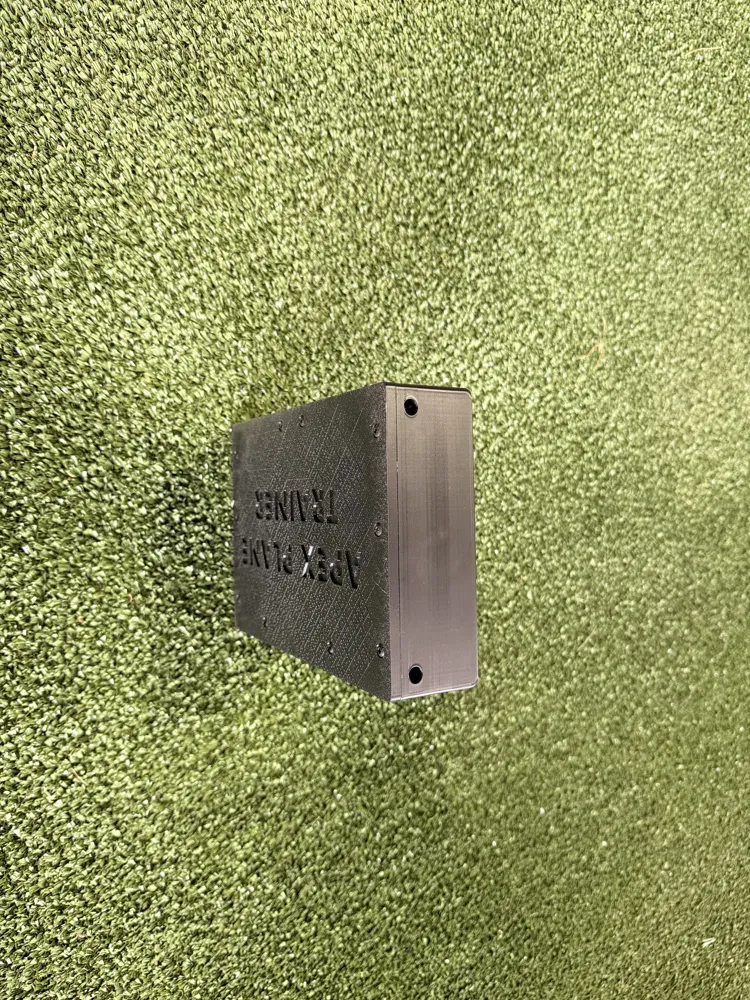
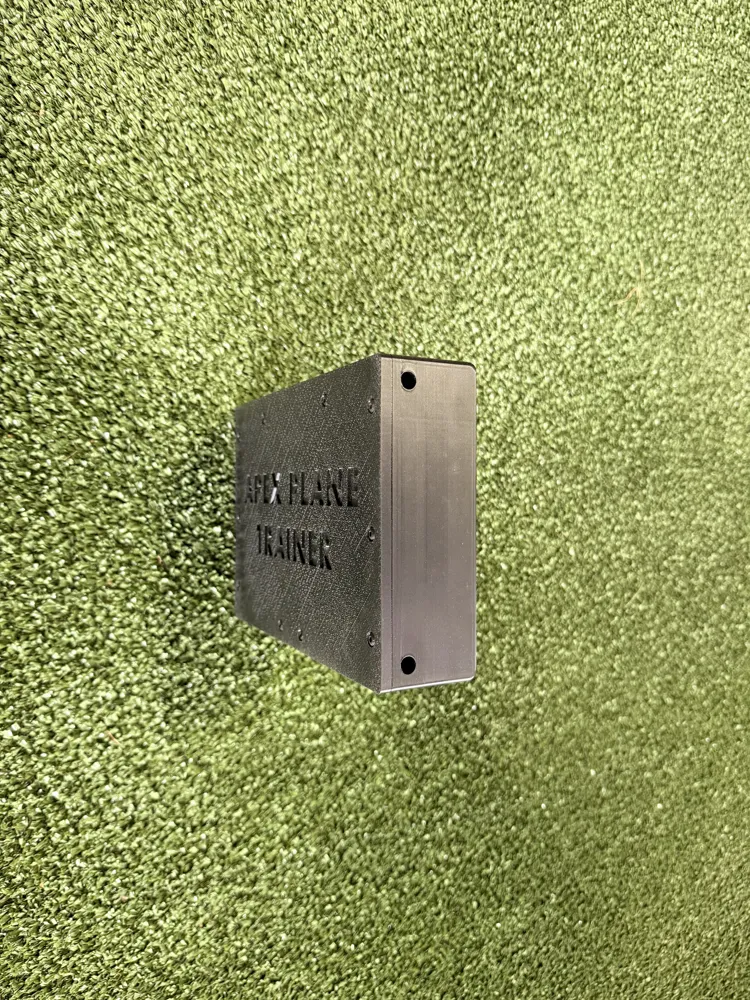
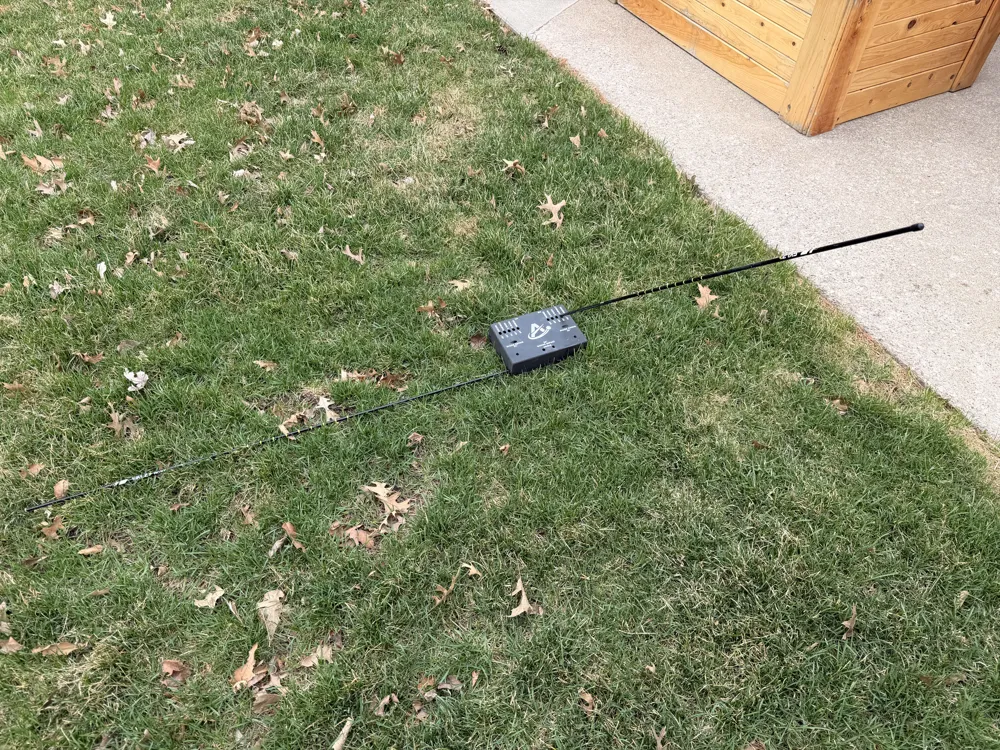
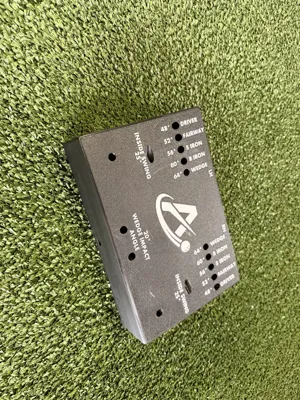
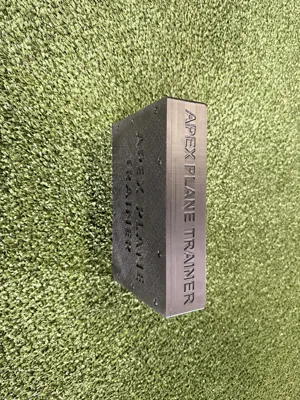
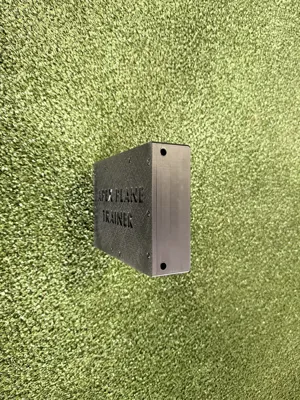
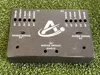
This is a high-performance, multi-functional golf training aid designed to fix the "over-the-top" move and help you achieve a professional-level shallow downswing. Unlike other 3D-printed trainers that are too light to stay in place, the Apex Plane Trainer features a hollow internal cavity specifically designed to be filled with concrete or sand for industrial-grade stability.
Key Design Features
- Weighted Core Technology: Features a dedicated internal volume for filling with ballast (concrete recommended), ensuring the base stays anchored during high-speed swings.
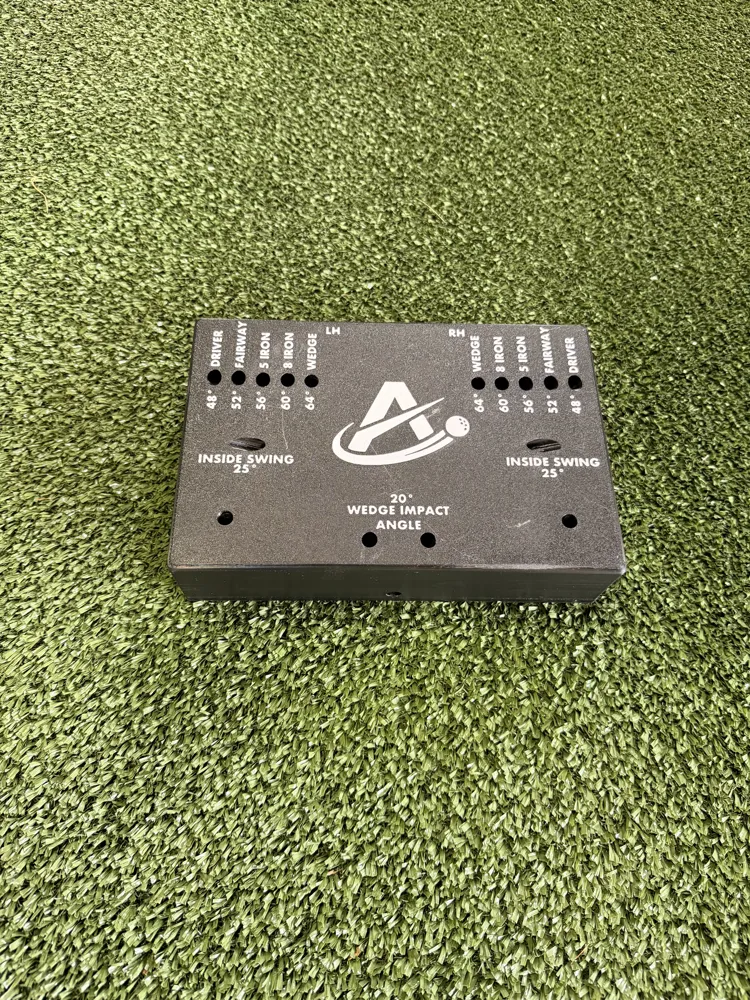
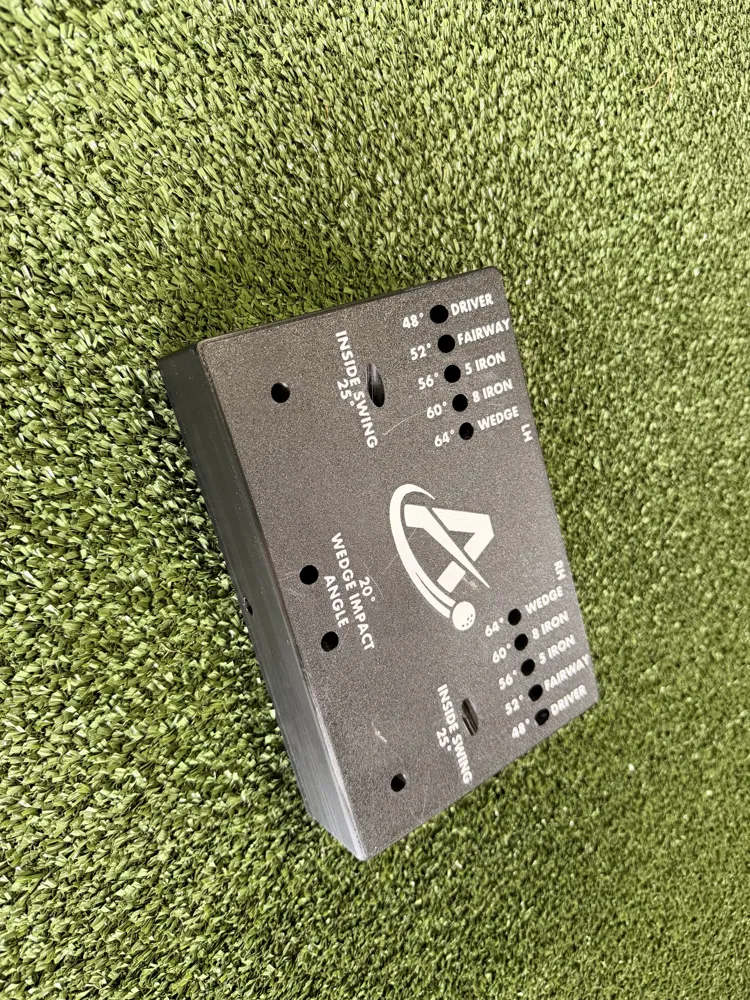
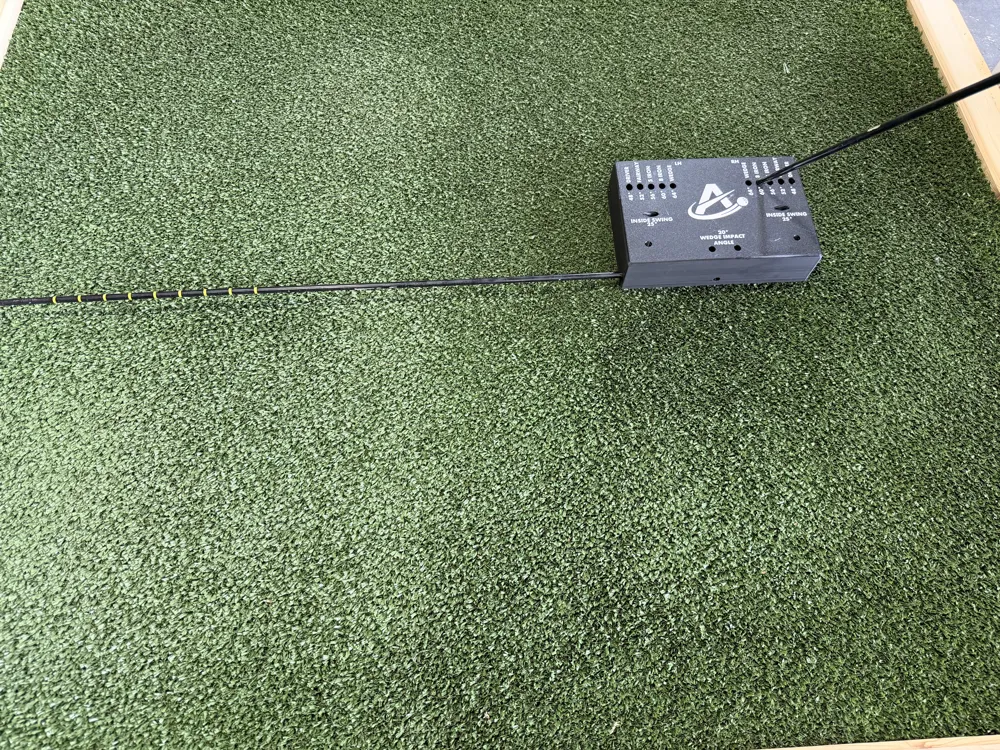
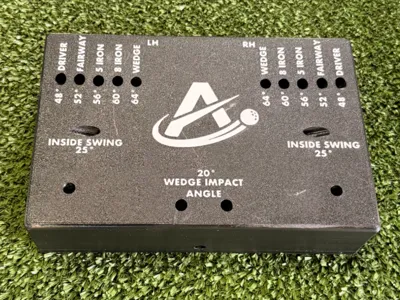
- Dual-Sided Geometry: Includes precise inlaid markings for both LH (Left Handed) and RH (Right Handed) players.
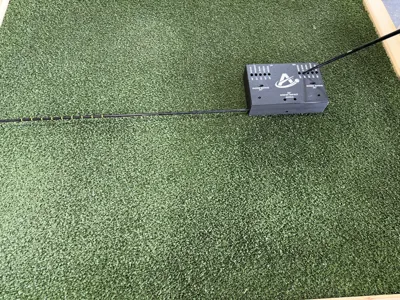
- Optimized Training Angles: Includes a 20° Wedge Impact slot for compression drills and a 25° Inside Swing path to cure your slice.
- No-Fade Inlays: Designed specifically for AMS users—the text and logos are 3D-inlaid for a permanent, high-contrast finish that won't wear off.
Recommended Print Settings
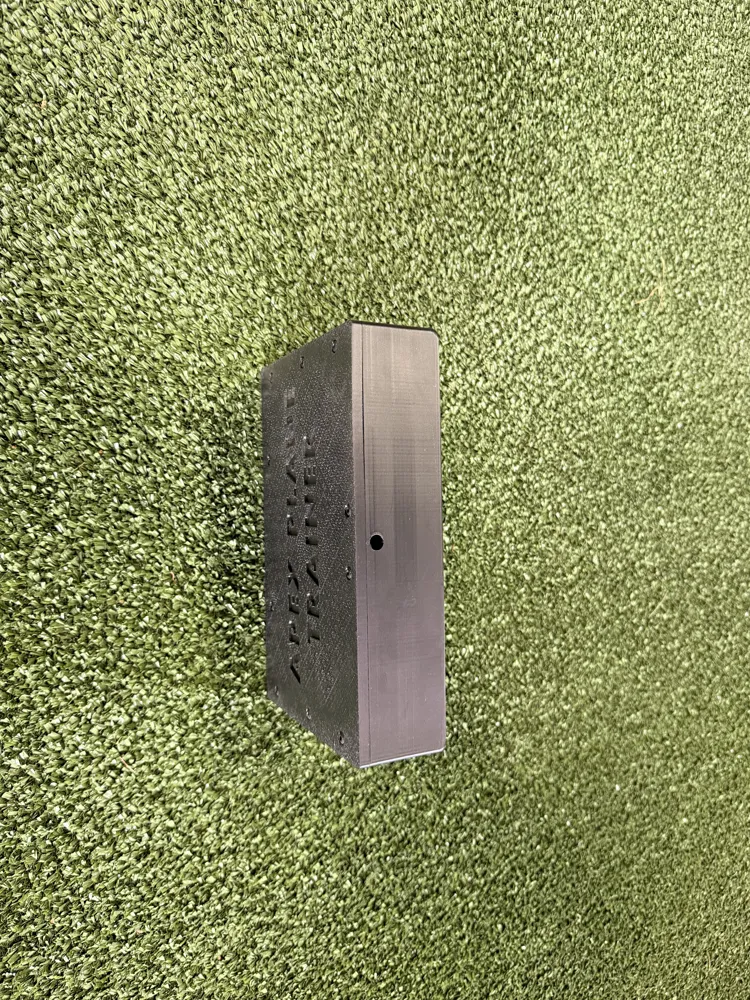
To achieve the professional, flush finish seen in the photos, please use the following settings:
- Wall Generator: Arachne (Essential for the fine text and $54^{\circ}$/$60^{\circ}$ degree markings).
- Print Sequence: By Object (This forces the inlay filament to print first, resulting in much sharper text edges).
- First Layer Speed: 15 mm/s for Small Perimeters.
- Z-Hop Type: Spiral (Prevents the nozzle from scarring the inlaid text).
- Top Surface Pattern: Monotonic Line for a smooth, retail-ready finish.
Assembly & Usage
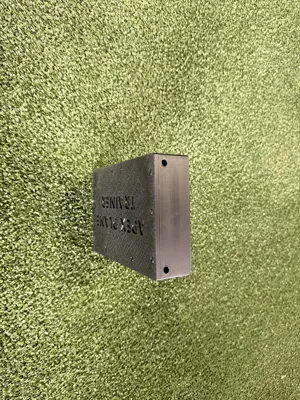
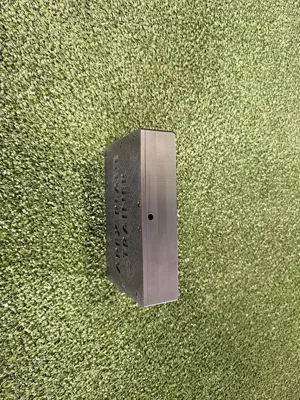
- Print: Use PETG for outdoor durability and UV resistance. You will need M4 x 12mm button head screws to secure the baseplate to the main body. You will use M4 heat set threaded inserts M4 x D6 x L6 for the holes in the main body.
- Weight: After printing, fill the internal cavity with a concrete mix through the bottom opening and allow it to cure.
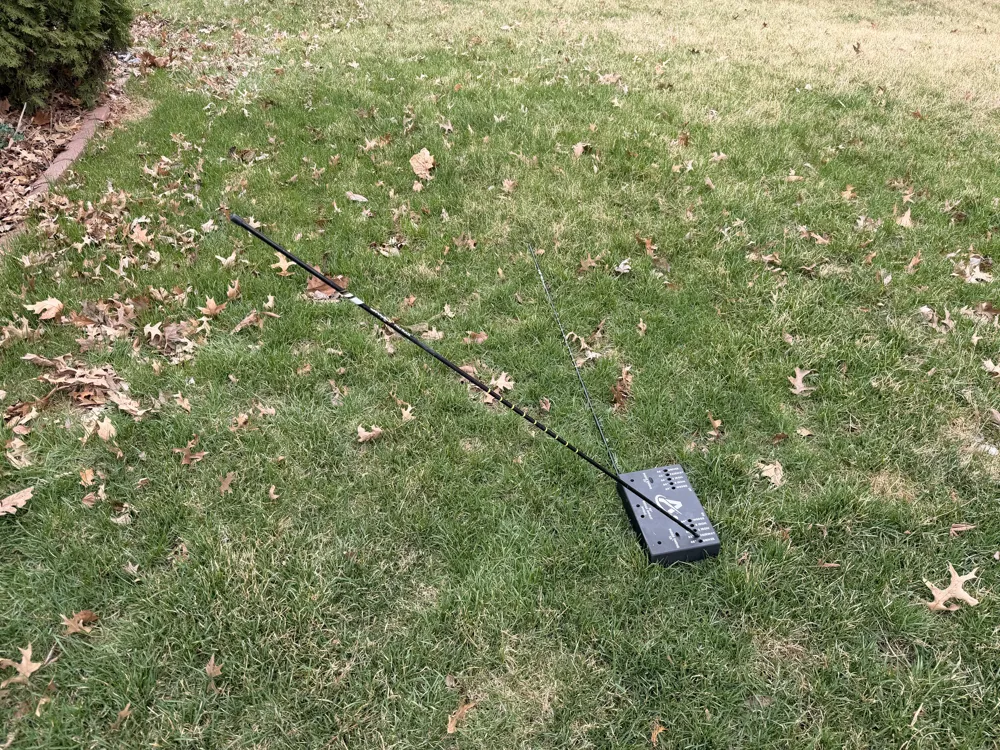
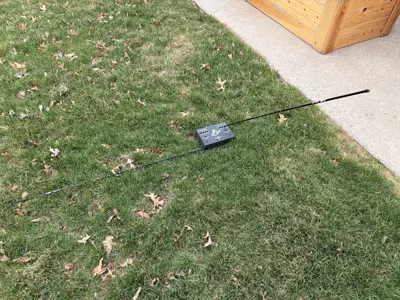
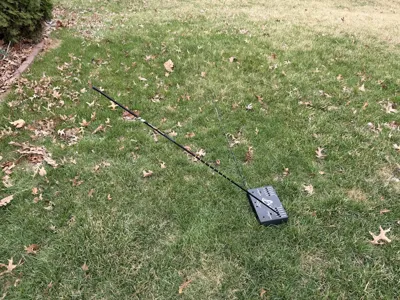
- Setup: Compatible with standard 8mm OD alignment sticks.
- Train: Use the $20^{\circ}$ slot for wedges to promote forward shaft lean, or the $25^{\circ}$ path for drivers to encourage an inside-to-out path.
License

You shall not share, sub-license, sell, rent, host, transfer, or distribute in any way the digital or 3D printed versions of this object, nor any other derivative work of this object in its digital or physical format (including - but not limited to - remixes of this object, and hosting on other digital platforms). The objects may not be used without permission in any way whatsoever in which you charge money, or collect fees.


Comment & Rating (6)