
CFMoto 450mt Polisport high fender bracket
Print Profile(1)
Bill of Materials


Description
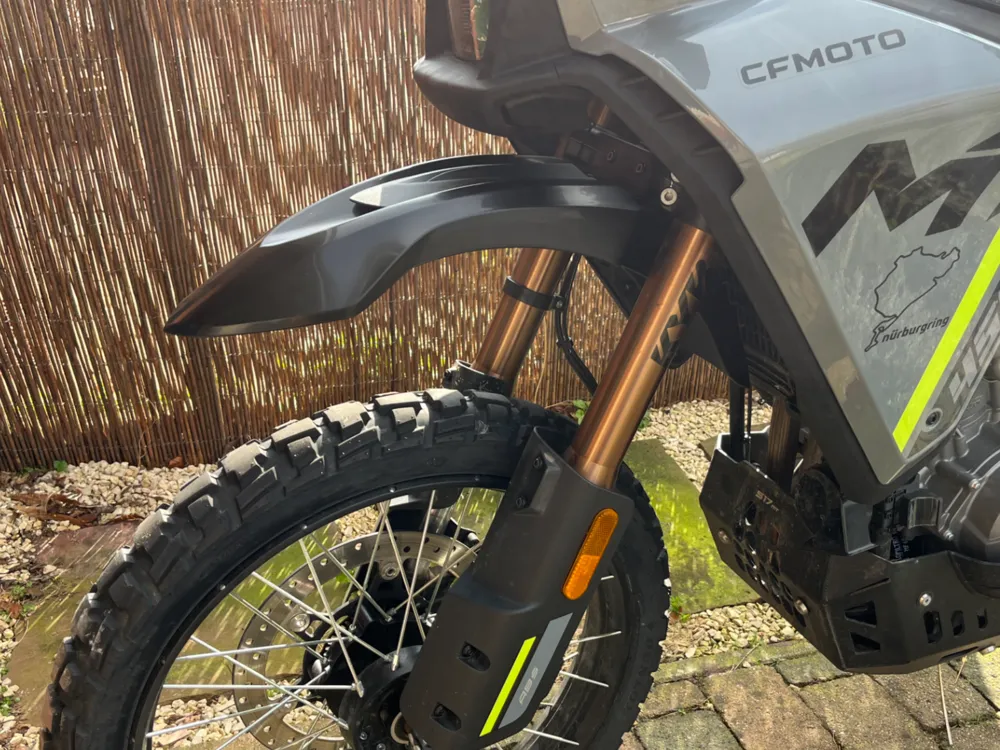
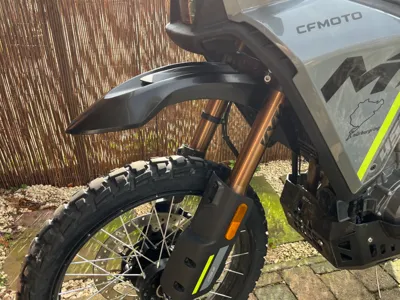
Make your 450MT look like a proper rally bike with the objectively better looking high fender from Polisport. It’s cheaper than the original and shorter which makes it look better proportional to the bike, in my opinion.
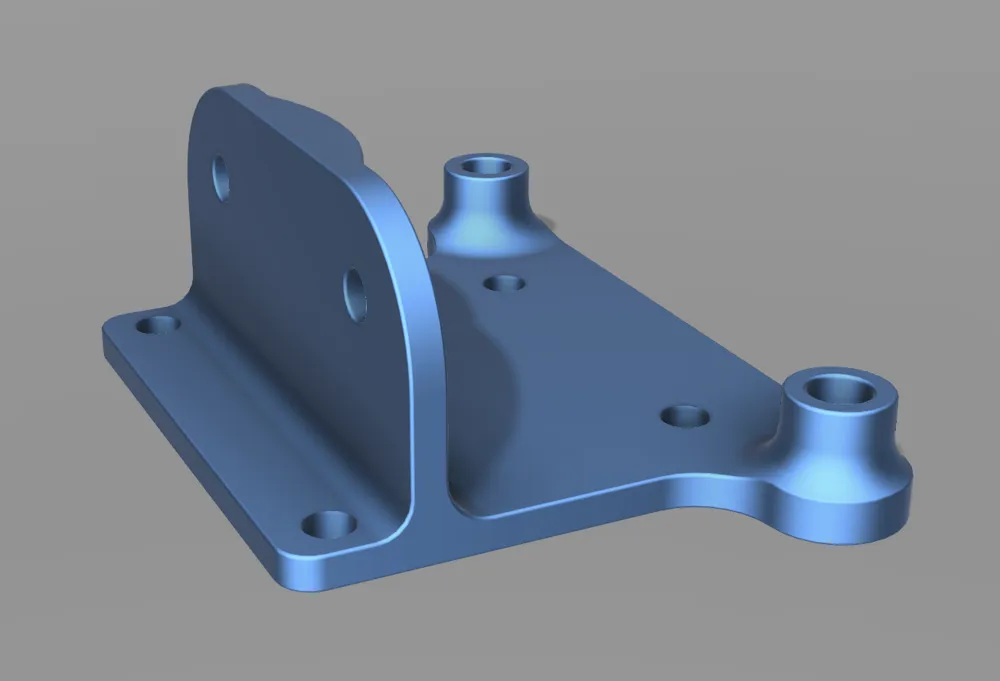
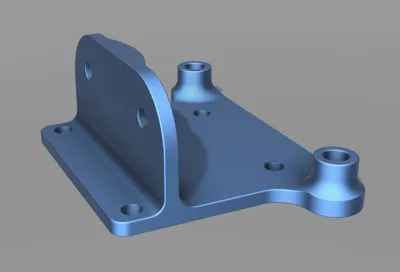
You will need an adapter bracket to make it fit though, well here you go!
Some people use the OEM bracket from CFMoto but that means you have to drill the fender. Didn’t like that so I made a bracket to use the fender as is. And you won’t need to buy the CFMoto bracket.
I had the M6x25 bolts lying around but I think 20mm is the sweet spot as they wont be poking out from the bottom as with the 25mm.
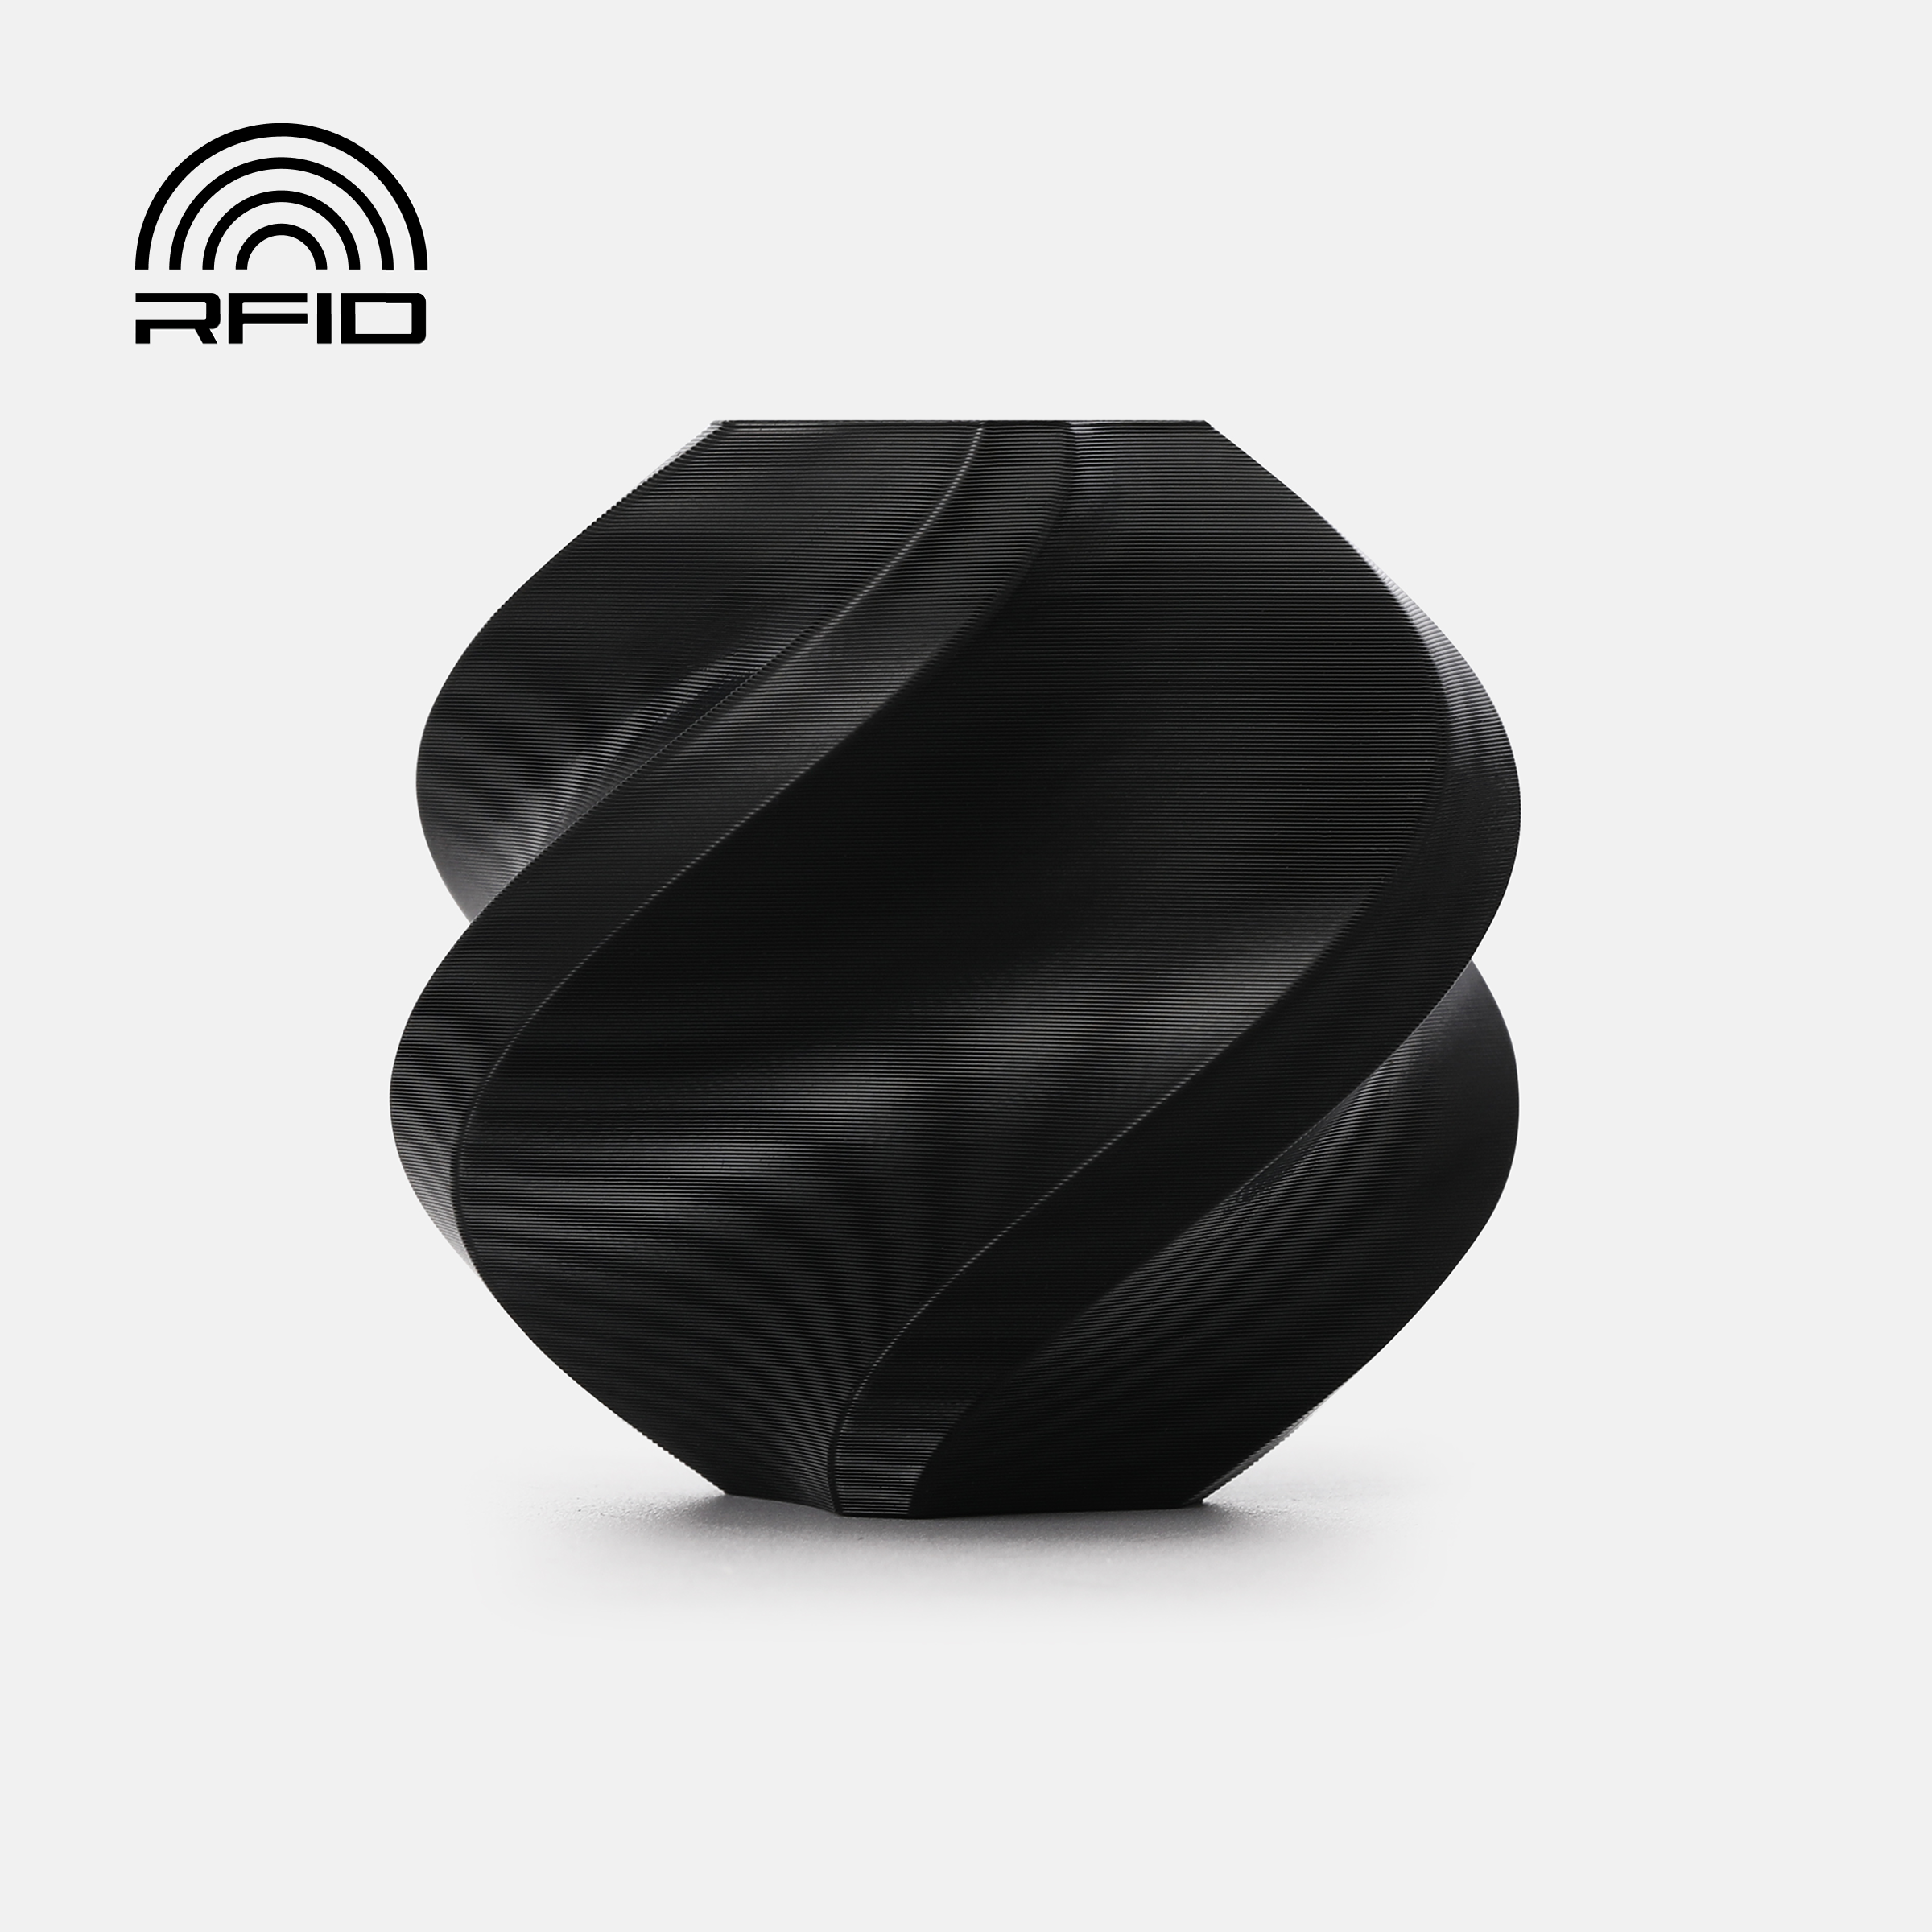
Print in PETG or ABS to make sure it won’t deform during hot weather.
You’ll need the following hardware:
- Polisport SM Line fender (SKU: 8553500002)
- 8x M6x20 or 25 flat socket head bolts (The ones I used: https://www.amazon.nl/-/en/dp/B0DJK18Z16?ref=ppx_yo2ov_dt_b_fed_asin_title&th=1)
- 4x M6 nuts
- 4x large flat M6 washers
- (Optional) Loctite
Installation
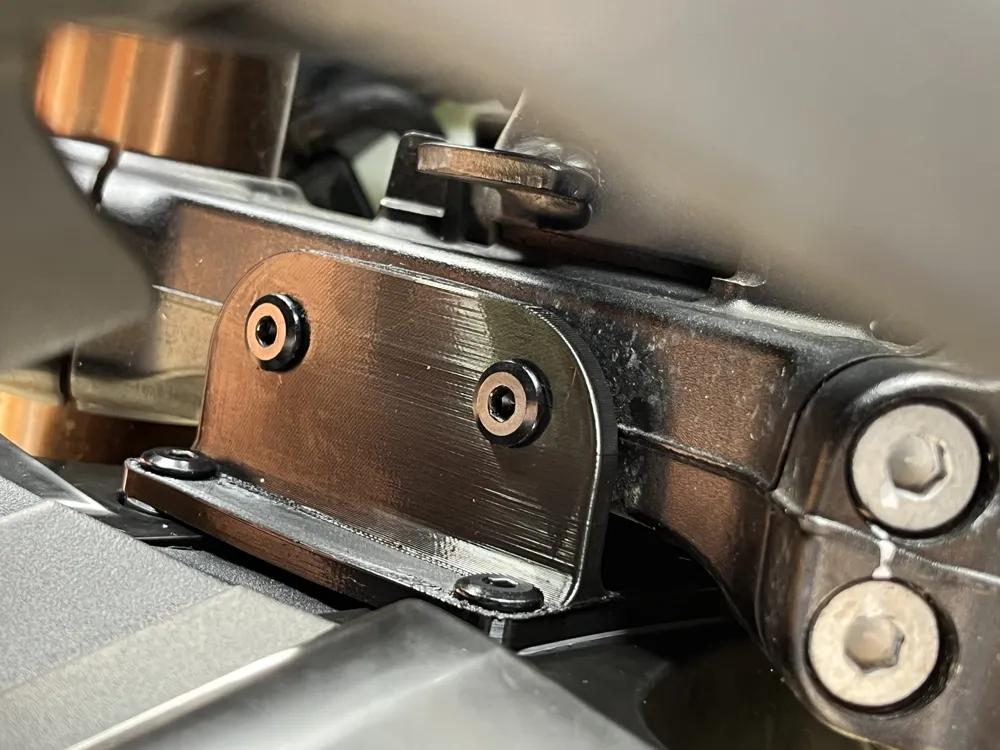
Step 1: Insert 2 bolts in the rear vertical holes from the bottom of the 3D printed part. You can do this after step 2 but it’s more difficult and might scratch the side of the fender.
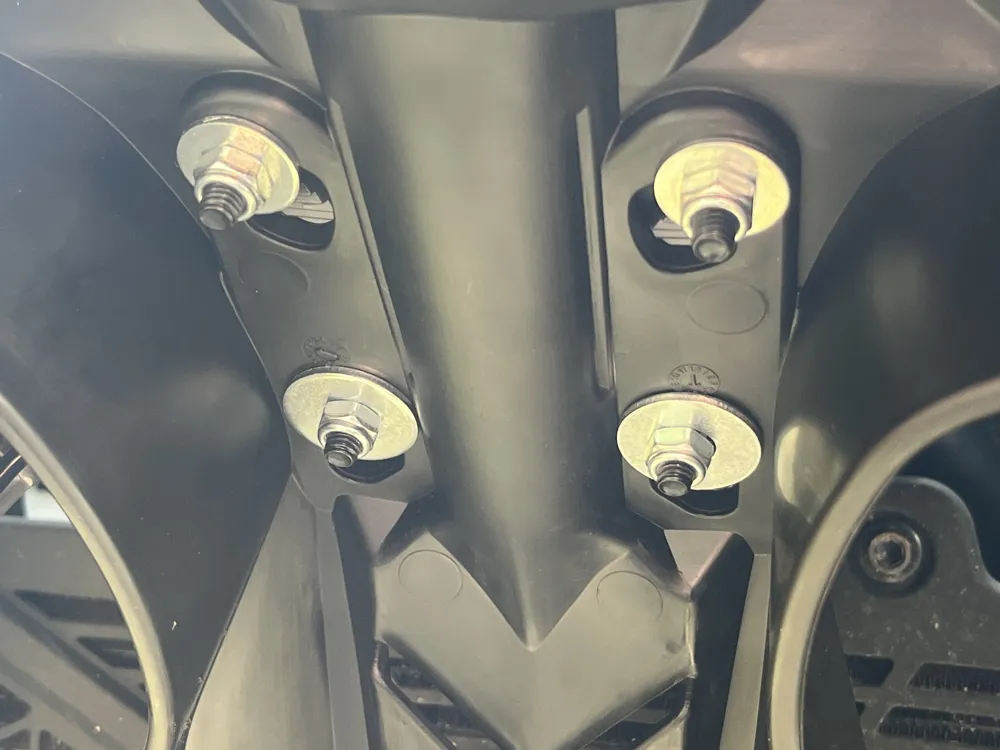
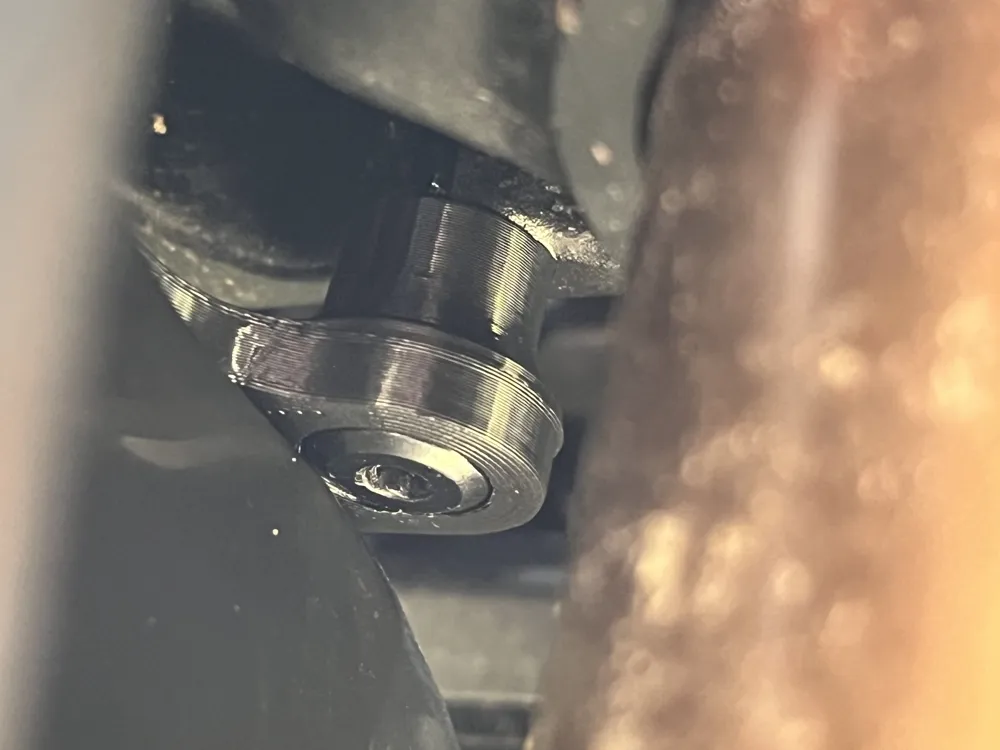
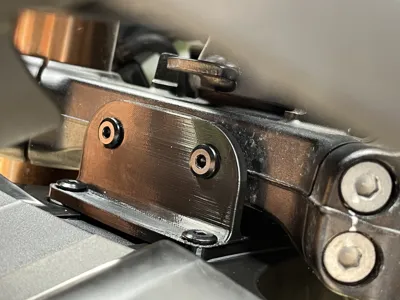
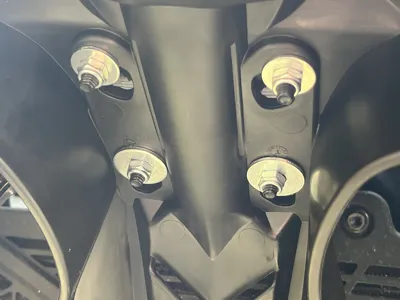
Step 2: Take the 3D printed bracket and use 4 bolts, nuts and washers to attach the fender to it. Use the included grey peace that comes with the fender in between the fender and the 3d part. Make sure to bolt it from the top so the nuts are on the inside of the fender (see picture). Make sure the rear ones are tight as you won’t be able to reach them after bolting the bracket to the bike.
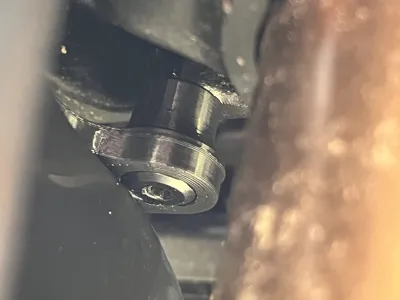
Step 3: Apply some loctite to 2 rear bolts and attach the rear of the bracket to the rear holes in the fork, do this with care and attention and keep the fender supported. The holes are a bit wider than the M6 bolt to allow some wiggle room, try to insert the bolts with care so they are straight and then tighten them 80%
Step 4: Position the front holes with the holes in the fork, apply some loctite to the last 2 bolts and use the same care to screw them in.
Step 5: Tighten all the bolts, do not over tighten.
Boost Me (for free)
Step 6: If you enjoy my work, please give me a boost! Really helps me!
Step 7: Enjoy the great look of the bike!
License

You may create derivative works based on this object, provided that all such derivative works are published exclusively on the MakerWorld platform and include proper attribution to the original creator. You may not share, upload, host, distribute, or publish this object—or any derivative work of this object—on any other digital platform, marketplace, or distribution channel. Commercial use of this object and any derivative works is strictly prohibited. This includes, but is not limited to, selling, renting, sublicensing, or using the object in any context in which you receive monetary compensation or other financial benefits.


Comment & Rating (4)