Starlink Mini Case **NO HARDWARE NEEDED**


Print Profile(2)

Bill of Materials

Description
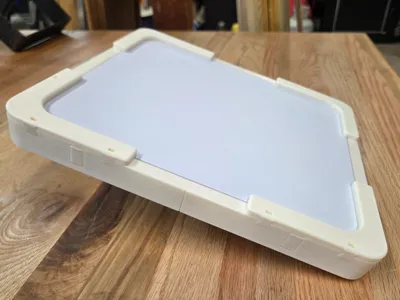
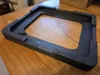
Fully Modular Case for your SpaceX Starlink Mini
ZERO HARDWARE REQUIRED!! FULLY PRINTABLE!!
Model is broken into individual parts to eliminate supports and fit on standard build plates. Once all the parts are printed, simply follow the steps to put it together. No glue or additional hardware is needed to assemble this protective case.
Smart features are integrated into the design to aid in printing and assembly. Everything can be put together by hand and it only takes a small flat head screwdriver to disassemble and remove your Starlink Mini.
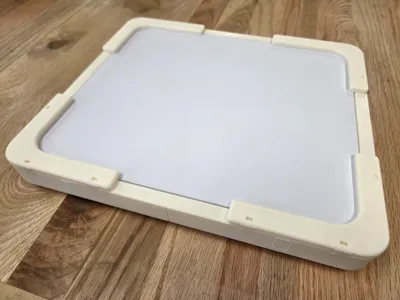
Two 3mf files are uploaded. The standard one is great for printing out of PLA or PETG. This version fits great with not tweaks or changes! The Scaled version is best for printing out of materials that shrink as they cool such as ASA. The 3mf is scaled by 0.5% to accommodate this but that may change based on your environment, material, and printer. The product shown in the photos is printed out of ASA.
I'd recommend a white or light colored material to reduce the solar loading and heat build up on the antenna. There is a reason SpaceX make the antenna bright white.
There are eight accessory points around the case that are there for future use. Currently in development is a handle to aid in carrying your Starlink and some mounting points for screwing in suction cups or magnets. If you have any additional ideas, for these accessory points, feel free to put them in the comments and I'll see what I can do about getting them made!!
Assembly
Insert (4) Tenons into main base parts and assembly into the base

Insert (4) dog bones into their corresponding locations to lock the base assembly together

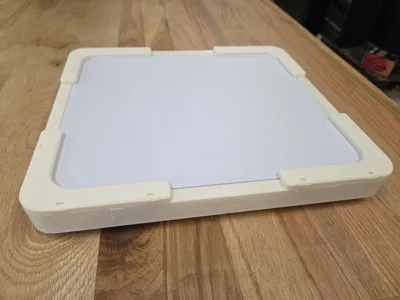
Insert (8) accessory plugs into their respective slots. These slots can be used for adding functionality to your case such as handles and mounting points for magnets or suction cups

At this point in time, you can place your Starlink Mini in to the case. It can only go in one way
Once your mini in installed, add a corner to sandwich the antenna in the case. There are two different corners and they are keyed so they can only go in their respective locations

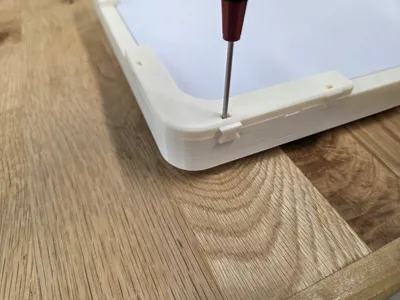
Use (3) double dove tails to lock the corner in place. These should sit flush or just slightly proud of the surface. The tapered end goes in first with the flat side facing the exterior of the case. Placing the tapered side inwards aids in installation and also in removal with a small flat head screwdriver using the access holes on the top of each corner

Repeat the last two steps for each corner and your case is fully assembled!! Enjoy your new protection and happy transmitting!!!


Comment & Rating (4)