


Print Profile(1)

Description
I previously designed a hamster running wheel and often noticed my hamster happily running in it, which made me curious about how far a hamster can run in one night? So I had the idea to make a counter. I searched online and found that mature products were either dedicated counters for specific brands or those costing close to 100 RMB (you'll know what I mean if you search on Taobao). Other DIY solutions mainly involved modifying punch counters, pedometers, or bicycle odometers; these could work and weren't expensive, but they weren't very aesthetically pleasing. So I came up with a method to make a simple counter, deciding on a digital tube counter module + reed switch trigger approach. After selecting the necessary materials (mainly choosing standard products available on Taobao), I started designing the enclosure, and after several tests, I finally made this thing.
It needs to be emphasized that if you want to follow my method, you need at least some basic soldering tools and a general idea of how to solder. It's okay if you're not proficient, just good enough is fine, as my own soldering skills are pretty mediocre.
Materials required (detailed introduction and purchasing suggestions in the attachment):
6-digit digital tube counter module ×1
3.7V to 5V boost charging module ×1
Three-pin toggle switch ×1
MAK14103 normally open reed switch ×1
523450 polymer battery 3.7V 1000mA
Optional materials:
M3 heat-set inserts
M3*18 screws
Once the materials are ready, proceed with wiring first, then assembly.
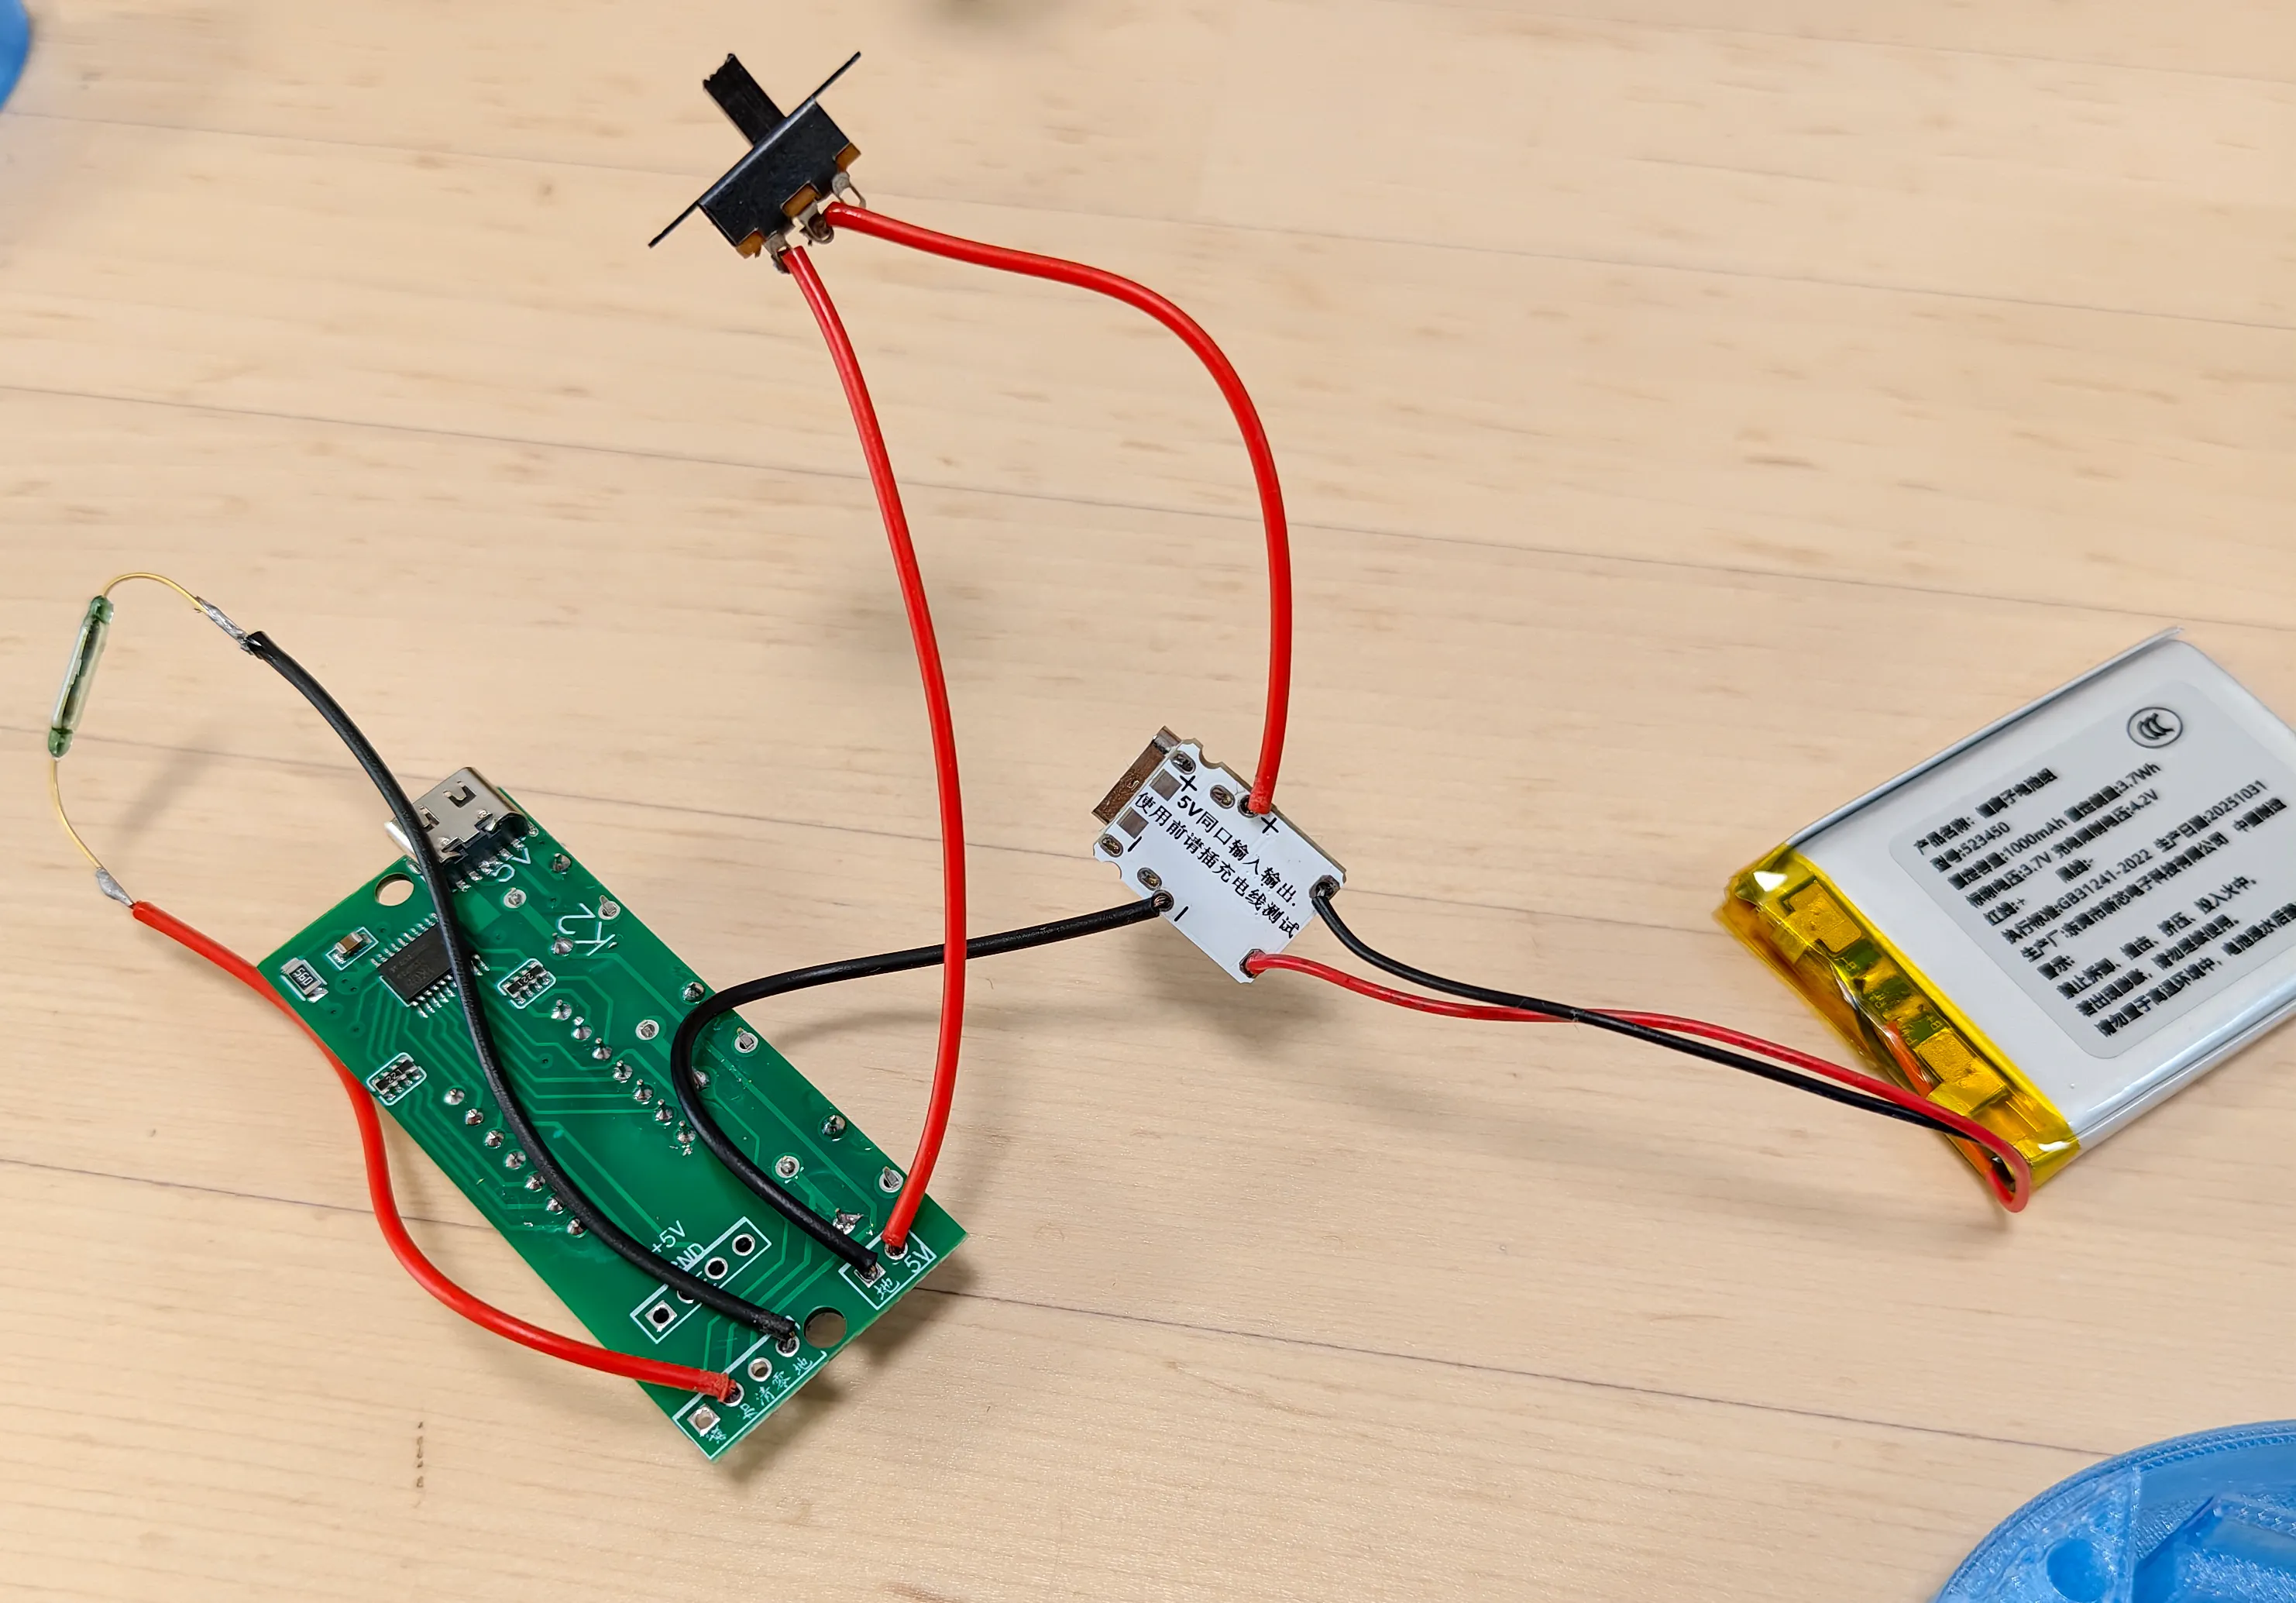
First, follow the wiring diagram (actual photo) in the attachment step by step. After wiring, it looks like this
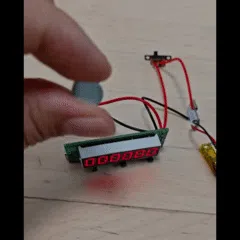
Then test whether the magnet approaching the reed switch counter can increment the count normally
If it counts normally, proceed to the model assembly steps. The detailed assembly process is in the attachment (detailed assembly diagram).
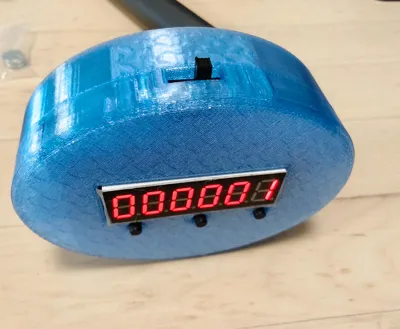
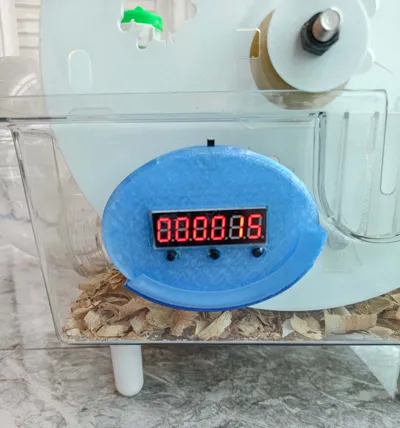
This is what it looks like after assembly.

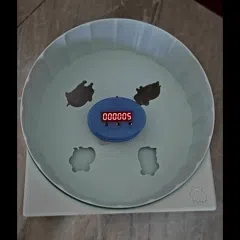
Then test again whether the magnet approaching the reed switch behind the counter increments the count

If it works correctly, you can install it on the running wheel or cage.
I designed a running wheel myself, see the link below for details
Syrian Hamster Dual Bearing Silent Running Wheel 24.7cm/23.5cm - Free 3D Printed Model - MakerWorld
If you haven't bought or printed a running wheel yet, I recommend this one; it's guaranteed to work well.
Before the counter, install the magnet first. I specifically designed a base for the magnet to sit directly on (it's recommended to fix it with glue), then secure the base to the running wheel with glue or Blu-Tack.
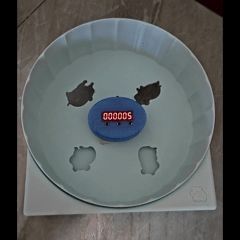
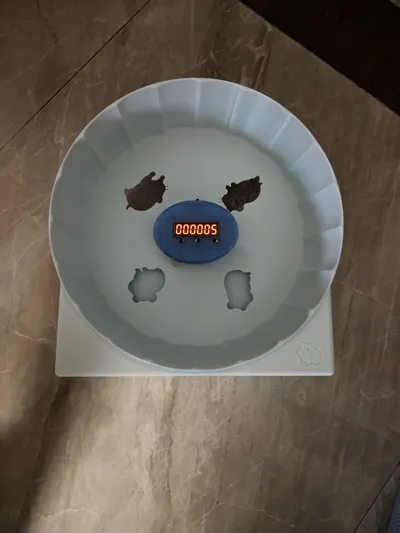
This is how it looks installed on the running wheel (the part circled in red in the image).

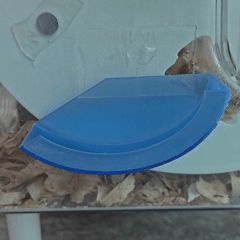
The opening on the enclosure is designed according to the size of the M8 cup head screw cap on this running wheel; just insert it all the way in.

For running wheels you bought yourself, most of them have a flat center, and you can attach the counter with nano glue or other adhesives. However, since the counter will definitely be raised a bit, try to use N52 strong magnets or elevate the magnet when installing, otherwise I'm afraid it won't trigger the count.
Once installed, test if it counts normally. If it does, you're all set.
If the running wheel is hung on the cage wall, the counter also needs to be attached to the cage. You can print a matching wall-mount bracket, stick it to the cage with nano glue, and then place the counter on the bracket for use, similar to the image below (note that the notch on the bracket is for exposing the reed switch installation area). However, a reminder to pay attention to the distance between the running wheel and the cage wall; if it's too far, the magnet's strength might not be enough to trigger the counter. In this case, you'll need to use N52 strong magnets or elevate the magnet.


This test of mine is usable
Finally, regarding the use of the counter, if you want to save trouble, you can leave it on, but it will consume more power. The chosen battery capacity is not high, only 1000mA (which might even be an inflated rating); theoretically, it can run continuously for about 3-4 days. Of course, using a larger battery would increase its runtime. However, hamsters are most active at night. If you turn off the counter every morning when you wake up and turn it back on at night when the hamster is active or before bed, it can last about 10 days. Using two alternately would be very convenient. I'll also consider whether a delay circuit can be added later to achieve automatic start/stop. If so, battery life could be further extended, but the complexity and size of the entire counter would increase.
Additionally, if the accessories you bought according to the diagrams are the wrong size (it's not excluded that accessory sizes may vary depending on when they were produced), you can leave a comment with the dimensions, and it won't be a big problem for me to modify the model and re-upload it when I have time.
Boost Me (for free)
Please give me a boost and support me for all the words I've written
Documentation (3)
License
You shall not share, sub-license, sell, rent, host, transfer, or distribute in any way the digital or 3D printed versions of this object, nor any other derivative work of this object in its digital or physical format (including - but not limited to - remixes of this object, and hosting on other digital platforms). The objects may not be used without permission in any way whatsoever in which you charge money, or collect fees.
Comment & Rating (0)