


Print Profile(1)

Description
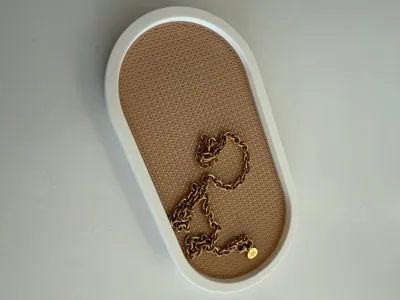
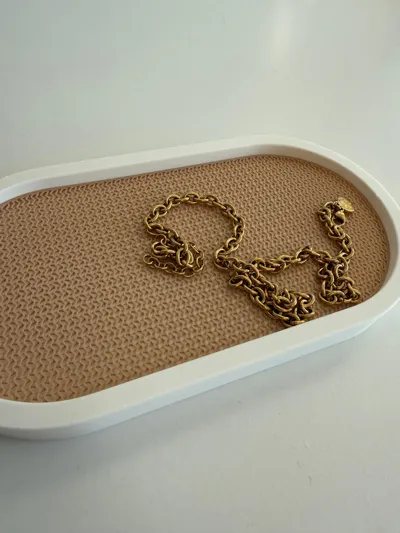
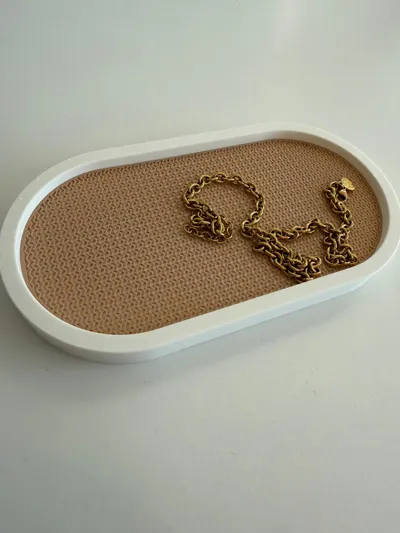
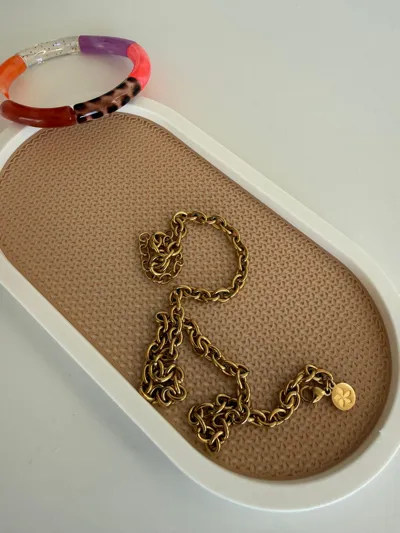
📦 Parametric Organizer Box with Customizable Gyroid Mesh Inlay
⚠️ IMPORTANT: Separate Downloads & Specific Settings for the Insert
To print this model correctly, you must download the Shell and the Insert as two separate STL files and slice them using different settings.
1. Download Steps
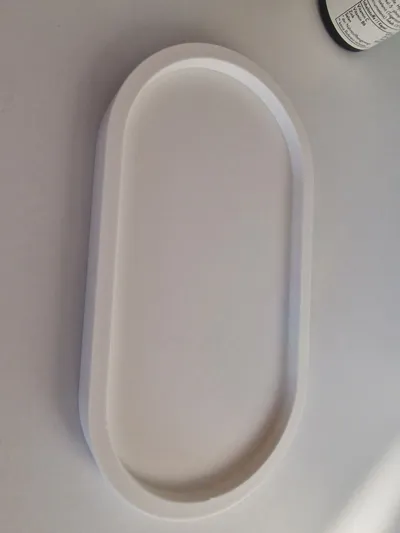
- In the Customizer, select Part_Mode = "shell" → Download STL (The Box).
- In the Customizer, select Part_Mode = "insert" → Download STL (The Inlay).
- Import both files into your slicer (e.g., Bambu Studio or OrcaSlicer).
2. Correct Settings for the "Insert" (Inlay)
To achieve the technical Mesh/Grid look (and prevent it from being a solid plastic slab), you must adjust these specific settings in your slicer for the Insert part only:
- Layer Height: 0.2 mm
- Wall Loops: 2
- Top Surface Layers: 0
- Bottom Surface Layers: 0
- Sparse Infill Density: 30%
- Sparse Infill Pattern: Gyroid (or Honeycomb/Hexagon)
Result: Since the insert is exactly 0.8 mm high (precisely 4 layers), removing the top and bottom "skins" reveals the internal infill as a decorative, breathable mesh.
⚙️ How to use the Customizer
- Length / Width / Height: Adjust the outer dimensions of the box.
- Wall: Set the thickness of the box walls (default 6mm).
- Corner_Radius: Set how rounded the corners are (default 40mm).
- Clearance: Adjust the gap between the box and the insert (default 0.4mm for a perfect fit).
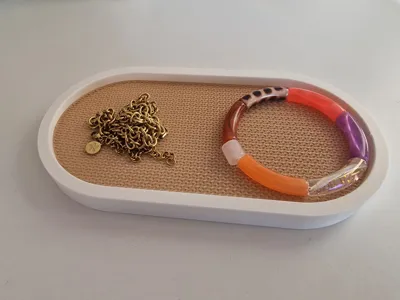
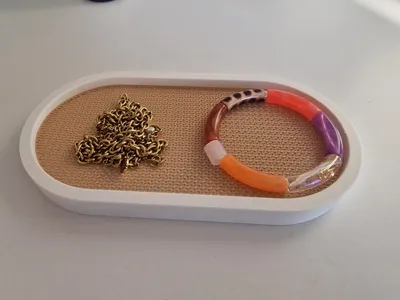
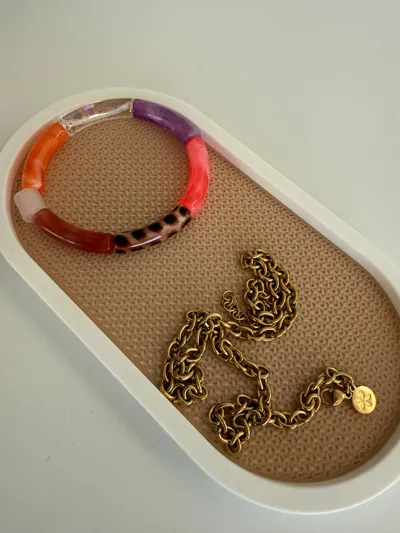
This is a fully parametric, two-part storage system designed for ultimate flexibility. Whether you need a desk organizer, a tool tray, or a decorative display box, you can adjust every dimension to fit your needs perfectly.
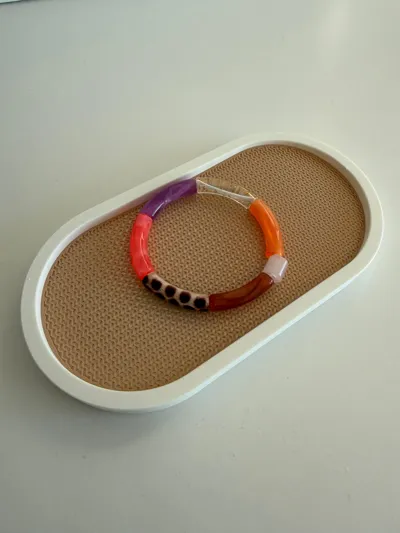
The highlight of this design is the 0.8mm Mesh Inlay, which uses the printer's own infill pattern to create a technical, breathable, and modern look.
🛠️ Printing Instructions (CRITICAL for the Mesh Look)
To achieve the beautiful "Grid/Mesh" effect shown in the preview for the Insert, you must use these specific slicer settings in Bambu Studio or OrcaSlicer:
For the Insert (0.8mm Part):
- Layer Height: 0.2 mm
- Wall Loops: 2
- Top Surface Layers: 0 (This reveals the infill)
- Bottom Surface Layers: 0 (This makes it see-through)
- Sparse Infill Density: 30%
- Sparse Infill Pattern: Gyroid
Note: Since the part is exactly 0.8mm high, using 4 layers at 0.2mm without top/bottom shells creates a perfect, consistent 3D mesh.
For the Shell (The Box):
- Standard Settings: 0.2mm layer height, 2-3 walls, 15% infill.
- Support: Not required (the 40mm radius is designed to print cleanly).
⚙️ How to Customize
- Open the MakerLab / OpenSCAD Customizer.
- Adjust Length, Width, and Height to your liking.
- Choose your Wall Thickness (default 6mm) and Corner Radius (default 40mm).
- Export the Shell and the Insert separately using the Part_Mode dropdown menu.
License
You shall not share, sub-license, sell, rent, host, transfer, or distribute in any way the digital or 3D printed versions of this object, nor any other derivative work of this object in its digital or physical format (including - but not limited to - remixes of this object, and hosting on other digital platforms). The objects may not be used without permission in any way whatsoever in which you charge money, or collect fees.
Comment & Rating (0)