Heavy-Duty 1" Sled Shovel Repair (PA6-CF)


Print Profile(1)

Description
Boost Me (for free)
If this 3D-printed repair saved your day (and your wallet!), please consider supporting my work with a Boost. I'm just starting out on MakerWorld and every bit of support helps me create more rugged, real-world solutions. Thank you! 💪
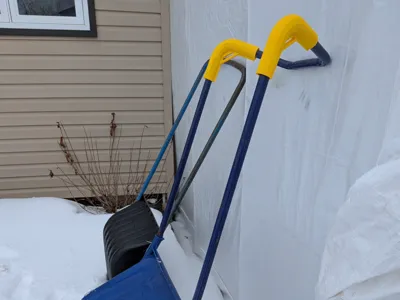
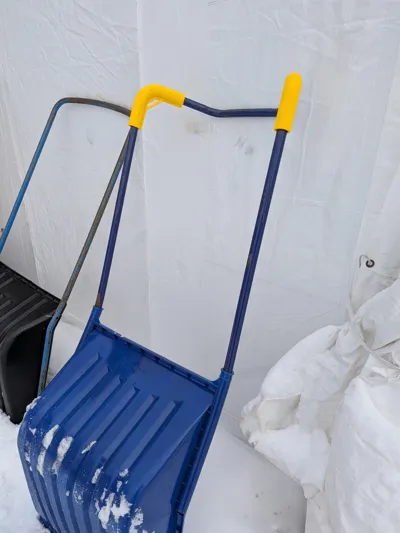
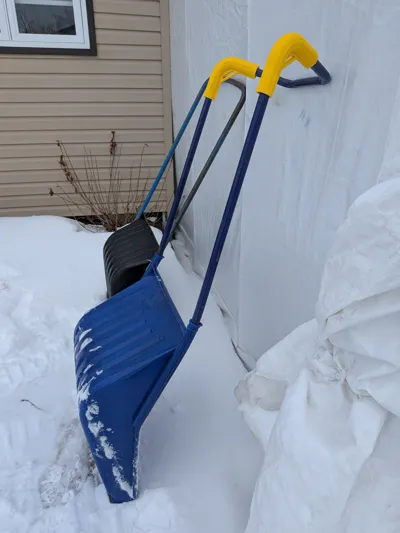
❄️ Heavy-Duty 1" Sled Shovel Repair & Reinforcement (PA6-CF)
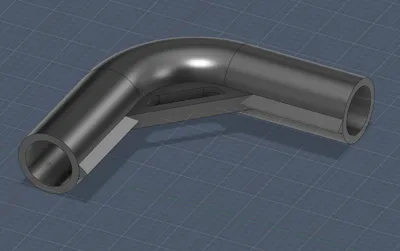
Most snow sled shovels fail at the 90-degree bend of the metal handle. Under the weight of heavy, wet snow, the thin 1" (25.4mm) tubing buckles or snaps. Don't trash an expensive tool, this structural mold is designed to save it.
📏 Specifications & Fit
- Target Diameter: Designed for 1-inch (25.4mm) metal tubing.
- Material Choice: Printed in PA6-CF (Carbon Fiber Nylon).
- Why? Standard plastics (PLA/PETG) become brittle and shatter in Canadian winters. PA6-CF remains incredibly stiff and impact-resistant even at -20°C.
- Reinforcement: Features a structural triangular gusset to prevent the tube from folding under load.
🔧 Installation Guide (Structural Bond Method)
- Prep the Pipe: Clean the 1" metal tube. If it’s already bent, straighten it as much as possible.
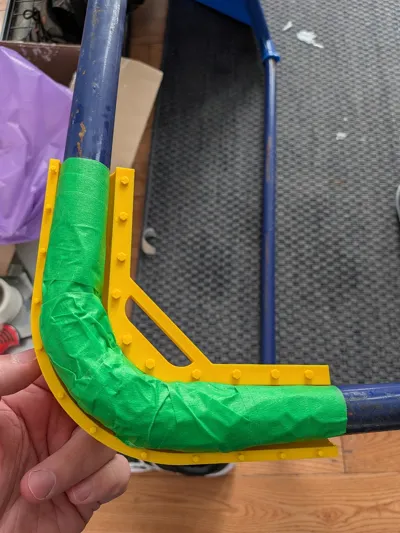
- Build the "Internal Mold": Wrap the repair area with masking tape until the diameter matches the printed part's opening. This creates a porous, high-grip surface for the glue.
- Apply Contact Cement: * Apply a layer of contact cement to the masking tape on the pipe.
- Apply a layer of contact cement to the inside of the 3D-printed sleeve.
- Wait: Let both surfaces dry until they are tacky to the touch (usually 5-10 minutes).
- The Bond: Press the sleeve firmly onto the taped area. Warning: Contact cement bonds instantly on contact—ensure your alignment is perfect!
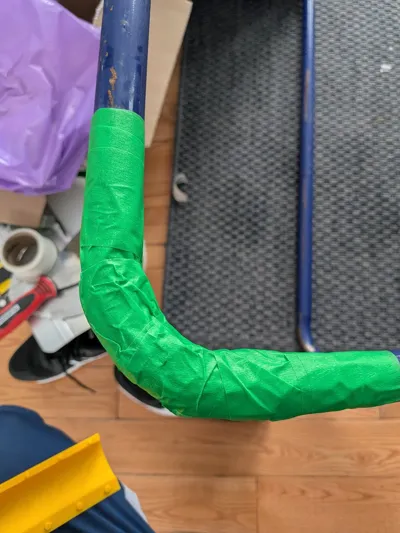
- Final Protection: Wrap the entire assembly with a layer of heavy-duty tape (as shown in the green tape photos) to protect the bond from moisture and ice.
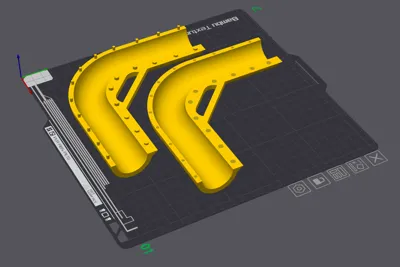
🖨️ Recommended Print Settings
- Material: PA6-CF (Dry for 12h at 80°C before printing!).
- Walls: 6 Perimeters (Essential for structural integrity).
- Infill: 45% (Gyroid or Grid).
- Layer Height: 0.2mm.
Boost Me (for free)
If this 3D-printed repair saved your day (and your wallet!), please consider supporting my work with a Boost. I'm just starting out on MakerWorld and every bit of support helps me create more rugged, real-world solutions. Thank you! 💪
License
You shall not share, sub-license, sell, rent, host, transfer, or distribute in any way the digital or 3D printed versions of this object, nor any other derivative work of this object in its digital or physical format (including - but not limited to - remixes of this object, and hosting on other digital platforms). The objects may not be used without permission in any way whatsoever in which you charge money, or collect fees.
Comment & Rating (0)