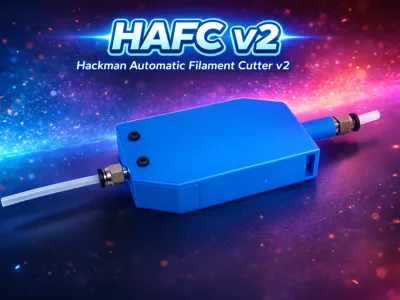
HAFC V2 - Hackman Automatic Filament Cutter V2


Print Profile(1)
Bill of Materials


Description
🔪 HAFC V2 – Hackman Automatic Filament Cutter
by Hackman3D
Here's a link to get the necessary hardware. No partnership or affiliation involved, but since the price is reasonable, I haven't asked for a commission.
HAFC Aliexpress Pack back in stock :
https://a.aliexpress.com/_EweXgXQ
operation in video :
https://youtube.com/shorts/-0ykCtMGRbw?feature=share
⸻
⚠️ If images don’t load properly, try disabling automatic translation
⸻
🧠 Concept & Purpose
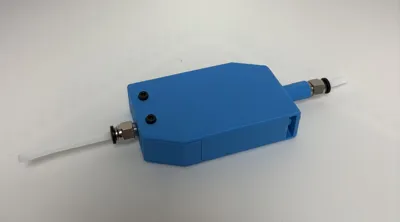
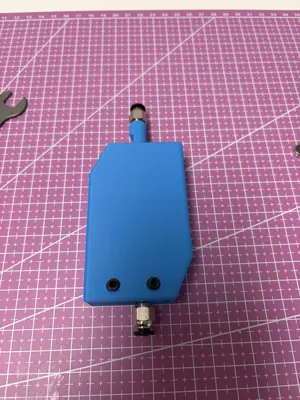
The HAFC V2 (Hackman Automatic Filament Cutter) is a fully mechanical system compatible with any FDM 3D printer using 1.75 mm filament with a PTFE tube.
I designed it to solve a very common issue:
filament getting stuck on the spool (tangles, friction, jammed spool…).
Instead of forcing the extruder:
• filament tension increases
• the mechanism triggers
• the filament is cleanly cut
• the printer pauses thanks to its filament runout sensor
👉 You just reload filament and resume the print
No electronics, no sensors involved —
everything is passive, simple, and reliable.
⸻
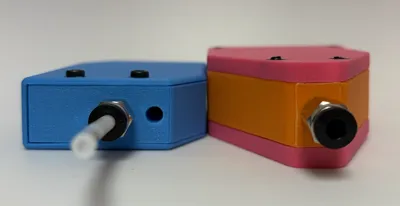
⚙️ What’s new in V2
This version is based directly on feedback from V1.
The main focus was improving reliability and behavior:
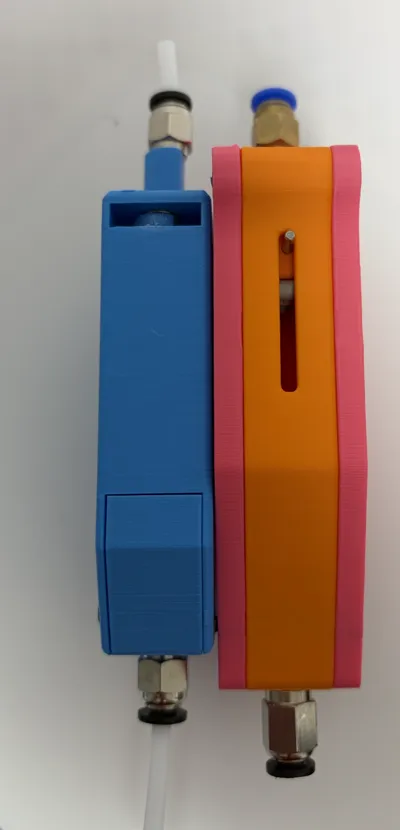
• more compact design
• faster to print
• improved tolerances (filament path + internal sliding)
• added return spring → automatic reset
• stronger resistance to reduce false triggers
• improved magnet alignment
• possibility to add extra magnets externally to fine-tune trigger force
The result is a more stable and predictable system, even on very precise machines.
⸻
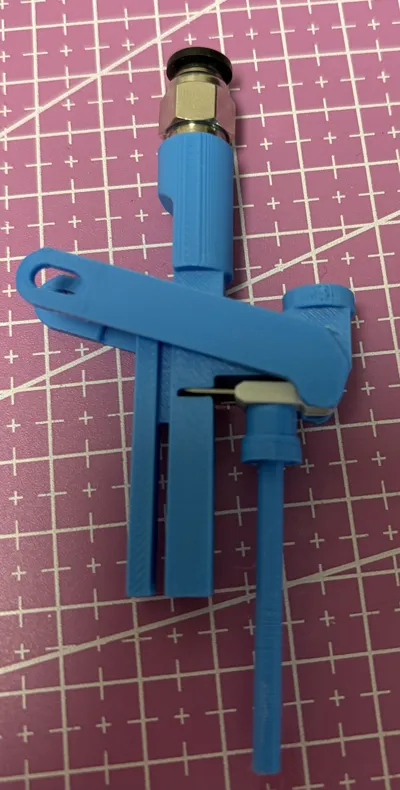
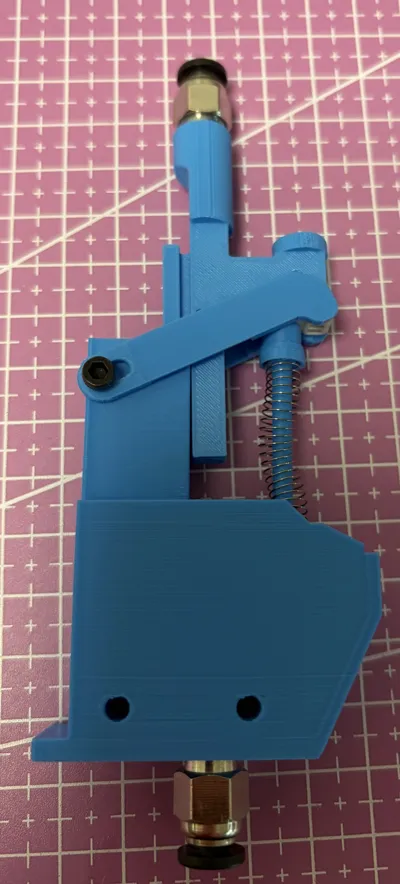
⚙️ How it works
The filament goes through the HAFC using a PTFE tube and Pneufit connectors.
If the spool gets stuck:
• tension increases
• the sliding module moves
• the blade cuts the filament
➡️ The printer detects filament runout and pauses automatically
Magnets control the trigger force,
and the spring resets the system after activation.
⸻
🖨️ Printing
• PLA or PETG recommended
• supports already included in the 3MF / G-code
Basic settings work fine:
• 0.2 mm layer height
• 3 walls
• 20–30% infill
⸻
🔩 Required hardware
Mechanism
• 2 × M6 Pneufit (good quality recommended)
→ cheaper ones may have an internal lip that restricts filament movement
→ Bambu Lab ones work perfectly
• 1 × Bambu Lab cutter blade
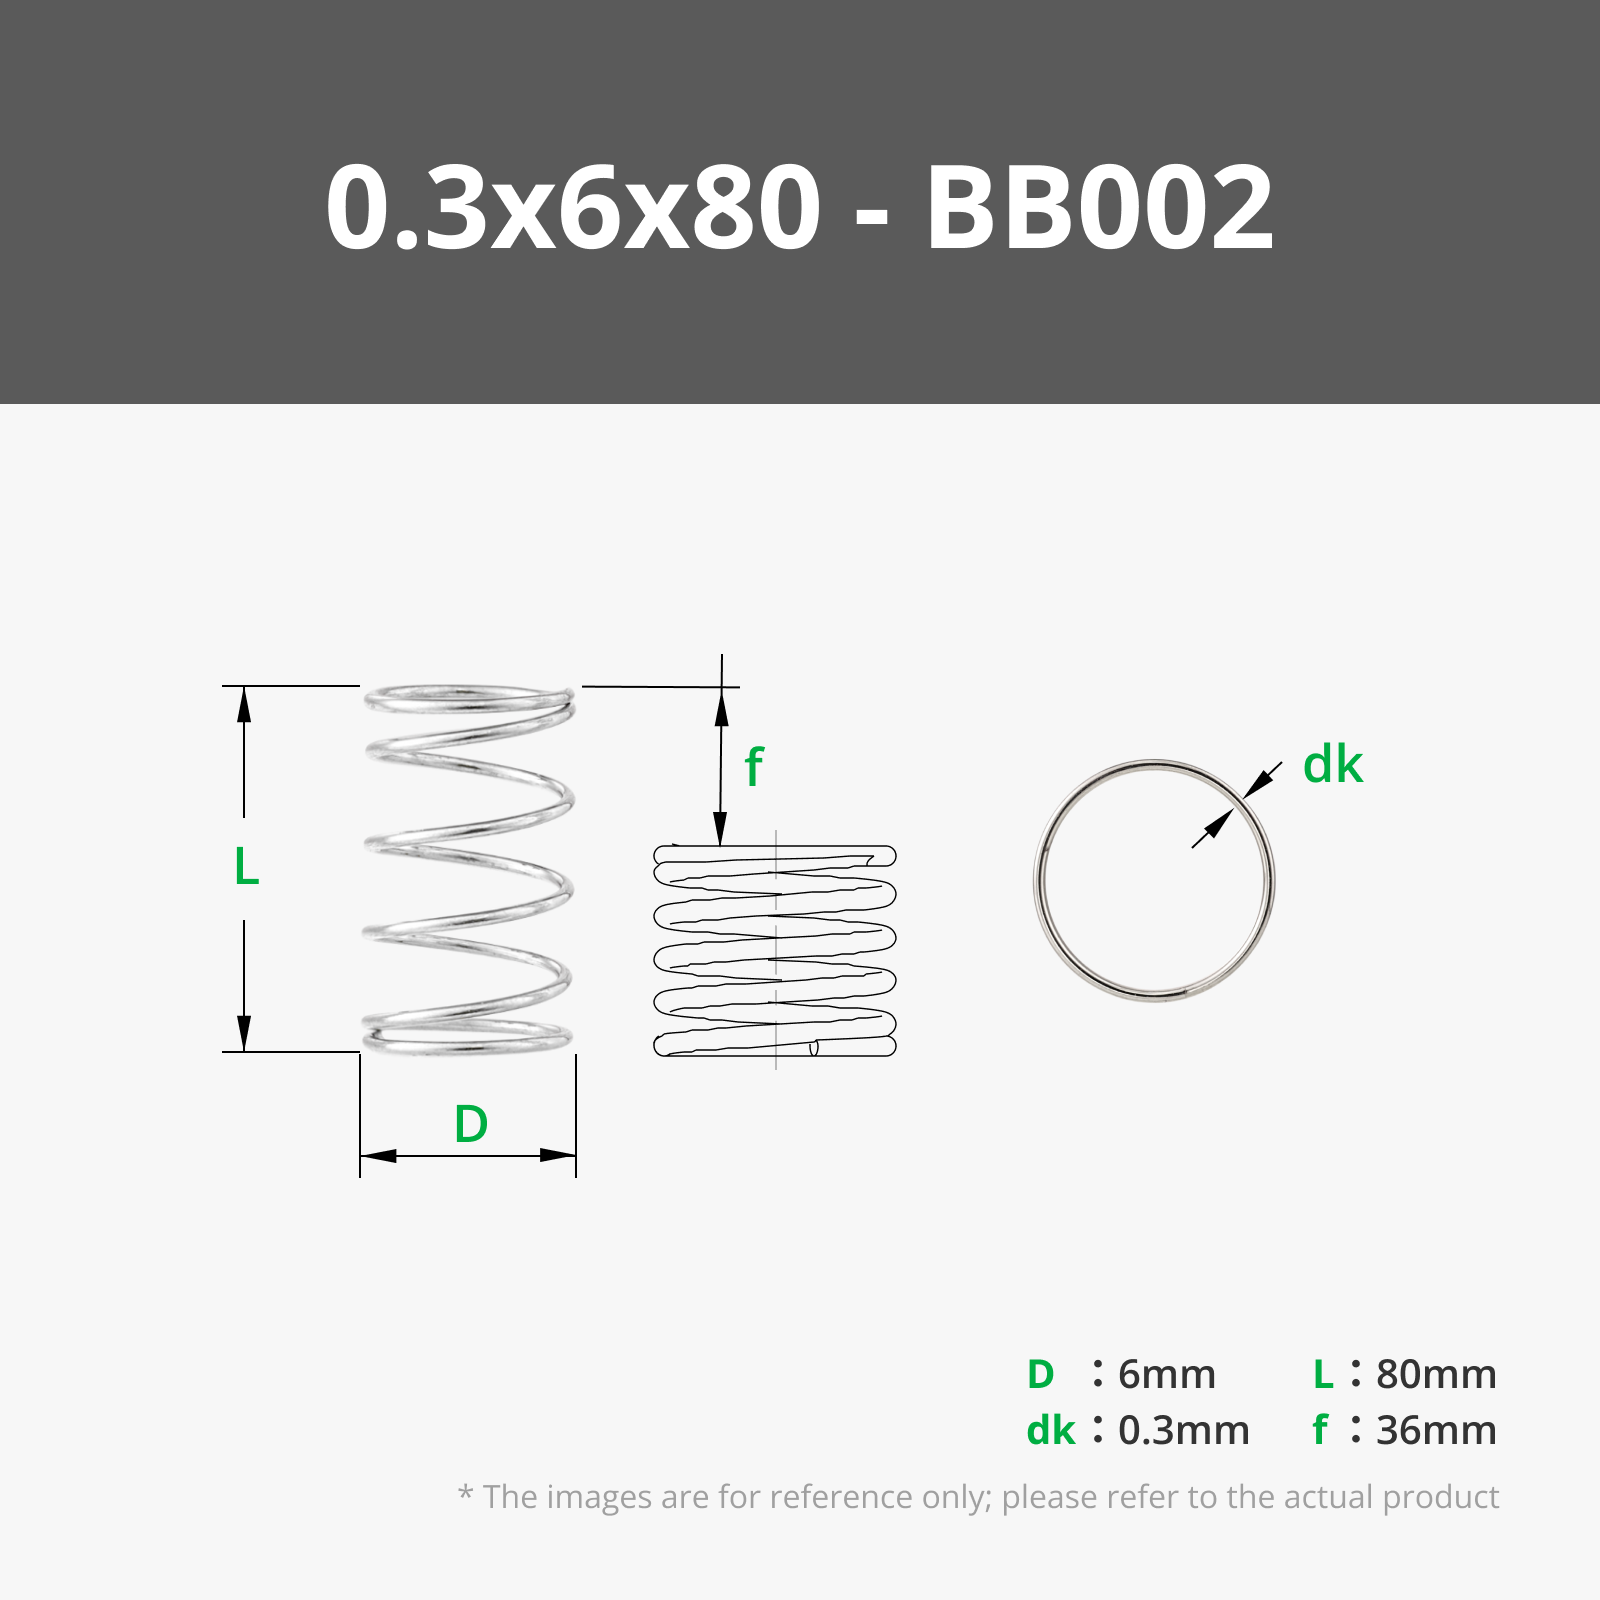
• 1 × spring (0.3 × 6 × 80 mm)
• 3 to 5 × 8×2 mm neodymium magnets
Screws
• 2 × M3×20
• 1 × M3×12
⸻
⚠️ About Pneufit installation
When installing the Pneufit on the moving part:
👉 the plastic might crack slightly
This is normal and does not affect functionality.
It depends on your printer tolerances and filament.
⸻
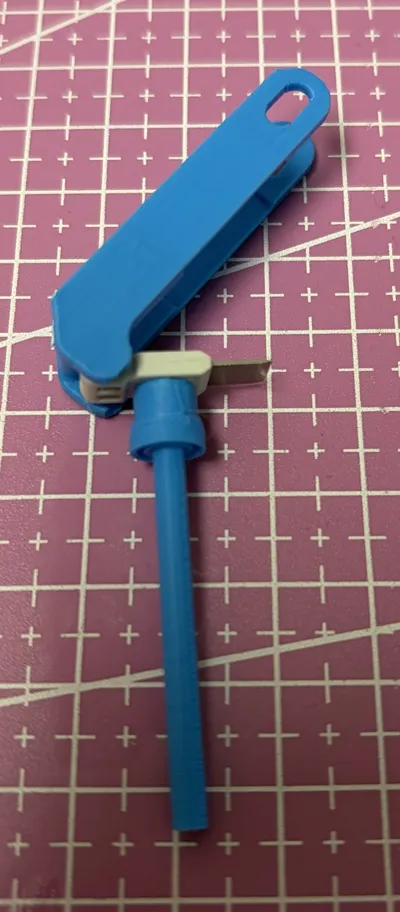
🛠️ Assembly
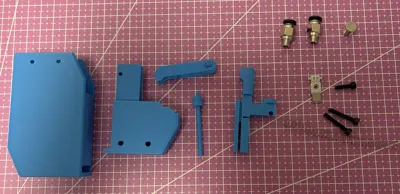
1 : All Parts

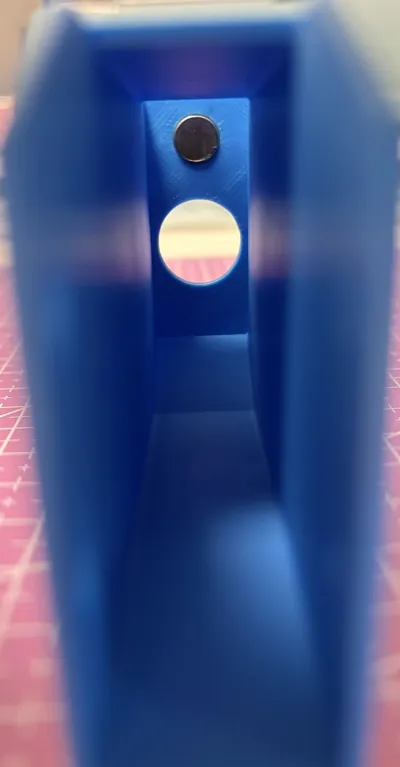
2 : place magnets (glue it) and pneufit on slide

3 : place pneufit on body

4 : put cutter and spring holder together (just push, don’t turn) you can glue it together

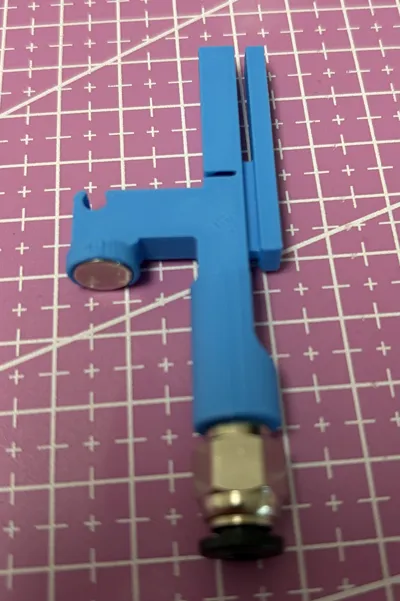
5 : Put cutter into lever

6 : slide, lever and cutter

7 : slide it into body and use the little screw.

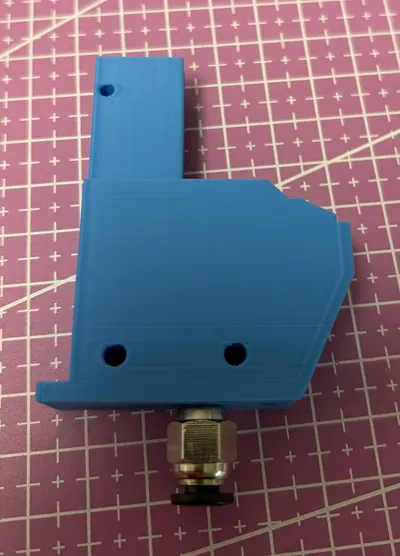
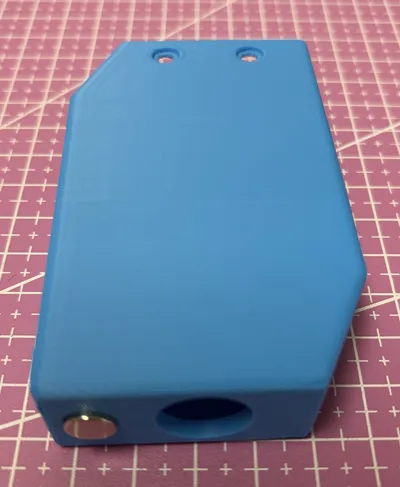
8 : glue external magnet on cover, check the polarity

9 : glue internal magnet in cover

10 : Use 2 screws to assemble body and cover.

⸻
🔧 Adjustment
Depending on your print, you may need to:
• slide the mechanism manually a few times
• “break in” the contact surfaces
This improves smoothness.
Some users added a bit of grease on V1 —
still an option if needed.
⸻
🔄 Compatibility
• all FDM printers
• 1.75 mm filament
• PLA / PETG / ABS / TPU
❌ not compatible with 2.85 mm
⸻
⚠️ Important
The HAFC does not replace a filament runout sensor.
It works before failure happens,
by intentionally cutting the filament to prevent a failed print.
⸻
❤️ Support
If you use the HAFC V2:
• leave a like
• post a make
• share your feedback
👉 that’s what helps improve the project
⸻
💬 Creator note
V2 fixes the main issues reported on V1:
triggering, smoothness, and tolerances.
Thanks to everyone who tested and shared feedback 🙌
The future versions will depend on the community.
// hidden signal detected
If you’re reading this… you’re not supposed to
A small batch of 8 HAFC V2 kits is being dropped to selected makers.
No public giveaway. No announcements.
Just builders who:
- create
- share
- push the project further
If that’s you… you know what to do.
📩 Send proof of your posts (any platform) in DM.
Selection will be random… but only among those helping the HAFC grow.
// end of transmission
Instagram link for the giveaway :
https://www.instagram.com/p/DWuOL7CDnDu/?utm_source=ig_web_copy_link&igsh=MzRlODBiNWFlZA==
License
You shall not share, sub-license, sell, rent, host, transfer, or distribute in any way the digital or 3D printed versions of this object, nor any other derivative work of this object in its digital or physical format (including - but not limited to - remixes of this object, and hosting on other digital platforms). The objects may not be used without permission in any way whatsoever in which you charge money, or collect fees.
Comment & Rating (76)