
Pool cover Bestway Steel Pro Pool modified
Print Profile(3)


Bill of Materials

Description
From "2-Make-1" 😉
First of all, a big compliment and thank you again to both (original) designers for their models:
@Super_Laserkatz (https://makerworld.com/de/models/652729-pool-cover-for-steel-wall-pools-pool-cover?from=search#profileId-579519)
Christoph (https://www.printables.com/model/1439935-bestway-pool-cover-sphere-frame-unterkonstruktion)
...for their permission to share my modified model
Regarding my modification:
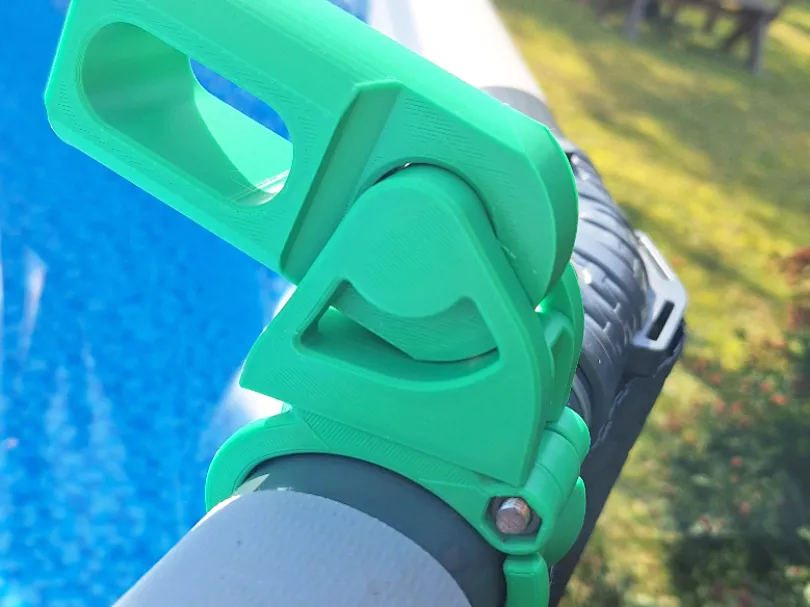
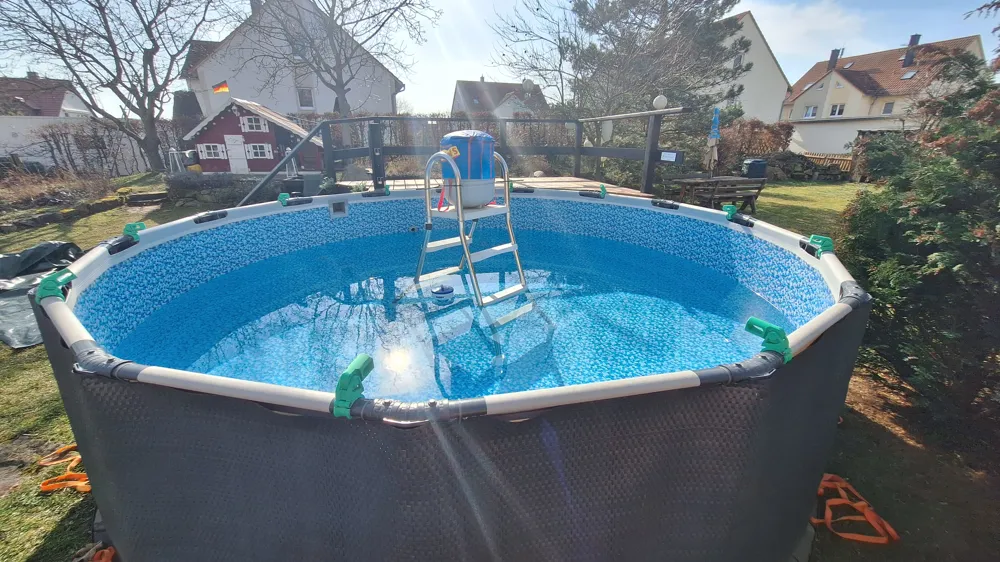
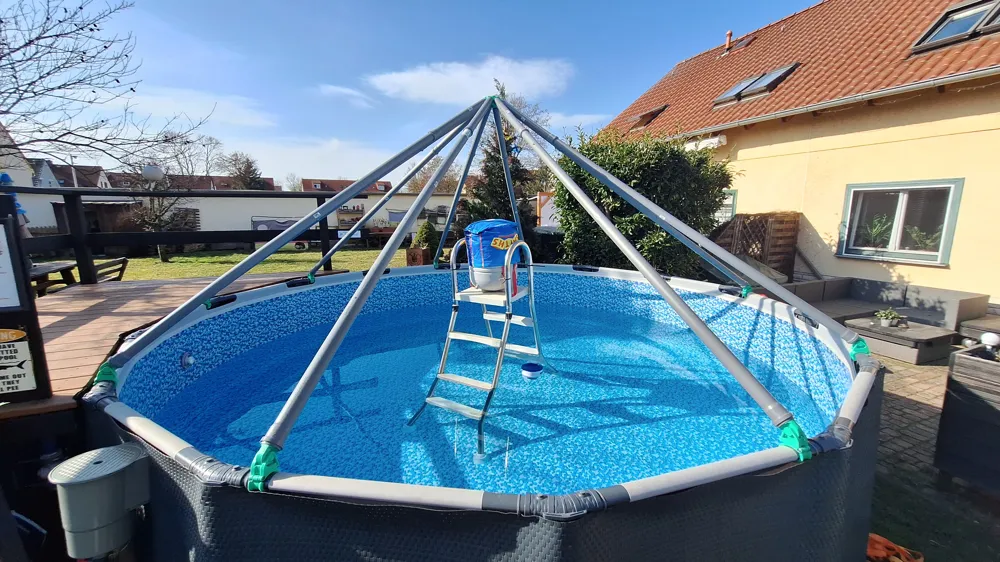
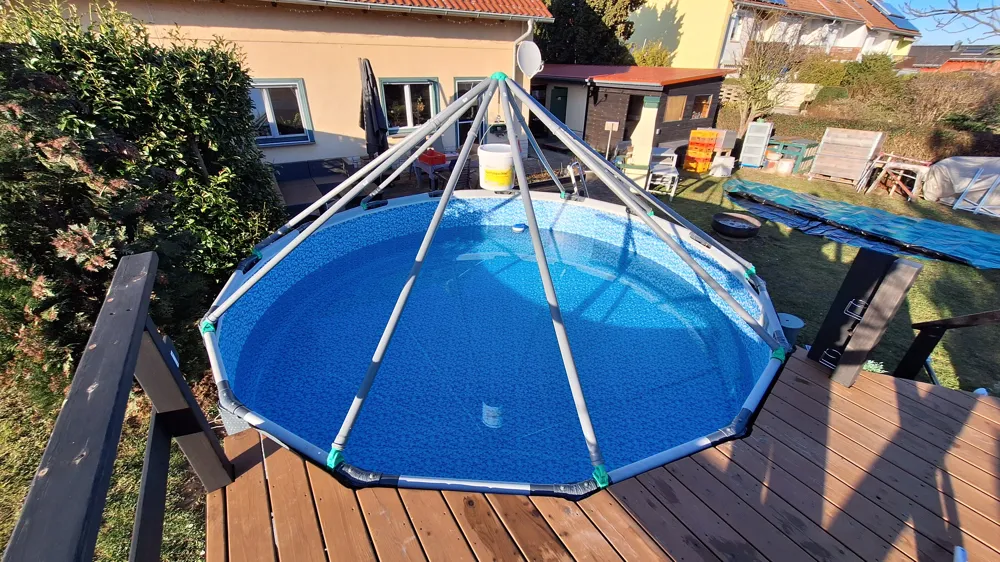
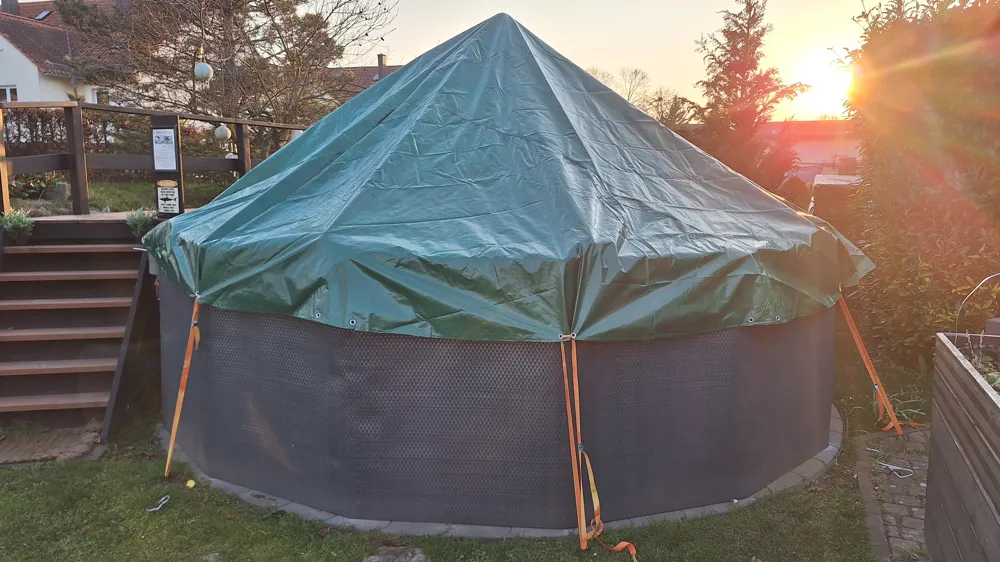
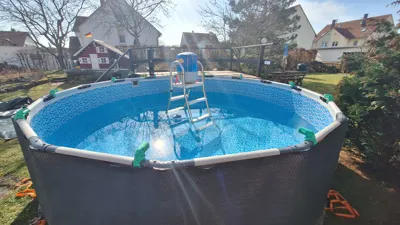
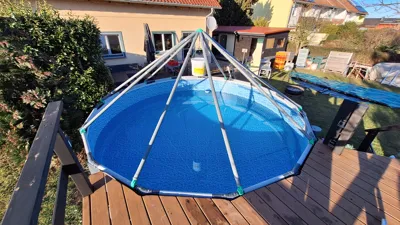
I have a Bestway Steel Pro MAX Frame Pool 4.57 x 1.22 m (15' x 48") with oval horizontal frame rods/handrail (approx. 57x39mm) and 15 supports/sidewalls. In winter, I cover the pool completely with a pool cover. Previously, I only had a provisional central support (pool ladder), over which the cover was stretched towards the edges. The inclination was too shallow, so snow collected on it in winter, water bags formed, and the increased load led to the cover tearing
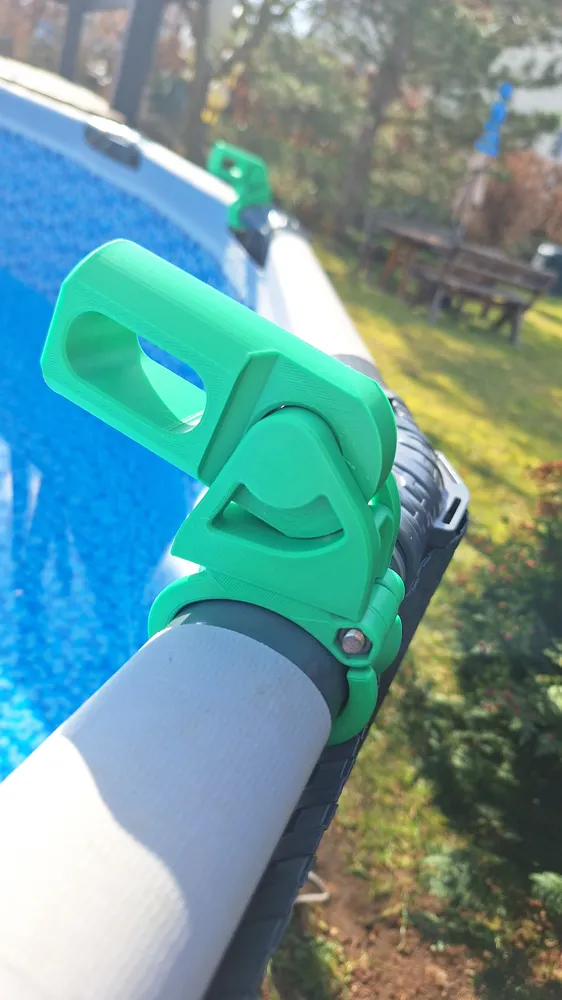
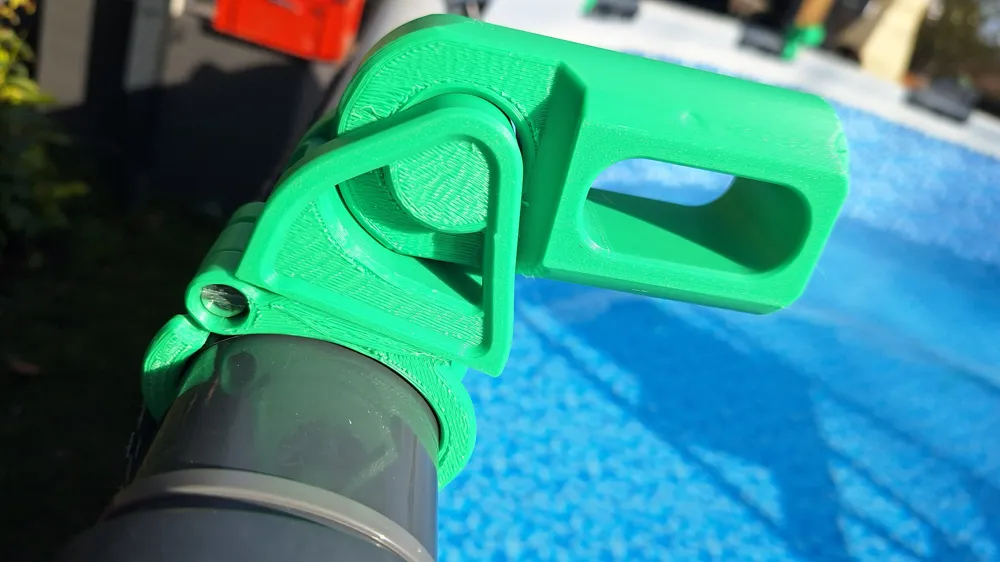
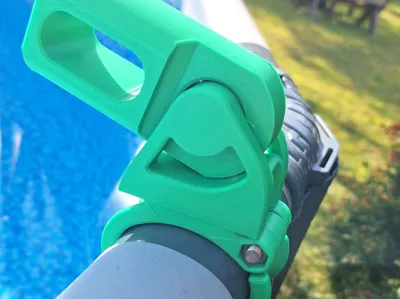
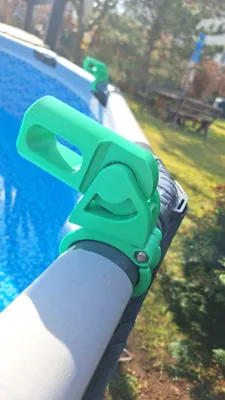
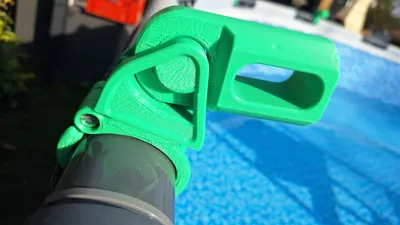
I found the solution by @Super_Laserkatz with the support structure made of DN50 HT pipes great, unfortunately there were no frame holders for the oval rods of the Bestway. However, Christoph's model had clamps for the oval rods. Therefore, I combined both models and designed something suitable
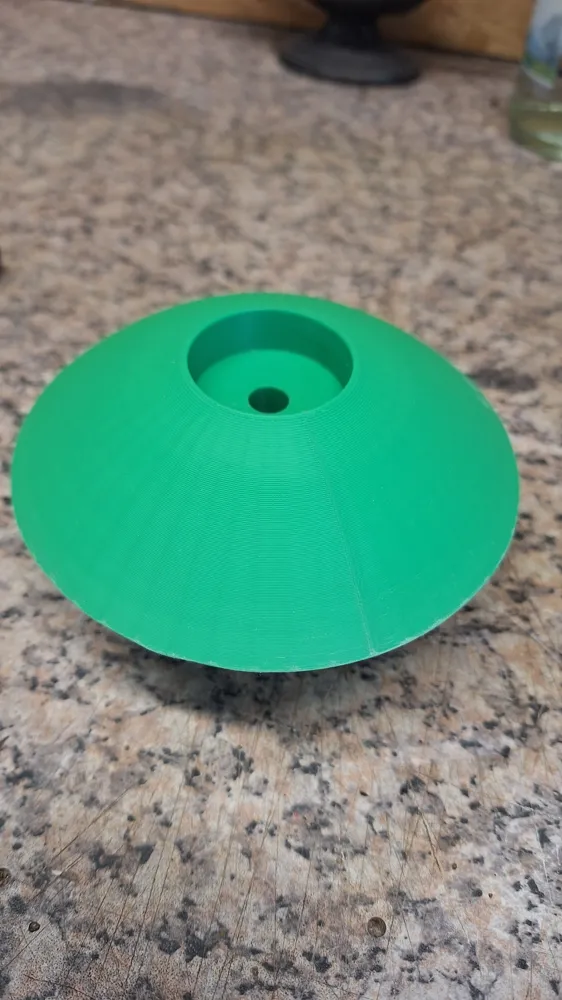
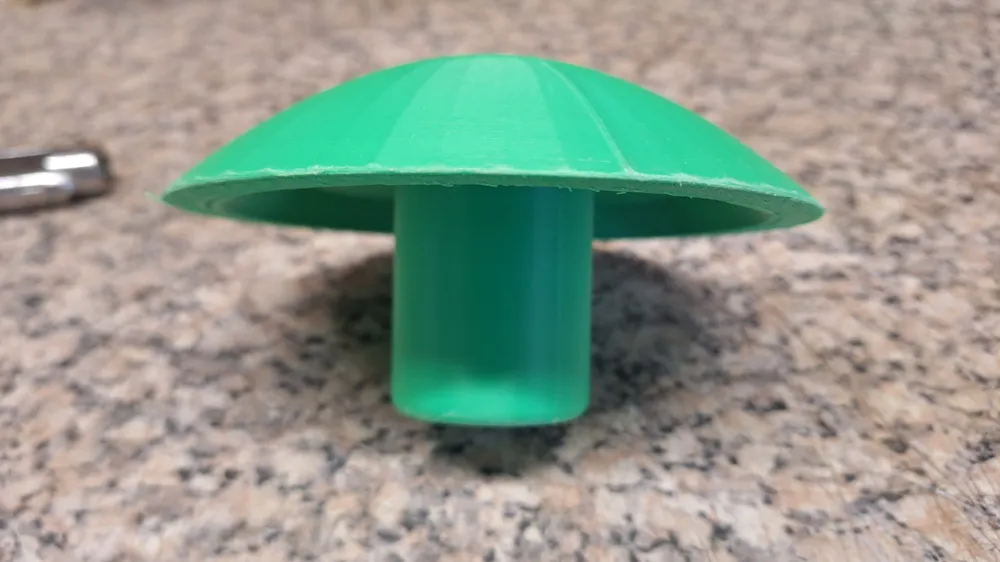
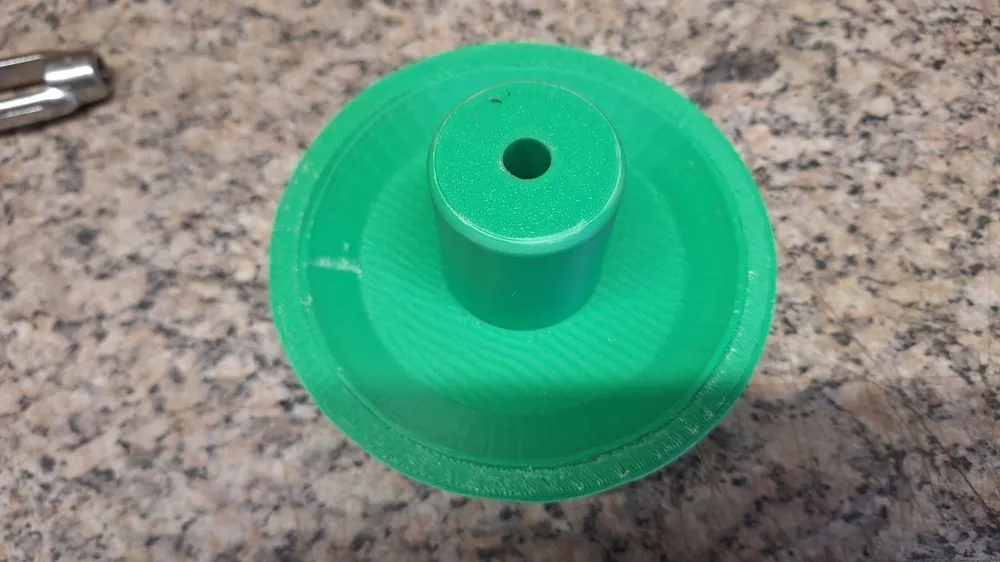
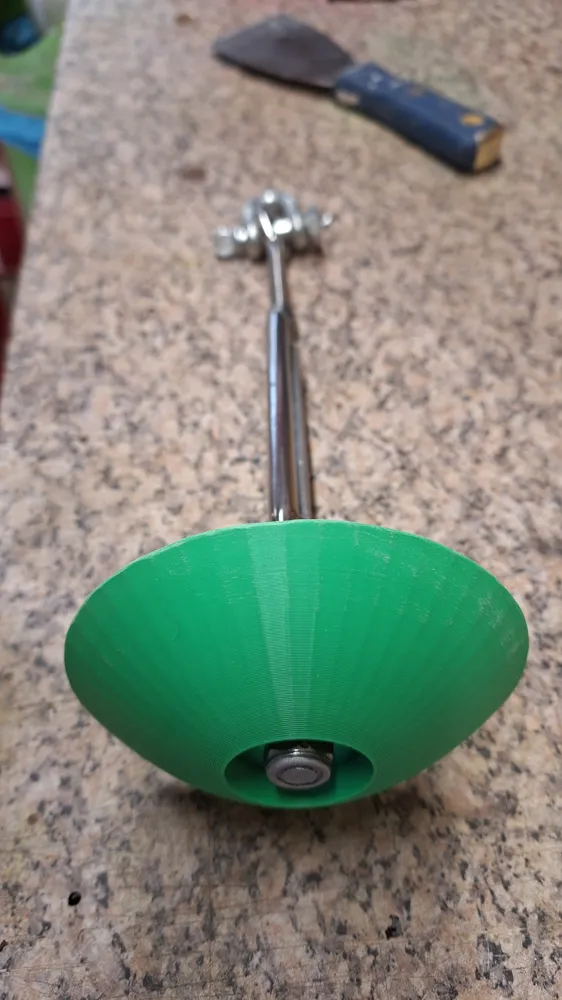
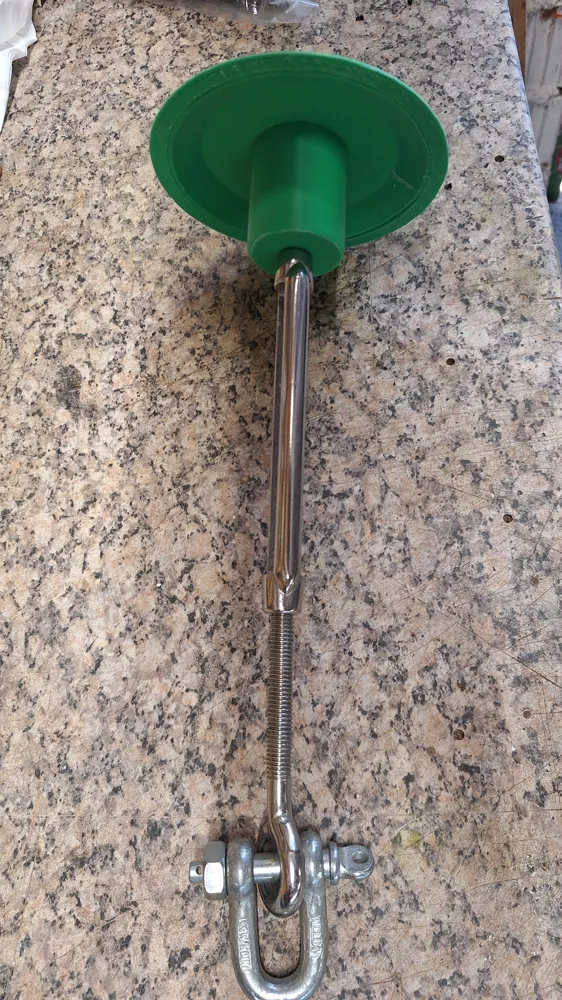
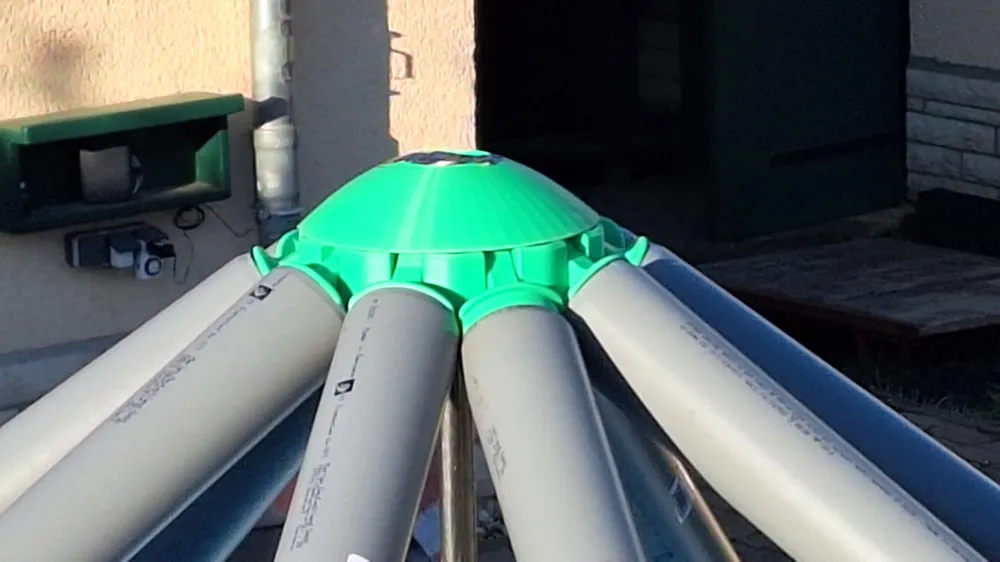
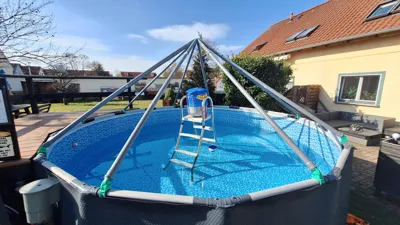
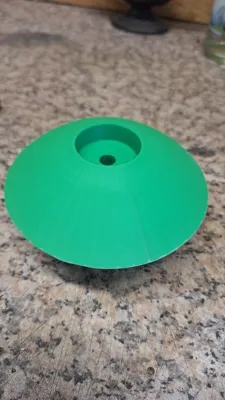
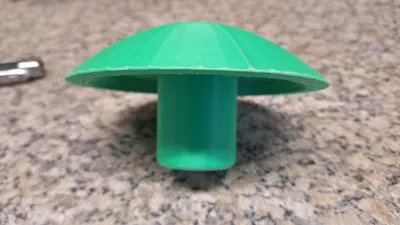
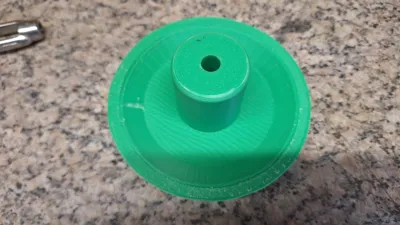
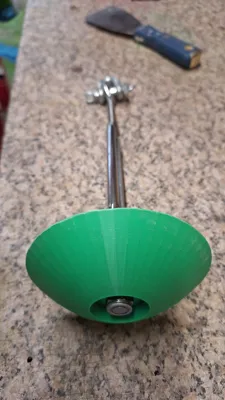
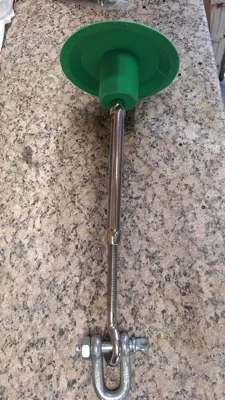
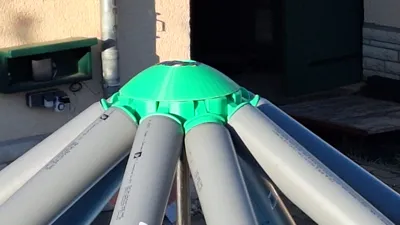
Since the centering ring in @Super_Laserkatz 's model only offers connections for 10 rods, but I have 15 sidewalls, it is not all symmetrical (Modifying this centering ring for 15 connections was too much for me as a beginner, and I'm not even sure if it would fit entirely on my P2S print bed, but Christoph has already offered to modify it when he has time). As a result, the rods might not sit completely flush in the connections. To avoid this, I apply some load to the centering piece by designing a cap (also useful for guiding the cover over a curve), from which I hang a bucket with 20kg of sand using a turnbuckle (M10). This creates just the right tension in the system, and so far, the cover has withstood wind loads
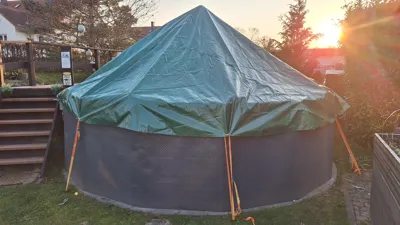
For the support structure, I inserted DN50 HT pipes of 2m and 0.5m lengths into each other, which results in an approximate inclination of 34° for my pool diameter, allowing rainwater to drain immediately and snow not to remain on the cover. Naturally, with a round cover and the conical shape of the support structure, wrinkles form in the cover. However, these wrinkles can also be fixed with the existing cover eyelets and printed clamps. It certainly won't win any beauty contests, but for me, function comes before aesthetics. In the uploaded pictures, the cover is only temporarily fixed; after the next season, the whole thing will be solved more professionally
For exact details on the centering ring and the attachment of the edge holders, please refer to the models of both (original) designers. They have already done excellent preliminary work
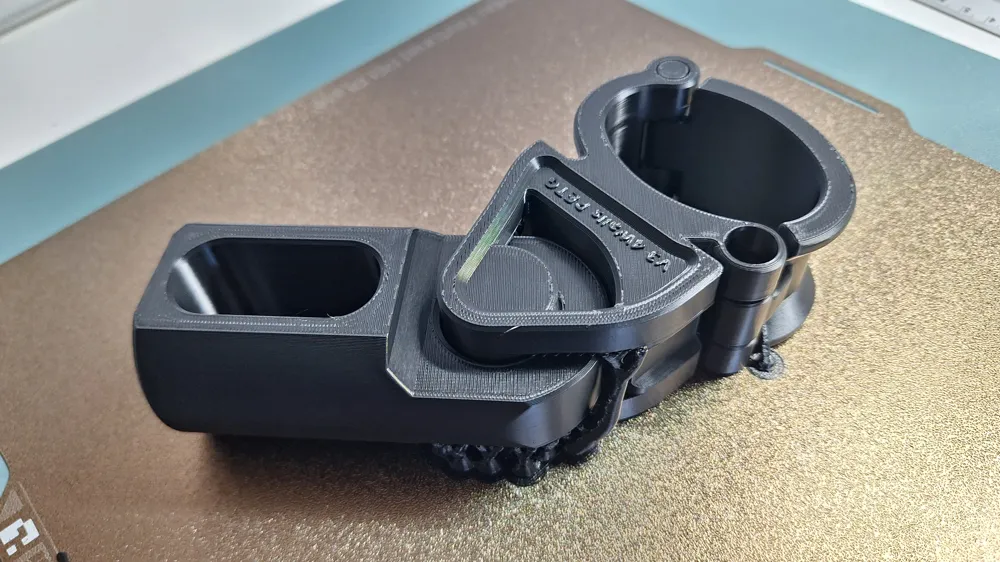
M6 screws/nuts were used for attaching the edge holders. I did not note the length of the screws; I would have to provide it at the beginning of the pool season. It was printed with Bambulab PETG HF
Attention! I am an absolute newcomer to the 3D printing scene, and the print settings are certainly not yet refined (especially the tree support waste for the lid). But so far, it works. Perhaps someone else has optimization possibilities and can help further
Please bring them on 😉
Update:
I noticed that the edge holder was not optimally positioned on the print bed. I updated it as a new print profile. Otherwise, everything remained the same. I recommend printing in PETG (There is no UV exposure - for me - as everything is covered and protected from the sun)
Print Profile Name: “Update_0.2mm layer, 3 walls,20% infill,Orientation optimized”
Update No. 2:
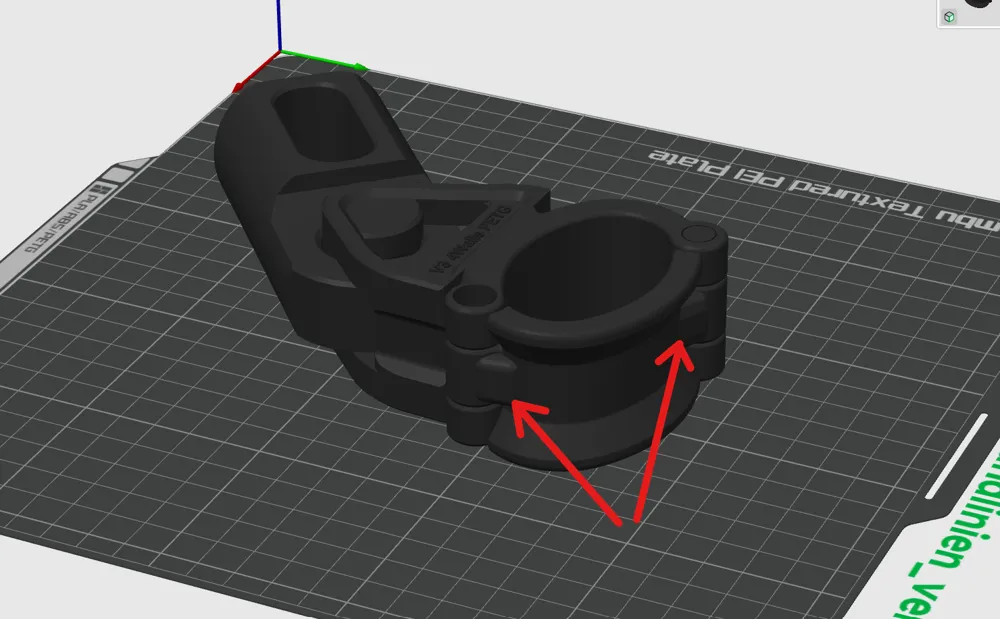
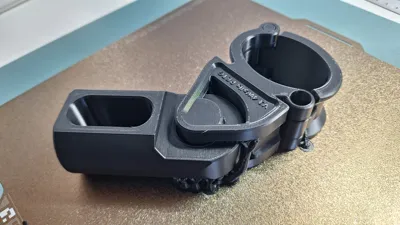
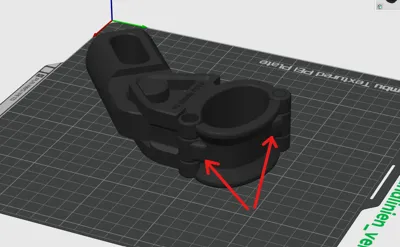
Latest and best version of the edge holder now in a new print profile (Redesign ;-) )! I tried my hand at Fusion again and adjusted the height of the two original parts for the edge holder, as there was a minimal difference before. Furthermore, I added 2 supports near the joints, as I felt that was the weakest point. The print profile was optimized and/or reinforced again (4 walls)
I still recommend printing in PETG (There is no UV exposure - for me - as everything is covered and protected from the sun). In this print profile, only the edge holder in its final version can be found; the lid is available in the other two print profiles
Print Profile Name: “Update2_0.2mm layer, 4 walls, 20% infill_Height=_reinforced”
License



Comment & Rating (25)