
Universal Car Vent Phone Mount – Modular System
Print Profile(6)
Description
Boost Me (for free)
If you like this model, I’d really appreciate a boost! It helps me create more awesome designs. 😊
Membership
Ready to sell your prints? Unlock a Commercial License now! 🚀

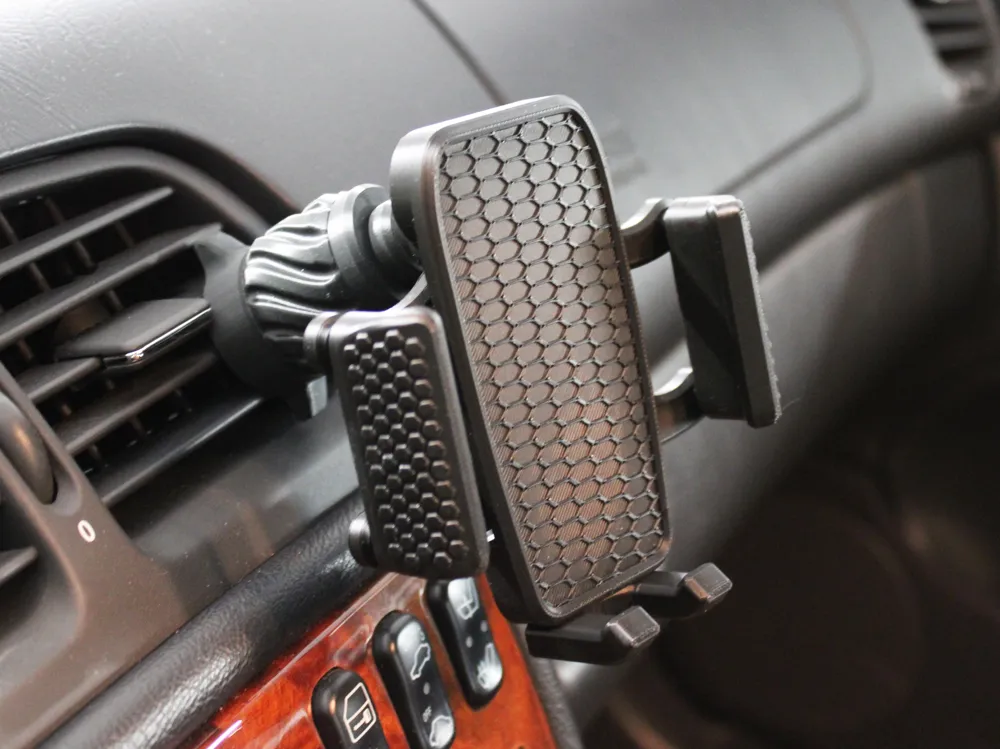
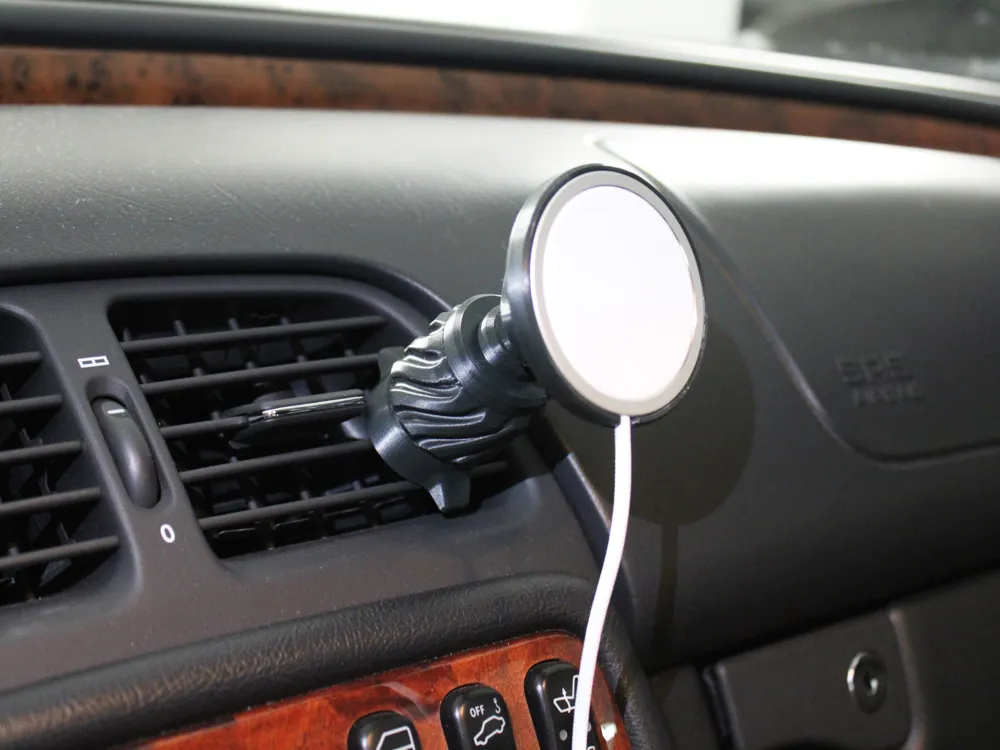
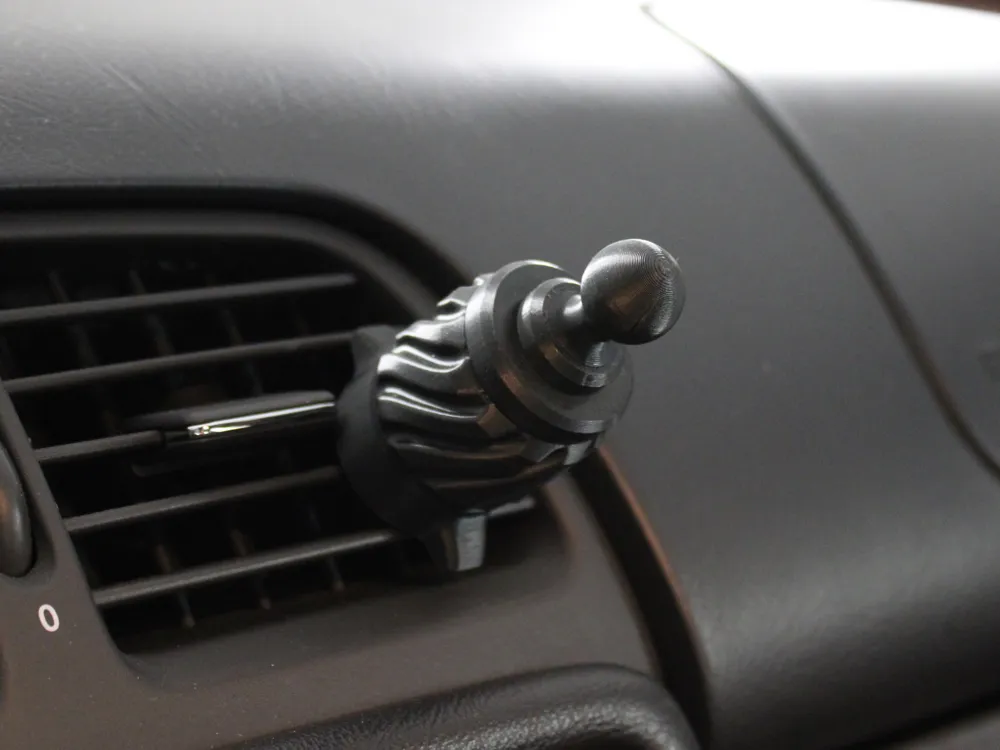
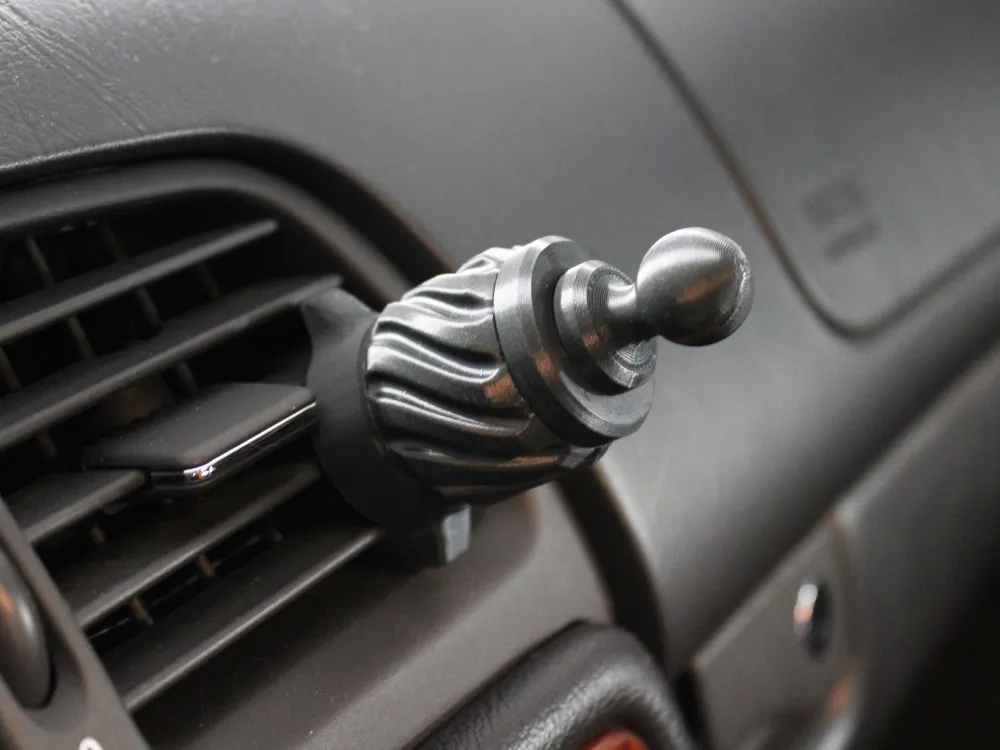
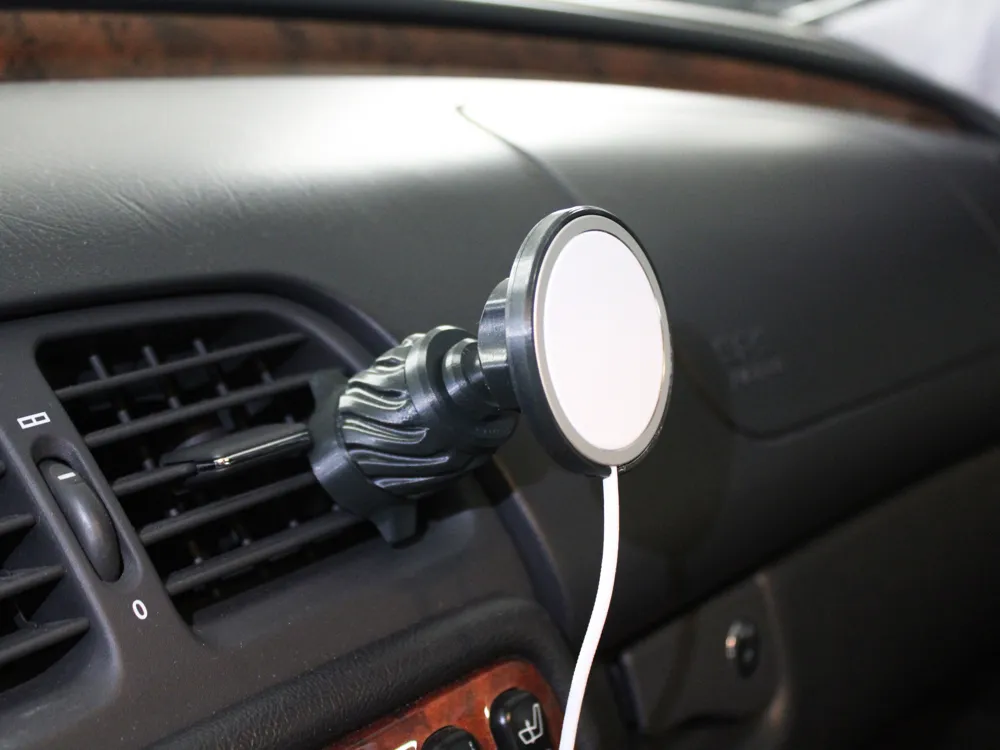
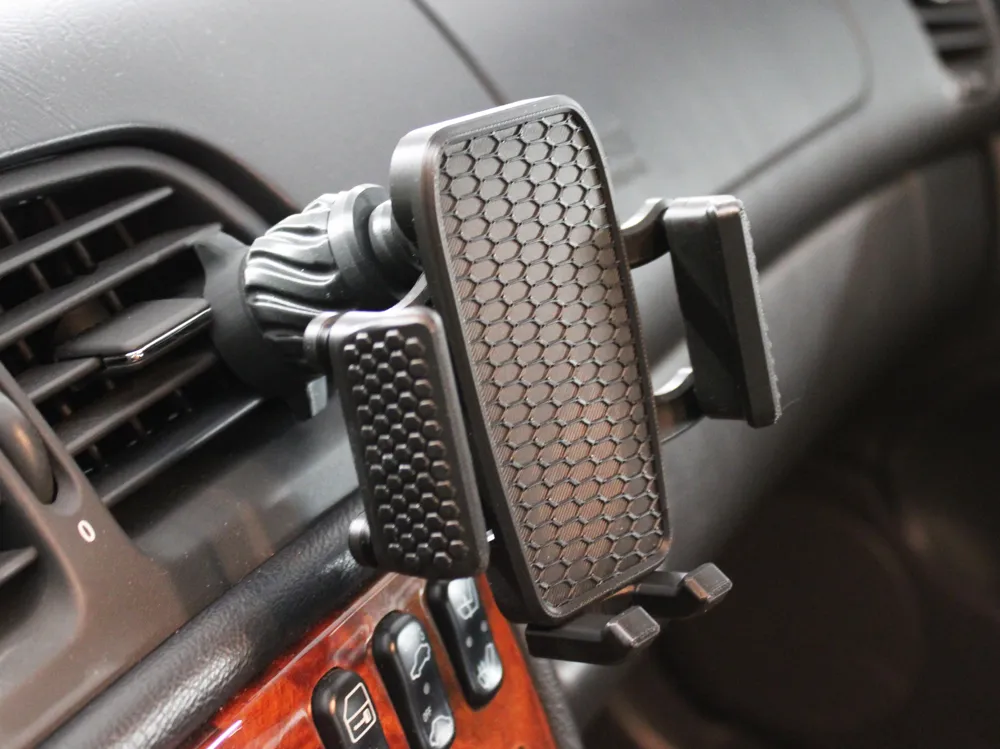
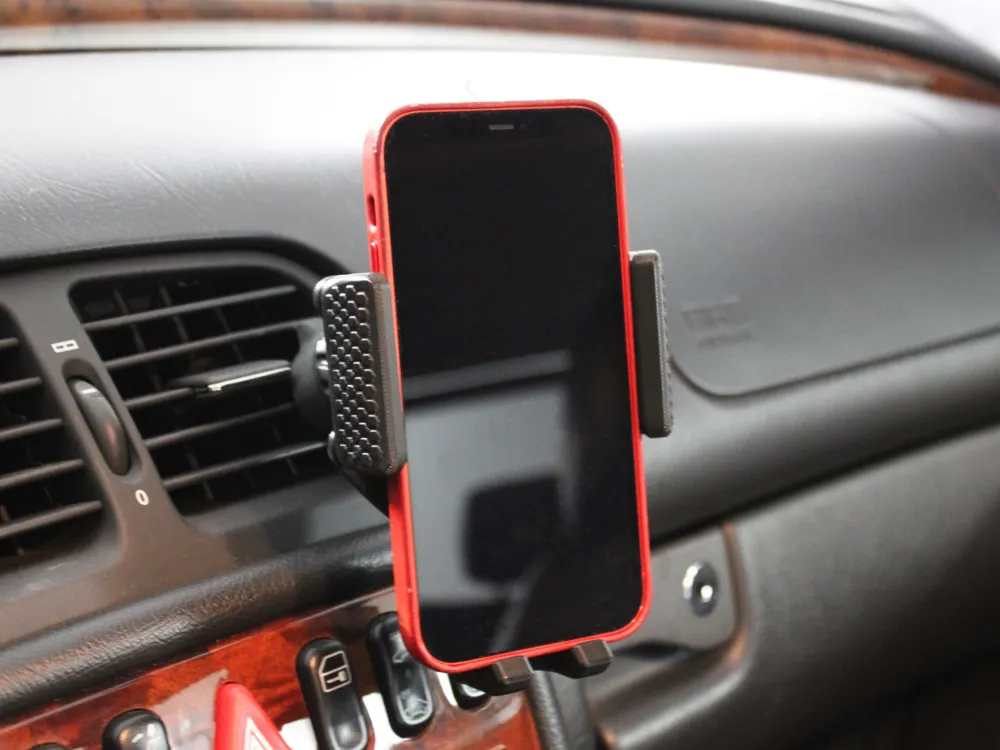
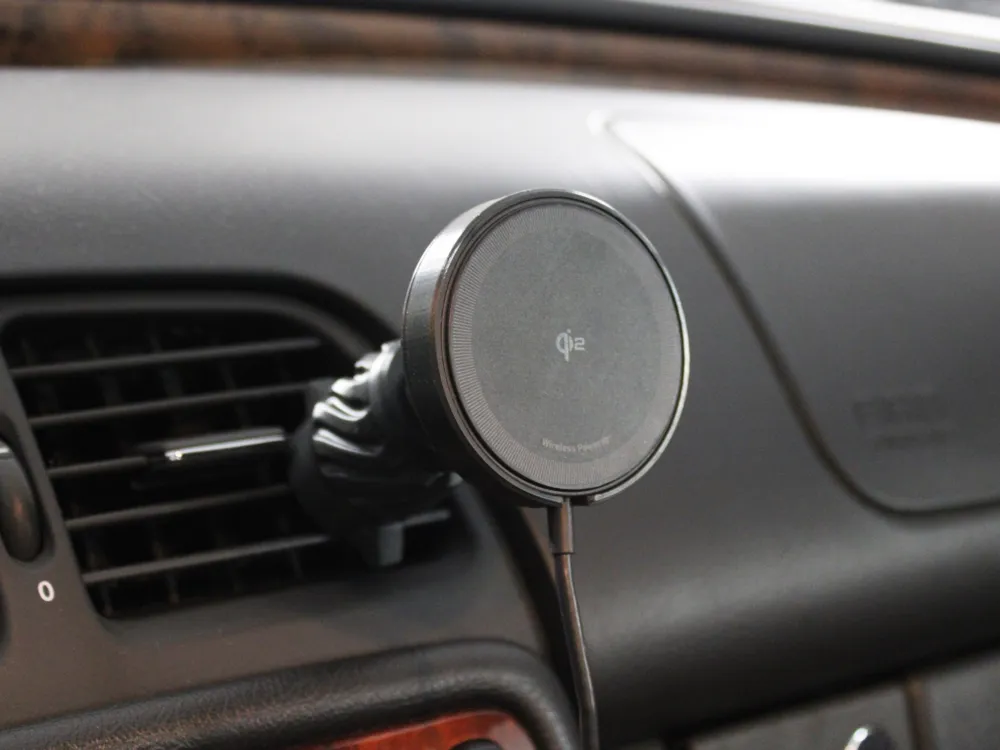
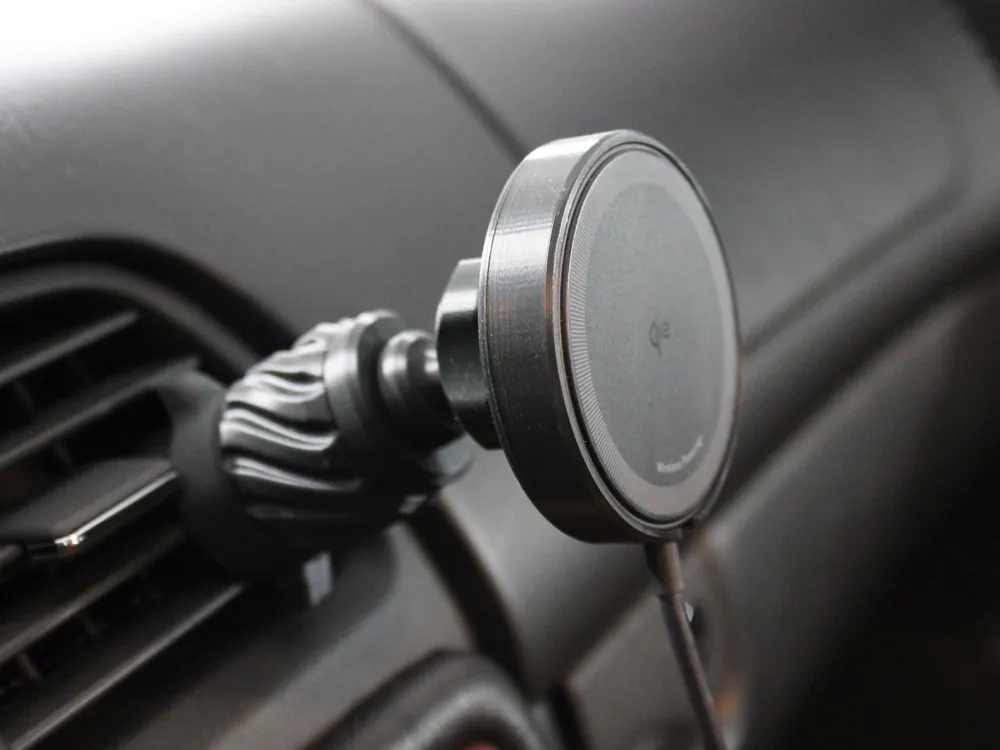
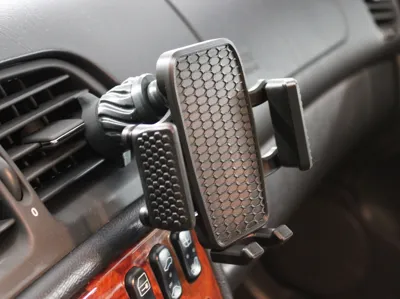
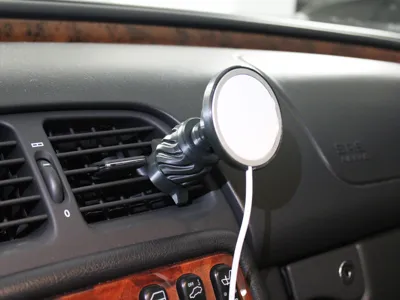
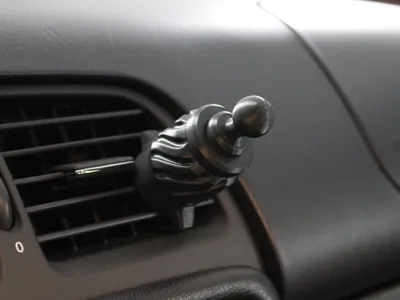
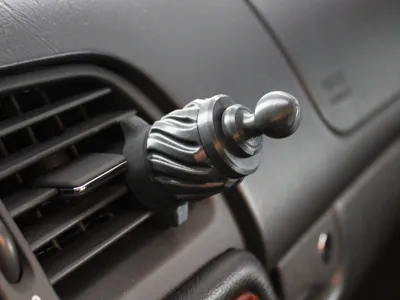
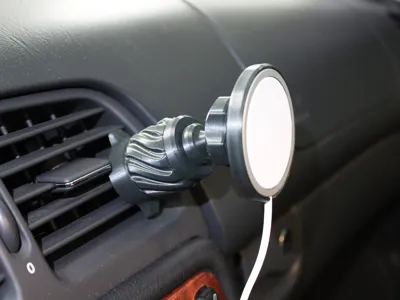
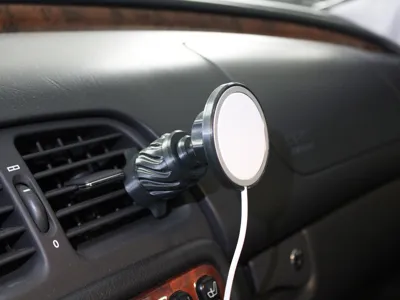
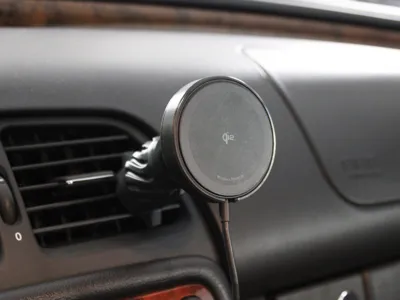
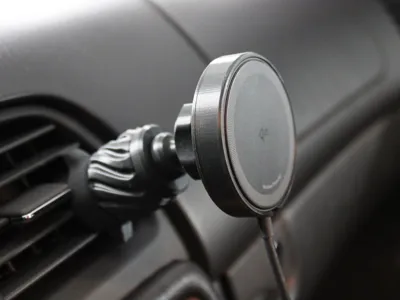
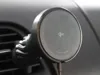
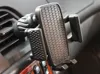
A universal car air vent phone mount with a clever crank-lock mechanism and modular ball joint system — compatible with virtually any car's vent slats. The twist-to-clamp design securely grips the vent fin without tools and without damaging the vent.

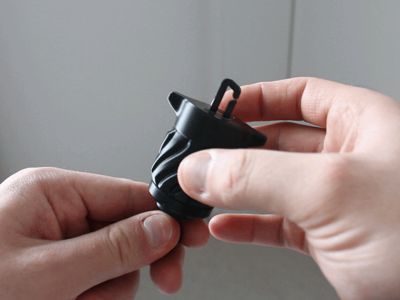

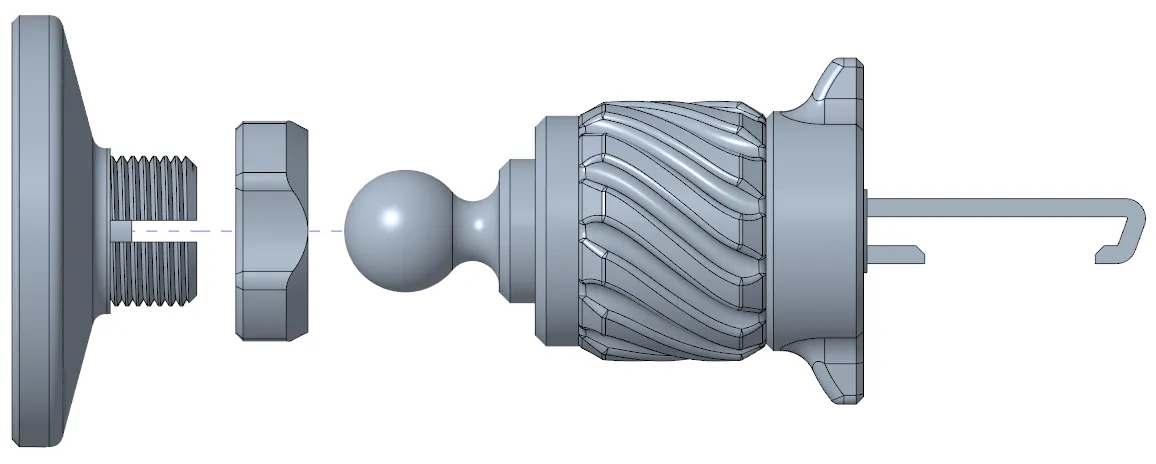
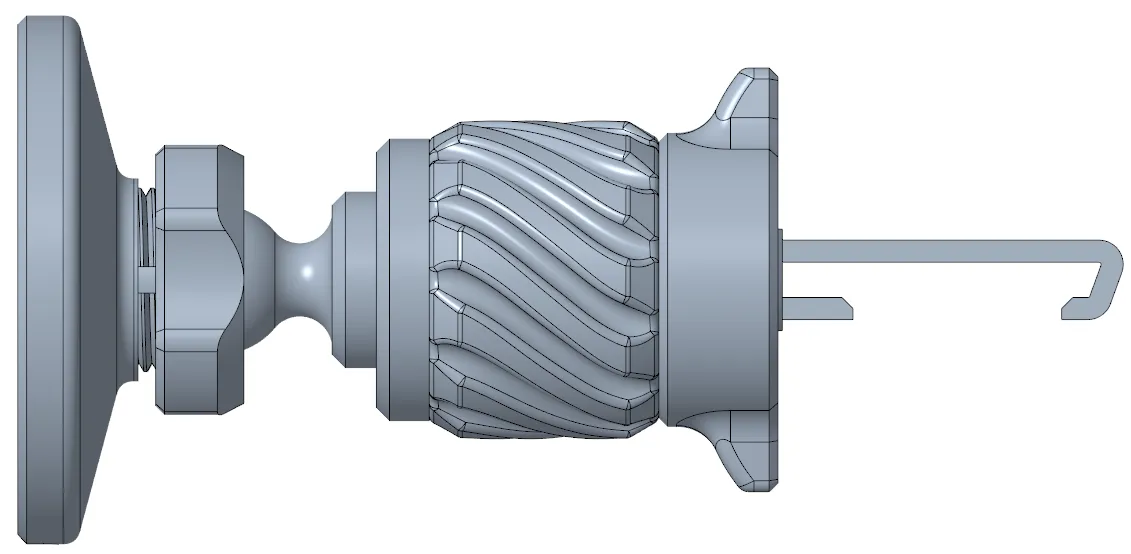
How the clamping mechanism works: The crank mechanism pulls the bracket inward as you twist, pressing it against the back of the vent fin. The fin is then firmly clamped between the bracket and the mount body — no adhesive, no permanent modification, no damage to your car.
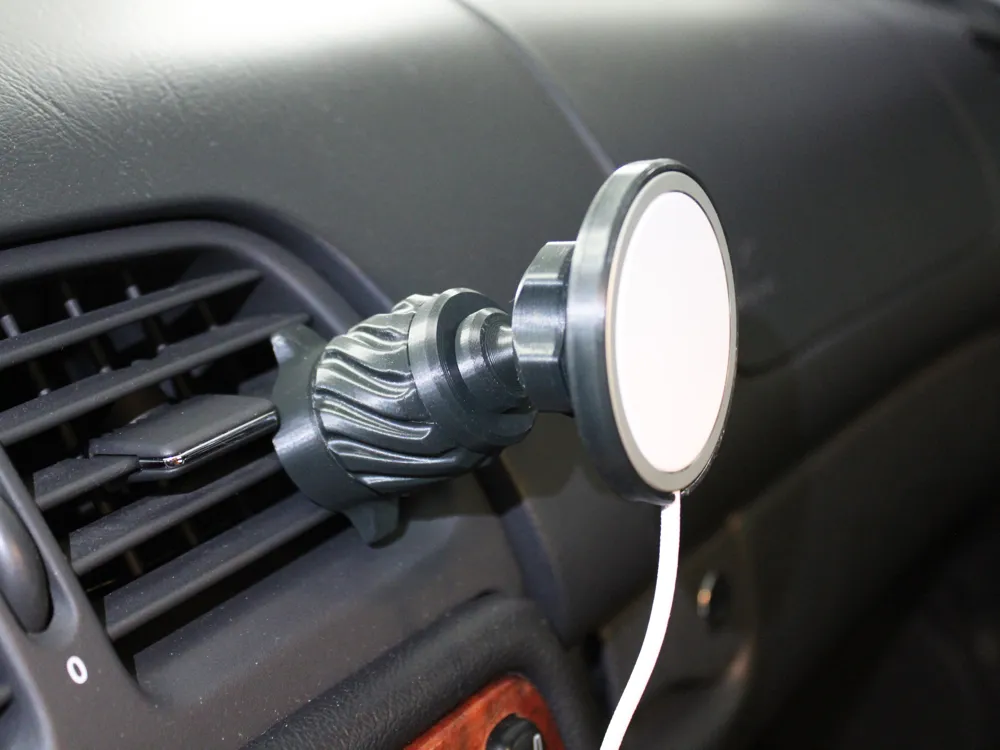
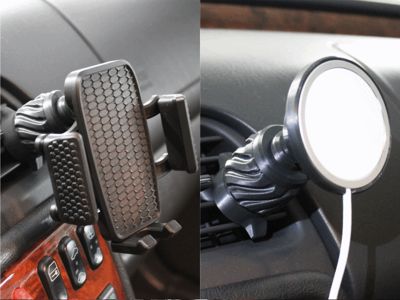
Modular Top Adapters (same as the desk stand — fully cross-compatible):
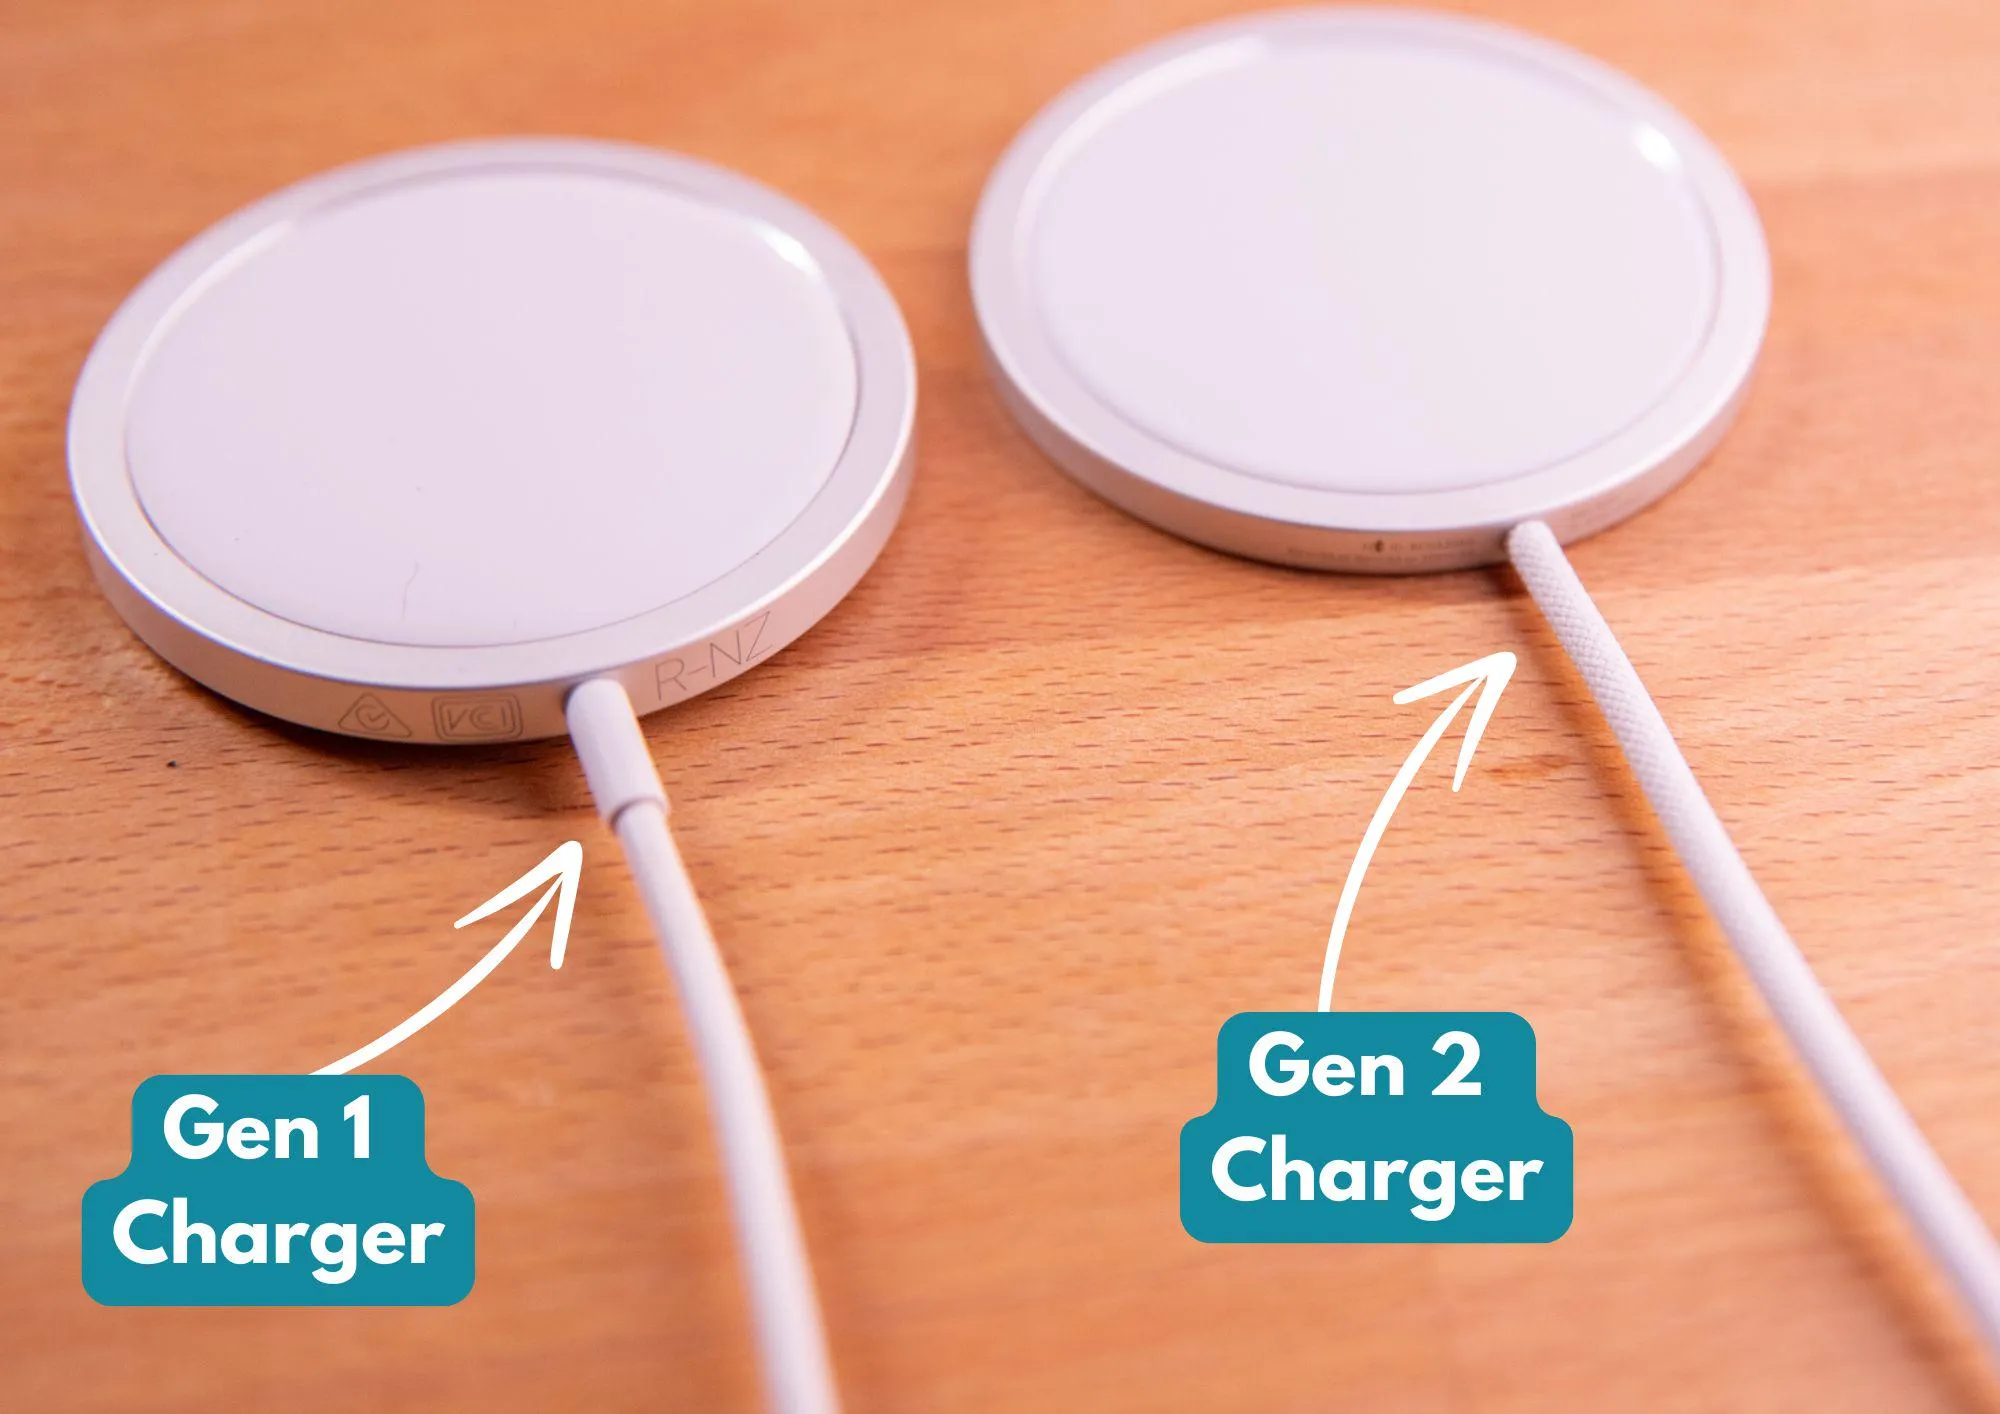
- 🔵 MagSafe Charger Adapter Gen 1 – fits Apple MagSafe (1st gen)
🔵 MagSafe Charger Adapter Gen 2 – fits Apple MagSafe (2nd gen, different geometry — use matching print profile!)
- 🟢 Anker MagGo Adapter – fits Anker Qi2 charger puck

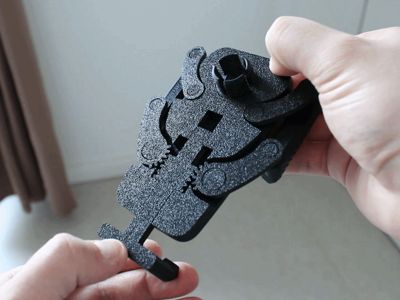
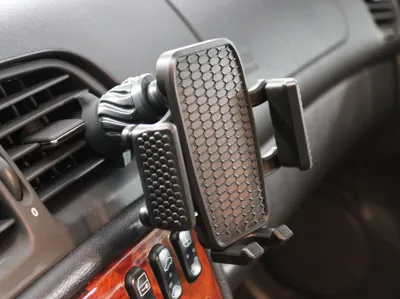
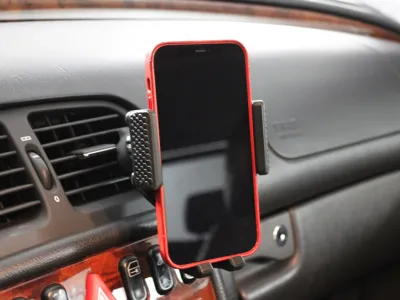
- 🟡 Articulated Clip Holder (Print-in-Place) – four-bar linkage, prints assembled! Low / Medium / High variants for different phone thicknesses
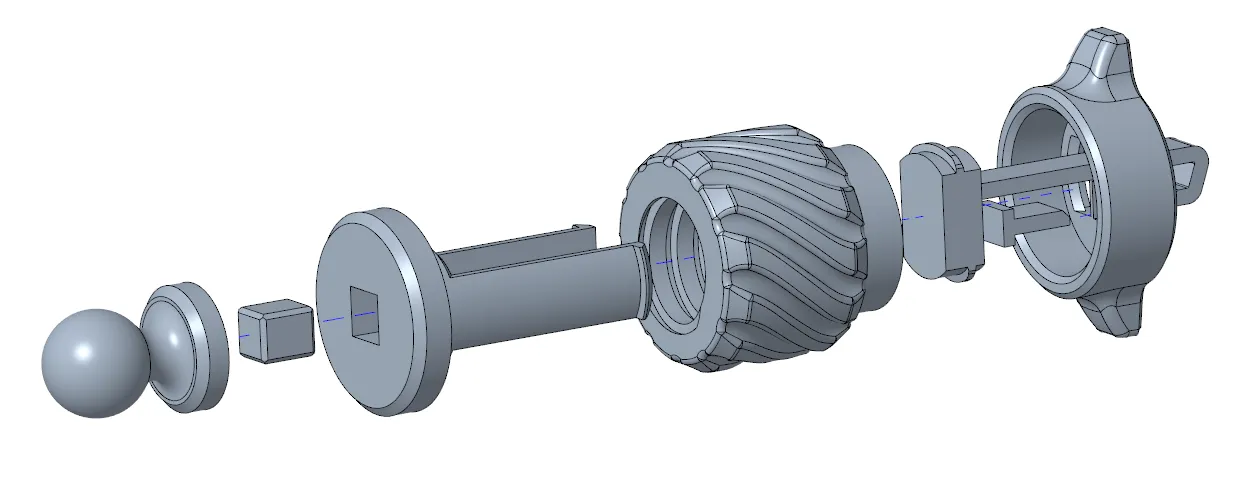
Assembly Instructions:
Insert the counterpiece into the stop (snug fit — glue if needed)
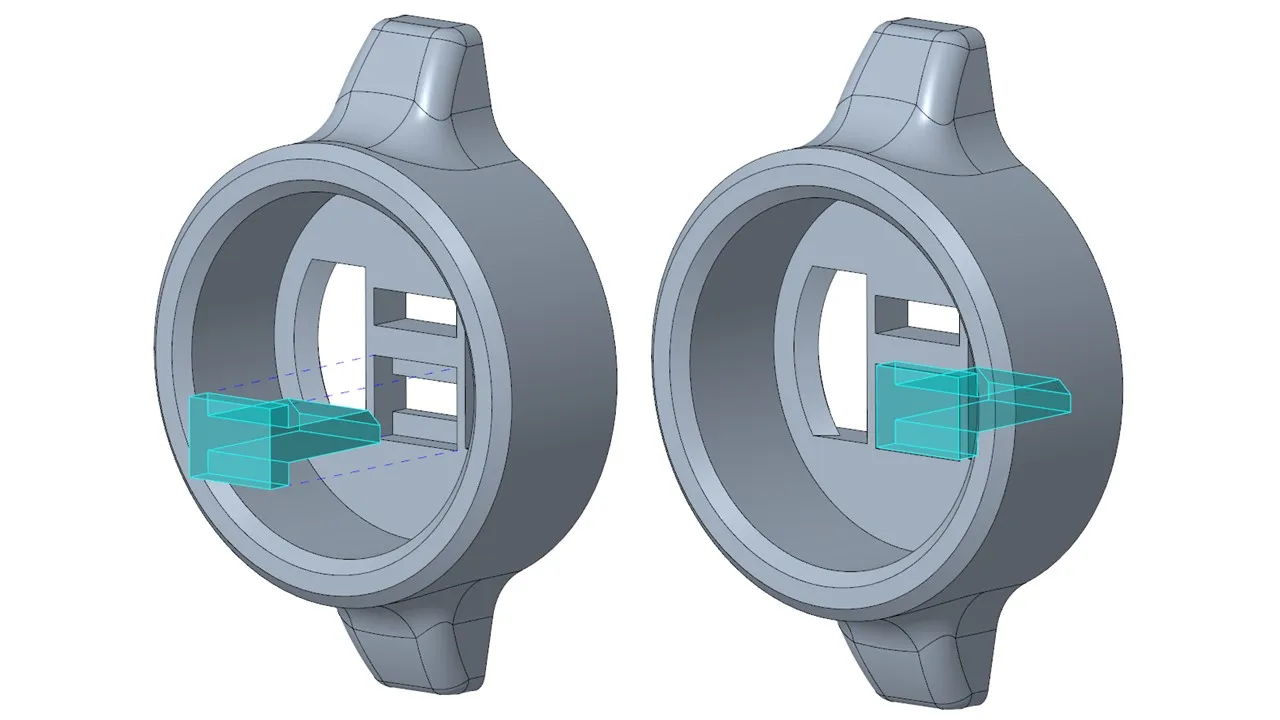
Thread the bracket through the stop with the hook facing outward
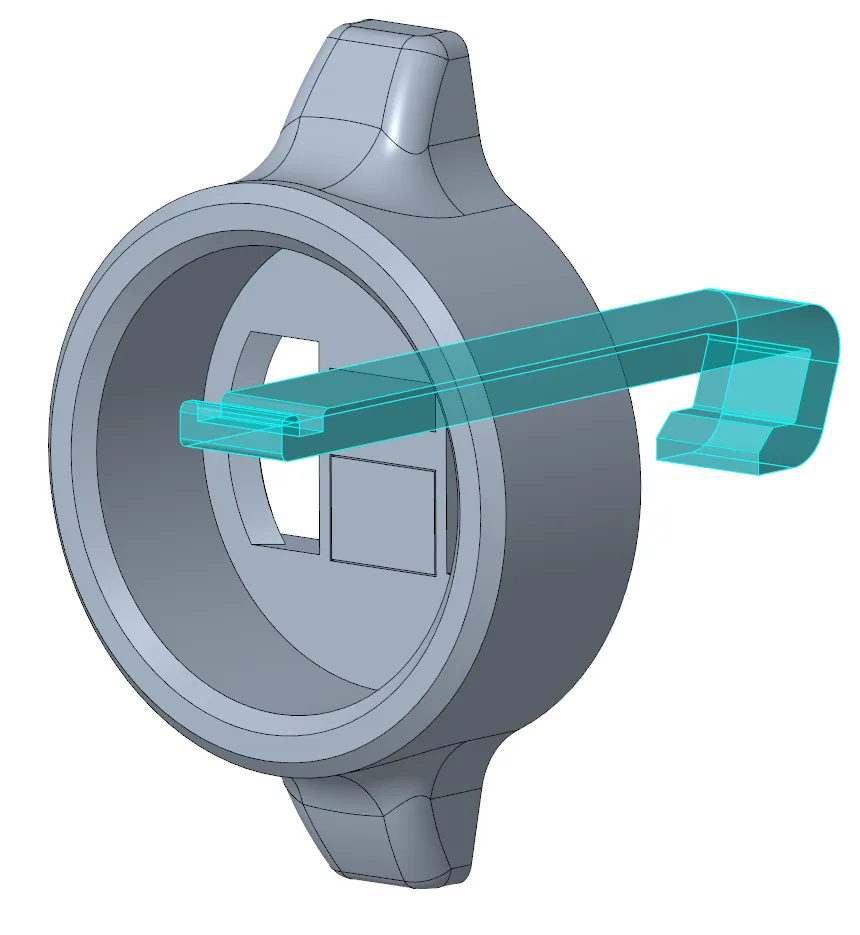
Insert the bracket into the bracket holder (gluing optional)
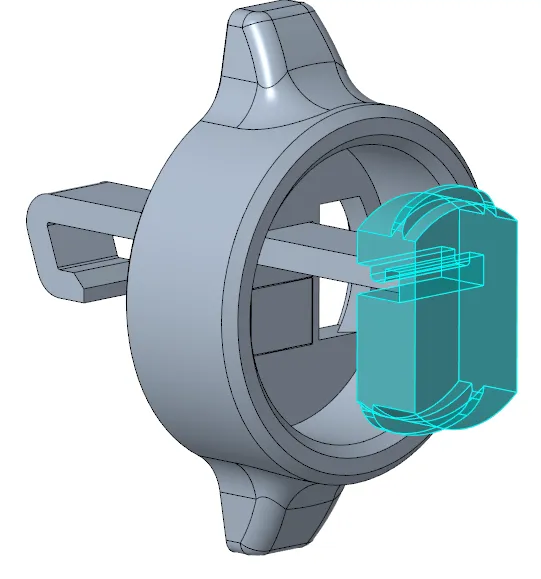
Carefully insert the counterpiece with the long snap hooks into the crank (internal thread) — handle snap hooks gently to avoid breaking!
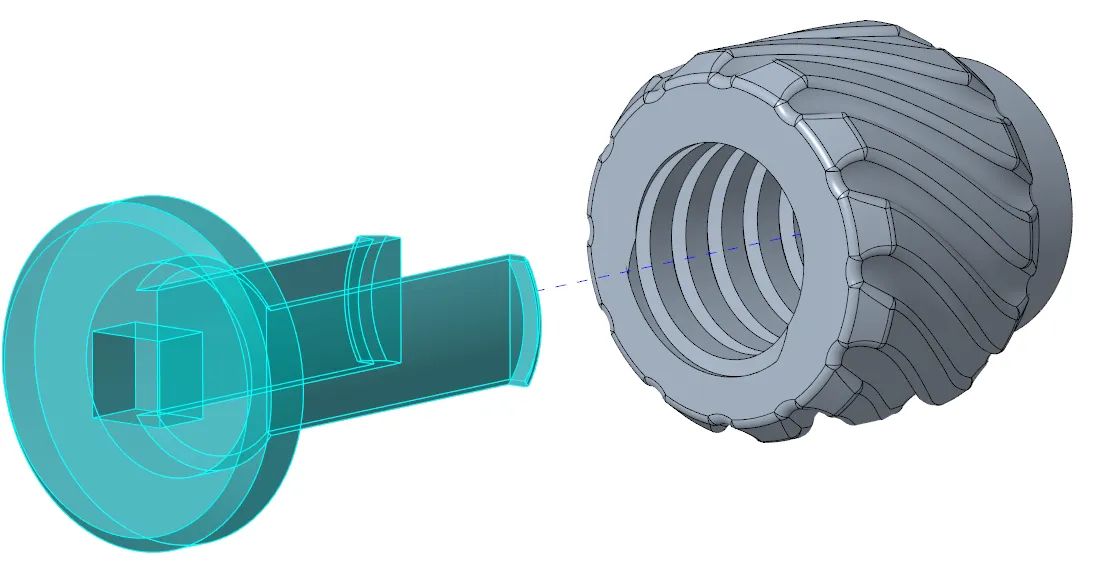
Insert the bracket holder between the snap hooks and fully screw into the crank
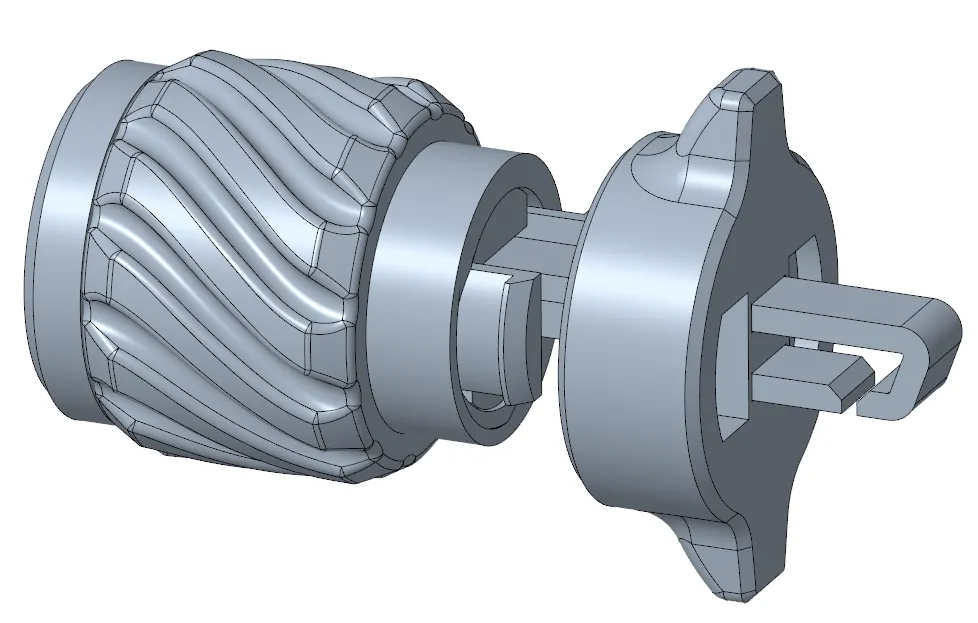
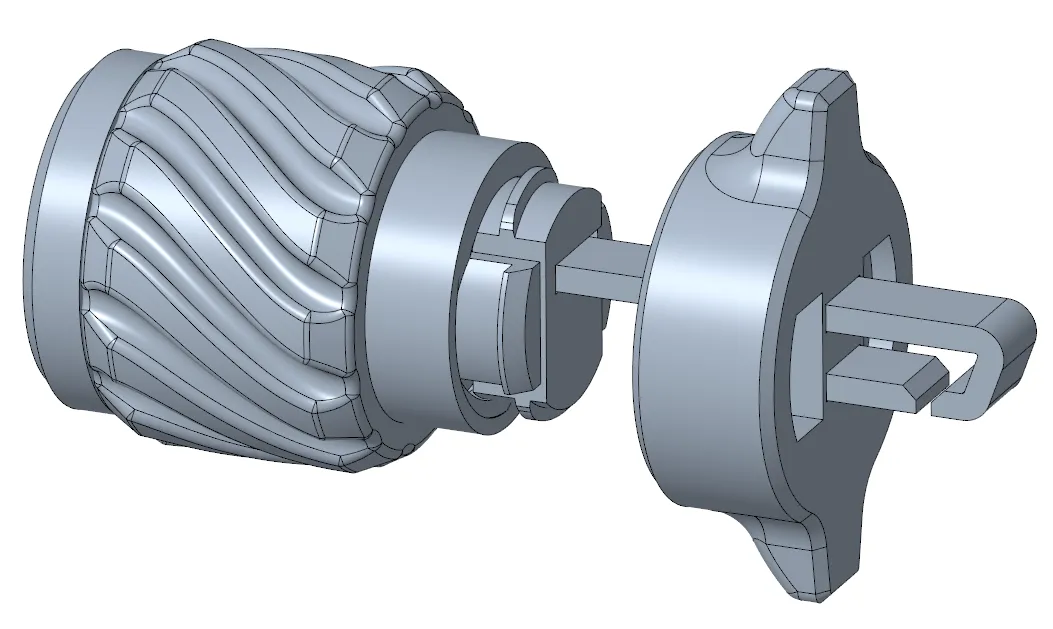
Press the counterpiece with snap hooks into the stop until it clicks into place
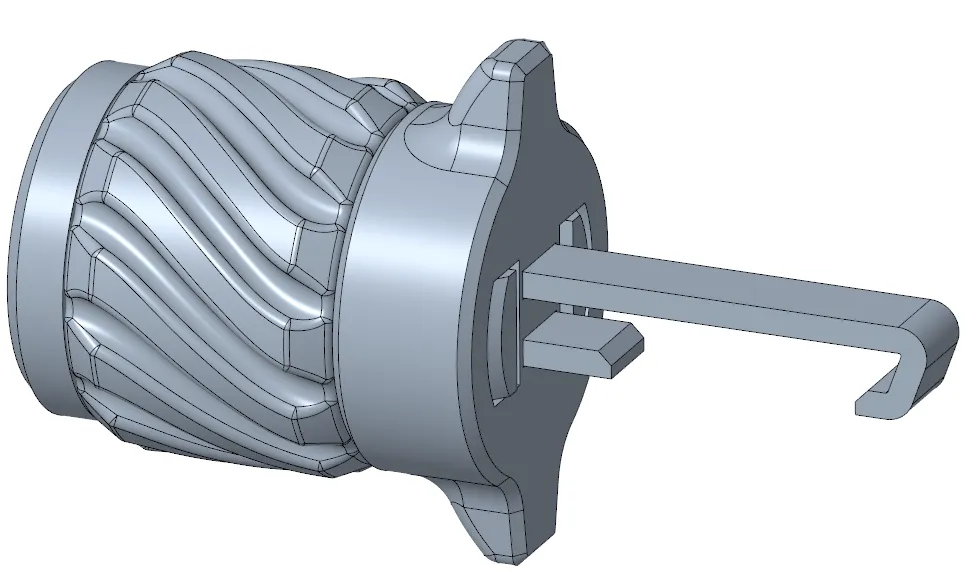
Attach the ball head connector to the counterpiece
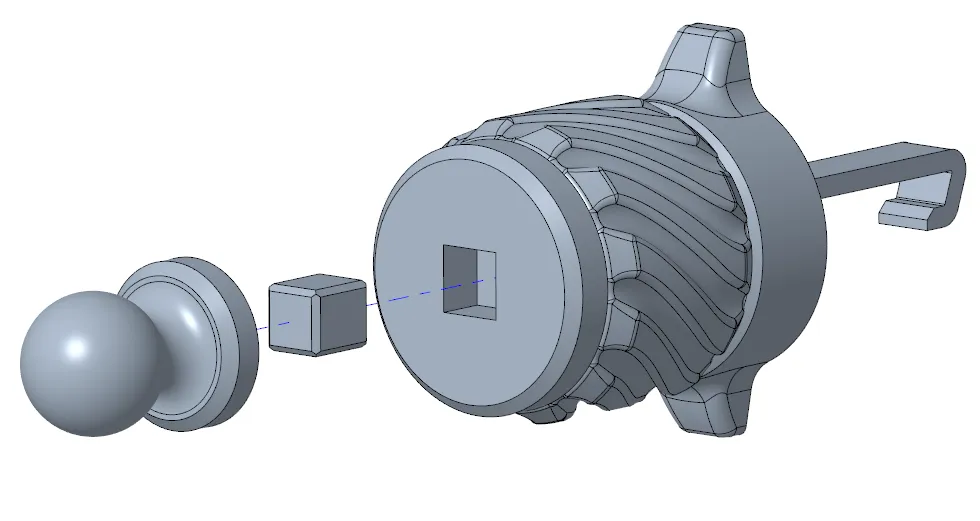
Attach your chosen adapter and secure — done!
Print Recommendations:
- ✅ PETG minimum — or better yet, ASA for UV resistance (highly recommended for car use)
- ✅ Use the provided print profiles for optimal results
- ✅ Use a calibrated printer for the print-in-place articulated holder

Also check this out:
If you’ve found my models useful or simply like what I do, feel free to support me with a coffee ☕. Thank you so much!
License

You shall not share, sub-license, sell, rent, host, transfer, or distribute in any way the digital or 3D printed versions of this object, nor any other derivative work of this object in its digital or physical format (including - but not limited to - remixes of this object, and hosting on other digital platforms). The objects may not be used without permission in any way whatsoever in which you charge money, or collect fees.


Comment & Rating (95)