LinQ Quick Lock


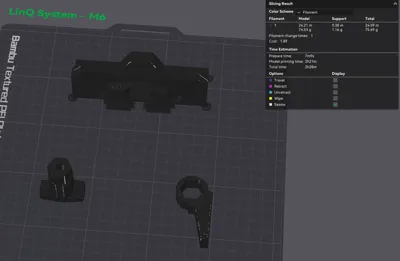
Print Profile(2)
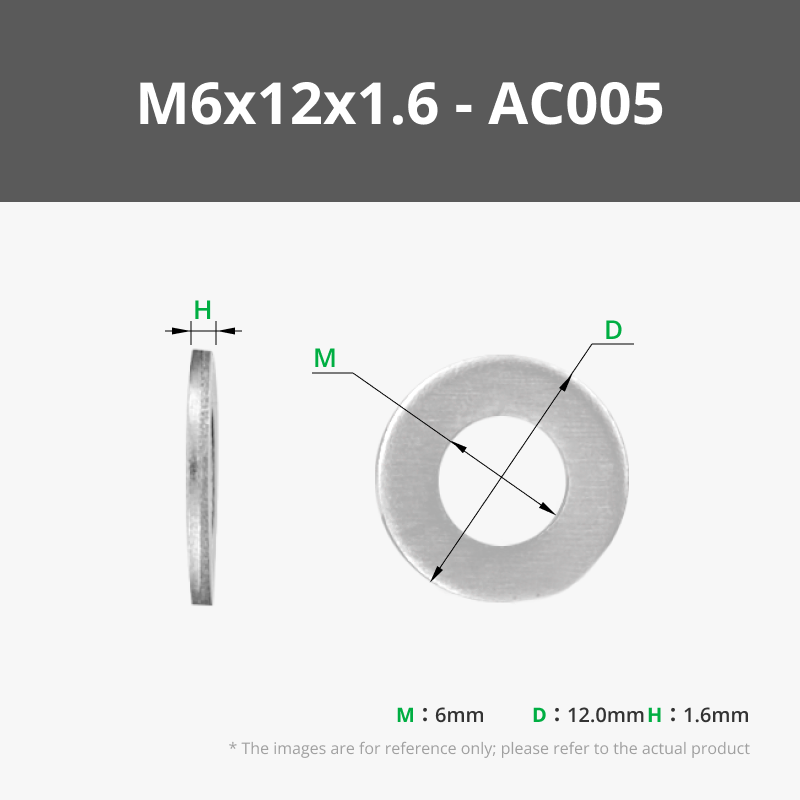
Bill of Materials


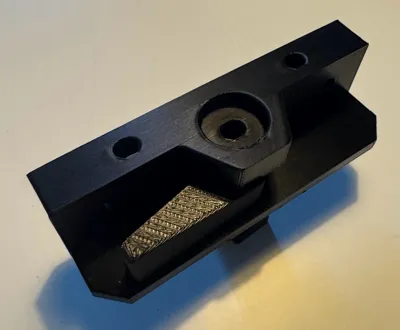
- M6 Bolt 40mm x 1: Need to be around 40mm long.
Description
UPDATE 2026-05-02: I added an experimental print profile for a print in place variant, read more about it at the bottom.
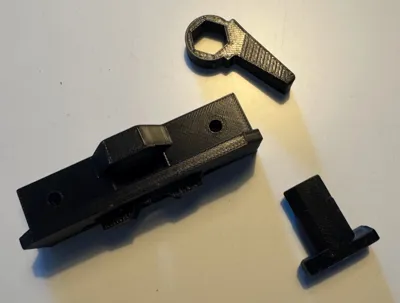
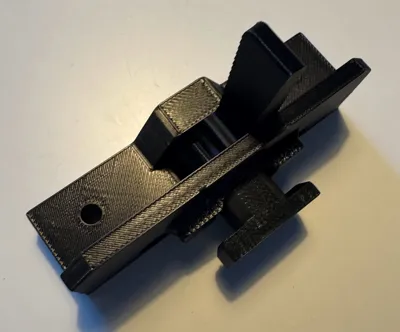
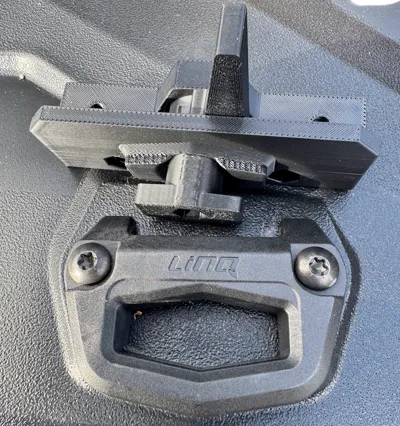
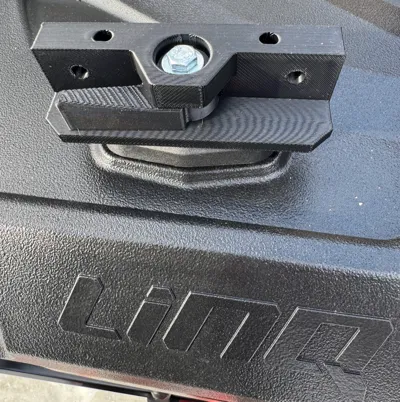
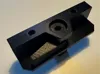
This is a complete 3D re-modeling of the LINQ lock mount for BRP/Skidoo/Seadoo/Can-am and some Lynx etc.
I also have another LINQ remix model up here on Makerworld but that is a remix of someone elses work, this is my own 3D model, that allows me some more flexibility in how things are printed and working.
Its a very easy setup, a 40mm M6 bolt of some kind, with a locking nut is all you need to complete this.
Here are some dimensions of the bolt pattern, for whatever you need to bolt it too.

Notes: The support settings and accuracy of your printer can affect the main LinQ body fit a little bit, but it should only be a matter of cleaning it up with a knife or some sandpaper to make it a good fit.
Oh, and these are main mainly to fit the original LinQ mounts, there are some custom ones on Makerworld that has a worse more “loose” fit, it will probably still work, but it might not be as snug and nice as this.
I have listed materials below, but any M6 locking nut and screw of at least 45mm should work, I also recommend a washer.
Boost Me (for free)
If you enjoy this model, a boost helps a lot, I spend a lot of filament prototyping and testing these fits to make them public, thank you.
Print in Place Experimental Print Profile
Read the description in the print profile, if your printer is well tuned, you should be able to use the print in place experimental, the bolt holes are the same as the other one, but the due to print orientation fixes and tweaking, the body is in slightly different shape.
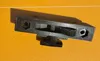
Releasing the locking mechanism after print
Push on the locking tab thingy, as well as the locking tab that goes down into the LinQ holder at the same time, it will crunch a bit cause I have some support geometry inside the item as well, but it should be fine.

Remove Built in Supports
For the built in supports, just remove them with some pliers or something, they should come out easily.

This was an experiment, please provide some comments if you end up printing this, and a boost if it works for you, thank you.
License
You shall not share, sub-license, sell, rent, host, transfer, or distribute in any way the digital or 3D printed versions of this object, nor any other derivative work of this object in its digital or physical format (including - but not limited to - remixes of this object, and hosting on other digital platforms). The objects may not be used without permission in any way whatsoever in which you charge money, or collect fees.
Comment & Rating (18)