Geeetech A30 X MGN12H Linear rail mod


Print Profile(1)

Description
I designed everything for use with my petsfang and the original carriage. My carriage has a large hole in the center (v3.3 A30). So I couldn't simply drill it
You need a 400 mm MGN12H rail + block. You can use the original belt:
https://s.click.aliexpress.com/e/_c4KPXmRV
It should also work with A10 and A10M. Please confirm if you try it
A10 and A10M require a 300 mm rail: https://s.click.aliexpress.com/e/_c4KPXmRV
There are 3 solutions:
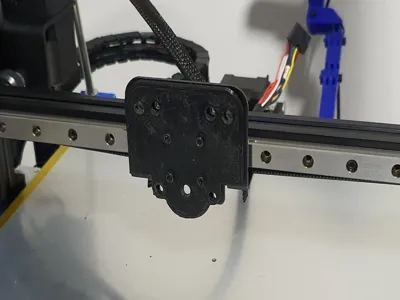
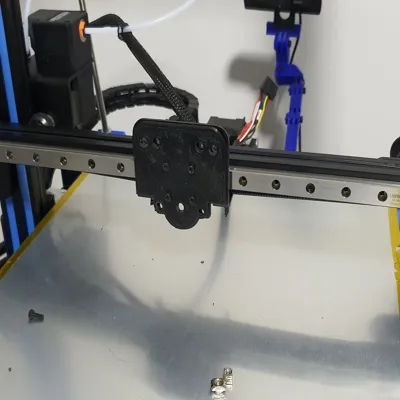
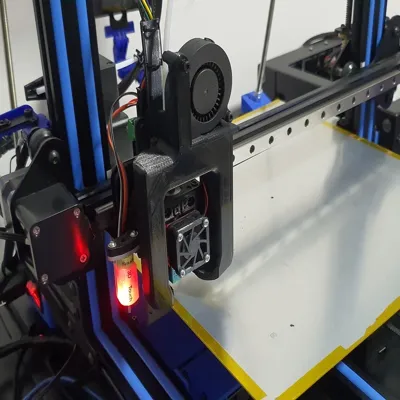
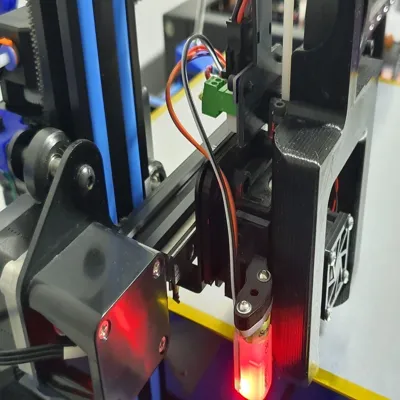
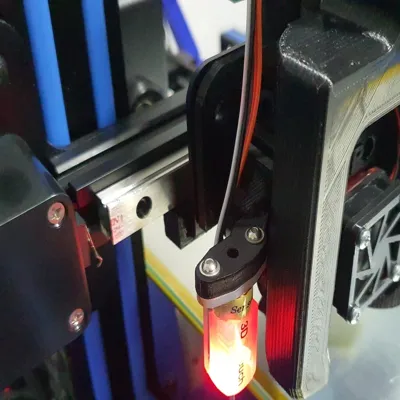
A - the one I used and tested. It consists of the original carriage + printed plate + modified Petsfang + X endstop
B - full cage only to be used without the original plate. With this solution, I did not design the X endstop. (You could try this mount https://www.thingiverse.com/thing:3094482 ) I have not tested it
C - plate to be used with the original carriage and original cage + X endstop. You can also use this plate just for drilling. I have not tested it
With solutions A and C, it is not essential but recommended to print spacers for the belt, so that the belt is perfectly aligned. In this case, you need to print an X_motor_spacer for the endstop. You probably need a longer belt. I don't know because I replaced the belt with a stronger and better one anyway
Regarding the endstop, if you also plan to modify the Z-axis with MGN12H, you can directly install the mount for the X motor with endstop. You can find it here:
https://makerworld.com/it/models/2544358-geeetech-a30-z-mgn12h-linear-rail-mod#profileId-2801525
For the MGN12H block, 4 M3 screws are needed, and for the rail, 3 or 4 M3 screws + M3 T-nuts
https://s.click.aliexpress.com/e/_c3lRasGR
https://s.click.aliexpress.com/e/_c3N40GfV
For a precise rail installation, you can use this guide:
https://www.thingiverse.com/thing:2152669
Here is a demonstration video:
https://youtu.be/vFeug0_gQI4
License
You shall not share, sub-license, sell, rent, host, transfer, or distribute in any way the digital or 3D printed versions of this object, nor any other derivative work of this object in its digital or physical format (including - but not limited to - remixes of this object, and hosting on other digital platforms). The objects may not be used without permission in any way whatsoever in which you charge money, or collect fees.
Comment & Rating (0)