
Softair Airsoft Modular Battery Box - Powerpack
Print Profile(2)
Description
DESCRIPTION
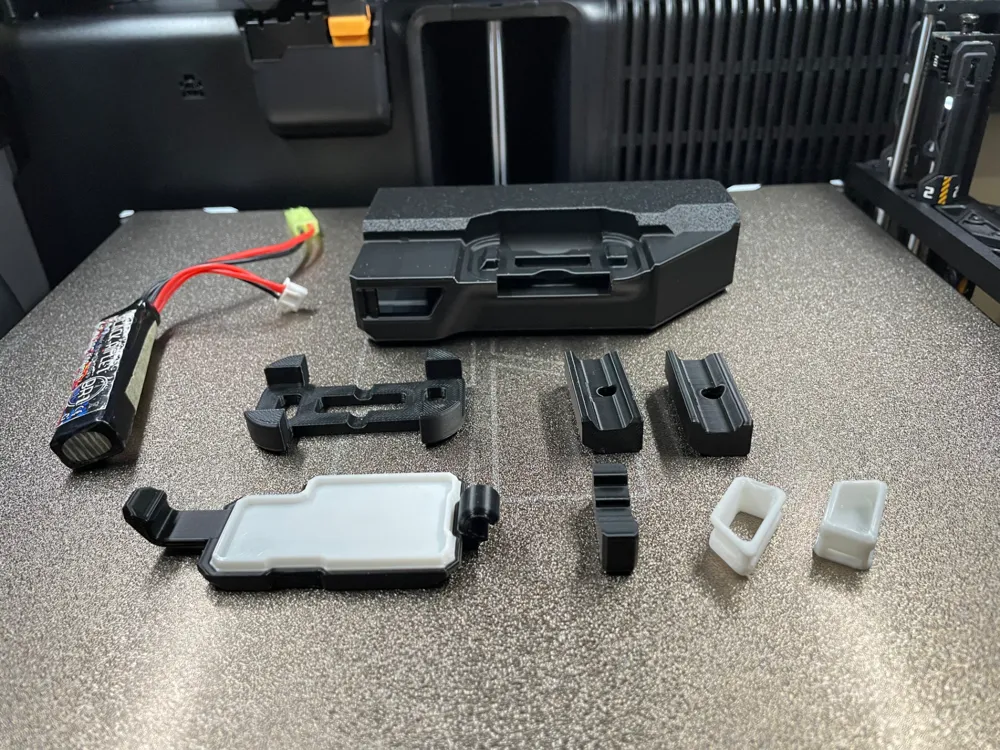
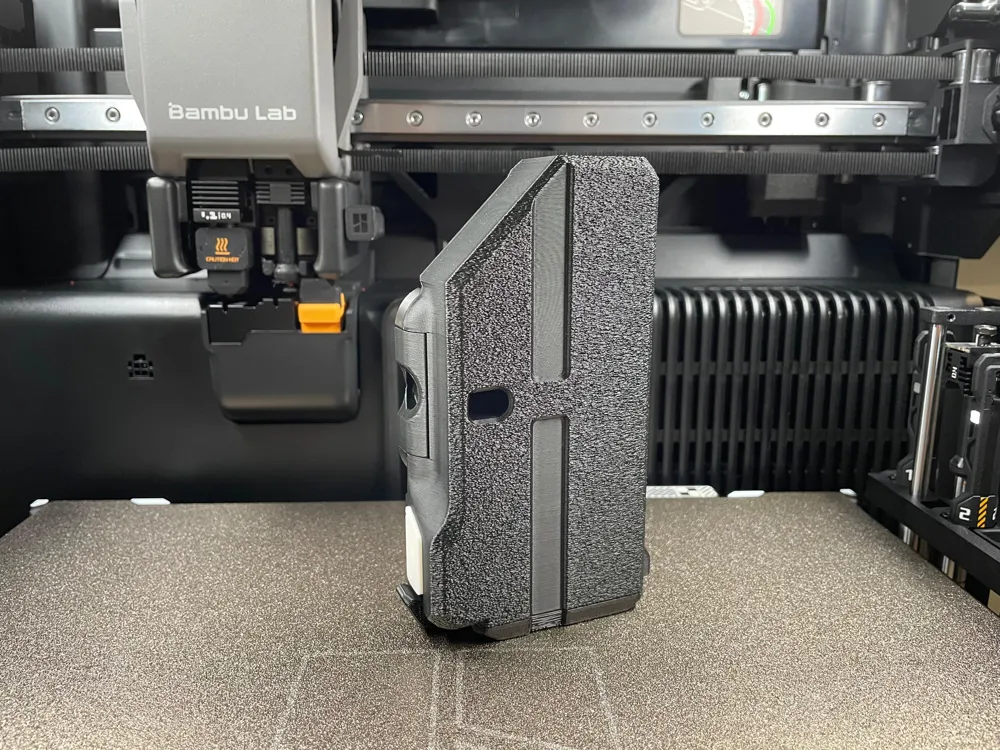
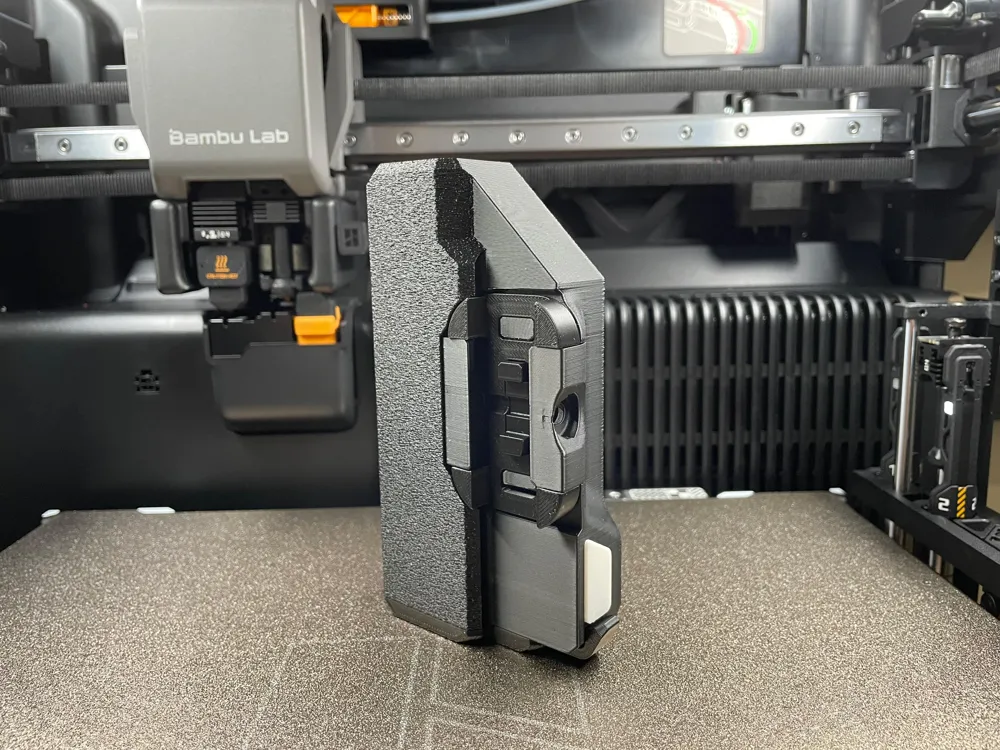
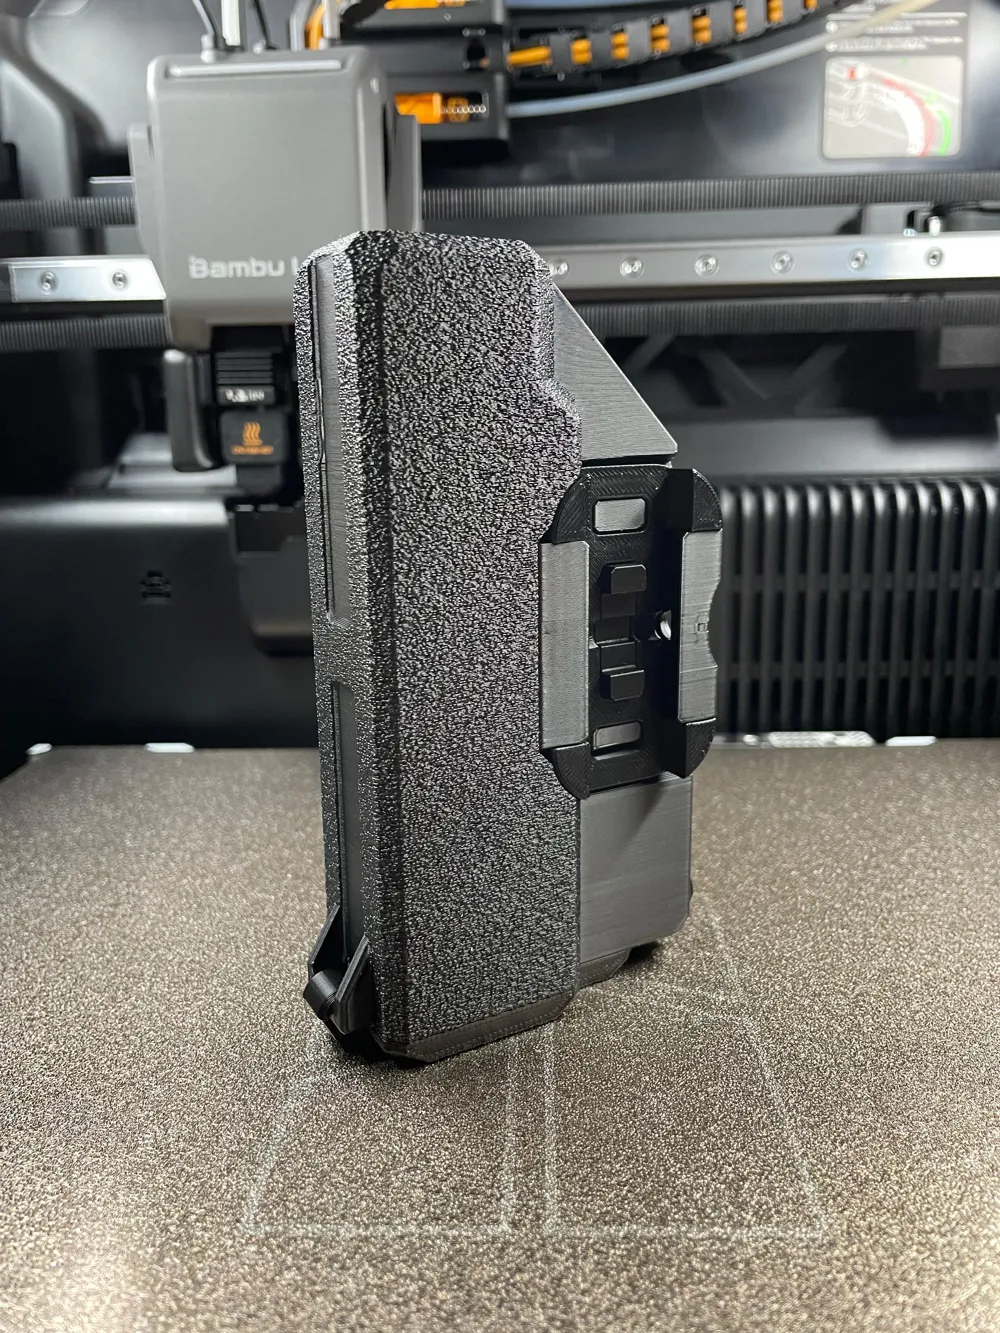
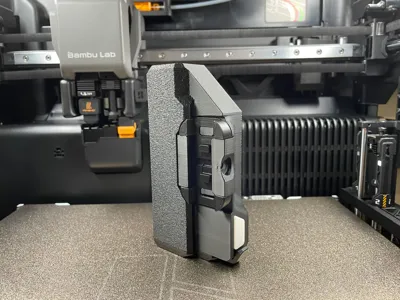
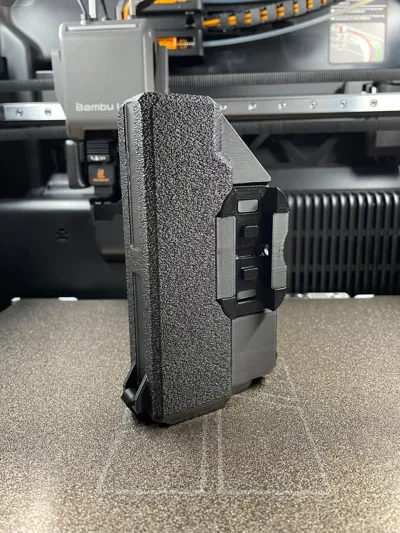
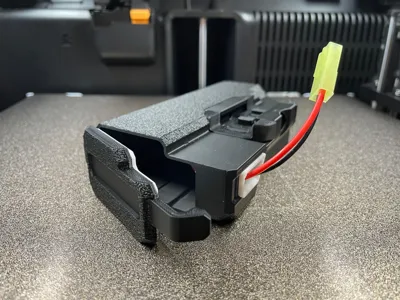
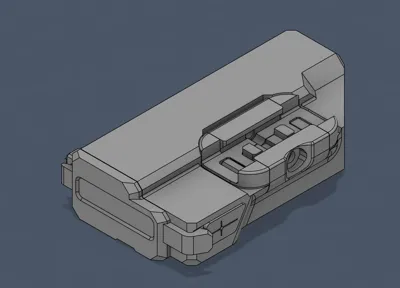
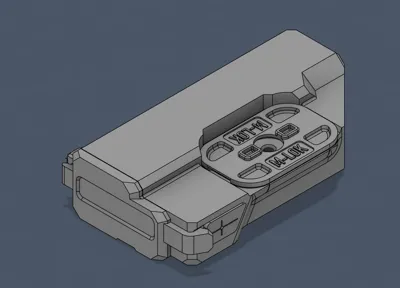
This is a rugged Powerpack compatible with Modular Grip V2 for softair guns. Just like my modular Suppressor and Muzzle, I designed a system that will lay the foundations for different grip shapes and accessories compatible with the same modular parts. This modularity allows:
- quick configuration for personal requirement
- easy adaptation with different standards
- reuse of the same parts for different grip models
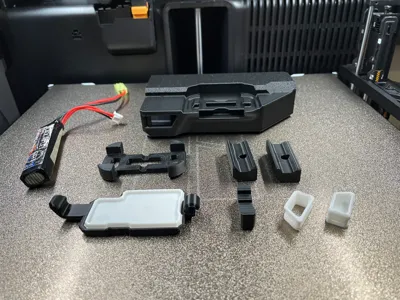
The modular parts are:
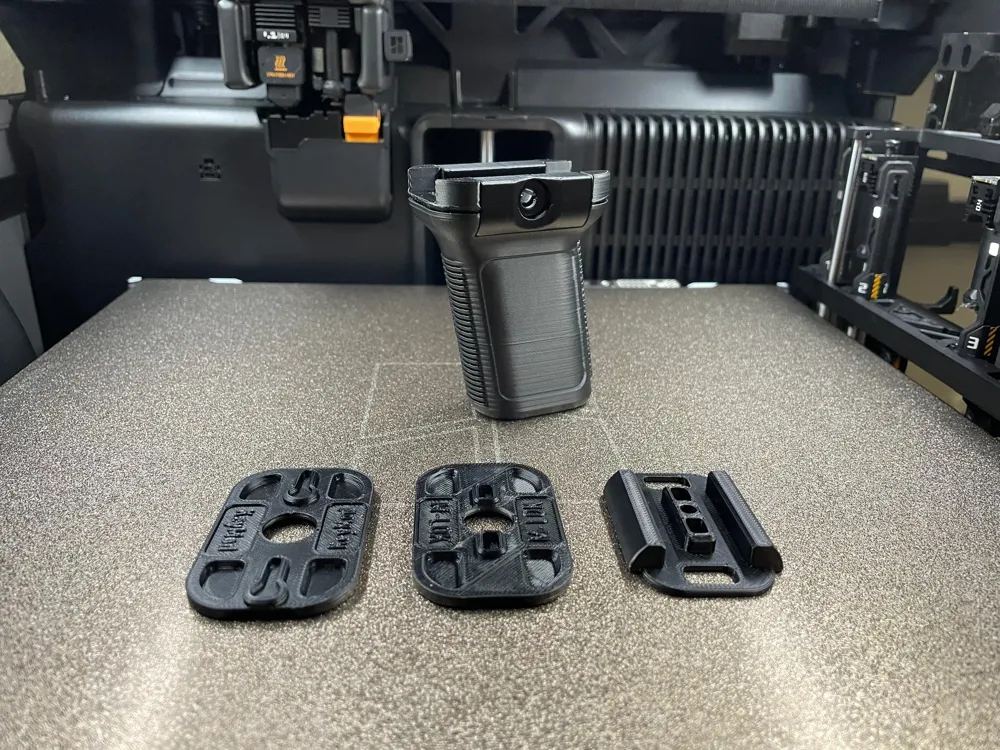
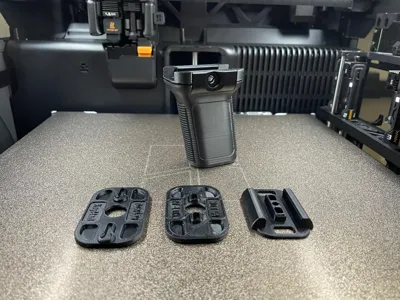
- rail spacing (at the moment available for 4 and 5 mm rails)
- screw and nut combination (at the moment available for M4 and M5 nuts)
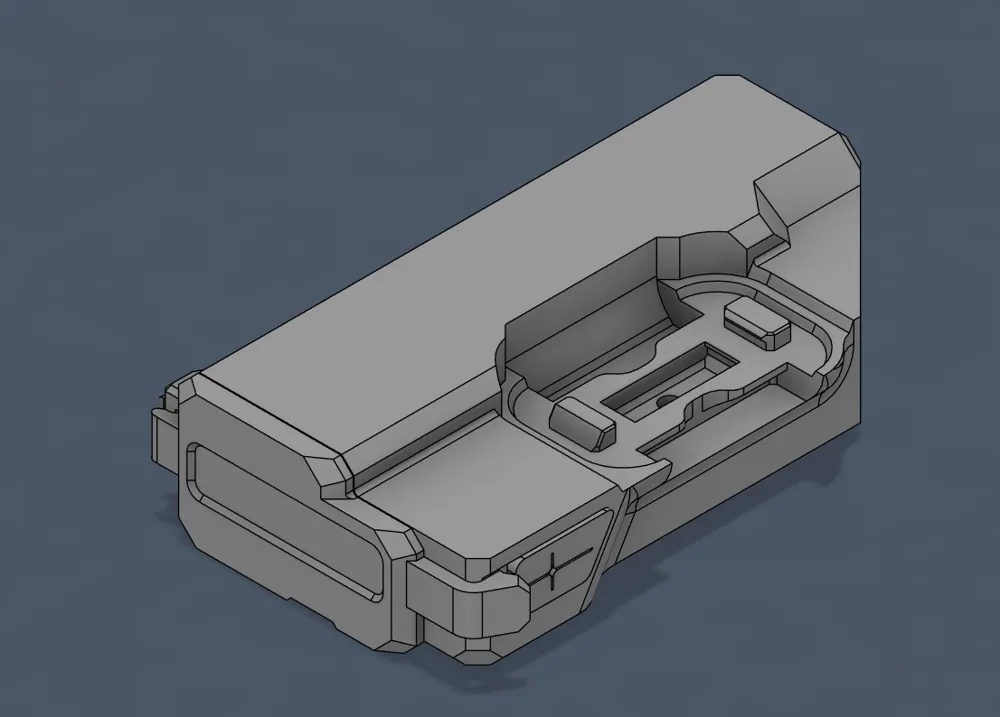
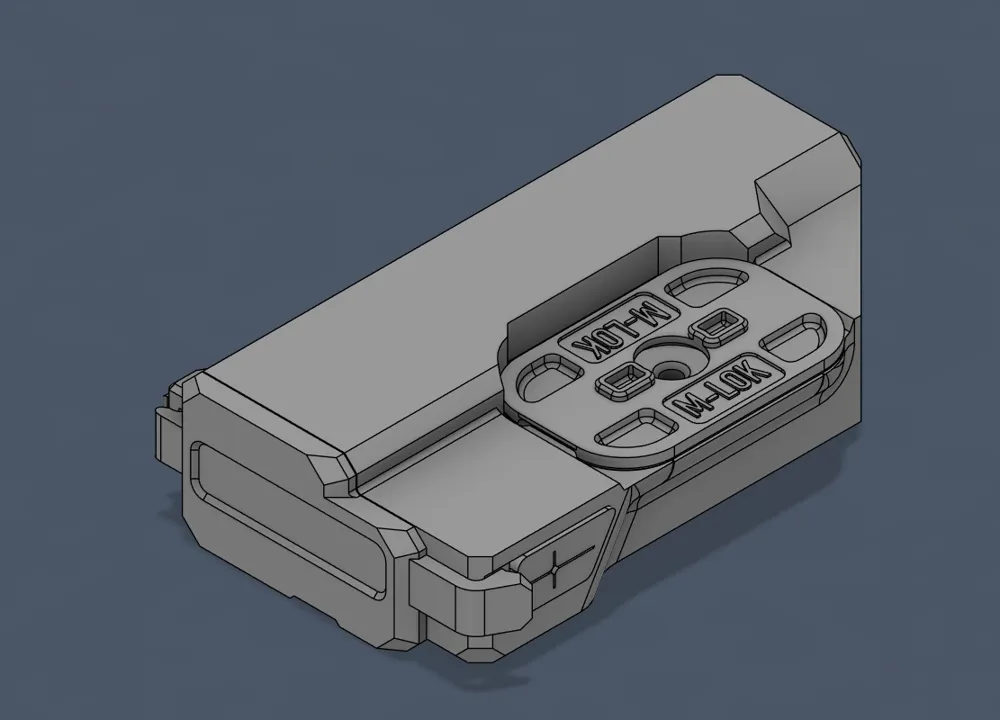
- plates compatibility (M-LOK and KeyMod)
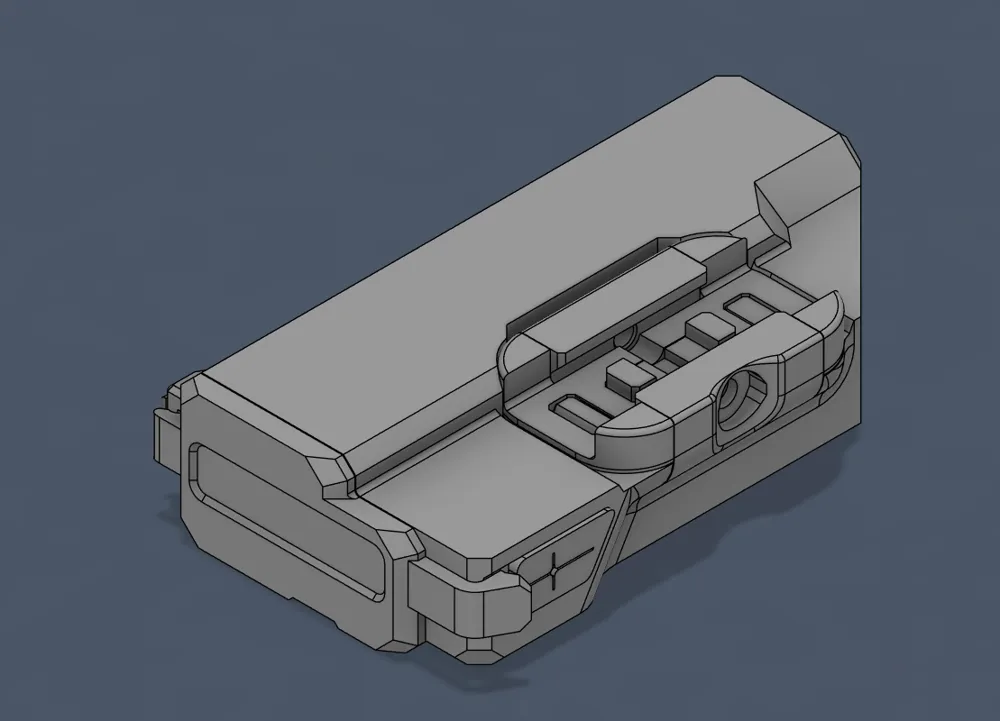
For locking it on the rail, it requires an M5x32mm screw and nut (or alternatively M4). The length should be between 30 and 35 mm.
Looking for a less bulky powerpack? Check out my Compact Powerpack!
Here you can see the different modular rail attachments:
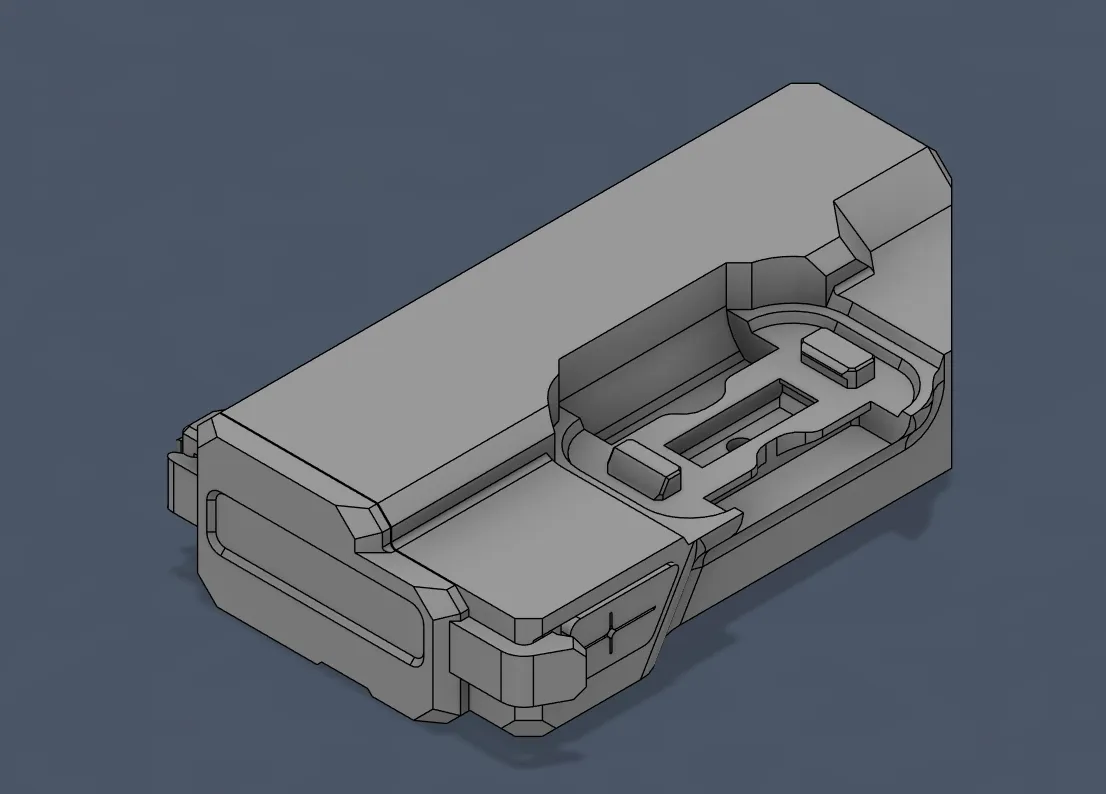
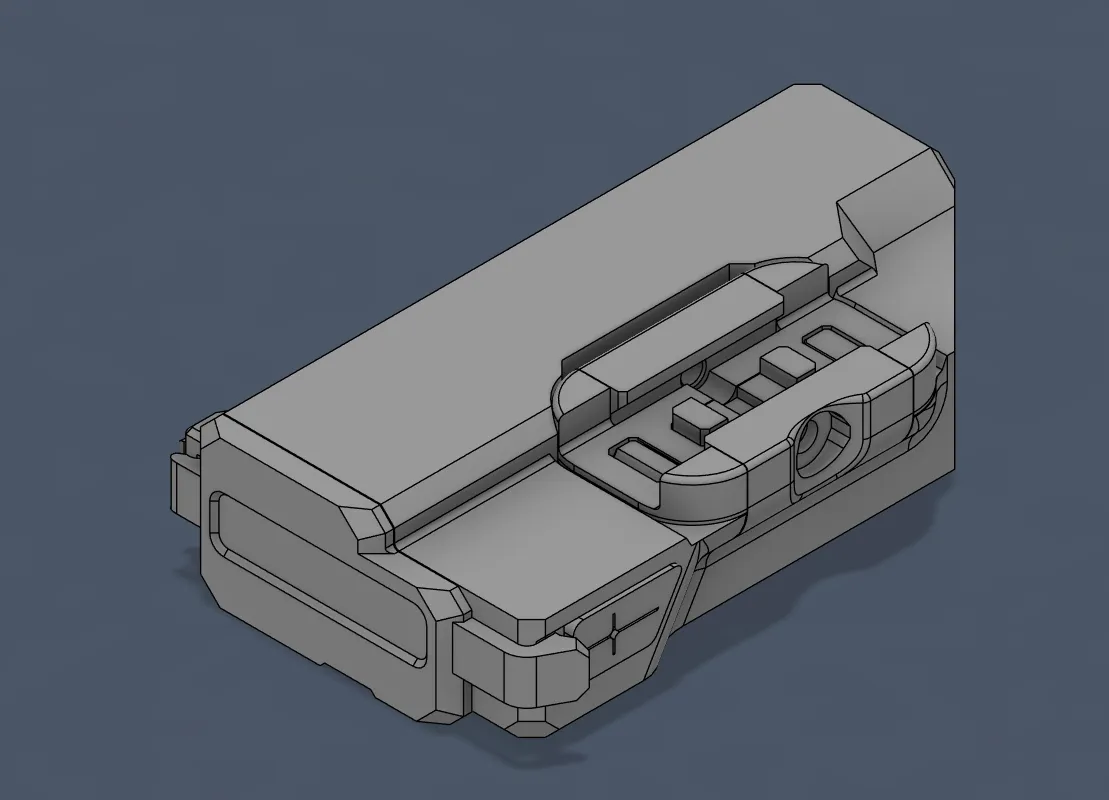
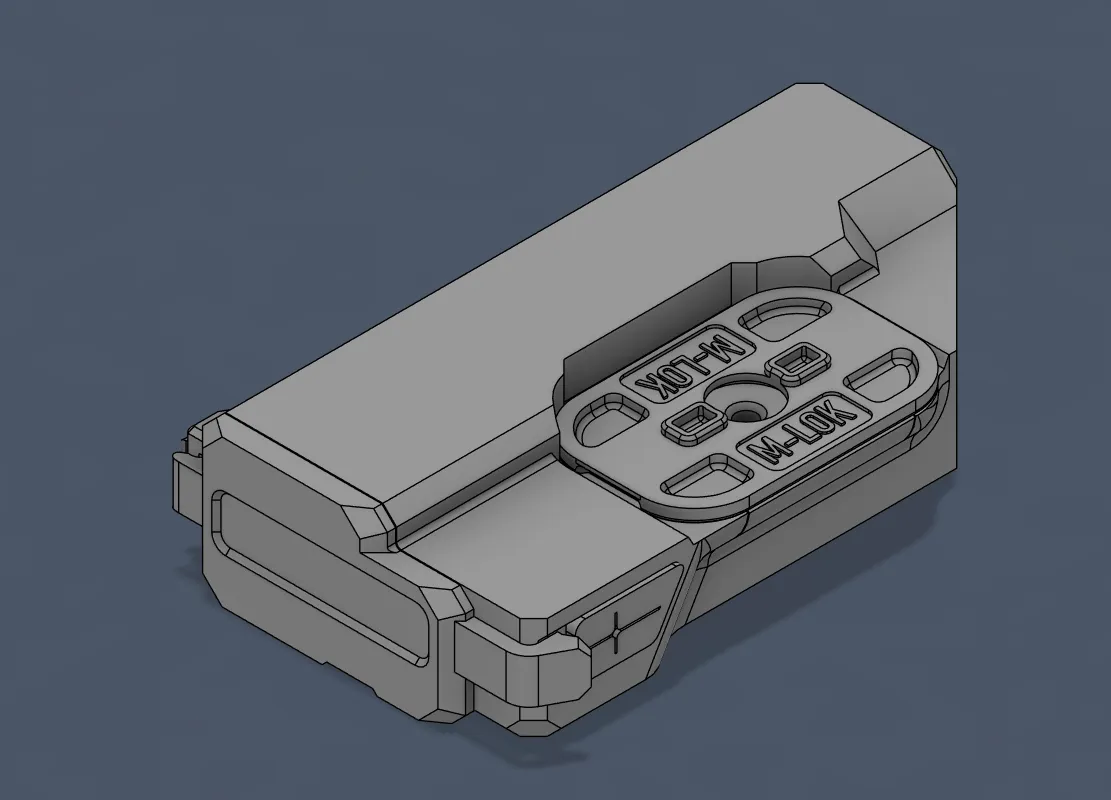
Two versions available:
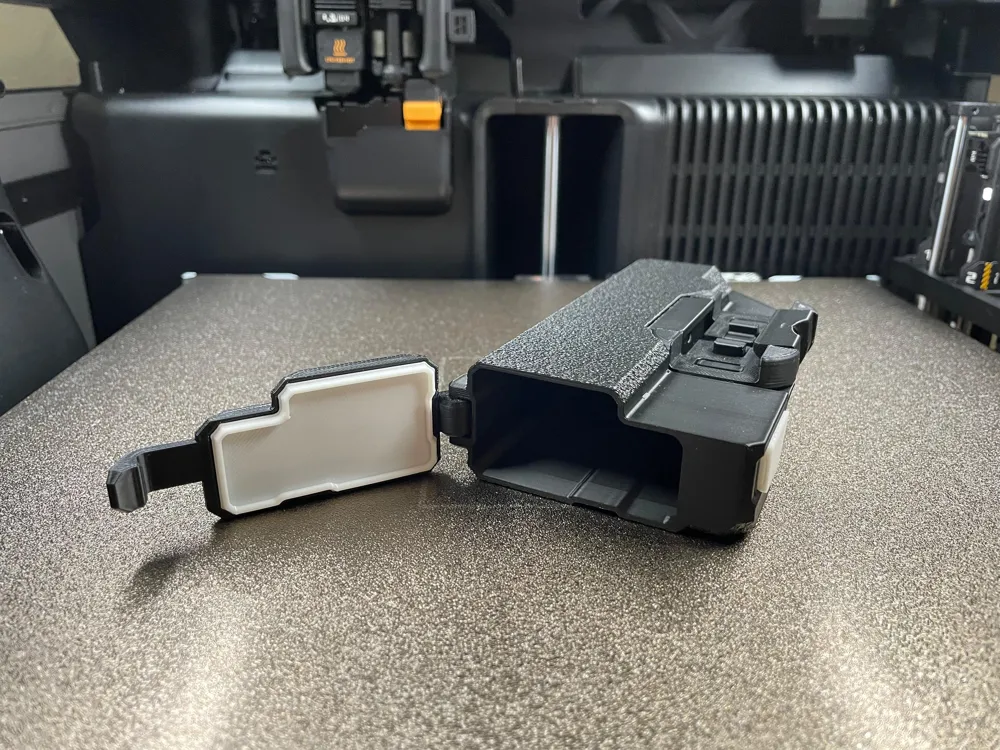
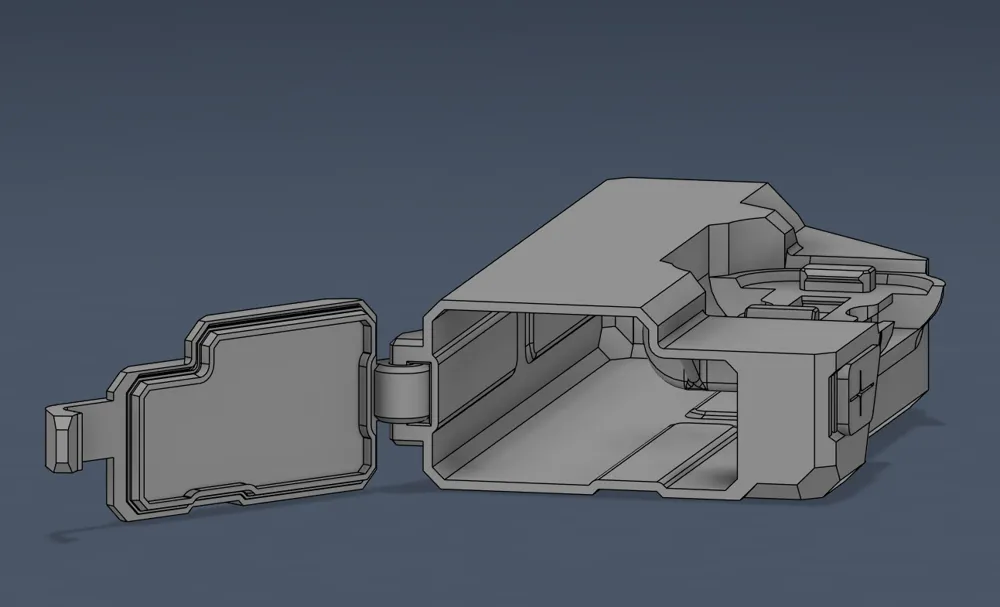
- Modular Battery Box: standard dimensions for the battery 25.6 x 28.8 x 128 mm
- Modular Battery Box - SMALL: smaller dimensions for the battery 12 x 28.8 x 112 mm
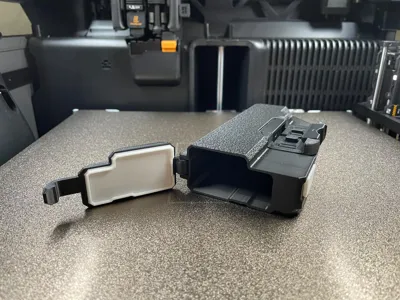
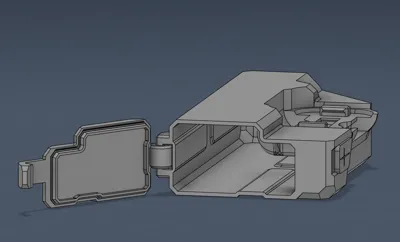
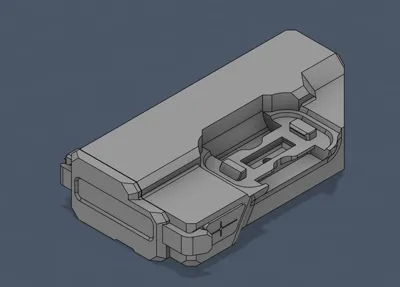
Note that the box's height is fixed due to design constraints. Width and depth are modular and can be adjusted by me if you need a specific dimension. The dimensions are referred to in this orientation of the box, and the space for the battery is on the left of the box. There is also space on the right side of the box that is not intended for battery placement, but rather for cable routing and PCBs.
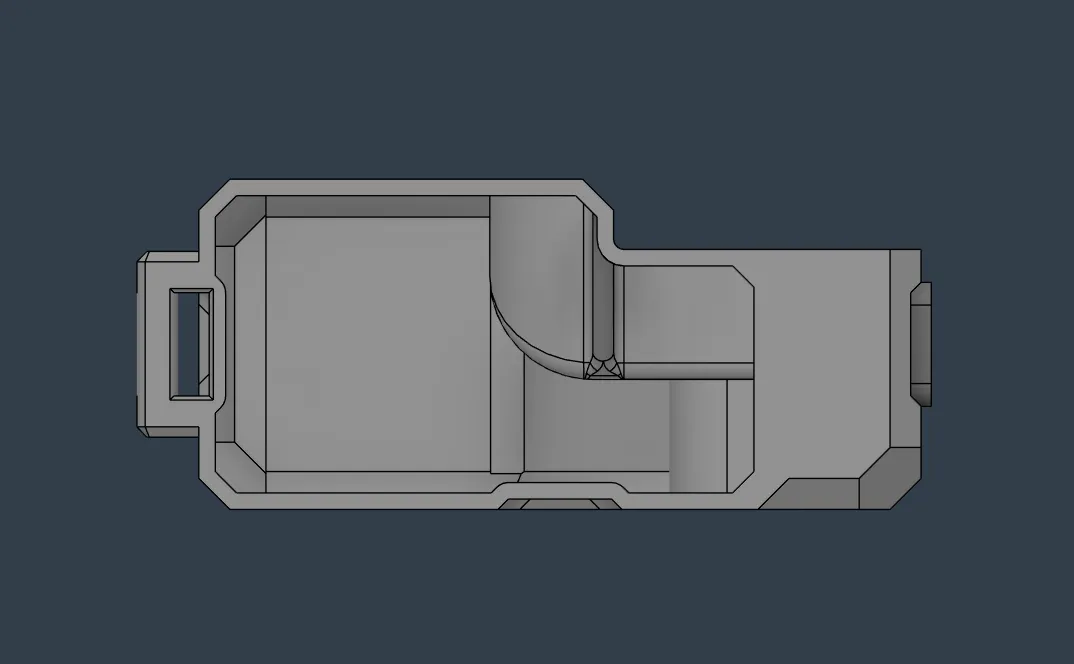
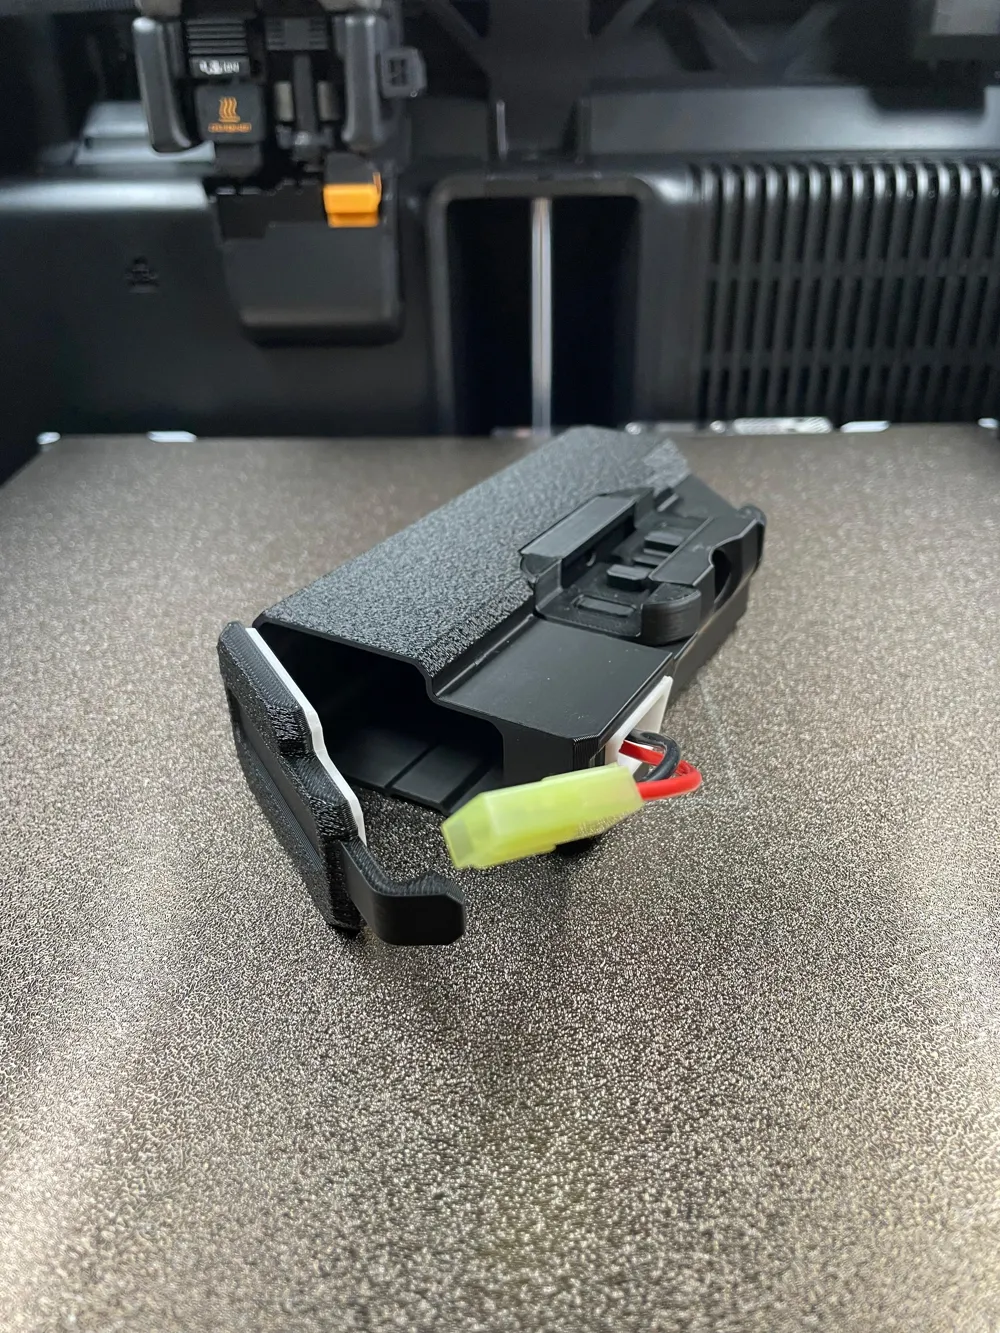
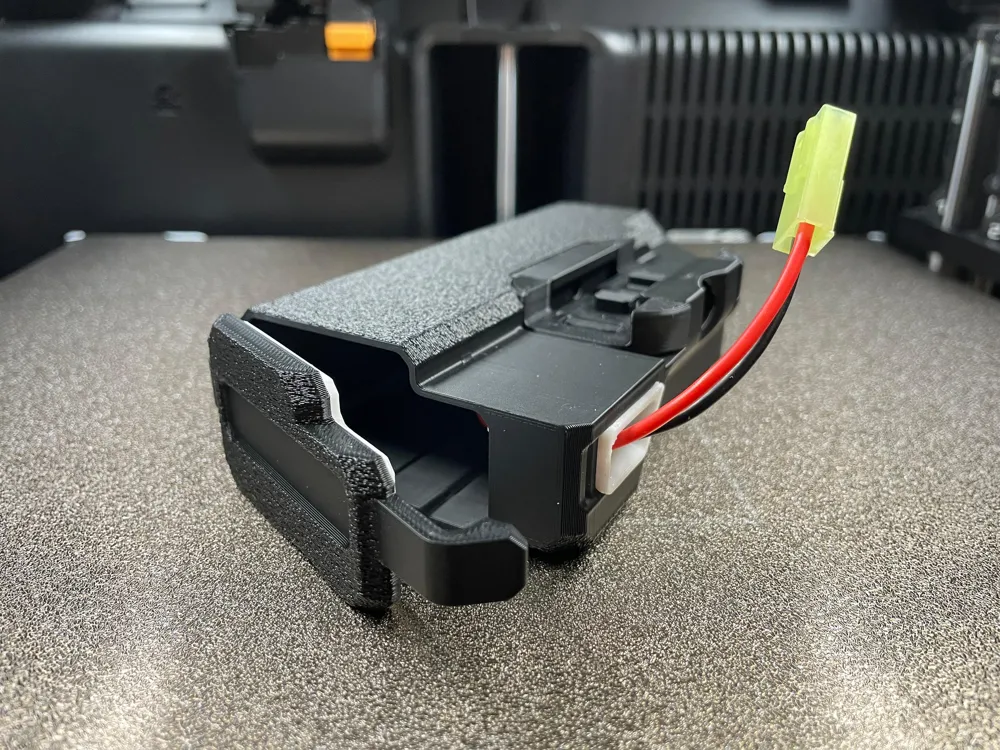
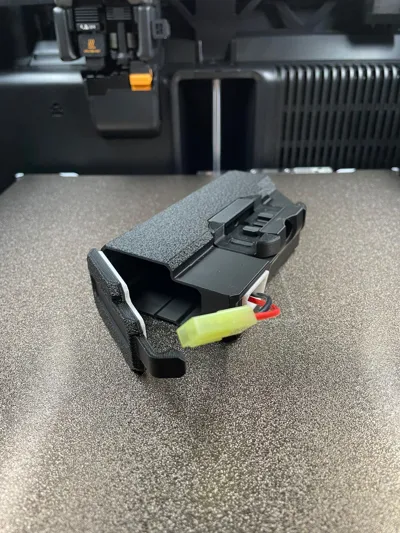
The hole for the cable exit is on the right side of the box and can be plugged using one of the available plugs:
- Open: softer edge for a clean pass-through of the cables
- Cut: with a cross cut to allow the passage of the connector and have a better seal with the cables
- Closed: to close the hole completely
If you choose to close the hole completely, you can add negative volumes directly in the slicer to generate custom-shaped and placed holes in the box for further cable routing customisation. Usually, cable holes can be placed on the edge of the cap, inside the cap or at the bottom of the box.
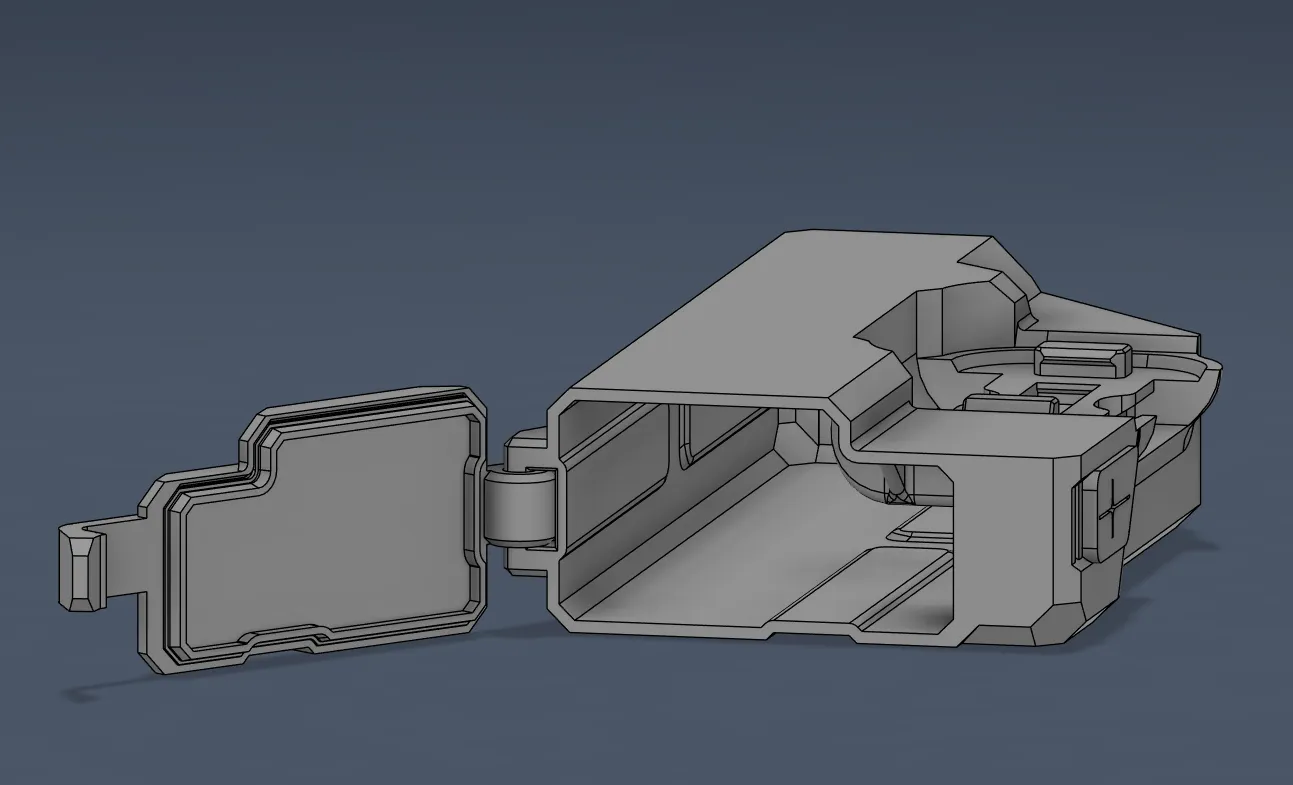
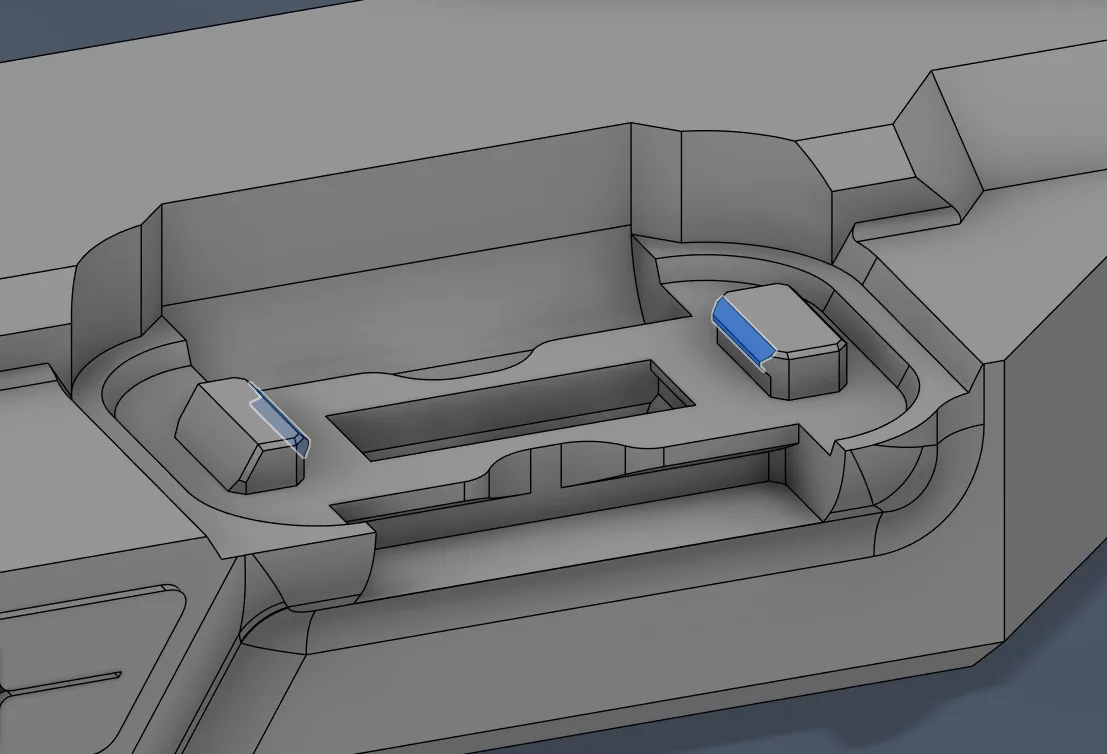
KNOWN ISSUE: the modular locking snaps are too tight, so the adapter could jam in place. To remove it, try prying with a small tool, like a spatula or smooth out the snap teeth (image below) before inserting the plate.
PRINTING
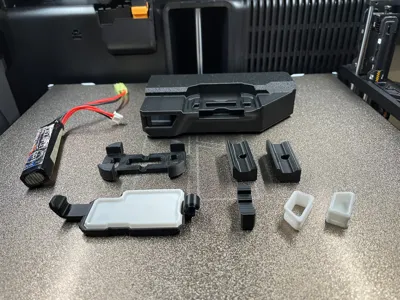
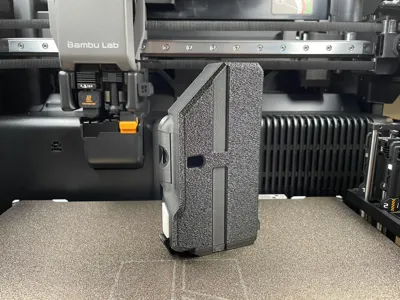
Every part has been placed in the optimal orientation. Some parts require supports, others brims. You can customise the presence and the effect of the fuzzy skin on the sides of the box in the slicer. The SEAL and the PLUGS need to be printed in TPU or another flexible material. The other parts can be printed in any strong material, like PETG, ABS, ASA, or PA.
The Seal for the Cap must be glued in place.
The plates and the alternative parts can be found HERE.
Boost Me (for free)
Follow me for more: new powerpacks are coming!
112/12 - 128/25,6
28,8
License

You may create derivative works based on this object, provided that all such derivative works are published exclusively on the MakerWorld platform and include proper attribution to the original creator. You may not share, upload, host, distribute, or publish this object—or any derivative work of this object—on any other digital platform, marketplace, or distribution channel. Commercial use of this object and any derivative works is strictly prohibited. This includes, but is not limited to, selling, renting, sublicensing, or using the object in any context in which you receive monetary compensation or other financial benefits.


Comment & Rating (0)