
WindUp Cute Chick in Crackable Voronoi Easter Egg
Print Profile(1)
Bill of Materials






Description
Membership
All Commercial License Memberships are currently SOLD OUT. The next opportunity to join is expected in 2027, unless availability changes earlier. Thank you for your interest and support.
Follow me on MakerWorld for more of my designs, drops, and future releases! : makerworld.com/en/@3DMakerSpace/upload
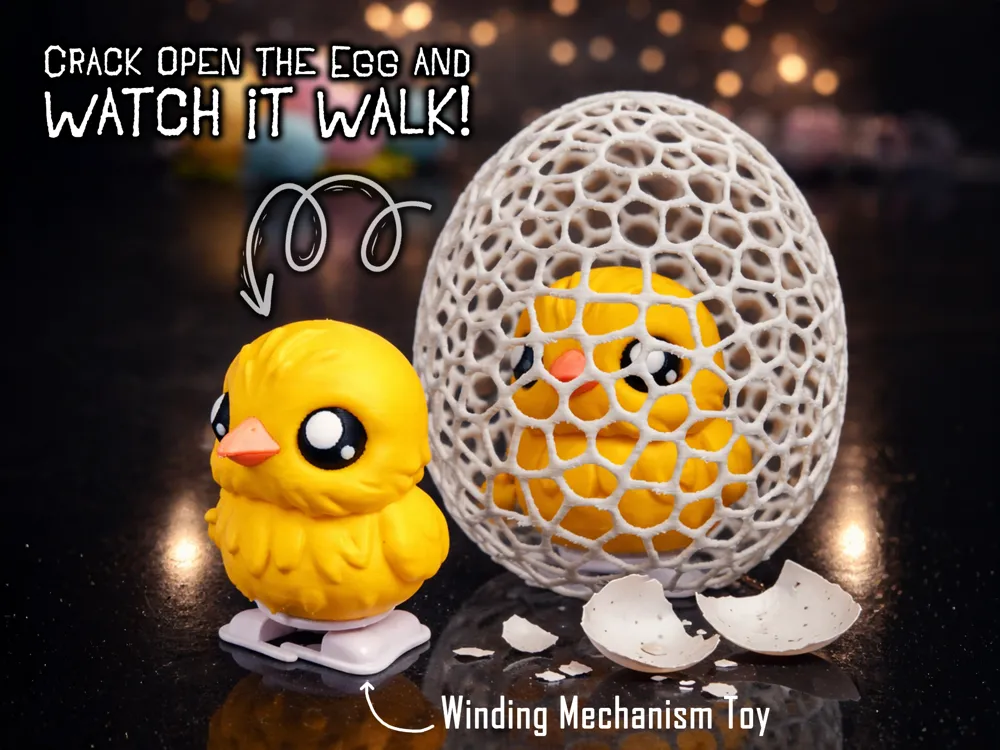
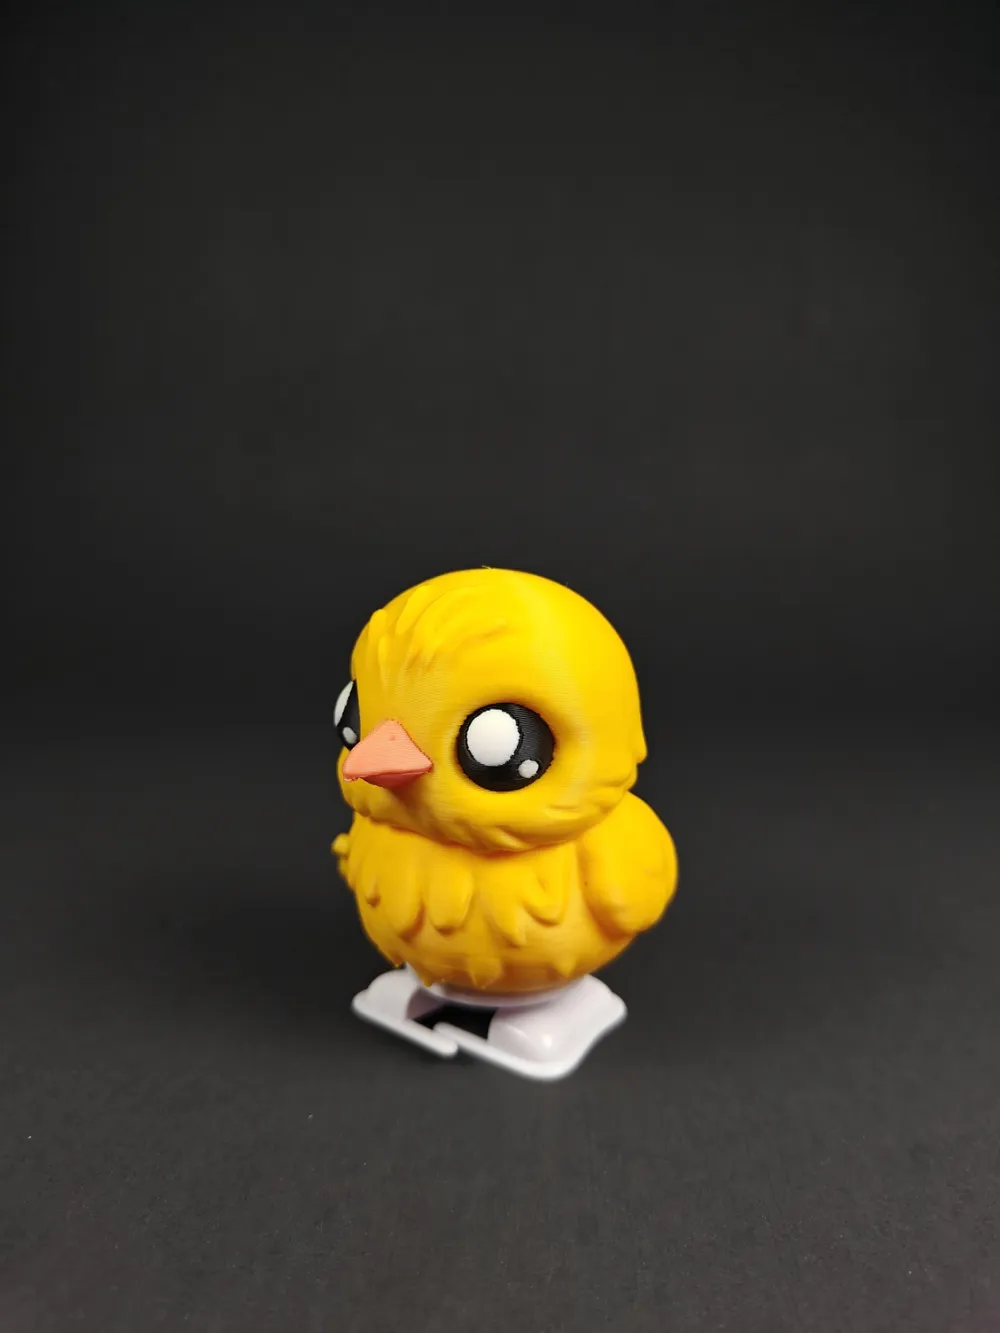
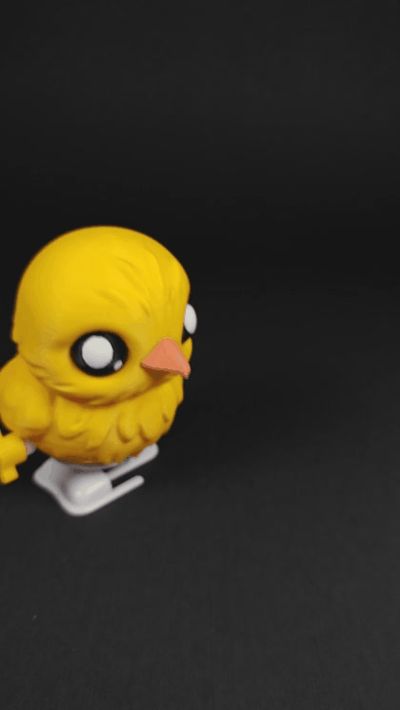
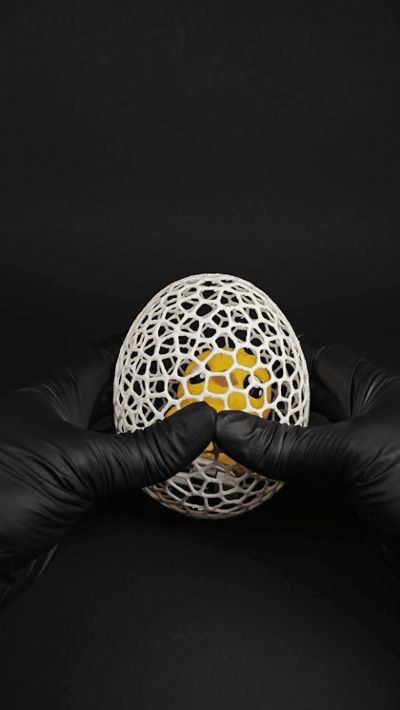
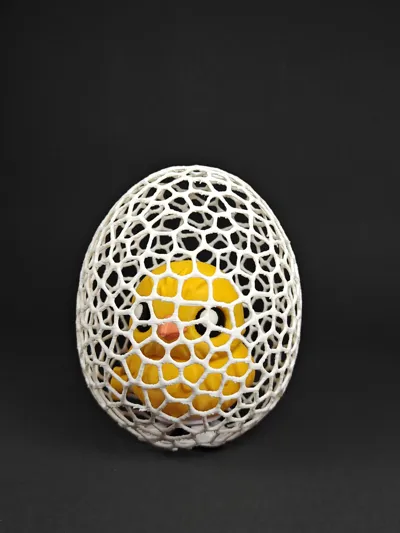
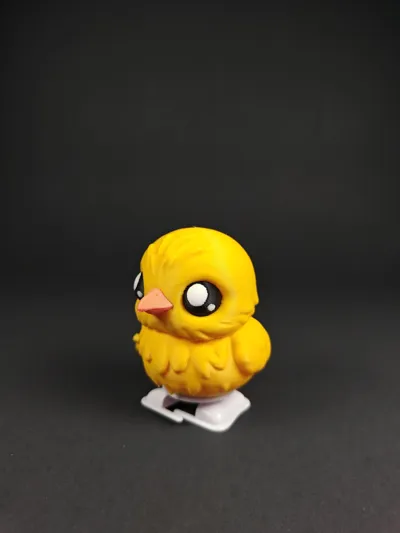
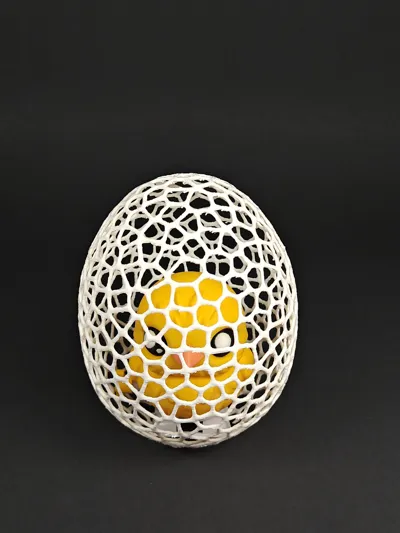


Wind-Up Chick in Crackable Voronoi Egg – 3D Printed Easter Toy
| 
|


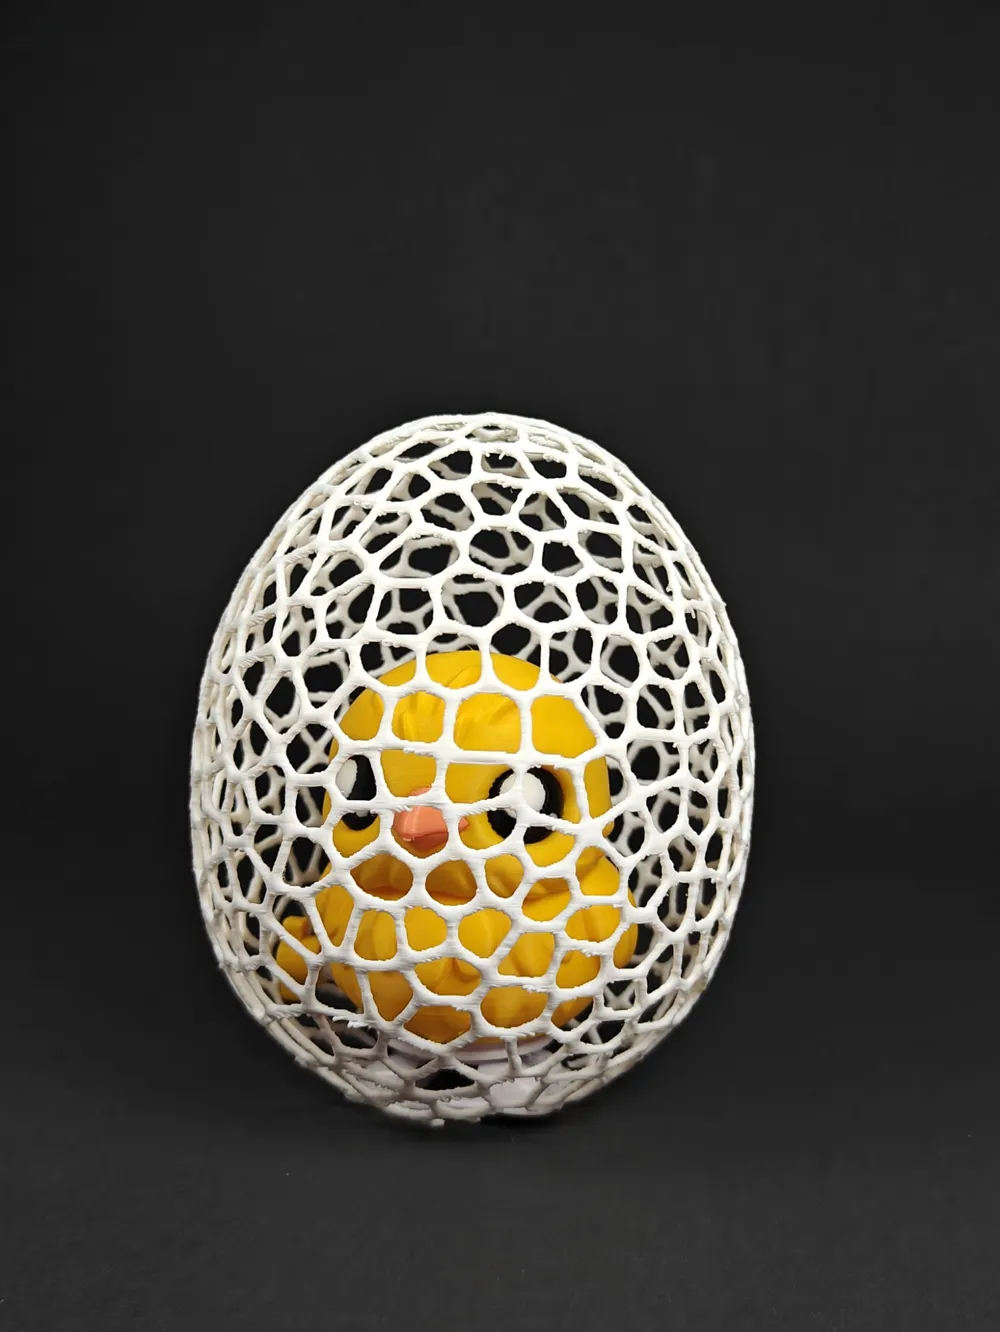
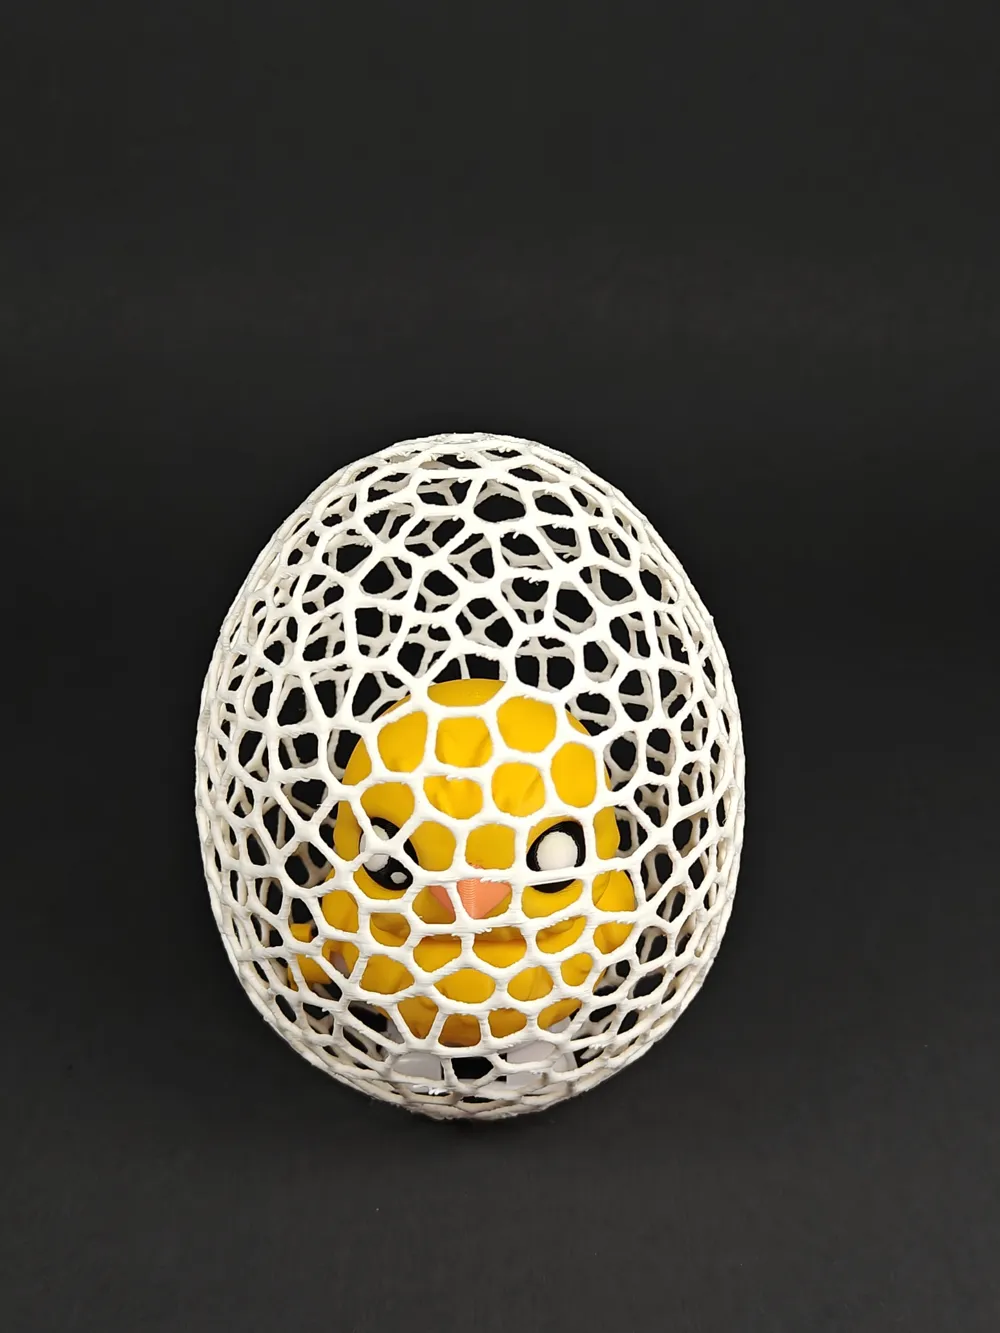
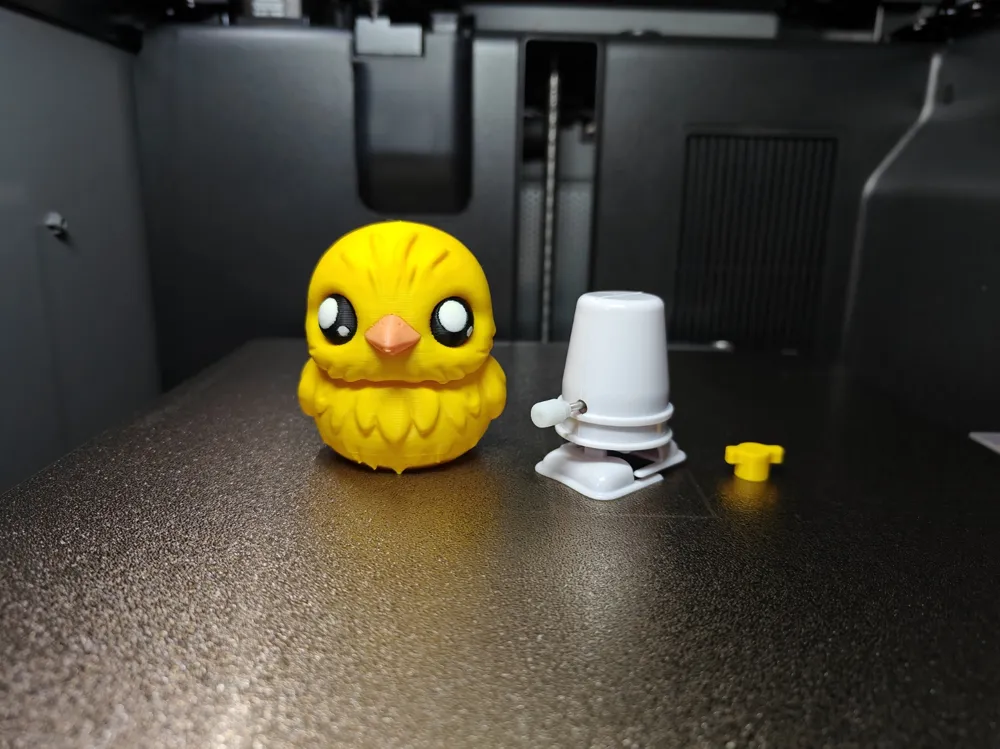
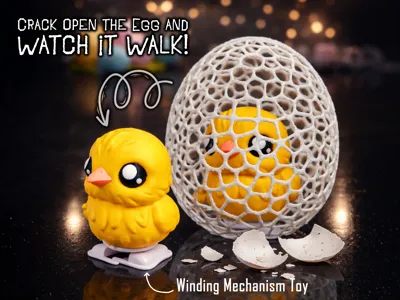
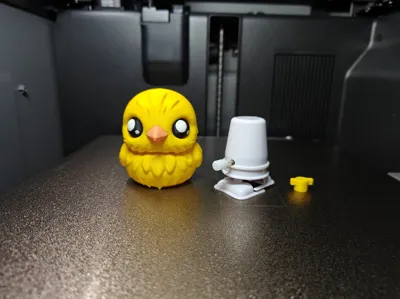
A fun and interactive 3D print that combines mechanism + design. This model features a crackable Voronoi egg that opens to reveal a wind-up chick inside. Once out, simply turn the key and watch the chick walk. Designed to be visually satisfying and mechanically engaging, the egg breaks apart in a natural Voronoi pattern, making the “hatch” moment especially enjoyable.
Boost Me (for free)
🐣 Happy Easter!
If this little chick made you smile, consider giving it a boost — it helps more creators hatch ideas like this! 🌸
Thanks for your support and happy printing!
Perfect as:
- Easter decor or gift
- Desk toy / fidget
- Conversation piece
- Kids-friendly mechanical toy
Assembly & Print Instructions
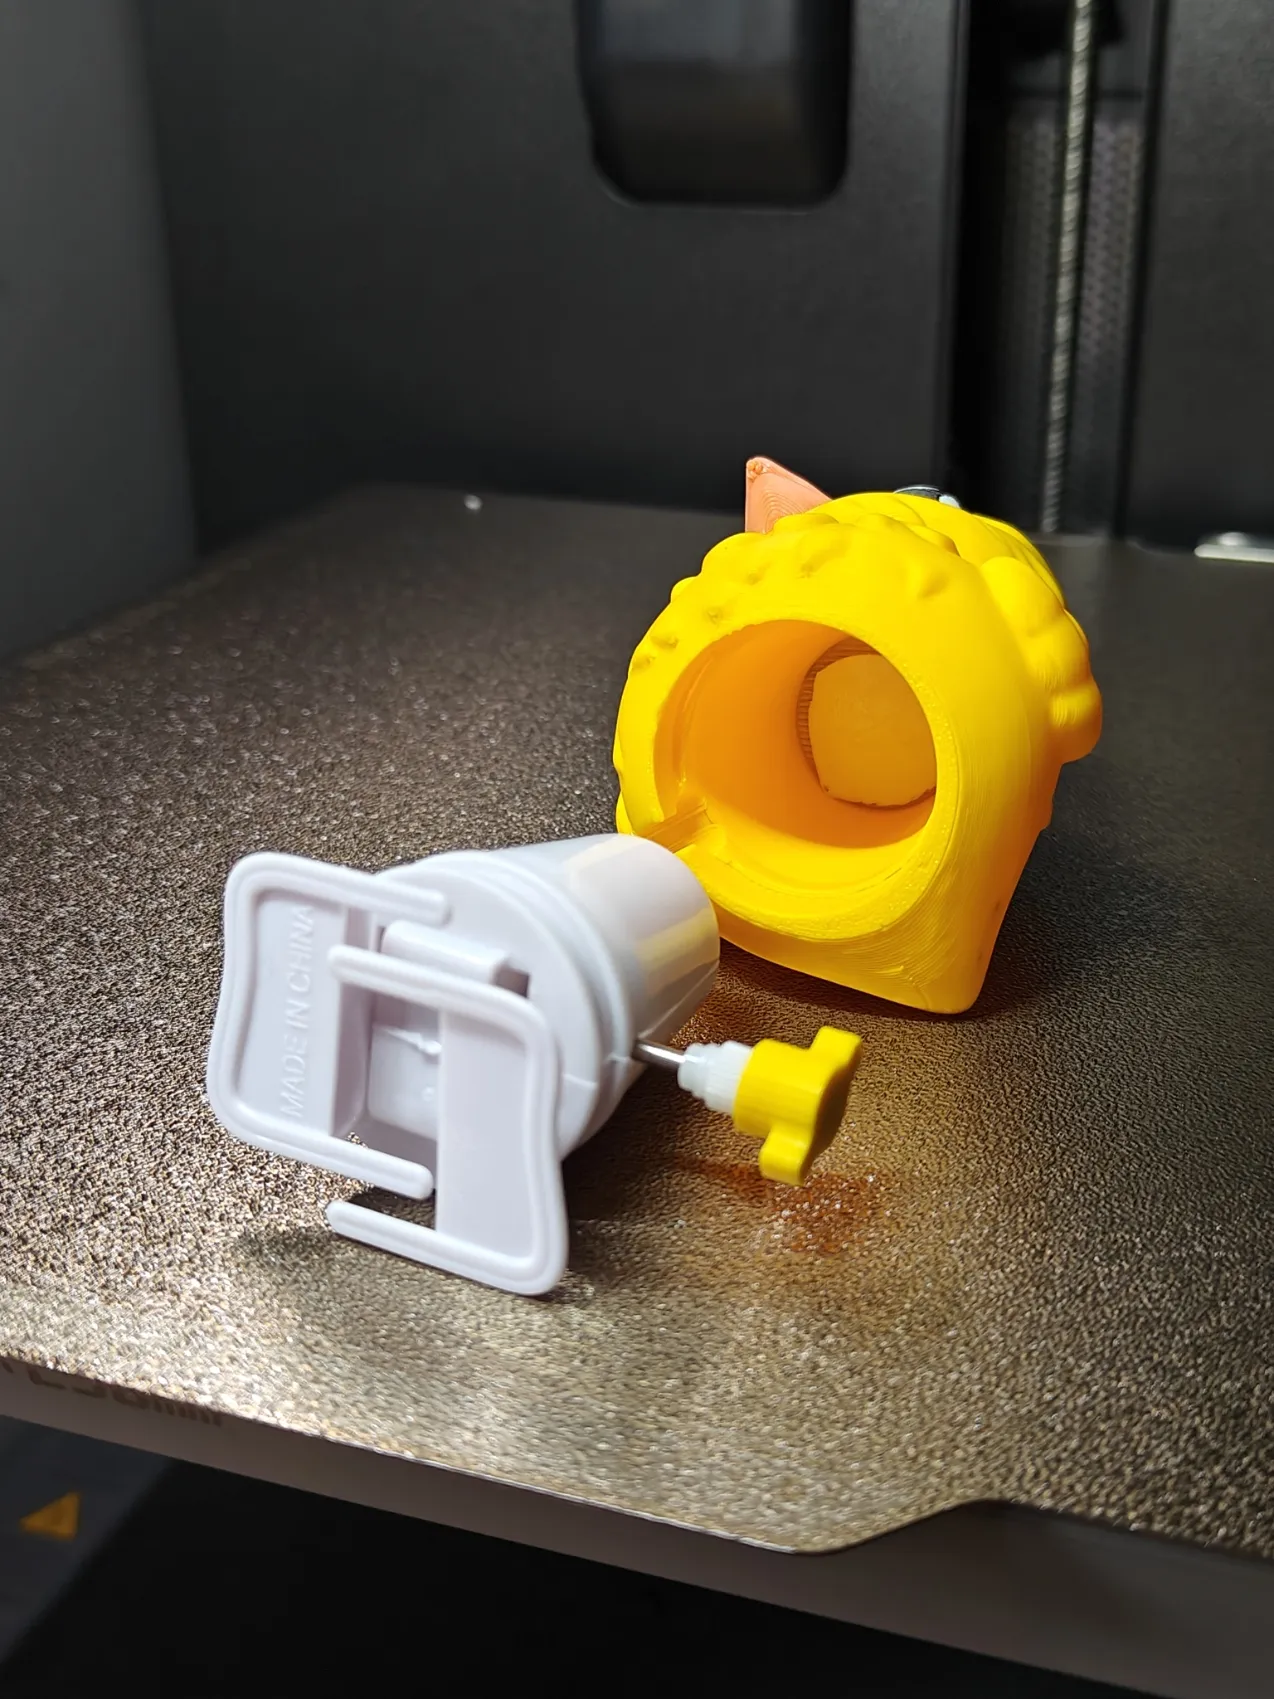
- Print the Chick First
- Print all chick components.
- Assemble as shown in the model preview.
- Install Wind-Up Mechanism
- Insert the wind-up mechanism inside the chick body.
- Secure it using double-sided tape or a small amount of superglue.
- Ensure the key is properly aligned and accessible from outside.
- Egg Printing (Pause Step)
- Start printing the Voronoi egg.
- Use the pause-at-height feature (as indicated in the file).
- When the print pauses, carefully place the assembled chick inside the egg.
- Resume Print
- Resume printing to complete the egg enclosure.
- Ensure the chick is positioned properly before continuing.
- NOTE: Remove the egg very carefully after the print plate has cooled. As the egg is very delicate! If you break it, don't worry! It's meant to be broken! HAHA
Boost Me (for free)
Please consider boosting this model if you liked it!
License

You shall not share, sub-license, sell, rent, host, transfer, or distribute in any way the digital or 3D printed versions of this object, nor any other derivative work of this object in its digital or physical format (including - but not limited to - remixes of this object, and hosting on other digital platforms). The objects may not be used without permission in any way whatsoever in which you charge money, or collect fees.


Comment & Rating (2)